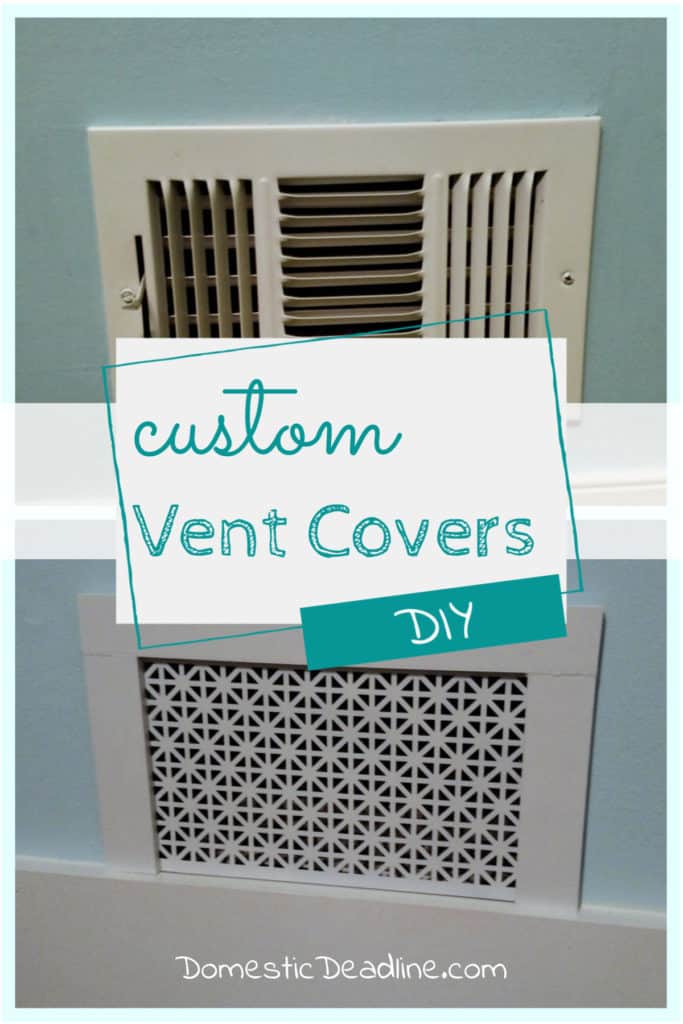
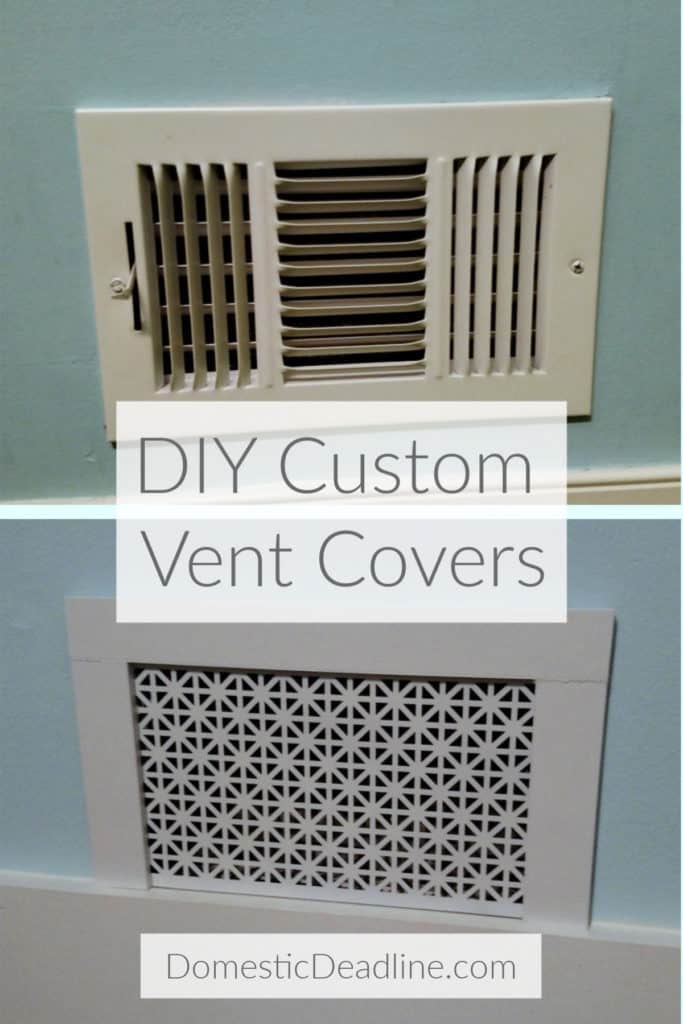
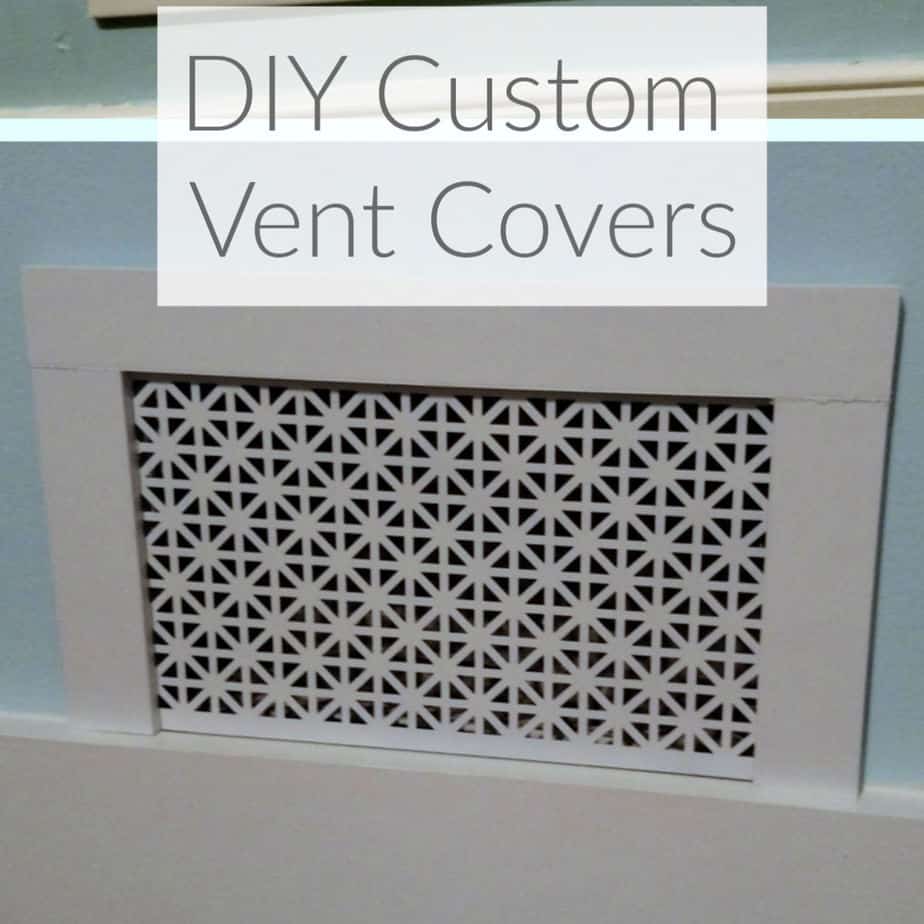
With new moldings, trim, doors and refinished floors, the regular air vents were suddenly going to be a problem. Most of the vent covers had seen better days and we planned on replacing them. Not wanting the basic metal ones available in the big box, I set out to fund something different. And there were options, but way out of the price range I was willing to pay. It was time to fabricate my own custom vent covers. (*Note: Updated on 3/25/19 and 1/12/2020 – Now with worksheet printable)
DIY Custom Air Vent Covers
Thanks to The Friendly Home, I had a plan and a picture to show IronFish, who wasn’t originally sold on the idea of DIY. While this option meant the vents wouldn’t be adjustable, we are OK with that. In fact, we actually prefer they can’t be closed! We’ve had several occasions over the years of a vent ending up closed and rooms ending up way off in temperature.
I needed to make some modifications to the original plan. Due to Tasha’s allergies, we need to have the ducts cleaned yearly. We also are trying some filters and I want it to be easy to replace those regularly.
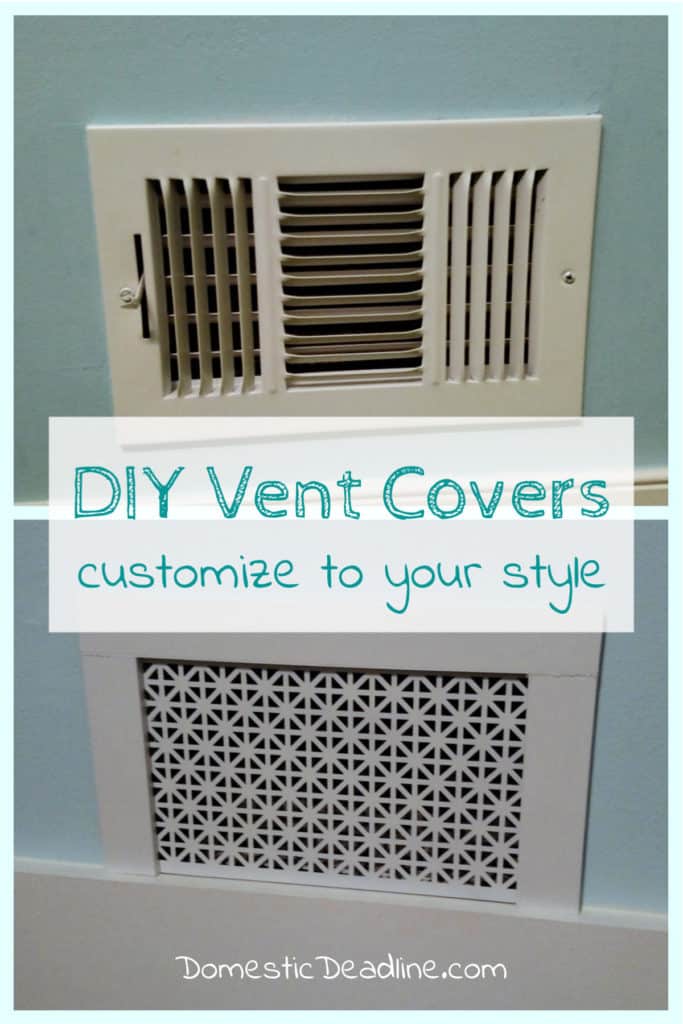
After gathering my supplies and having the ducts cleaned… I continued to put this project off. I’m not really sure why. I didn’t think it would be hard, it just wasn’t a priority to me. But, the gaping holes in the walls were annoying IronFish so recently I added it to my to-do list.
Once I took the measurements, I made the 3 needed for the office first. After that, the rest came together fairly quickly. I was even able to make a few for my sister’s house for her return ducts.
Materials
Lattice strips, I selected a PVC version from Home Depot
Punched aluminum sheets, there are several styles and sizes available. I liked the Union Jack pattern as I think it works well with the American Craftsman style we’ve been adding to the house. I also got the largest sheets I could to make them as cost effective as possible, 3-feet by 3-feet, since I was making several
Tools
Chop saw (you could use a hand saw and miter box, it would just take longer to make all the cuts)
Knife
Measure
Measure the opening of the vent. You don’t want to restrict airflow so you will want your metal to cover the hole completely with about a half inch extra all the way around. Since the Union Jack pattern kind of has rows to it, I added one row on each side.
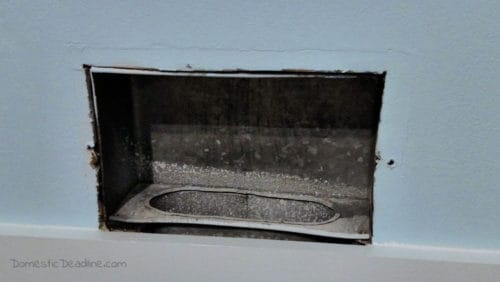
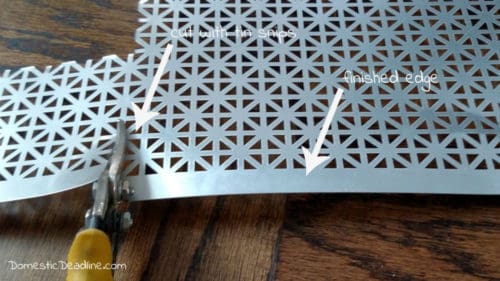
Take note of the surrounding wall or molding. Most of mine were going to sit right on the moldings. This meant I didn’t need a bottom piece of lattice, but that I did need a factory finished edge there. One also needed to be notched in a corner and another was right up against the wall.
Decide on your corners and cuts
A mitered corner might be the best look for your home. If so this will take some additional calculations. With the straight lines of our door and window headers, I wanted to mimic this. Straight edges are much easier to cut and calculate than angles.
I found the simplest way to determine my cuts for the lattice was to sit down with a few simple strips and play with the layout. About 75% of the covers were the same, so it’s the size I will use for this tutorial. The opening is 6 inches high and 10 inches wide. With 1 1/2″ lattice I needed to add 3″ to the width to accommodate a strip on each side.
Layout your pieces
For the 6″ x 10″ vents, my Union Jack was approximately 11″ wide by 6.5″ tall with a finished bottom edge. Vents that don’t sit on the baseboards and required a bottom piece of the lattice are 7″ x 11″.
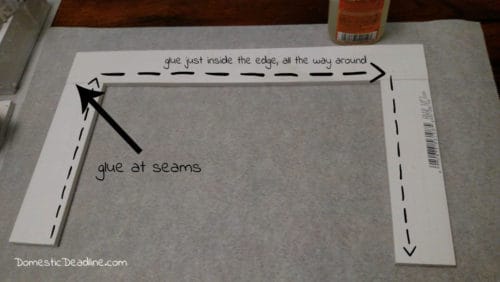
Two six inch pieces of lattice make up the sides and a 13″ piece is the top. I checked the measurements by holding them in front of a vent. Once I was happy, it was time for assembly.
Assembly
Cover the work surface with parchment or wax paper to protect it. A drop cloth or old vinyl table cloth would also work well. Newspaper won’t however (just trust me on this, lol)!
Place the lattice strips face down. Apply a bead of gorilla glue to the ends of the smaller strips. Press them up against the top strip (do both ends and attach to the top and bottom if a bottom is required). Make sure the edges align.
Run a bead of gorilla glue along the back of the strips and lay the metal sheet over. The Union Jack pattern was nice to work with; everything lined up nicely.
Cover the edge of the metal that overlaps the lattice with duck tape. Gorilla glue expands as it dries; duck tape keeps everything in place and reduces your clean up later. As an added bonus, I found it best to apply pressure to the corners; now whatever I used as weights, wasn’t permanently attached to my vent!
An hour later….
Or so, they are dry enough to handle. I made most of mine one evening and let them dry overnight. A few were made only a few hours before painting.
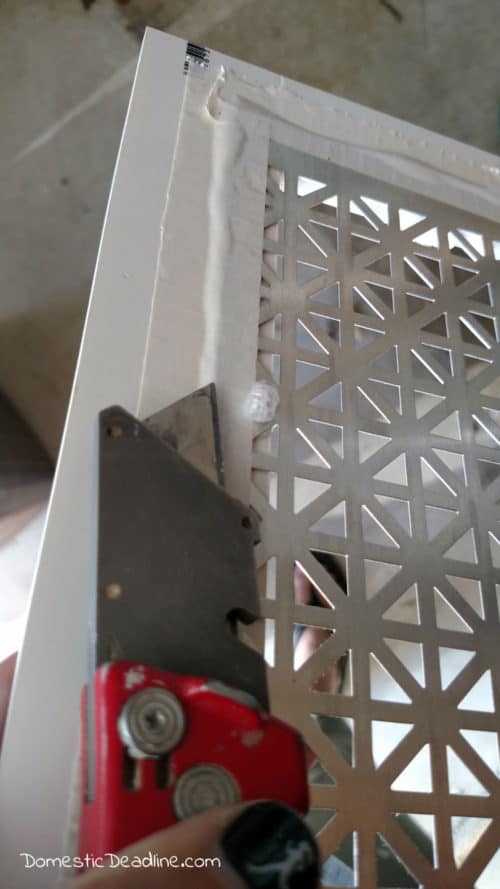
Clean up any glue that has leaked. Covering the backs with duck tape really reduced my clean up time as I learned after my “test” covers. I also learned that newspaper sticks to the glue, which also soaked through and stuck to my table…. Hence the parchment paper. It still can stick but doesn’t soak through, peels off easily and, most importantly, doesn’t transfer the writing to the lattice!
Spray paint!
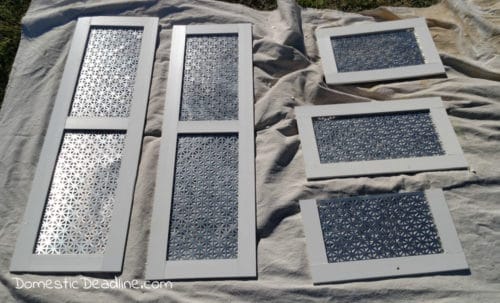
Every vent cover gets 2-3 light coats of white spray paint. Be sure to get any edges that might be visible. Using the PVC lattice that was already white saved the paint soaking in and more coats needed. Since spray paint is instant gratification, I was able to put all the coats on in an afternoon.
Install
As I said earlier, I wanted my covers to be easily removable. Considering the original ones were screwed on, there is no real reason why you couldn’t screw these on as well. However, I opted to use my trusty command strips to make removal very easy.
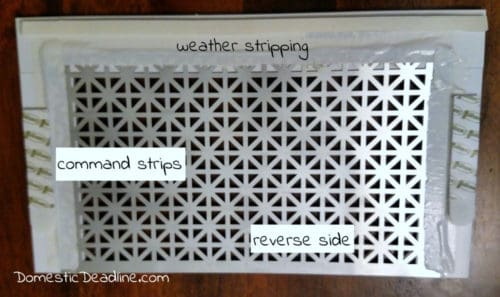
Most of my vent covers only needed 2 large Velcro strips. The PVC is flexible enough that they could be pressed onto the wall and almost get a snug fit! For the few that didn’t fit snugly, I applied white self-adhesive weather stripping to the edge of the lattice.
I also cut filters to size to go behind the vents in Tasha’s room. If they appear to collect a lot of dust particles, I’ll add them to all the vents.
Cost of Custom Vent Covers
Out of curiosity, I calculated how much each vent cost to make. I was pleasantly surprised that they came in at about $9 per vent. It would have cost me about that to purchase basic non-decorative ones, and I would have had to either notch them or my moldings.
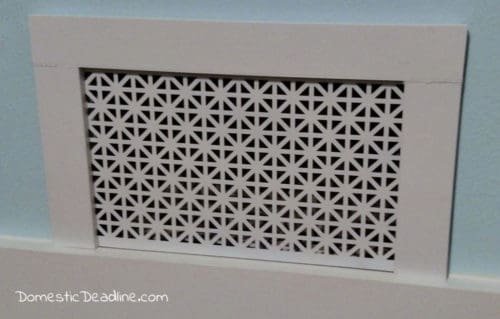
One sheet of Union Jack was $32. The large size enabled me to get 10 with finished edges and still have the center leftover to make some of the covers with bottoms. Eight feet of PVC lattice was about $12, wood would have been cheaper still. Barely half a roll of duck tape was needed, half a bottle of gorilla glue and two cans of spray paint. I made 20 covers for my house and 3 for my sister’s. Four of those were actually double sized.
Make Your Own – Worksheet
Most rooms have more than one vent. I made vent covers for every vent in the house except for the kitchen since it wasn’t renovated. Now that it’s been finished for quite a while, I need to get the covers made.
Whenever I’m going to make multiples of something, I find it best to do all the measuring and calculations ahead of time. I’ve made a worksheet to help with this. If you’re going to make your own vent covers, grab a copy of the worksheet to help you plan.
Vent Cover Worksheet
Be sure to subscribe to my newsletter for more DIY projects like this!
Find the Union Jack sheet metal and other styles of sheet metal by clicking on the links.
WANT TO REMEMBER THIS? SAVE THE CUSTOM VENT COVER TUTORIAL TO YOUR FAVORITE DIY PINTEREST BOARD!








12 Comments