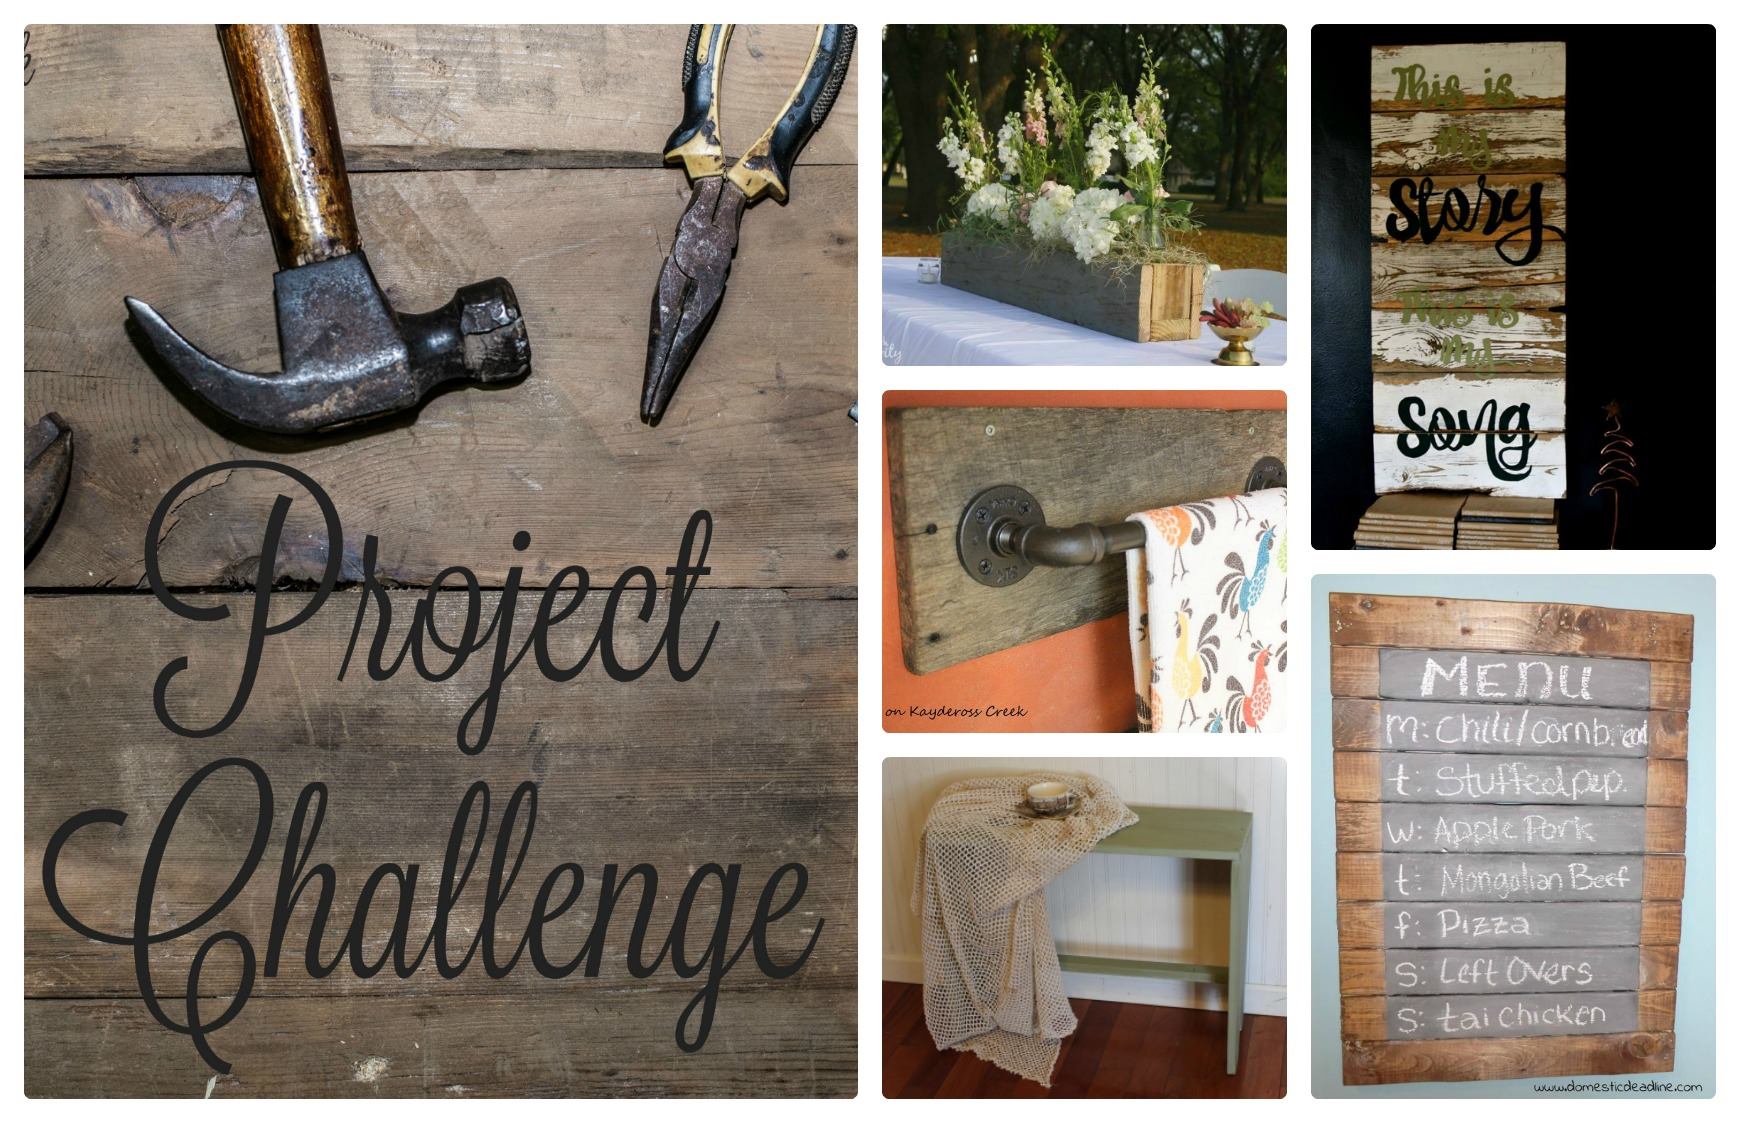
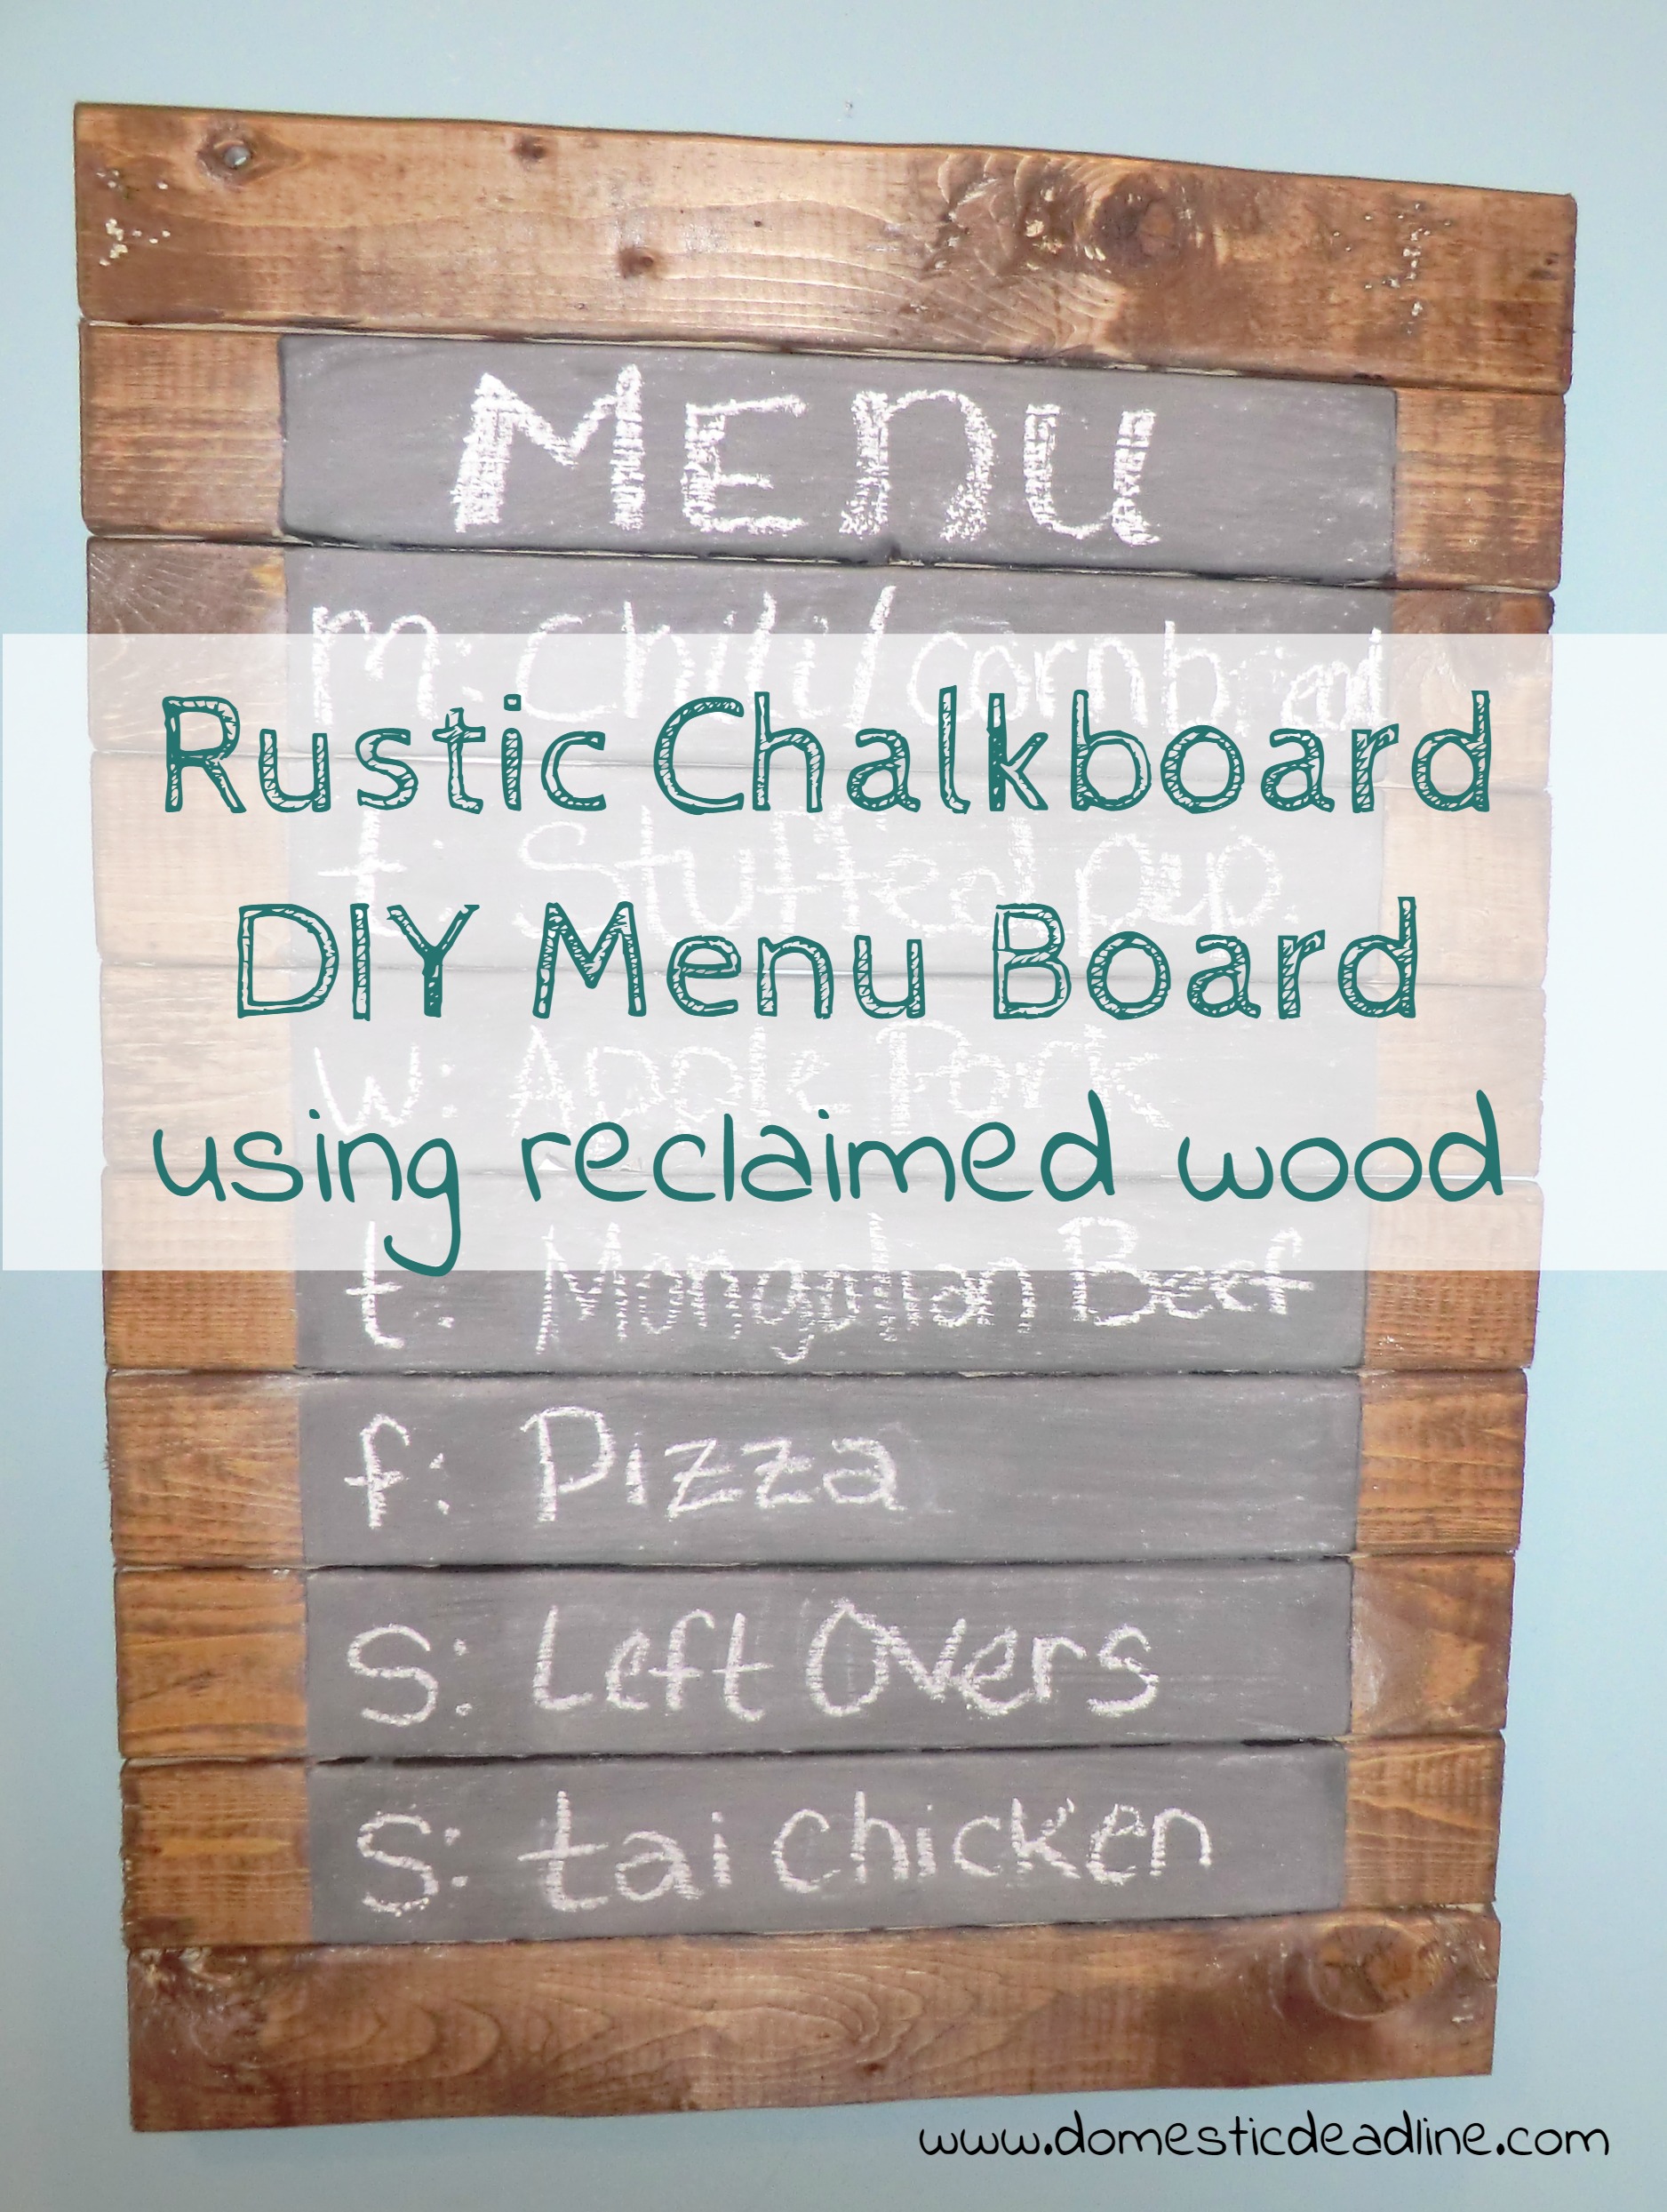
I’m really excited to have joined with a group of incredibly talented bloggers for a monthly Project Challenge. This is my first month with this group and reclaimed wood was the theme. Since I’m still working towards organization; I knew whatever I created needed to help me reach that goal. Getting back on track with weekly meal planning has been a major focus. We also have moved some things around in the kitchen and I was in need of a new menu board. It didn’t take long to realize the challenge was the perfect opportunity to make myself a rustic chalkboard menu board.
This post may contain affiliate links. Which means, if you click the link and buy something, I may receive a percentage of sales at no additional cost to you. Thank you for supporting Domestic Deadline.
Reclaimed Wood
Frequently, I end up with pallet or crate wood leftover from work. Ideas for using it always come to me, there is just so much that can be done with scrap or reclaimed lumber. Sometimes my collection in the garage grows, other times it dwindles. With our last bathroom renovation (work, not home) I never even emptied the wood out of my trunk!
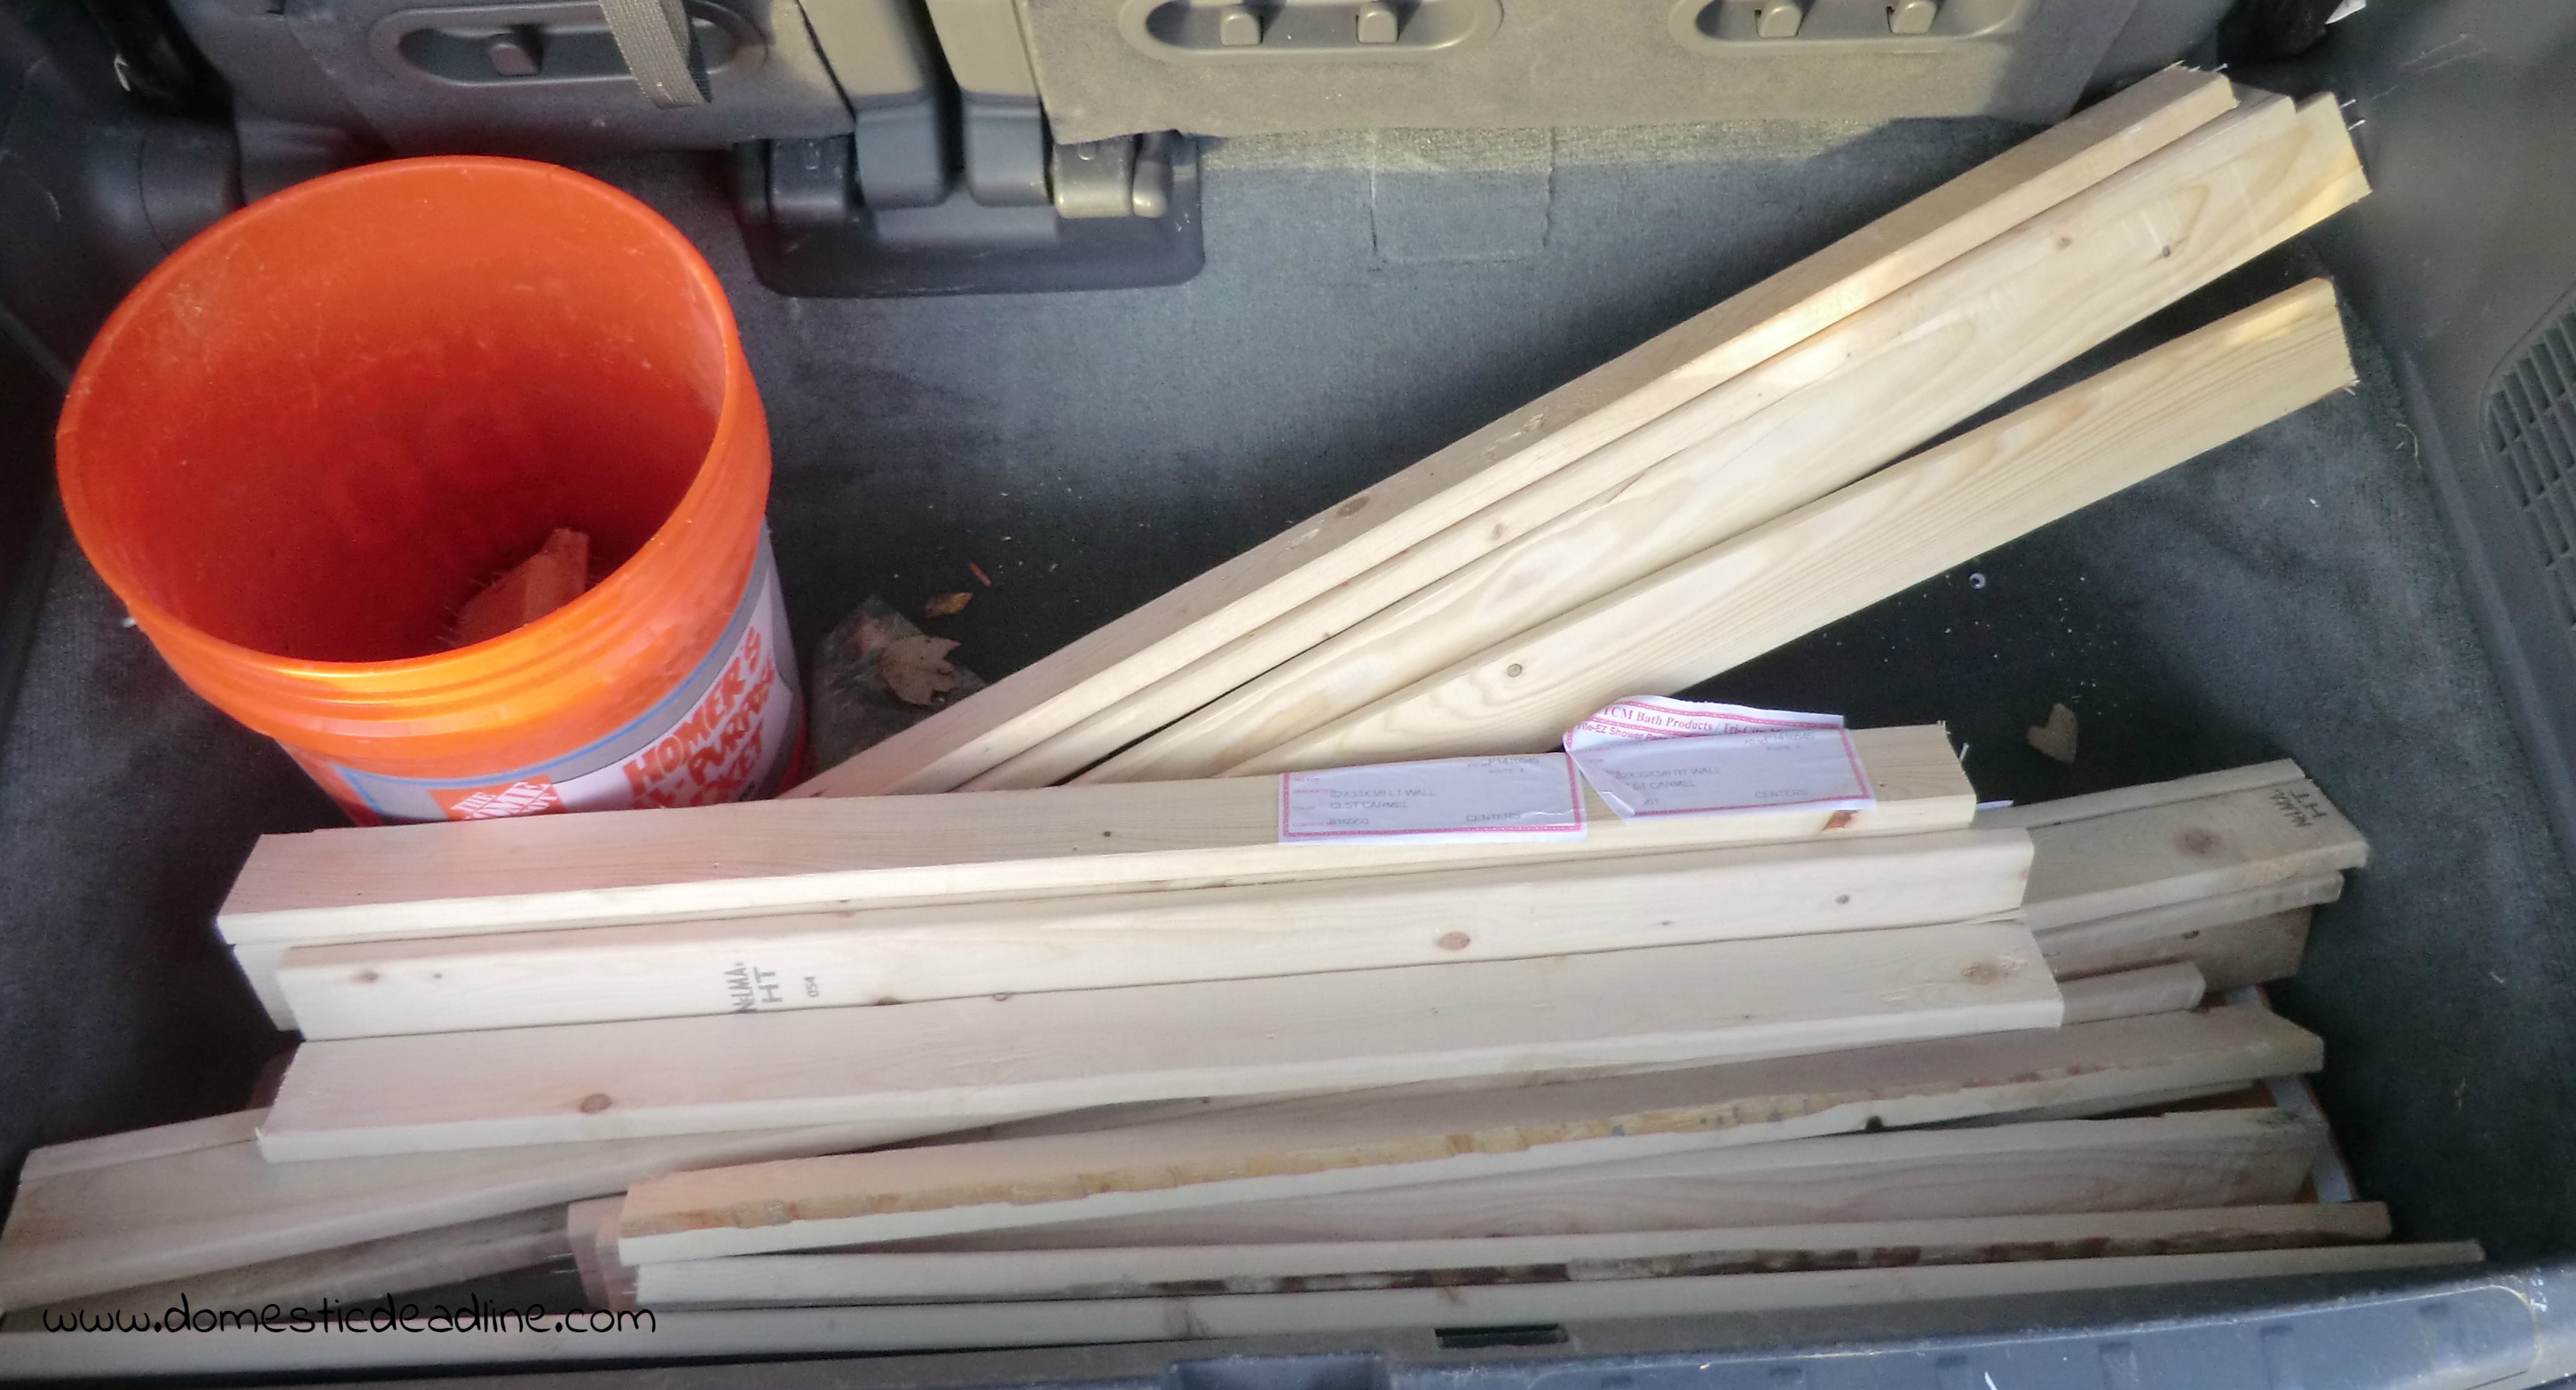
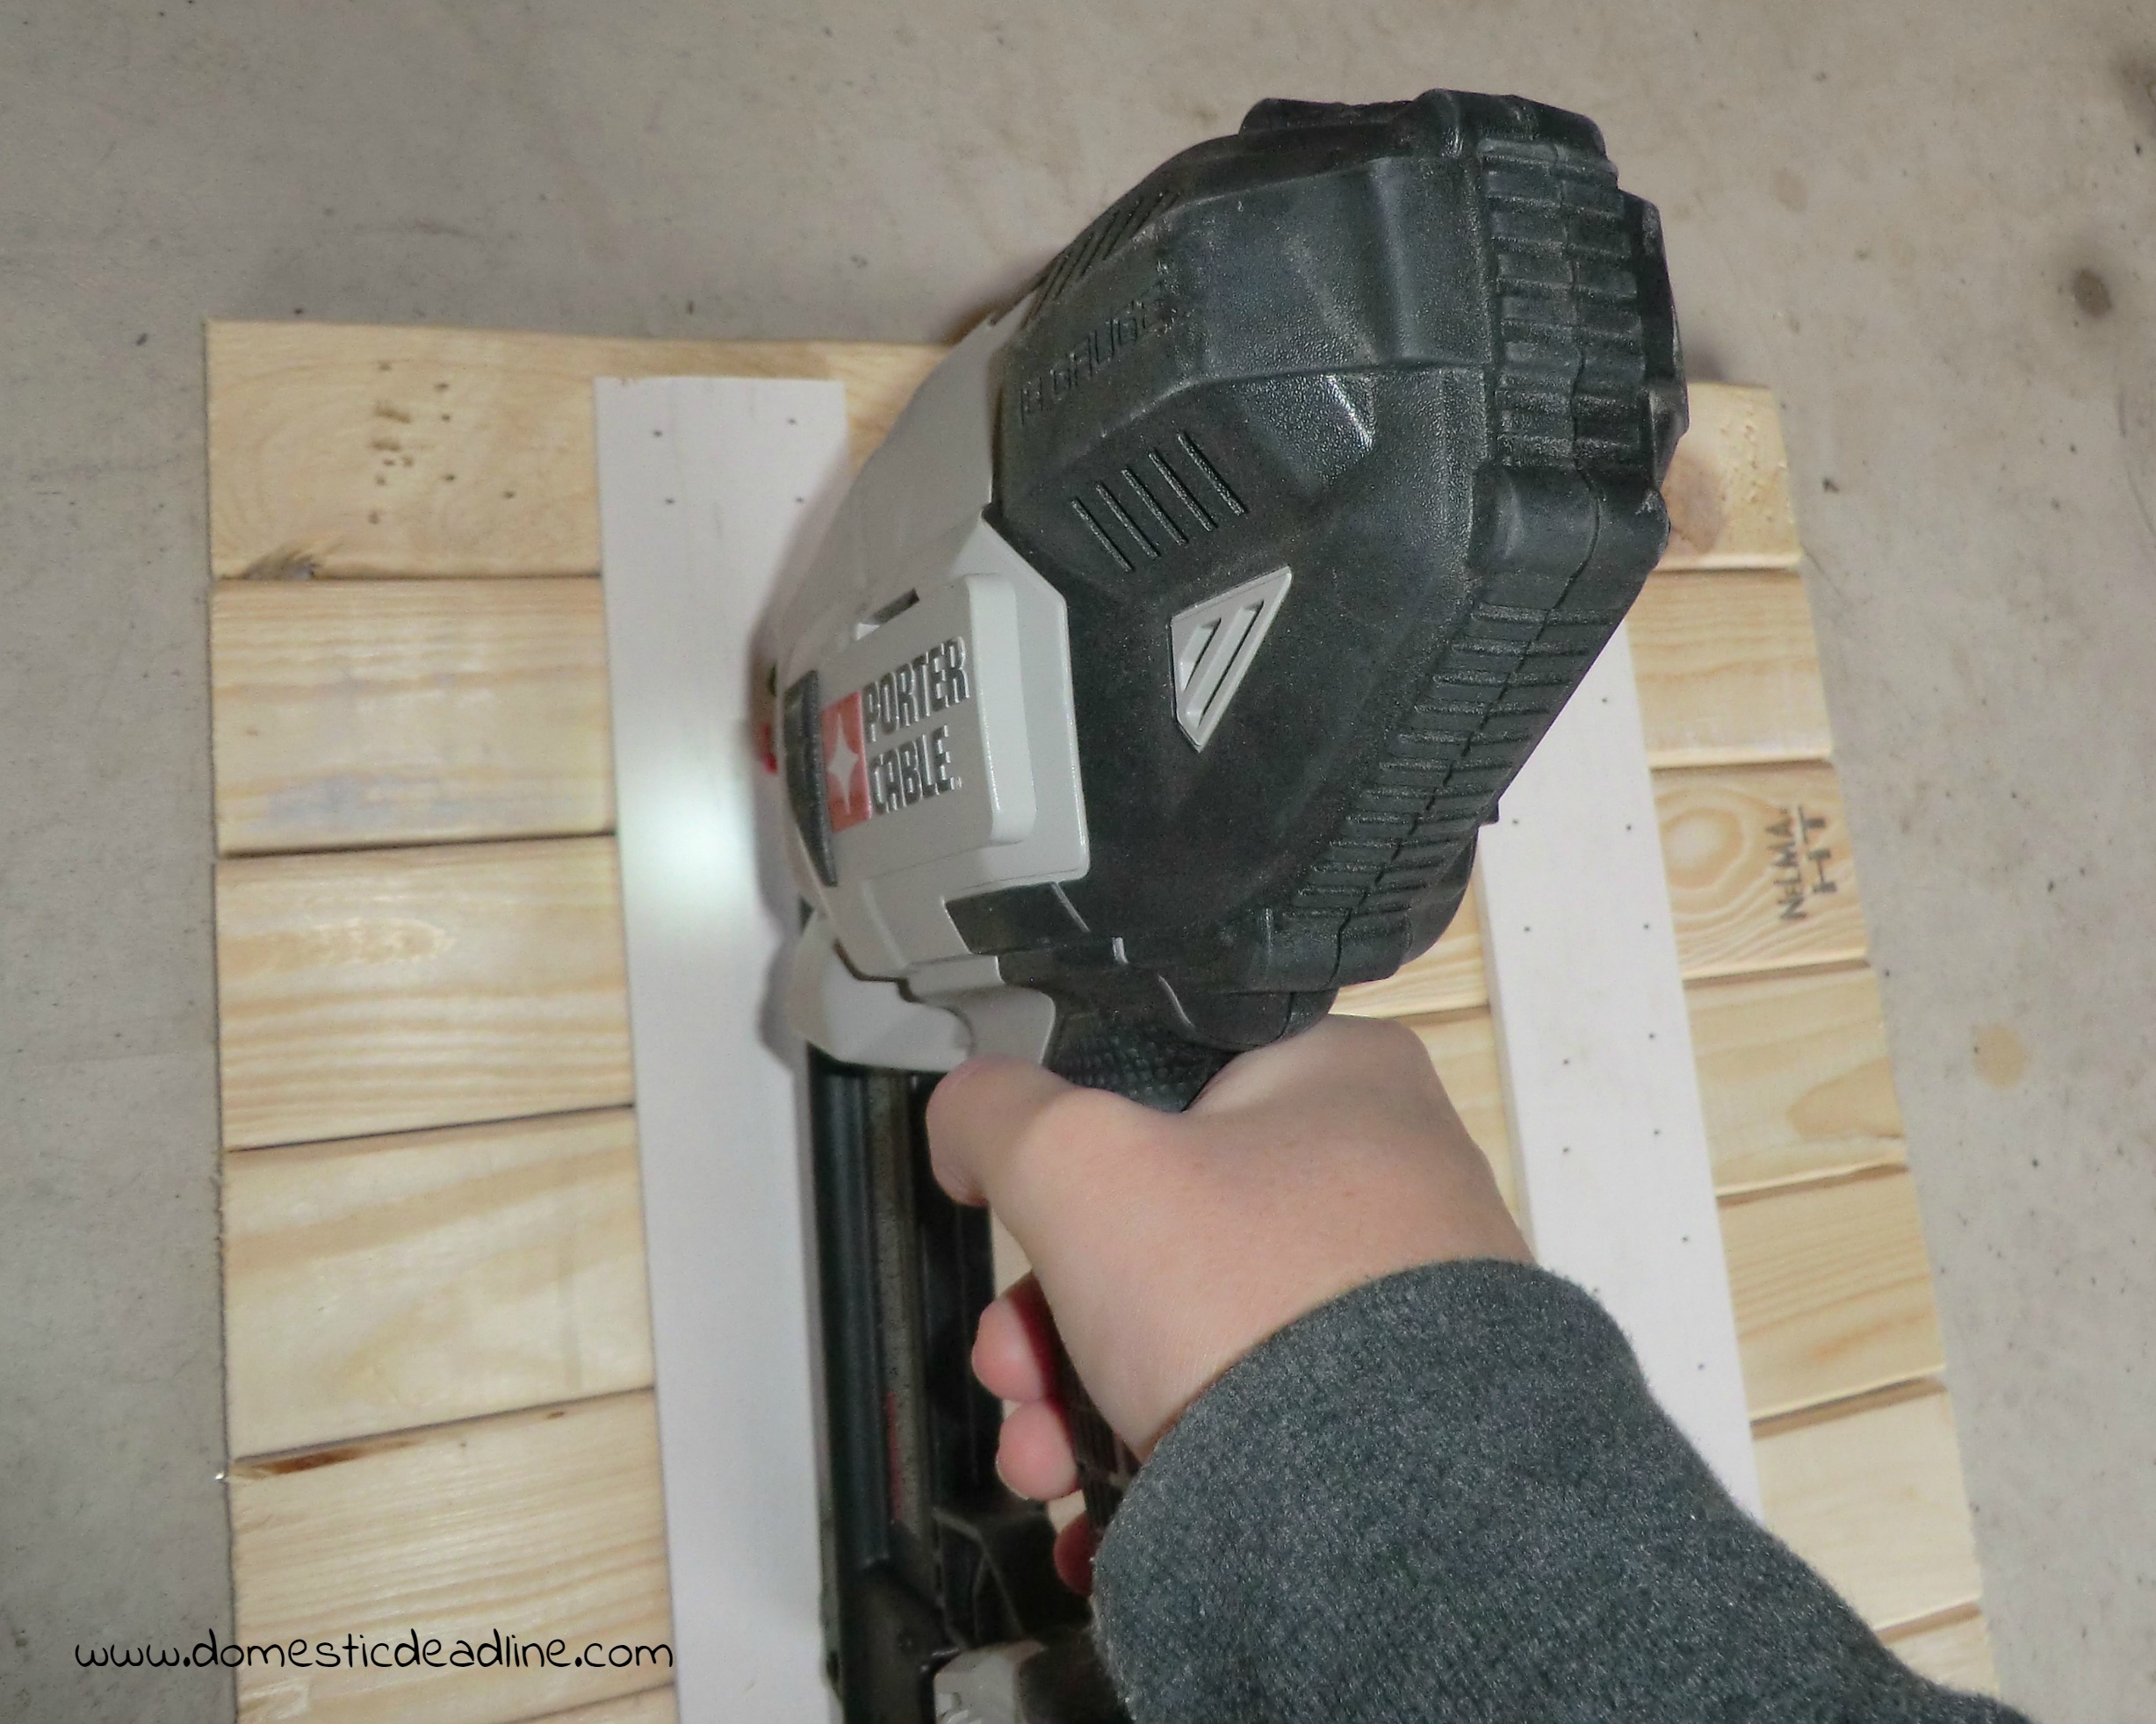
For this project, these pallet boards were 1×2.5″. After cutting 10 pieces to 18″ in length each, I used a nail gun and lattice to join the pieces together. I easily could have used another piece of the pallet, however, the wall I wanted to hang the finished piece on, I’d always see the side. Using the lattice resulted in a narrower profile.
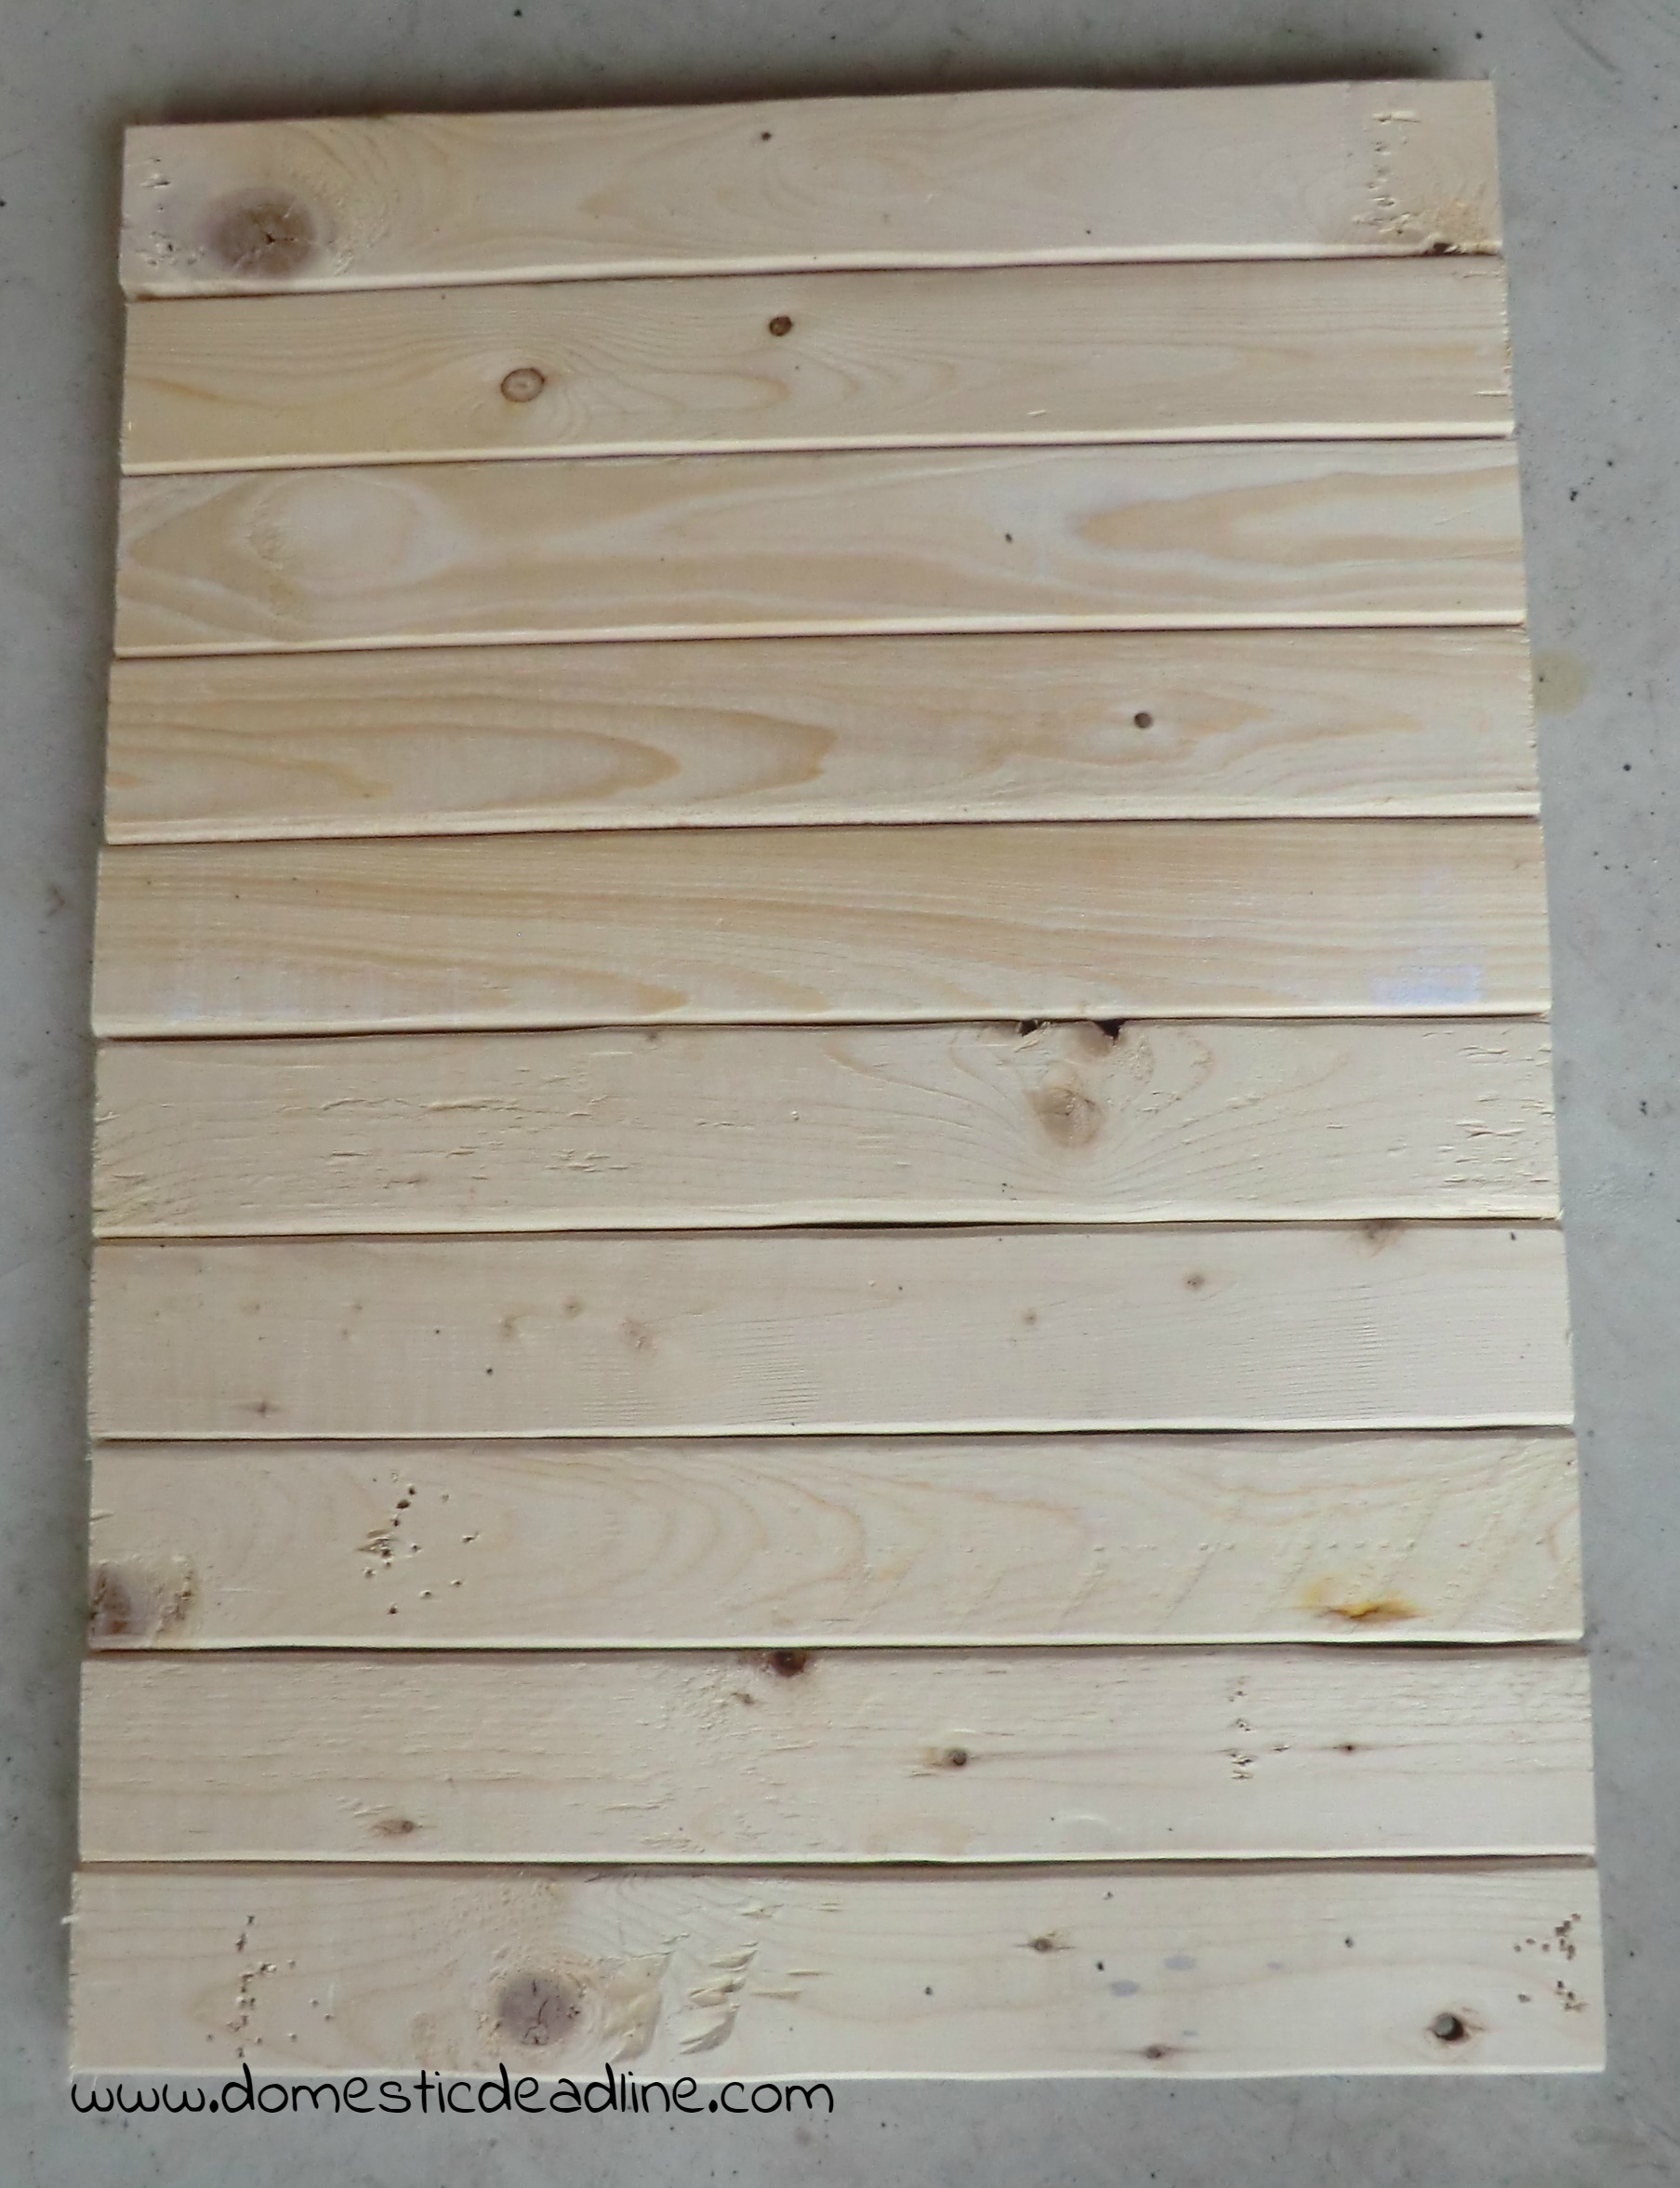
Still on my garage floor, here is the piece assembled and face up. I love the nail holes, occasional hammer marks and natural knots in the wood.
Time for Stain and Paint
Large sheets of bubble wrap also make their way from work to home. O-Man will happily jump and pop them all! Once he’s entertained, I use them to protect surfaces; perfect for protecting my new dining room table. With the surface covered, it was time to stain.
I marked out about 2.5″ in along the edges. No need to stain inside this space since it would ultimately be turned into the chalkboard. My can of special walnut stain is still going strong, project after project, so it was again my choice for this. Using a foam brush, I applied the stain and wiped off the excess with a paper towel. 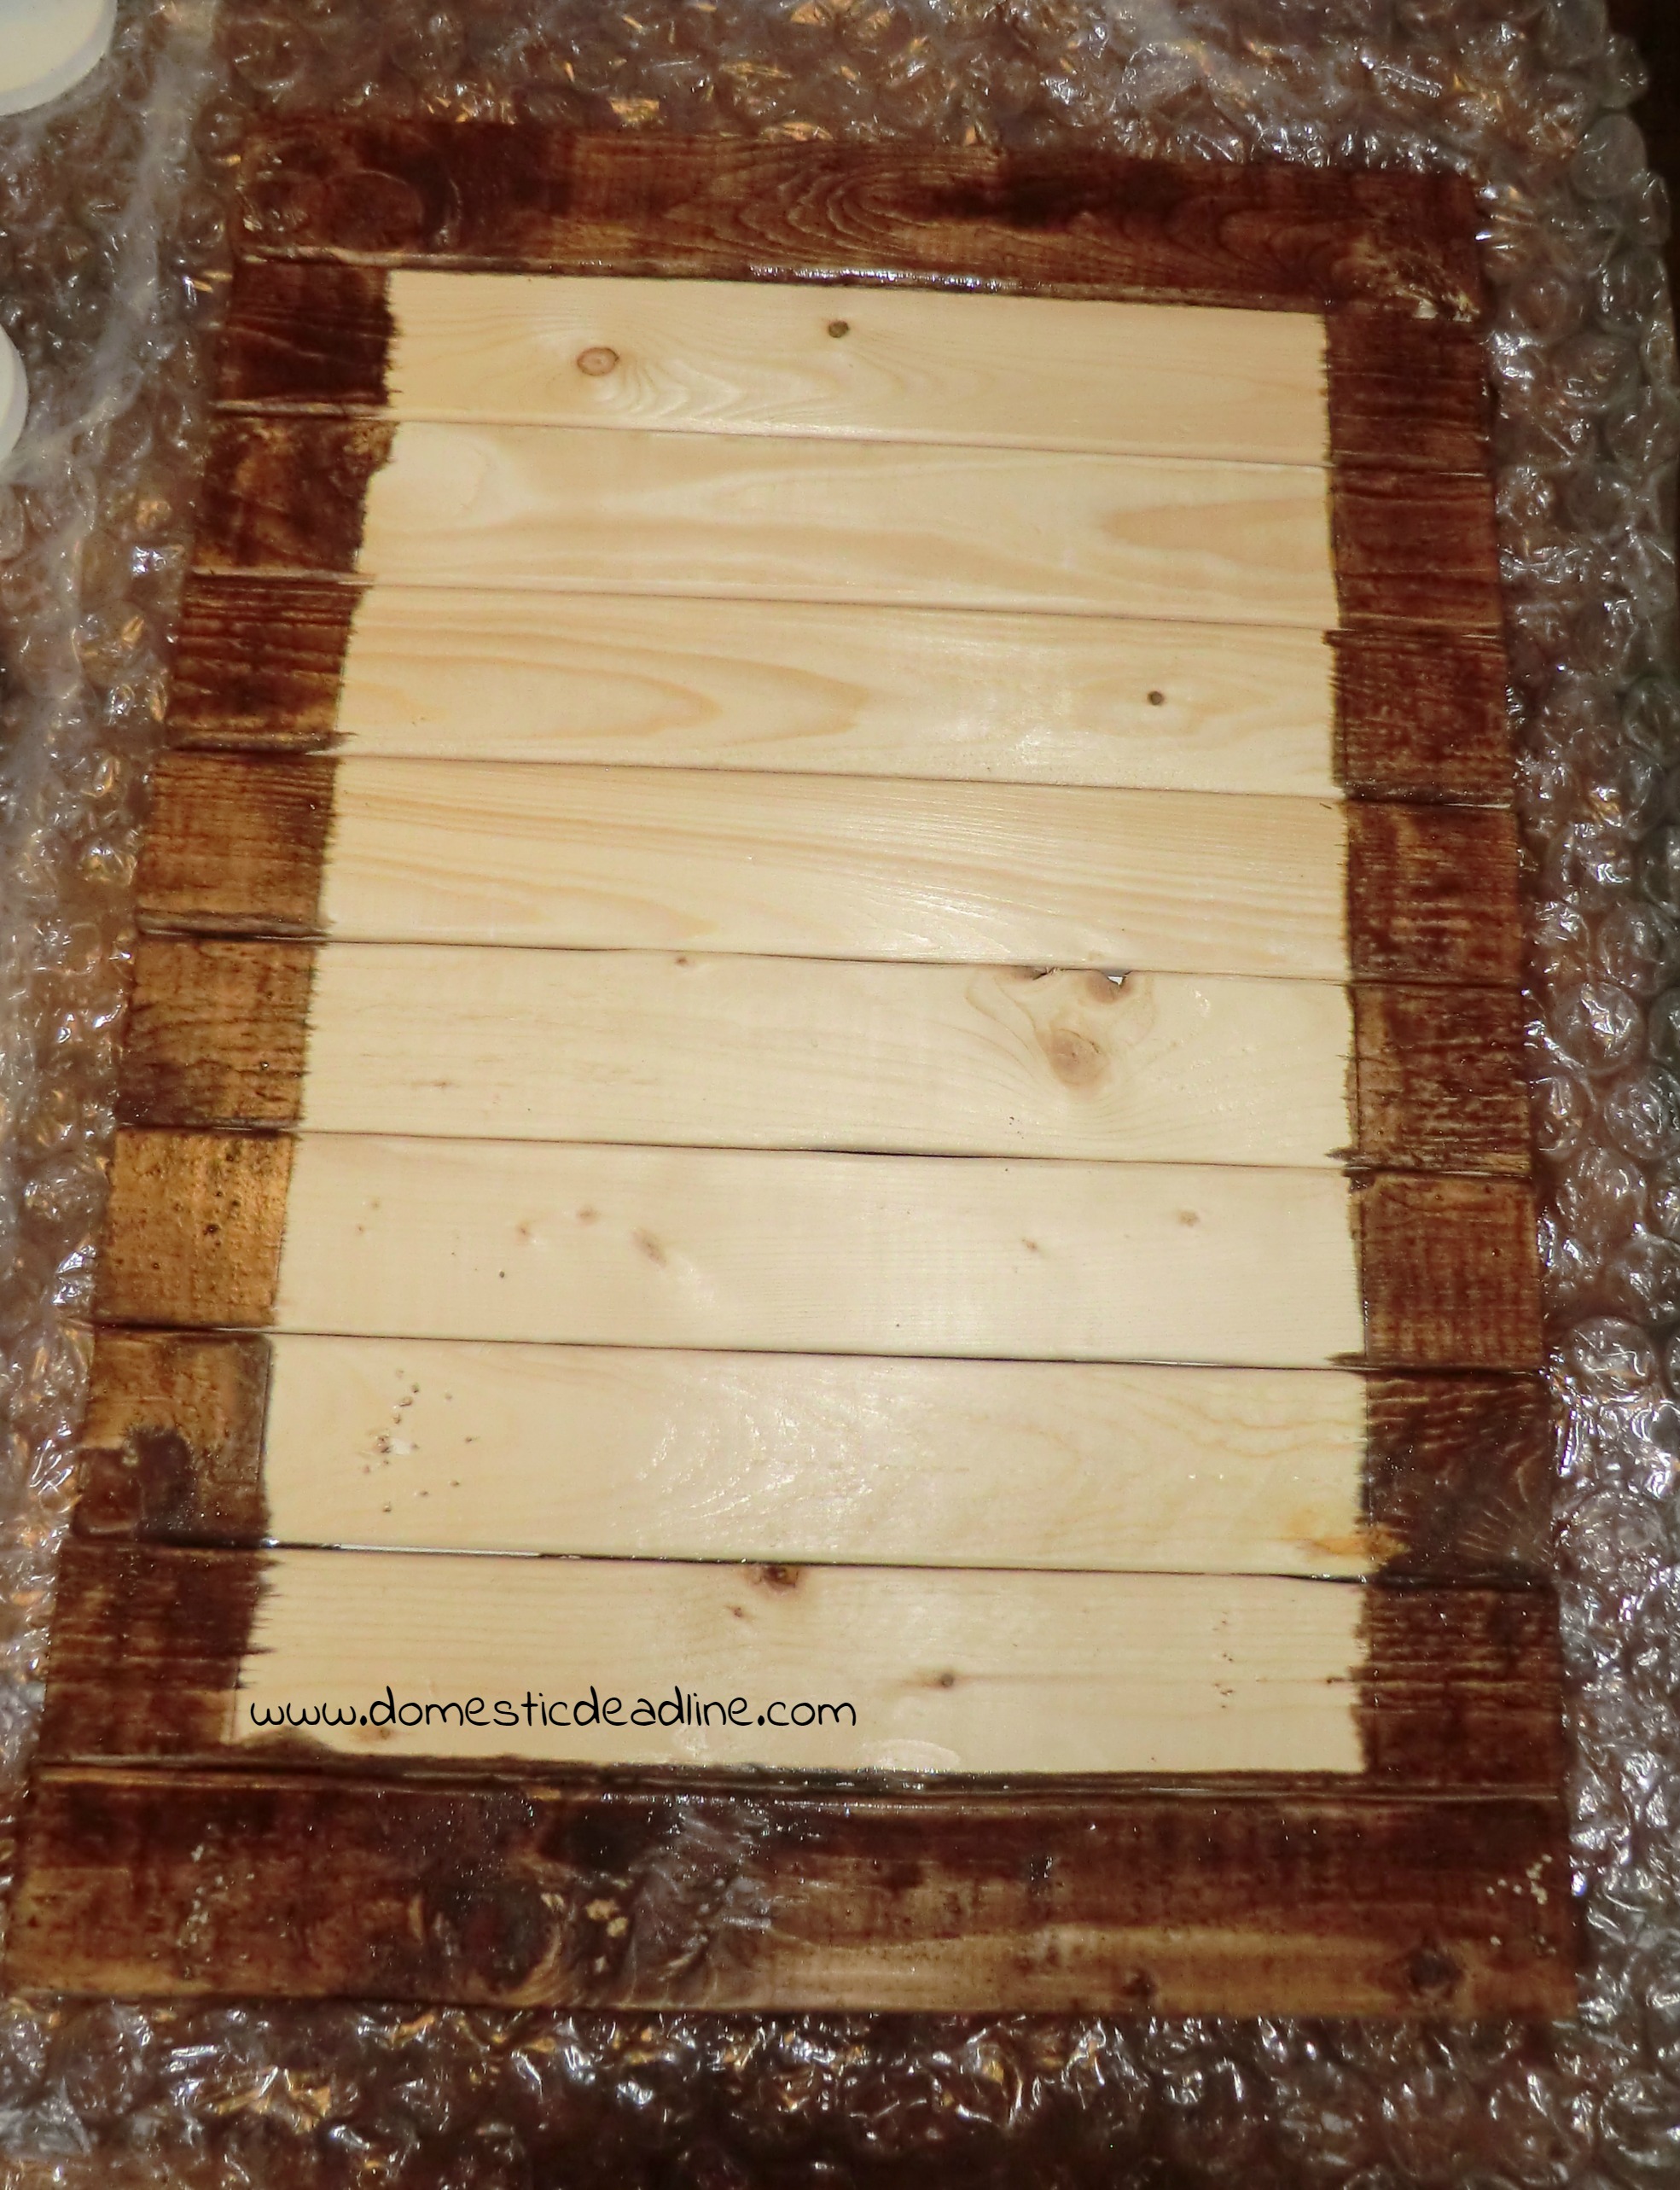
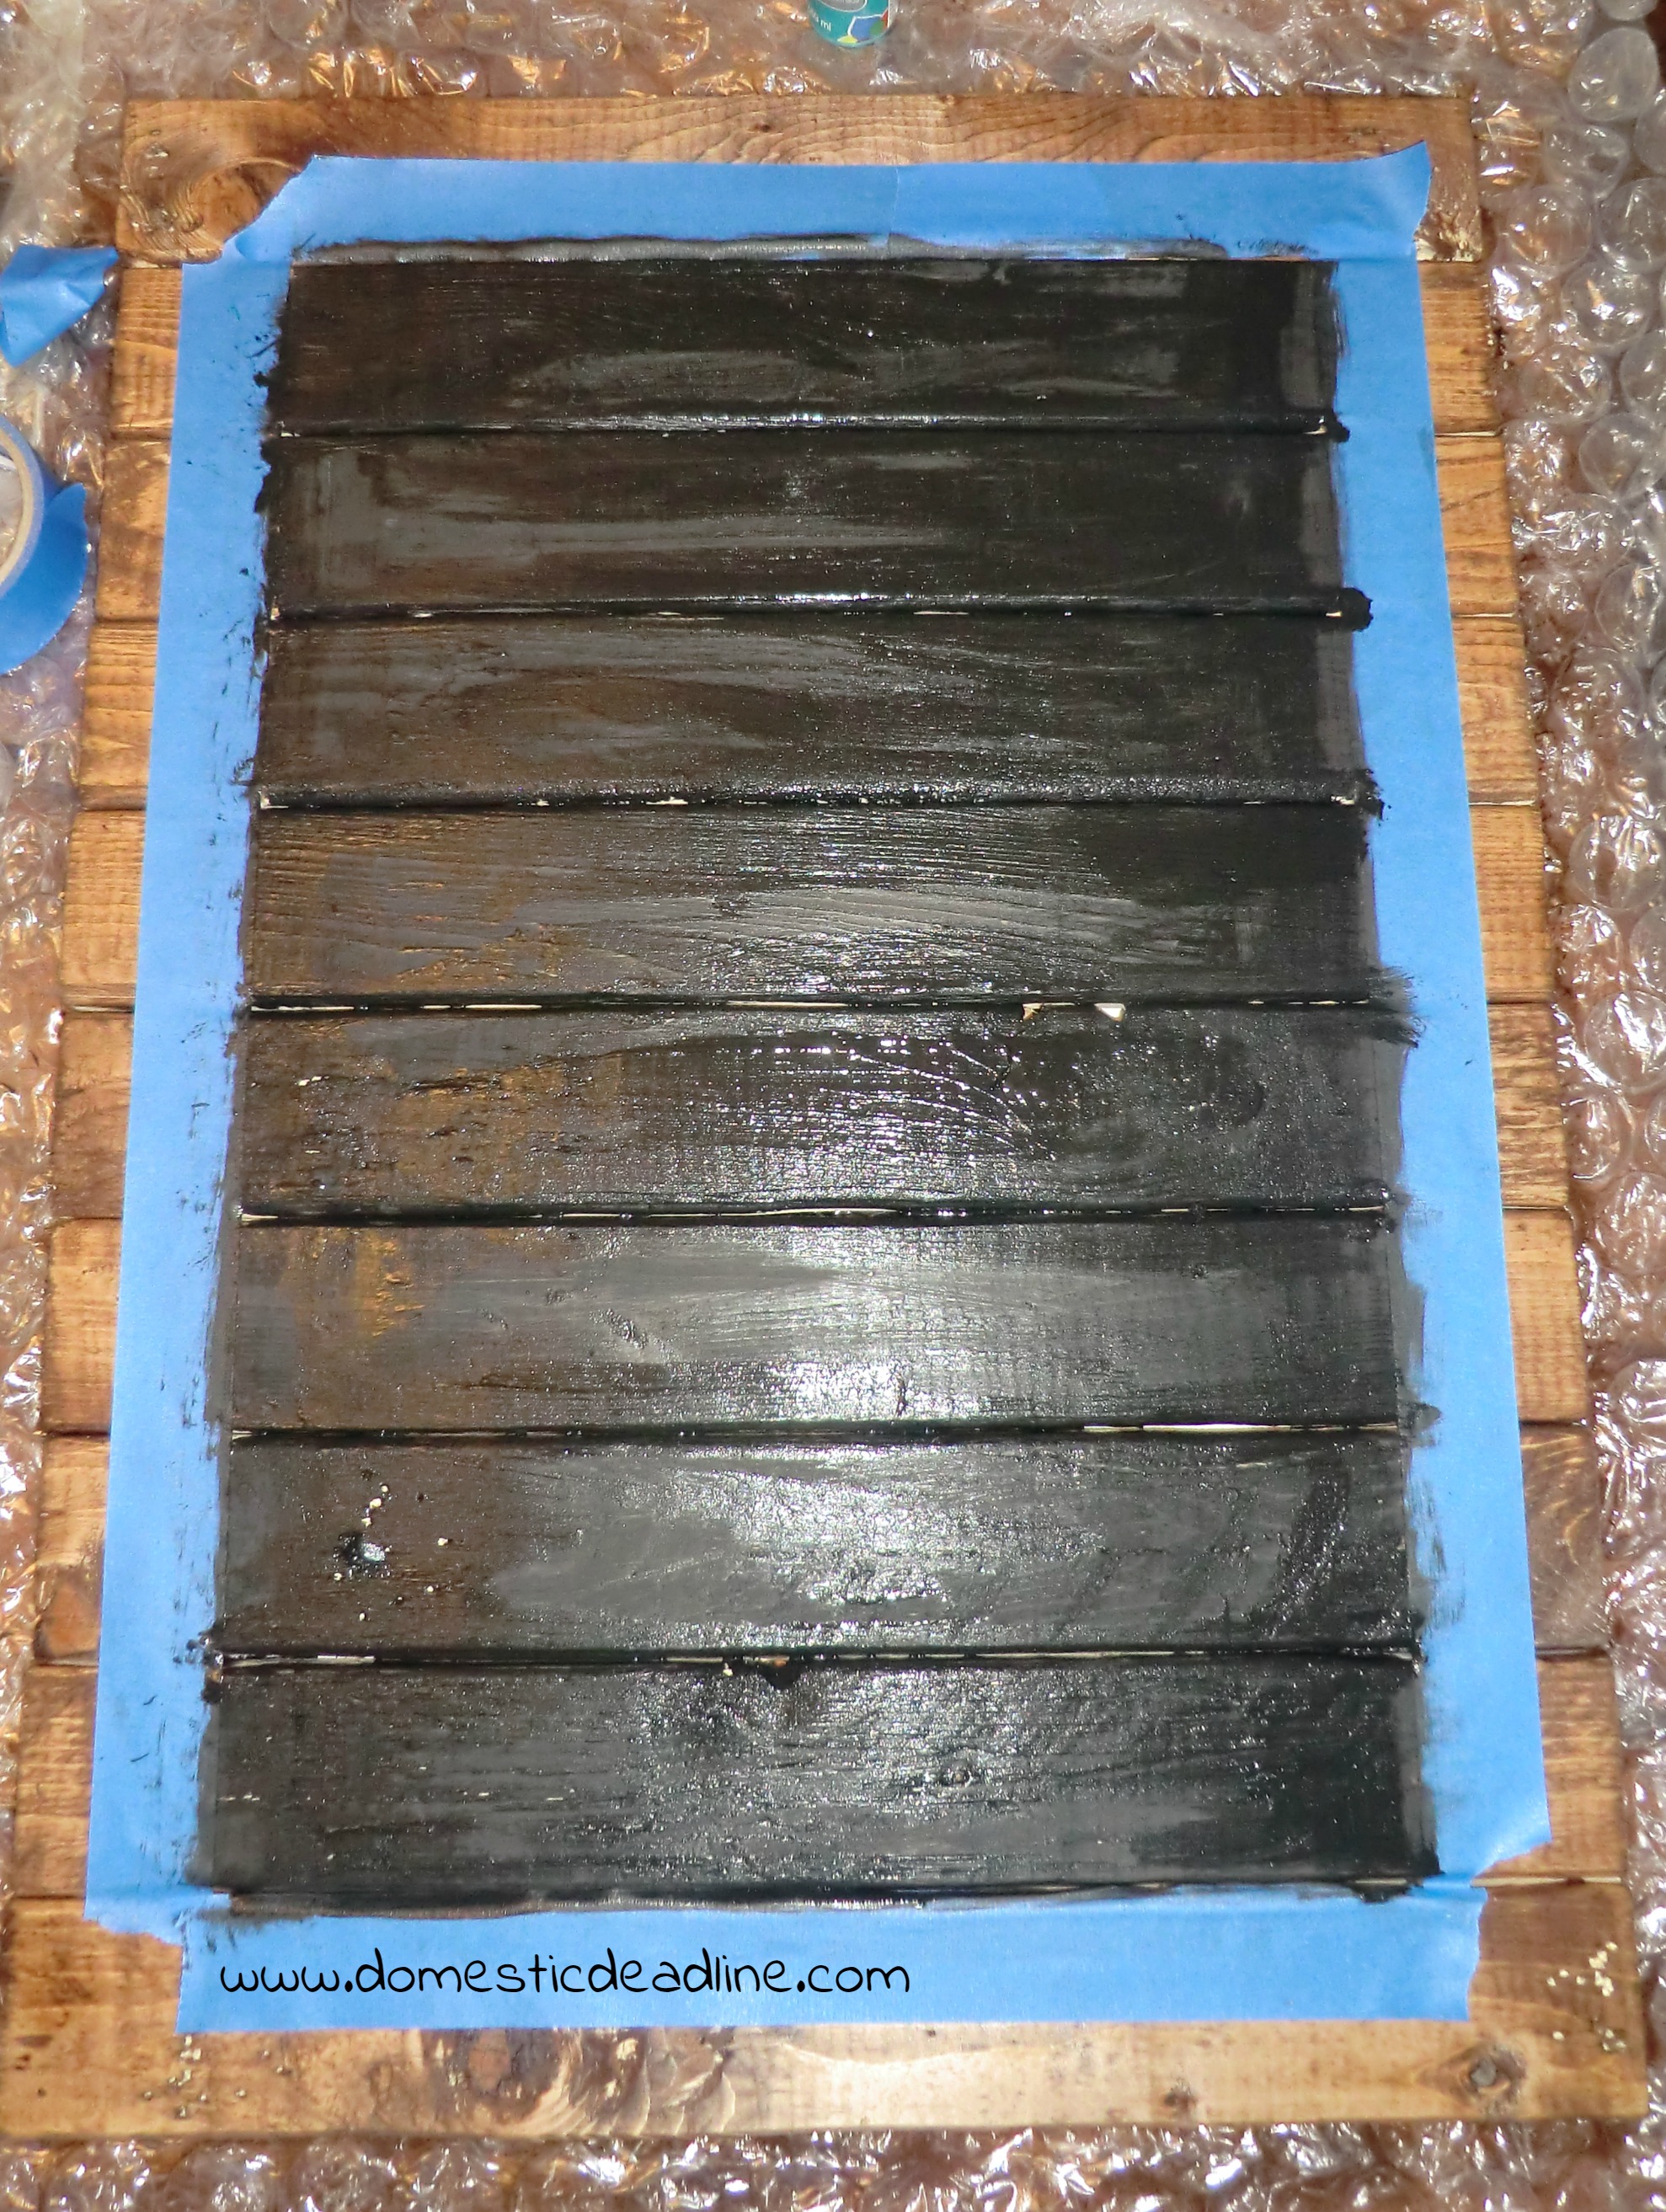
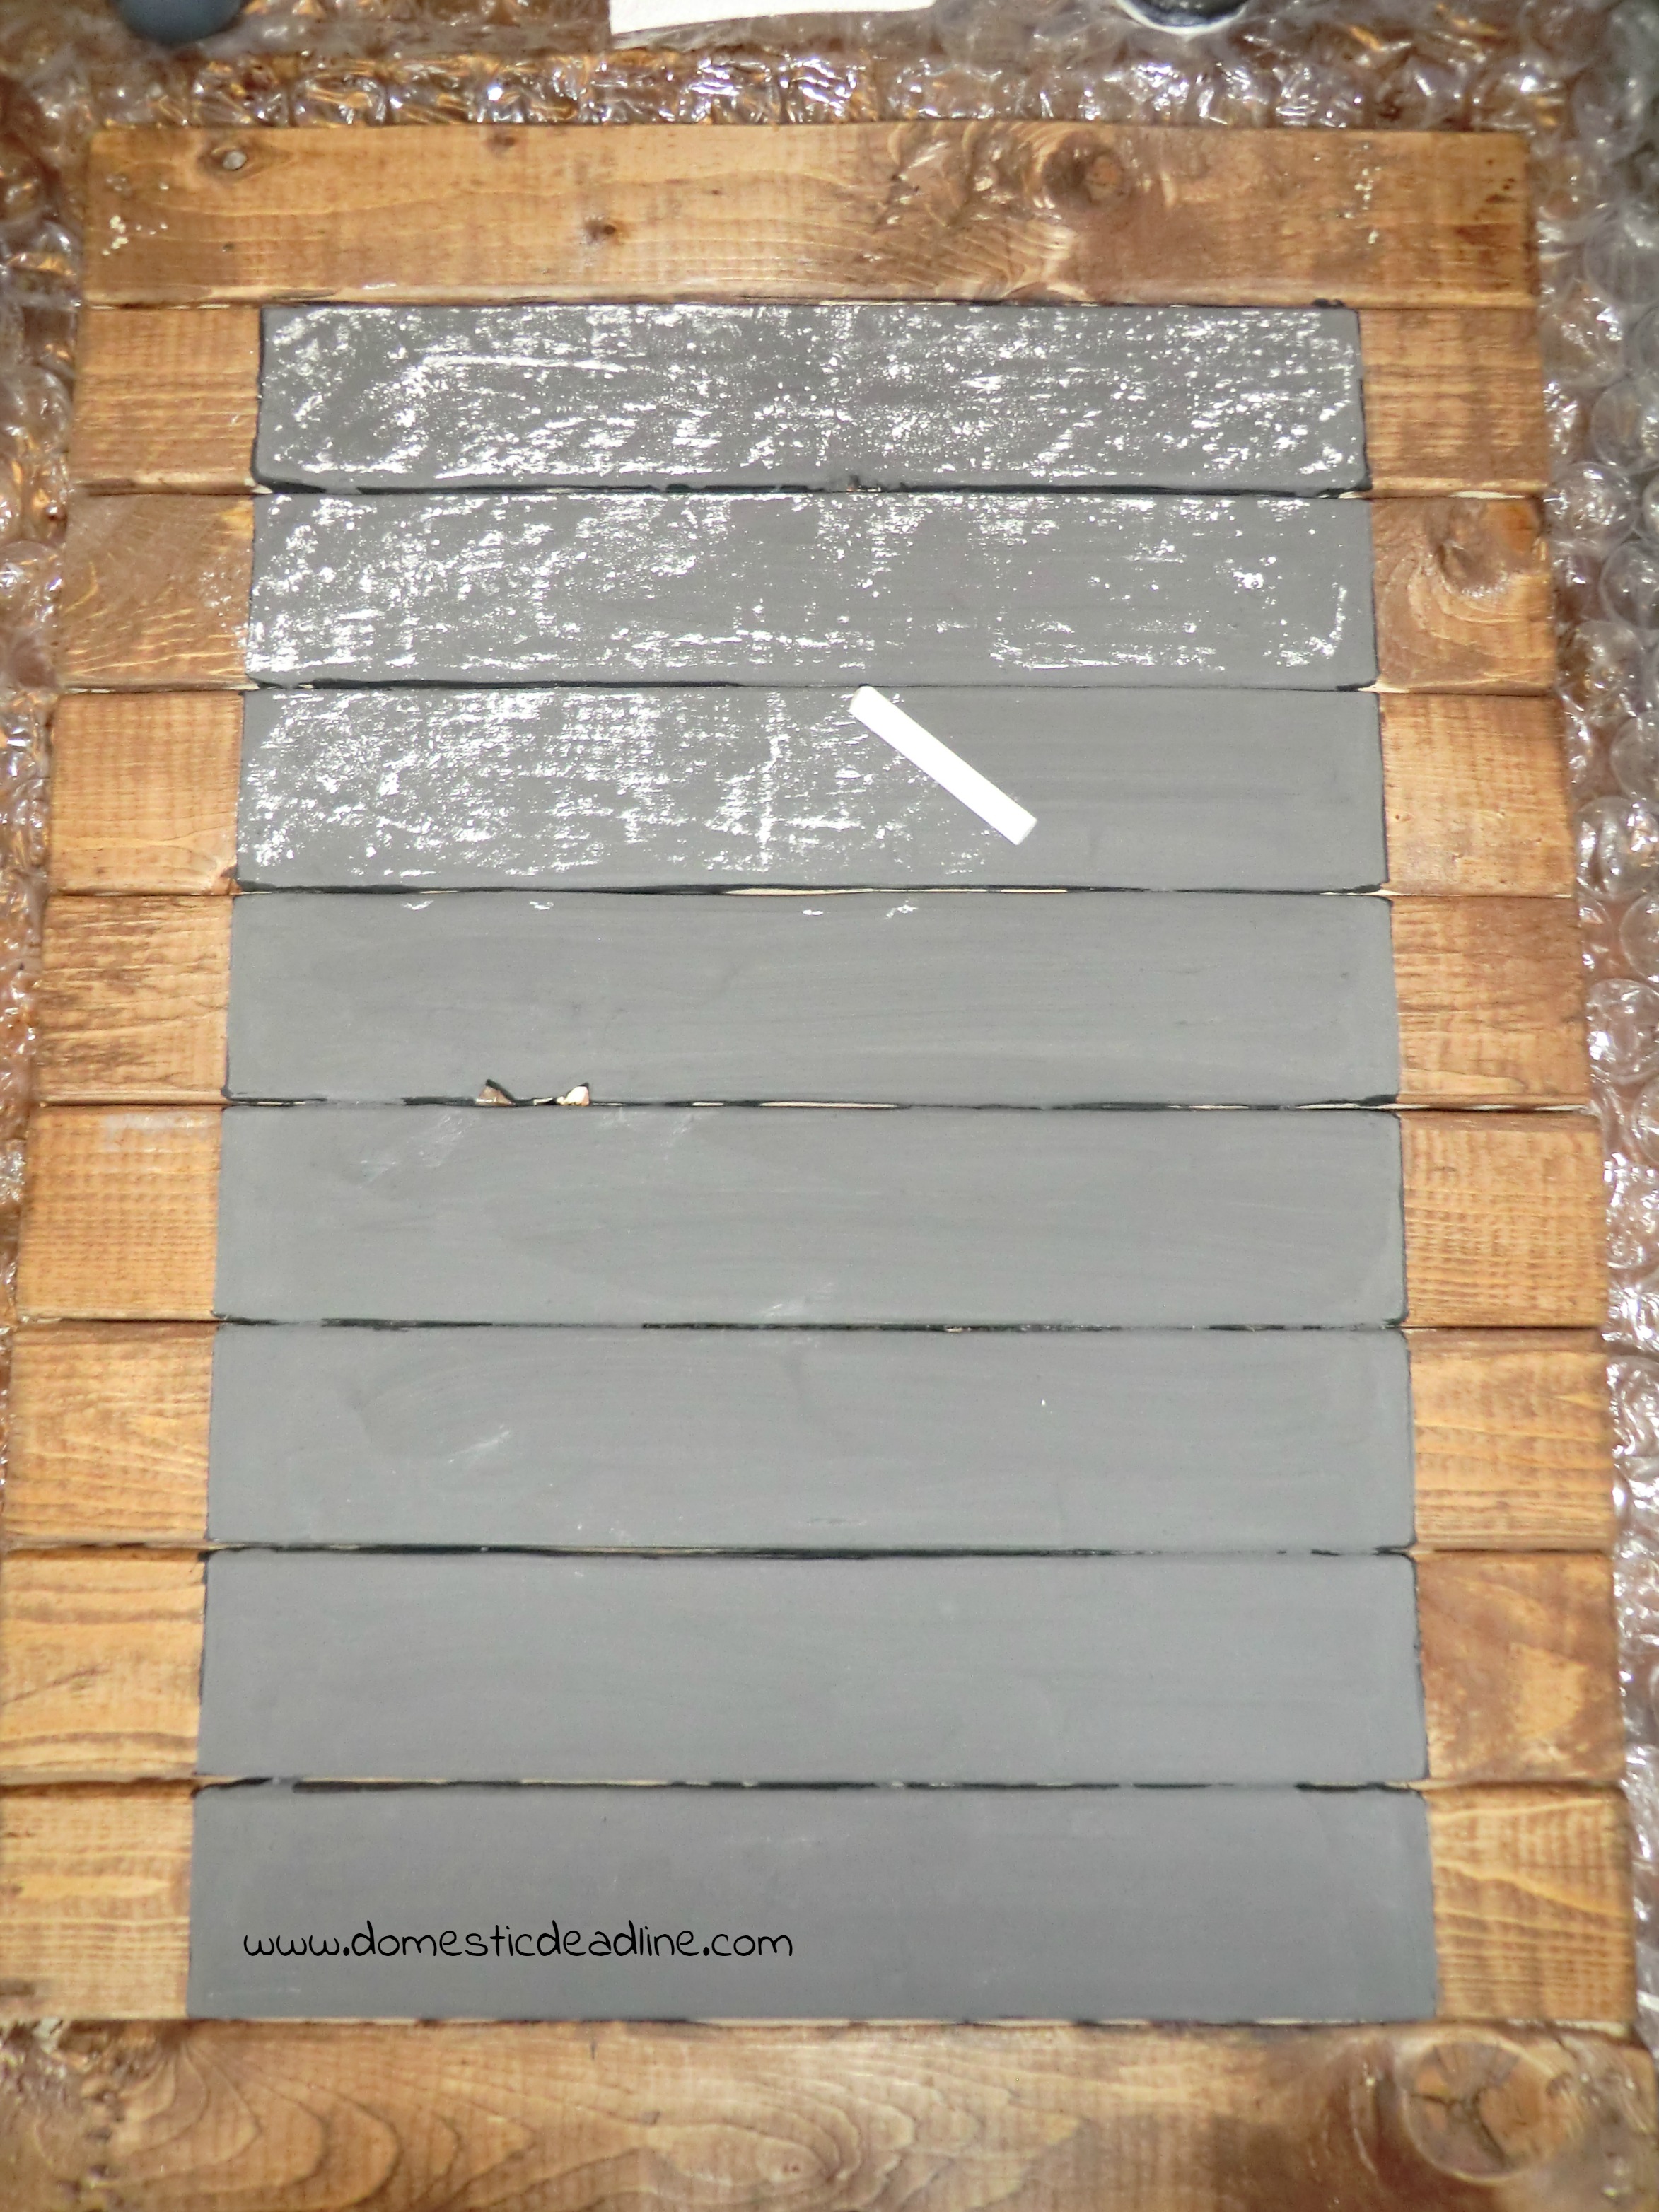
Let the stain dry. Next, I taped off the center to become the chalkboard. I started with a few coats of black acrylic craft paint.
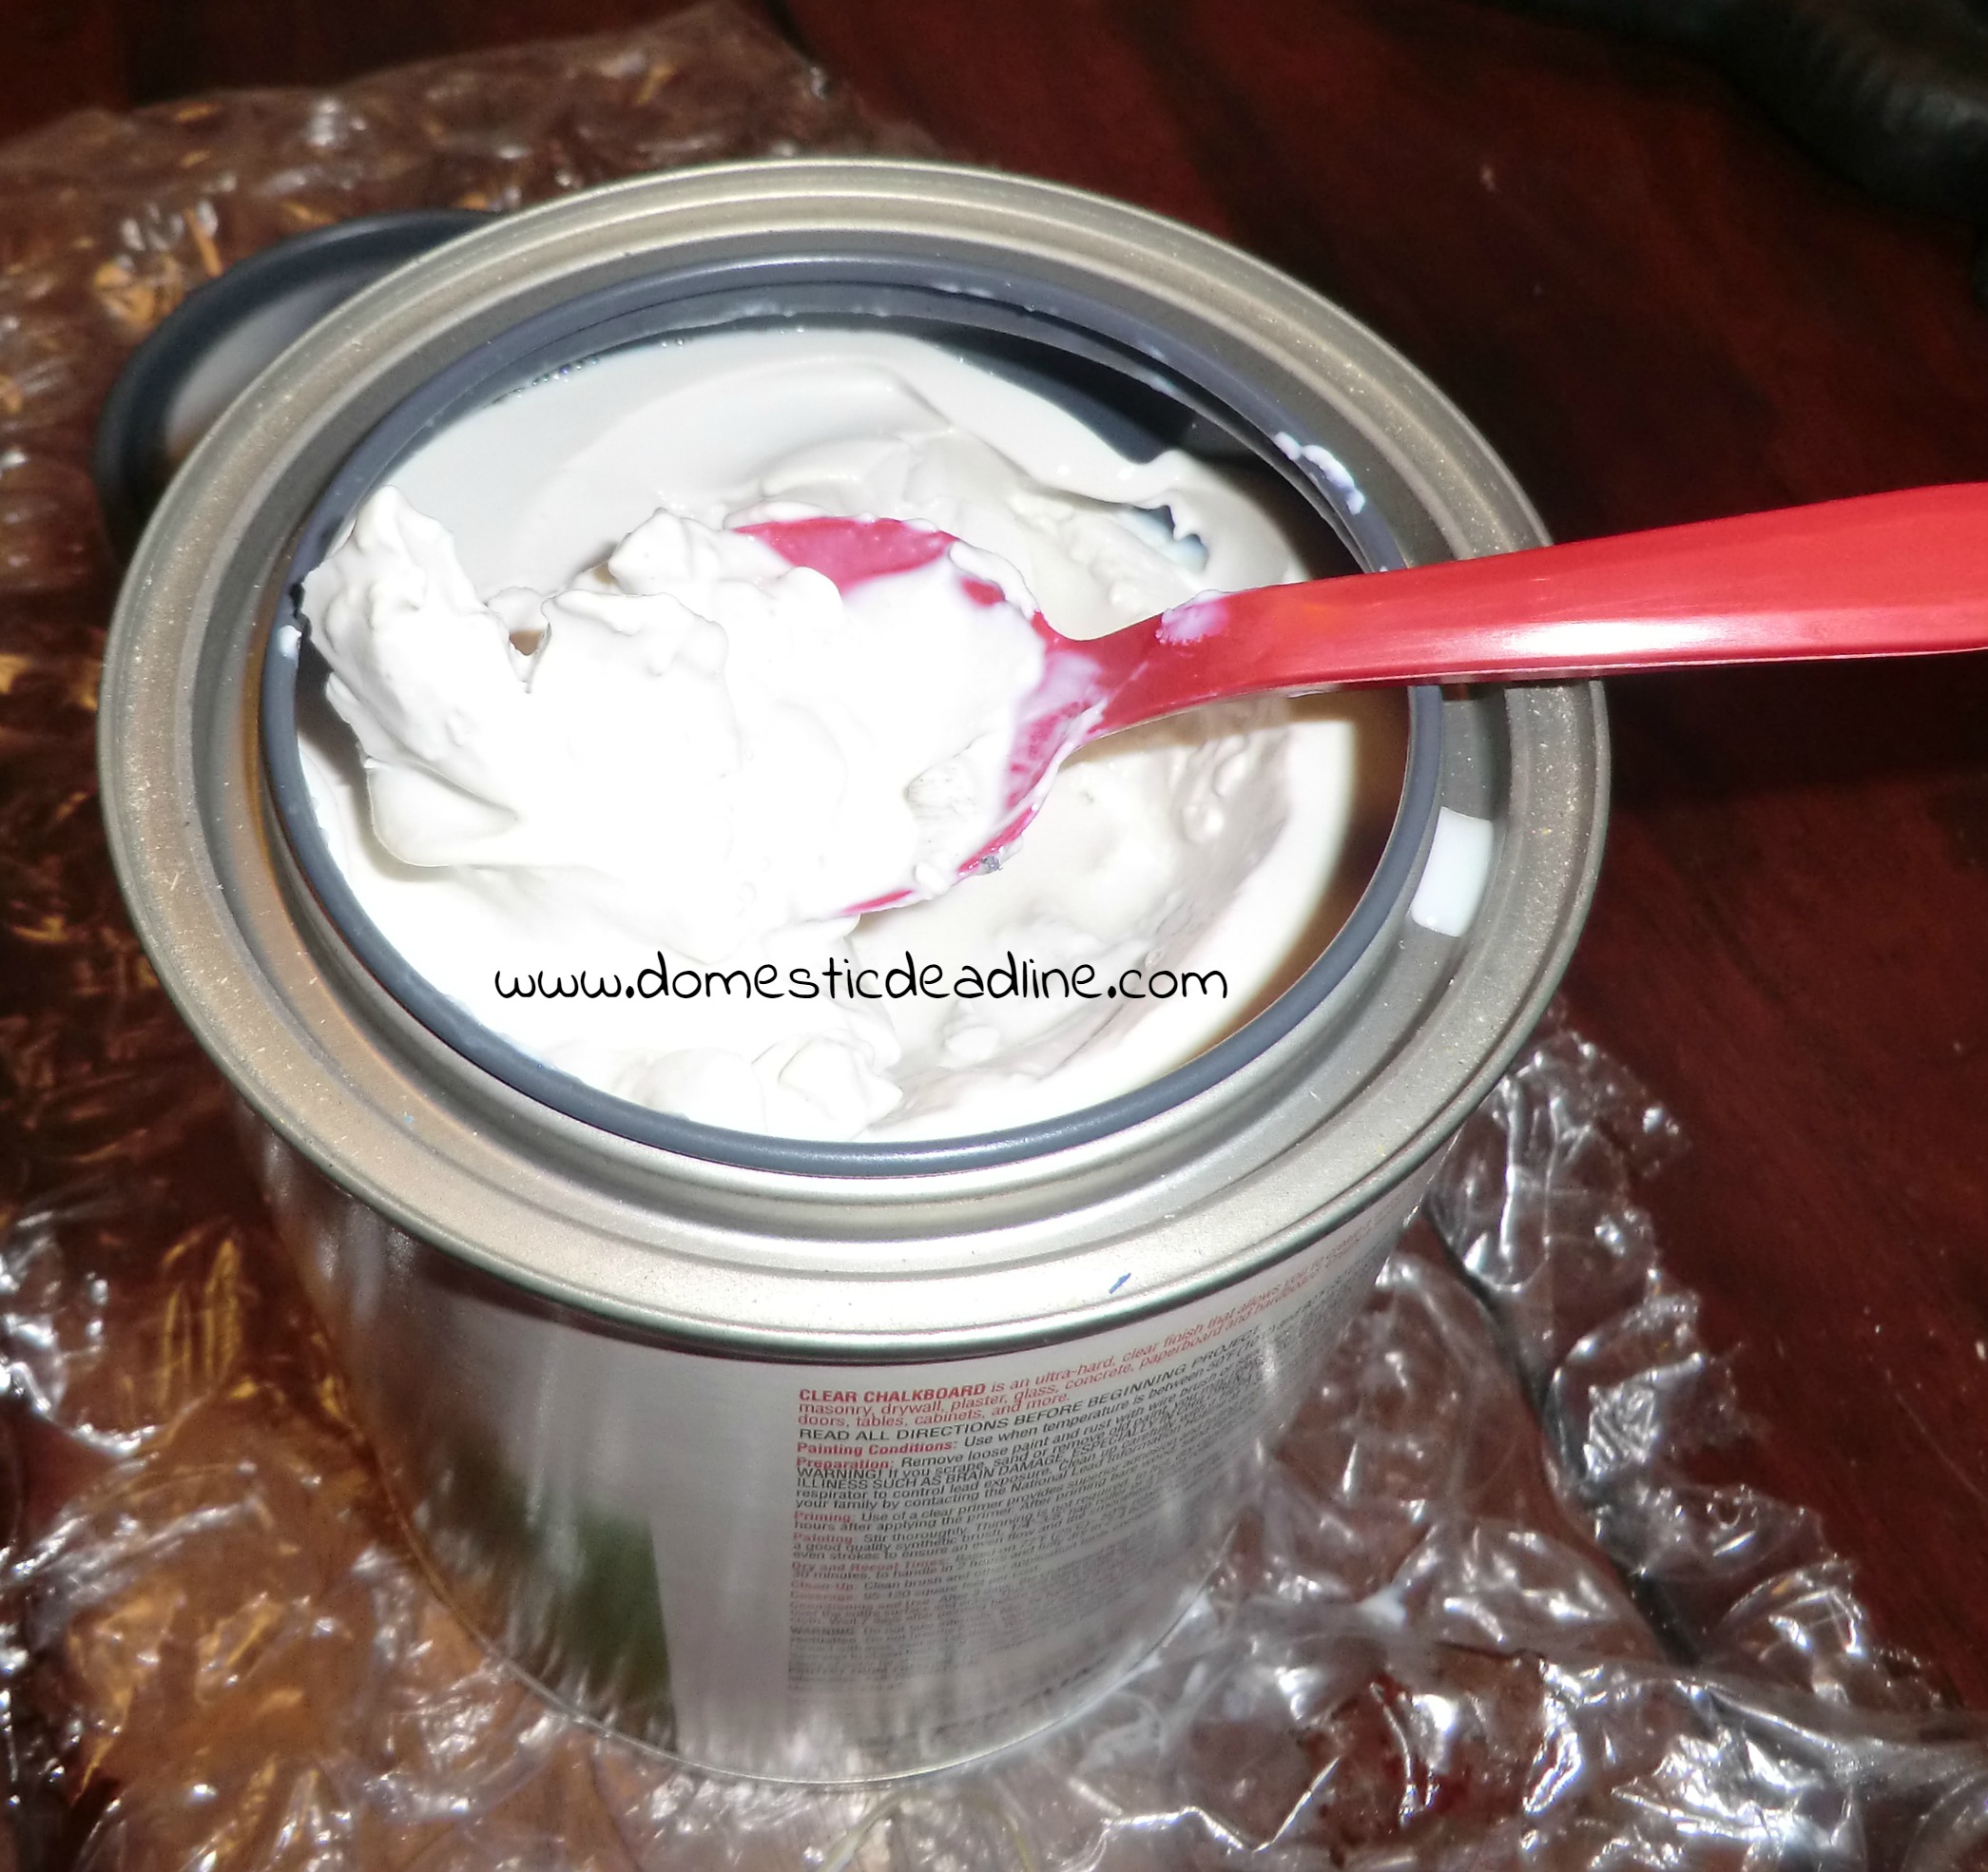
My next step was to apply Rustoleum Clear Chalkboard paint overtop. However, upon opening the brand new can, it was obvious something was wrong and I was going to have to figure out plan B!

DIY Chalkboard Paint
I’ve made my own chalk paint before for finishing furniture. It couldn’t be all that different to make chalkboard paint, right?
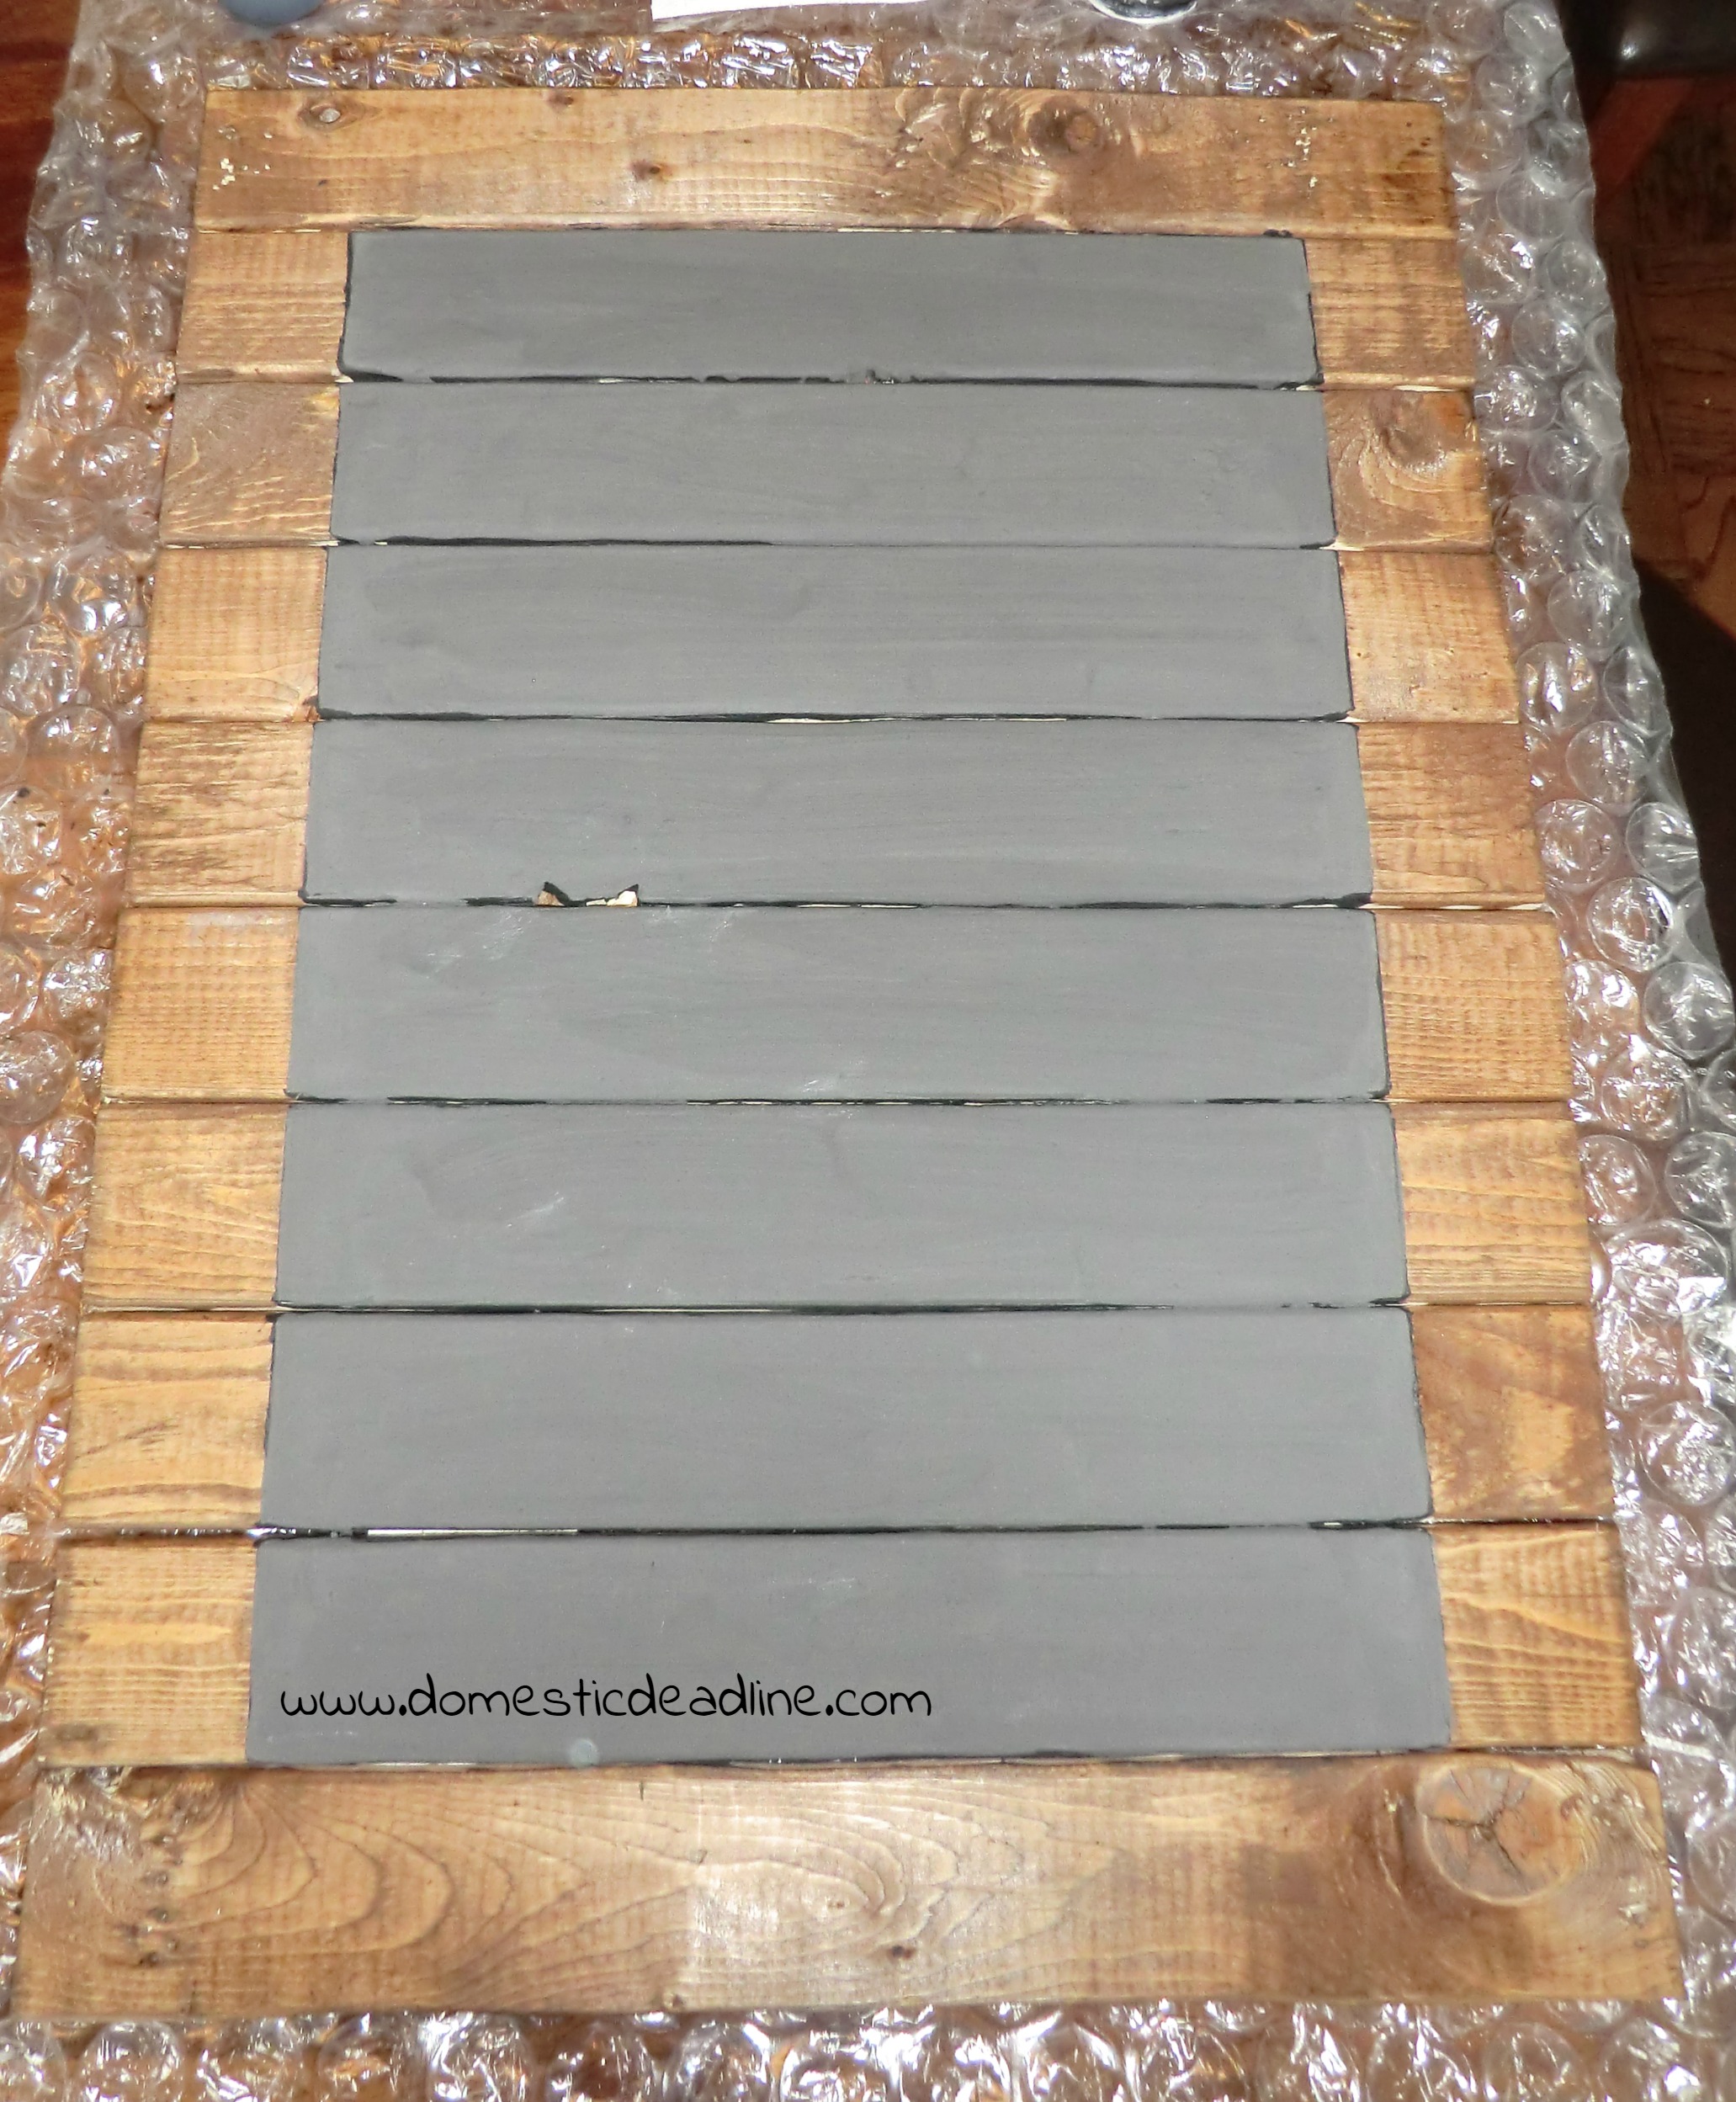
Easy as one-two-three! A quick Pinterest search landed me at Homemade Hoopla’s recipe for DIY Chalkboard Paint. I simply mixed 1 tablespoon of water with 2 tablespoons Plaster of Paris. Once blended well, I added in approximately 3 tablespoons of my black acrylic paint.
The great thing about this recipe is it can be done in any color! But, this time around, I really wanted a black (or as it turned out, dark gray) chalkboard. I applied 2 coats of this paint. Had this been my original plan, I’m sure I could have skipped the initial layers of black paint.
Ready to Hang
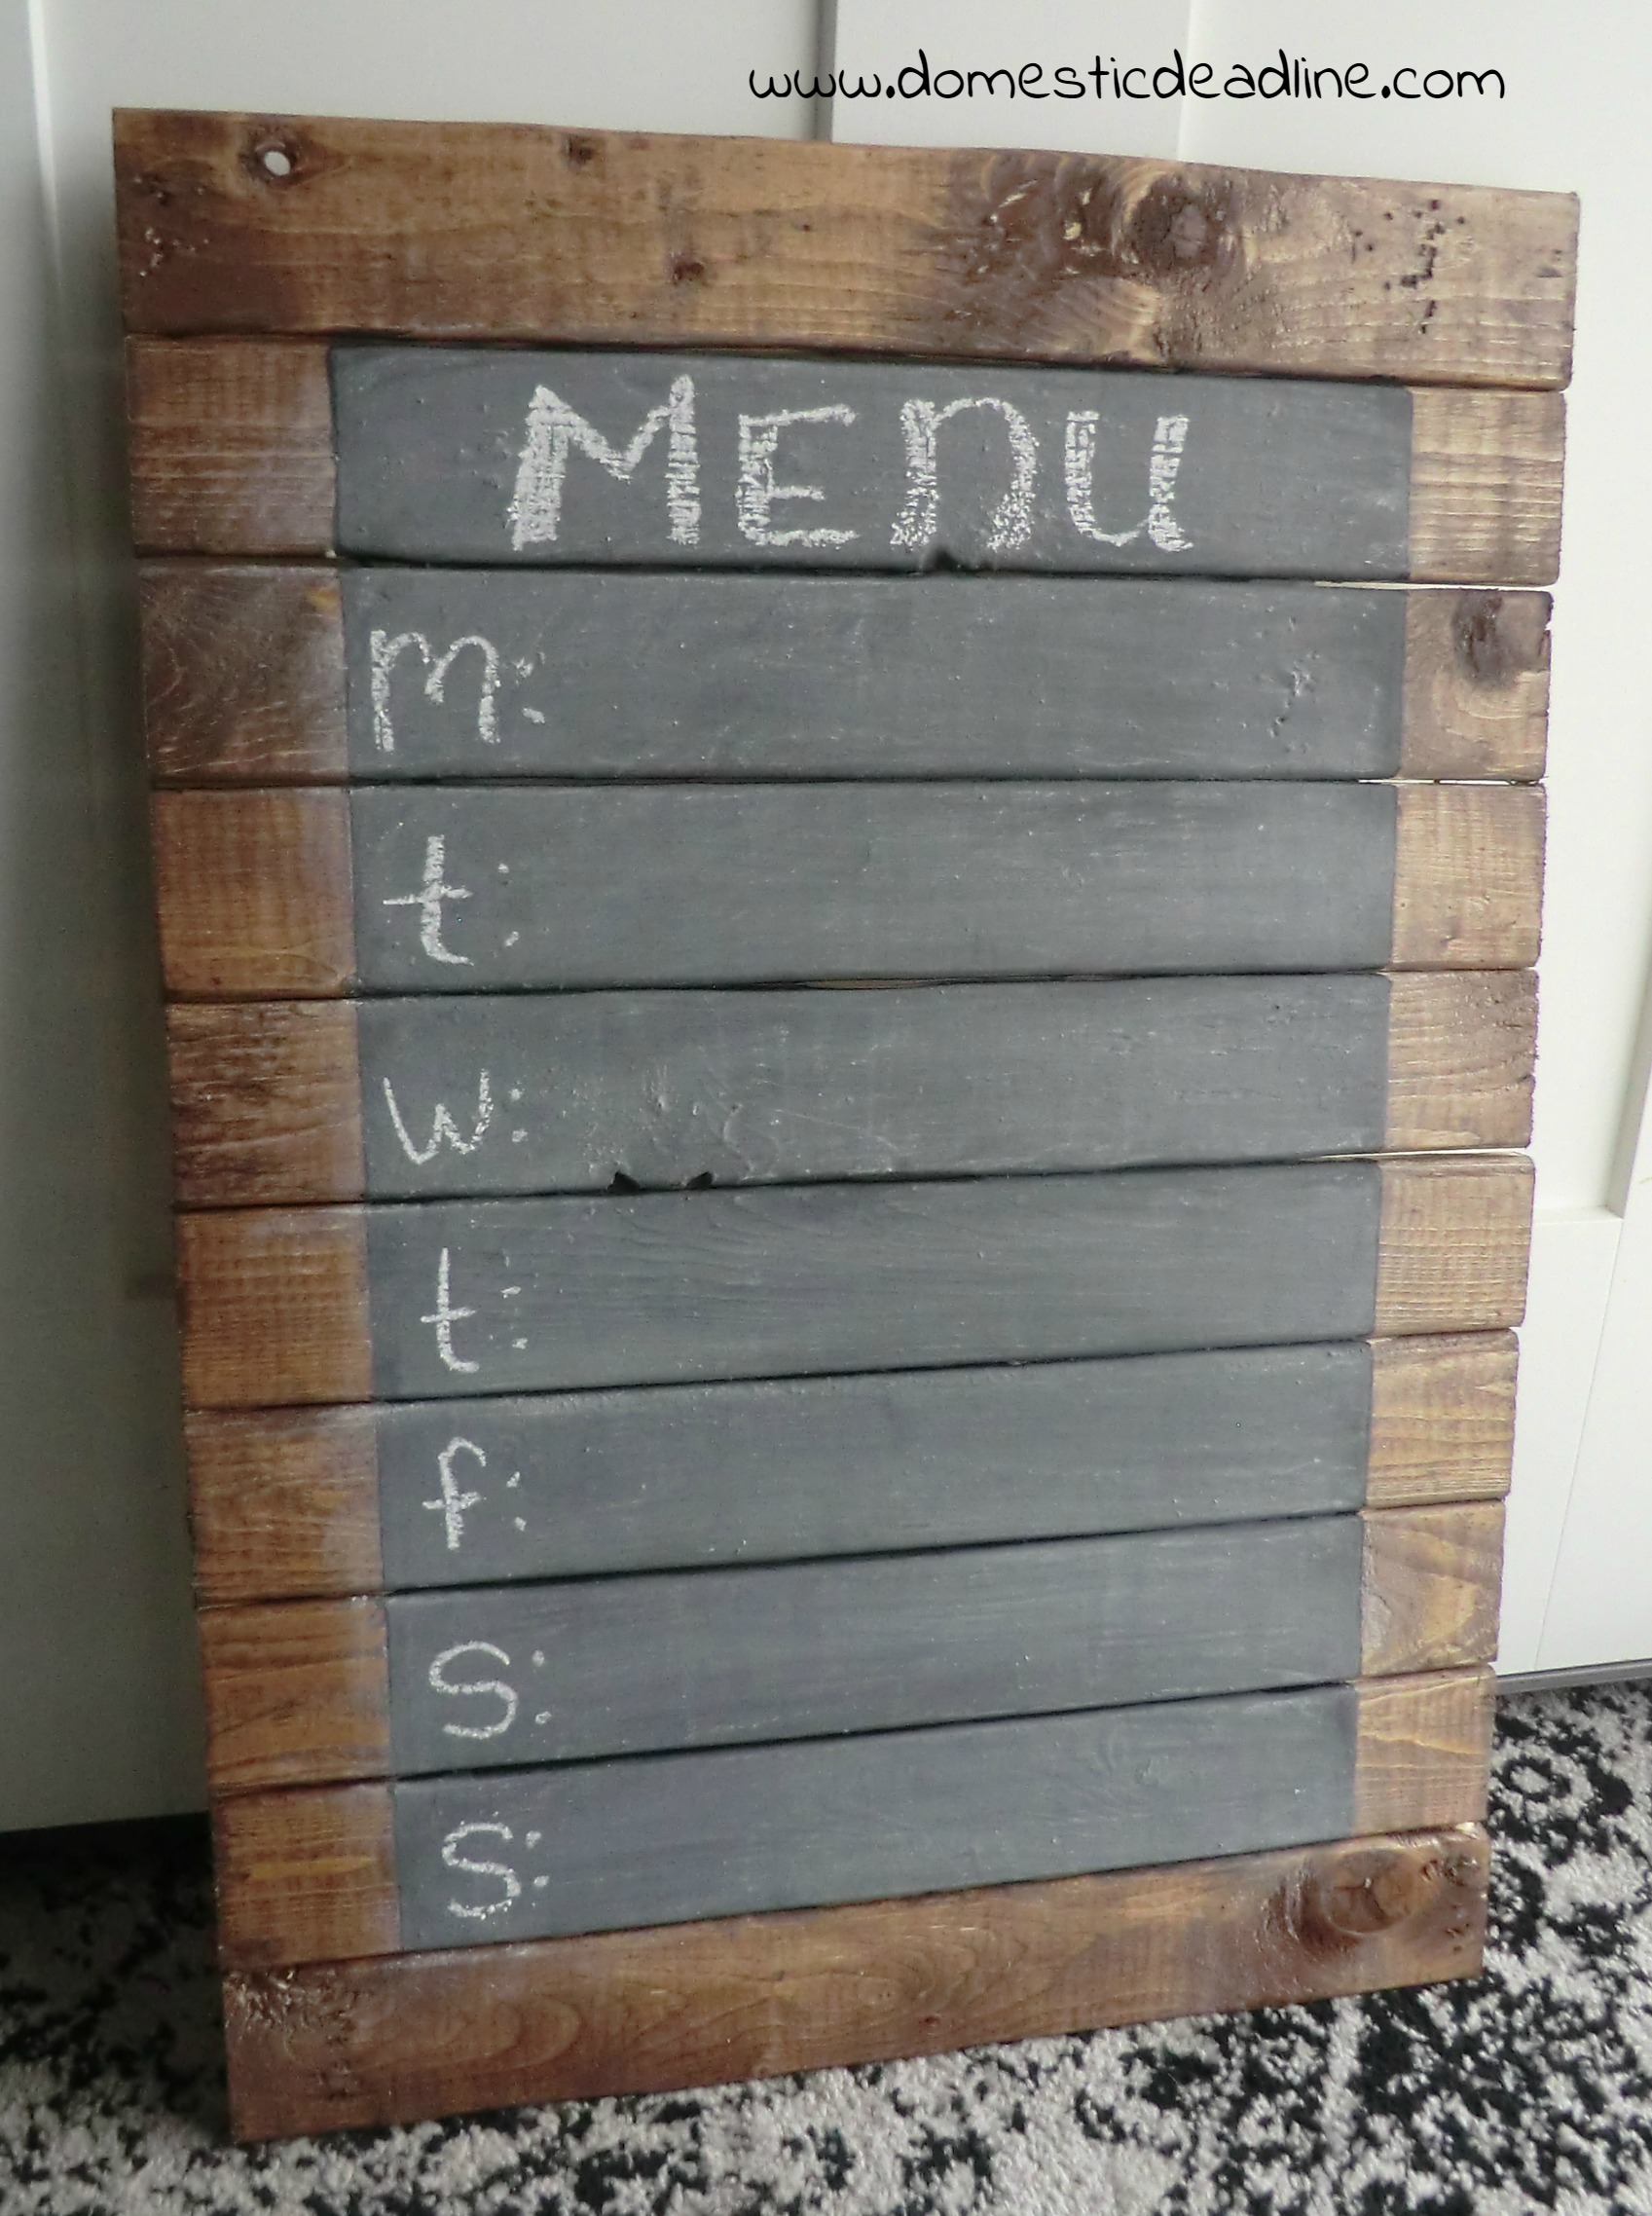
Once everything was dry, I flipped over the chalkboard to attach a picture wire for hanging. Using simple eye hooks in pre-drilled holes, I wrapped the picture wire through each hook and twisted it around itself.

Before using a chalkboard, it’s important to condition it. Simply rub chalk on the side all over the painted area. Then erase and it’s ready to go.
Start Planning
I have a few chalk pens, I might eventually use them, or even white paint, to more permanently mark “Menu” and the days of the week on the board. However, I’ve been experimenting with different hand lettering techniques, so I decided this was just one more way to enjoy writing.
Once hung on my kitchen wall, it was time to figure out what we were going to be eating for the week! I don’t think O-Man even noticed my old menu board, especially not in the new house. Now he can easily check what we are having for dinner.
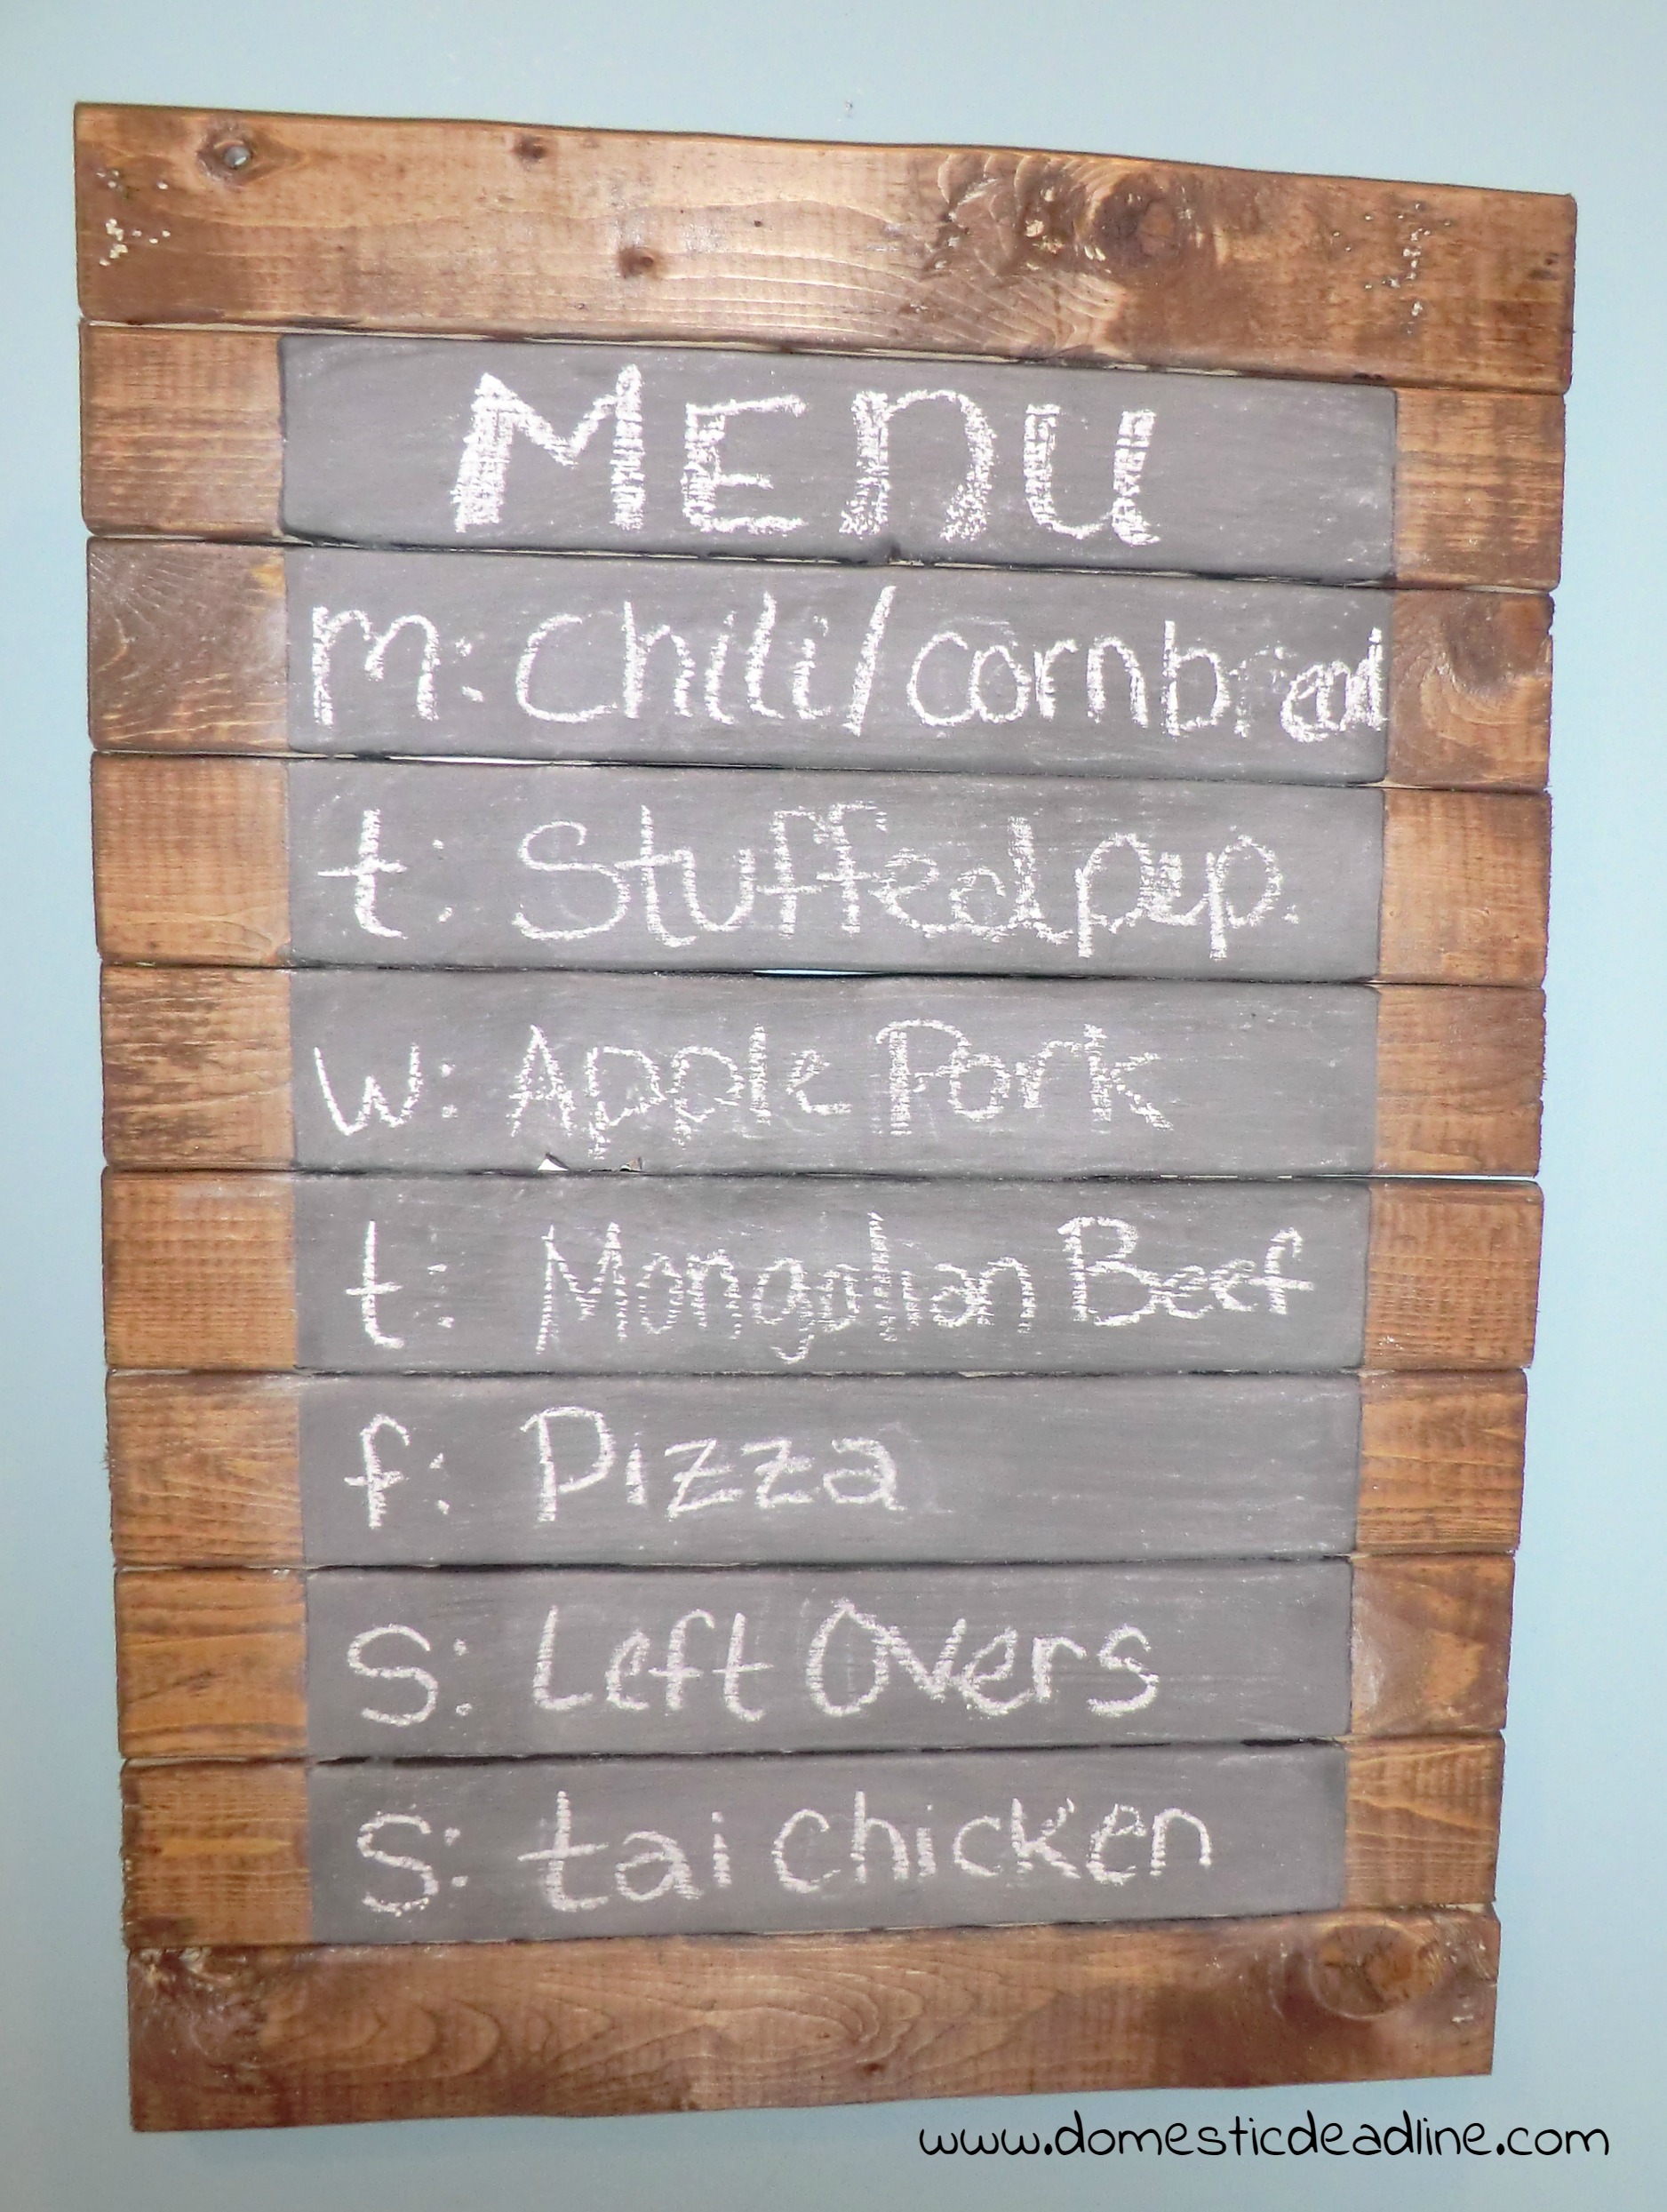
Or, tell me when I spelled something wrong! Oops, I forgot the “h” in Thai! Now you all know the reason we aren’t having spaghetti this week (I can only spell it with spellcheck!).
Tips for Planning and Organizing
Not only does having my rustic chalkboard menu board help the family to know what’s for dinner every night, it makes my evenings flow much better. Recently I have found two resources which have helped me in so many ways. I want to share them with you.
First, aside from the pizza on my menu board, I prepped all of these meals (two of each, actually) in about an hour! I’ve been using the MyFreezEazy app and my family is loving the meals (and I’m loving the ease of it!). Plus, Erin and her team have just added Instant Pot recipes and an e-course, I’m loving my instant pot and can’t wait to try some of these in my next freezer round.

Second, a whole bunch of resources all bundled together: The Conquer Your Clutter Super Bundle from the Ultimate Bundles team.
It’s a curated collection of 38 eBooks, eCourses, and printable planners to help you organize your life, created by people who’ve learned how to conquer all the different types of clutter (physical, mental, digital) in their life – and win! A combined value of over $650, but you get EVERYTHING for 95% off!
Check it out here (it expires on Monday, January 30th at 11:59 PM EST!)
More Reclaimed Wood Projects
Remember how I said this was a challenge with other bloggers? Well, now it’s time to hop over to some of those other’s and check them out!
Molly from Just A Little Creativity
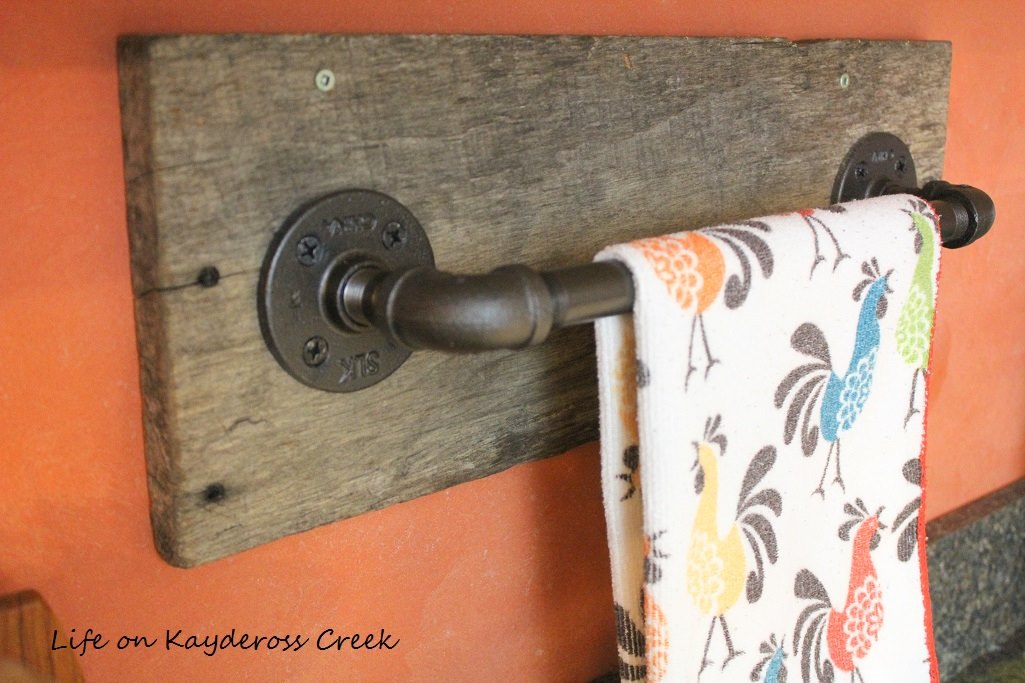
Colleen from Life on Kaydeross Creek
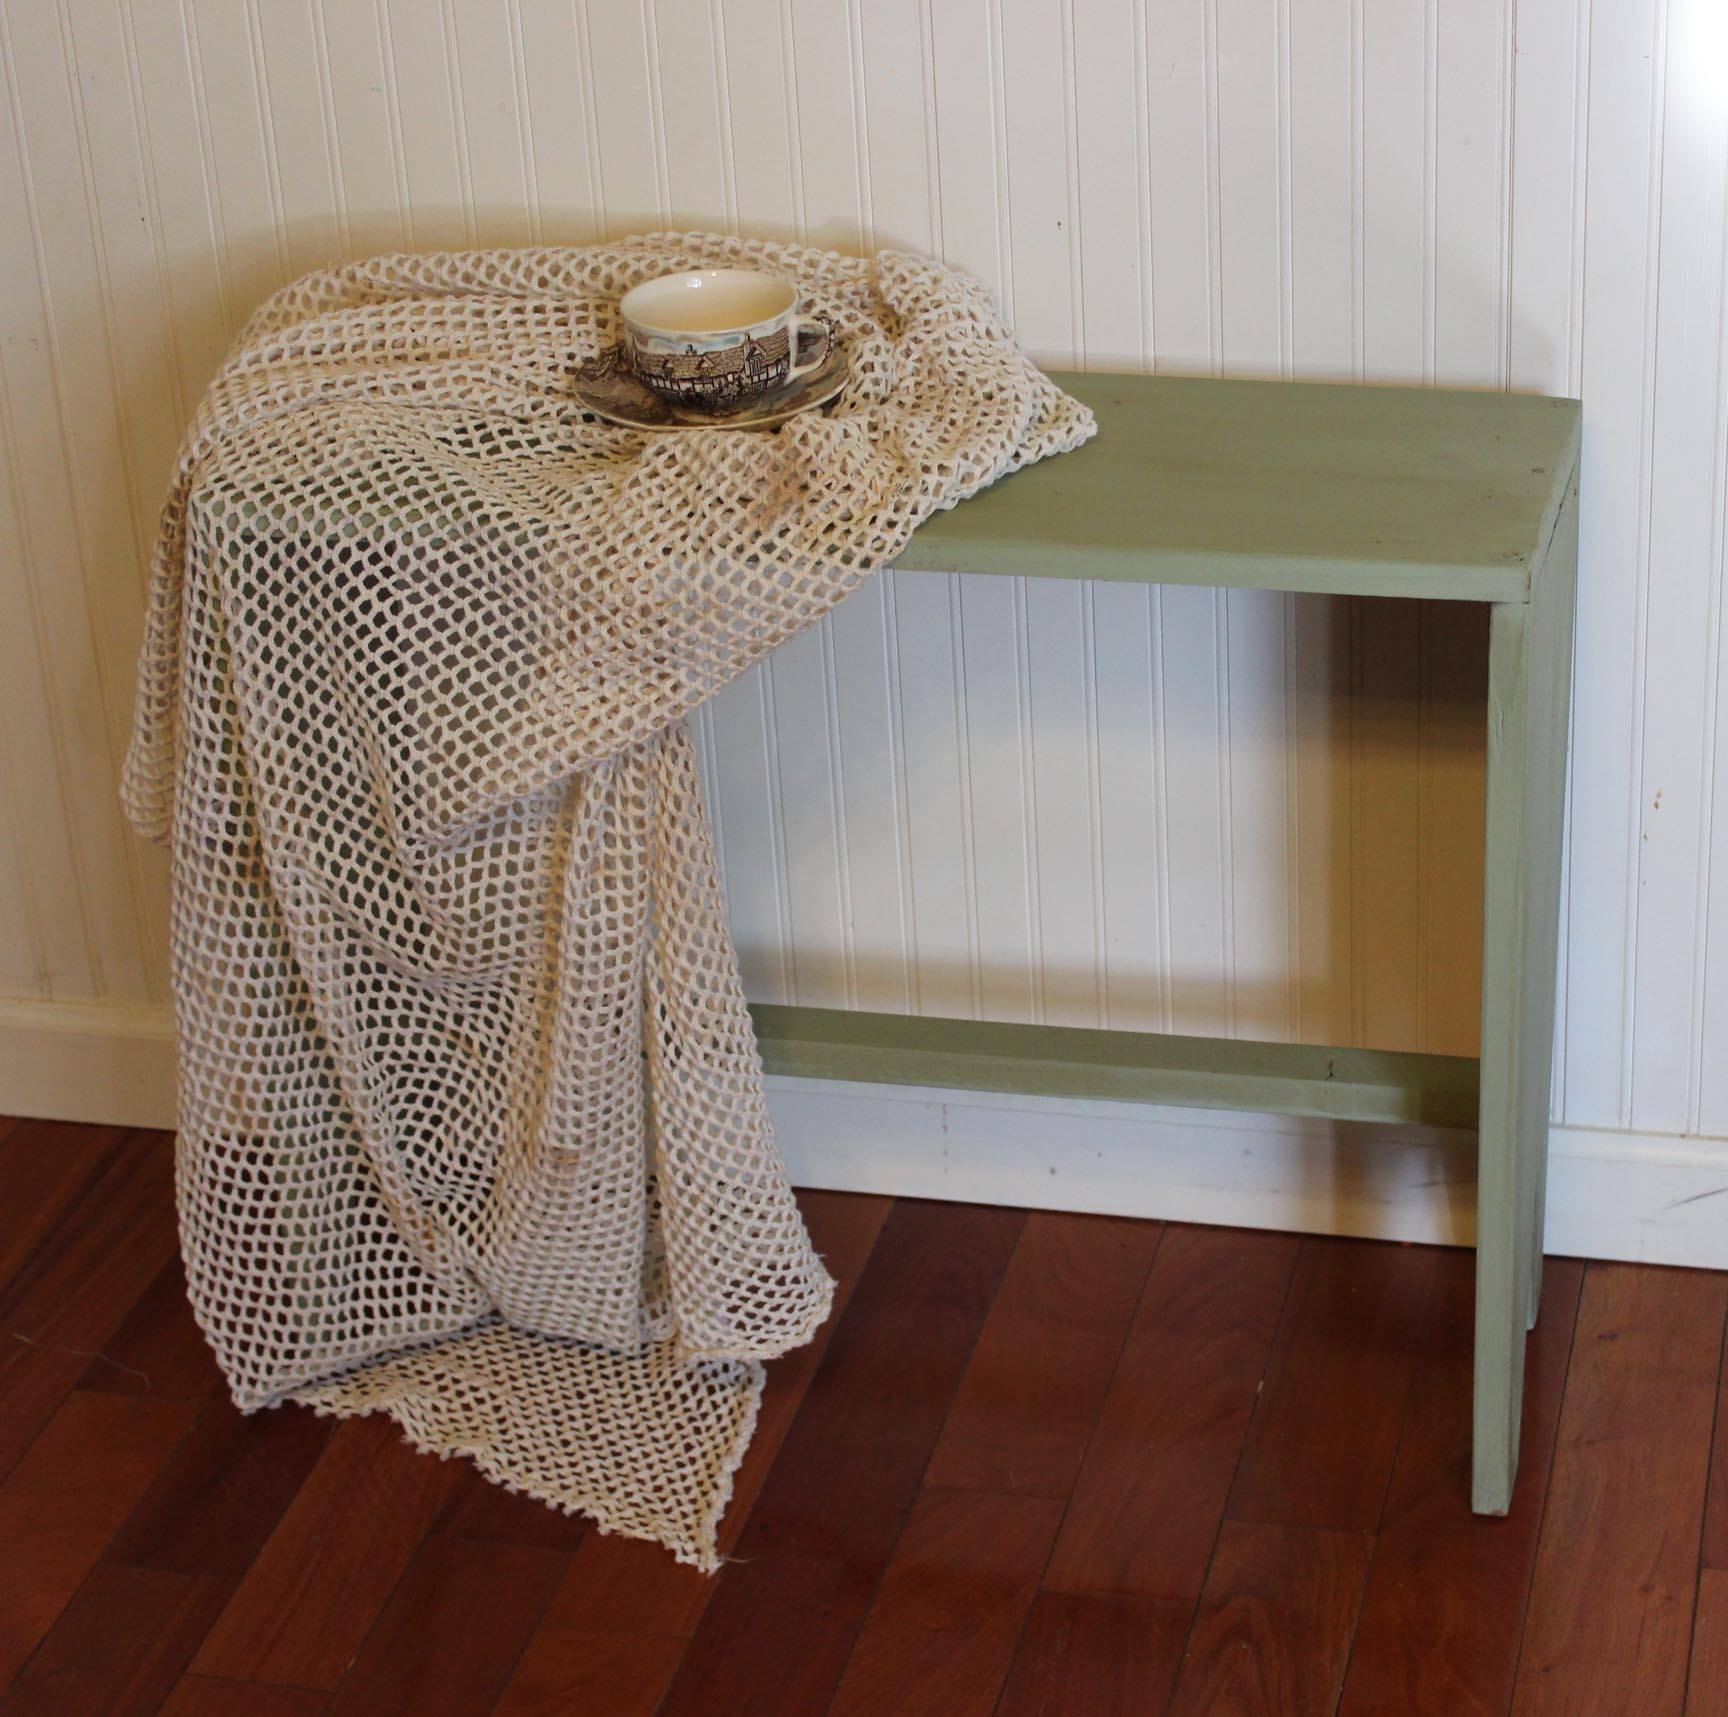
Michele from Shelstring
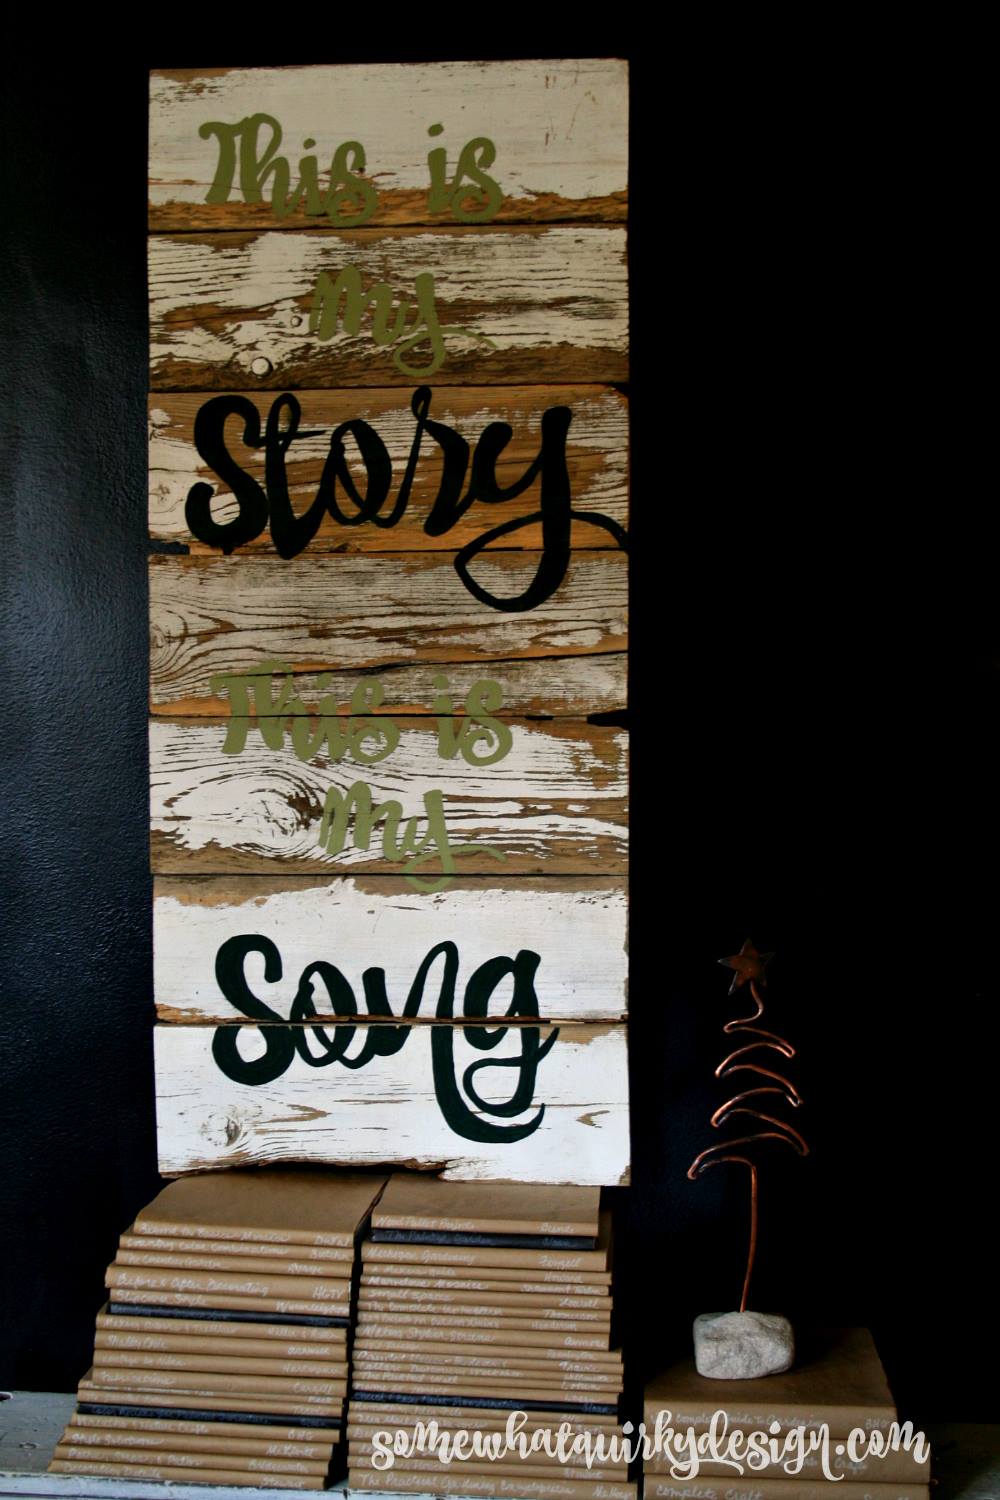
Karen from Somewhat Quirky Design
I love this. Mostly I like the idea of writing out dinner plans for the week. I’ve gotten really lax about planning the food in our house and we eat pretty desperately around here! I think you accidentally picked up one o the chalkboard paints that has to have pigment added. They have that option at most of the Home Depots I shop in.
We were lax for a little while, but getting back on track now. Nope, this was supposed to be clear and be able to paint over top of any color. Thankfully the store took it back. I believe it had been frozen at some point (but it was never kept in a place that it could have frozen since purchase, so I think something happened to it before)
EMily! I love this post. Great project. I love my menu board, it does make things so much easier for shopping and keeping me from stressing about what to have for dinner each day.
Love the stain you used, Walnut is one of my very favorites! 😉
Thanks so much! We are enjoying it
Hi Emily! What a great tutorial! I love this project!
Your cool DIY projects are making me want to go out and buy a nail gun and saw so I can do them. I love your rustic chalkboard menu board. Thanks for sharing your DIY project at the #HomeMattersParty this week.
I have a few nail guns, they are definitely handy and a lot of fun!
Great use of the reclaimed wood…love how it turned out!
Thank you! We all really love it here
Wow! I really love how you stained the edges like a frame! Took a lot of steps out but it looks super authentic ! Thanks for sharing it #homemattersparty
Jeannee
Thanks, it didn’t take as long to make as it sounds, especially if the chalkboard paint works the first time, lol!
This is a very cute project. Good job!
This is so adorable. I would absolutely make it if I was not entering the empty nest stage of my life but I know what is for dinner 🙂
I love everything about this! So cute!
This is fantastic. Great idea to use a slat for each day of the week. It will also provide a guideline for writing the menu items. Very well done
I love your rustic chalkboard! Thanks for sharing at Sew It Cook It Craft It. YOu’re one of my features tomorrow!
Lov the chalkboard and love the tutorial Emily
Great planning tool! And now you need to share your recipes!
This is such a great idea! I love DIY projects and this one looks very doable. I saw your blog on the linkup http://afiremanswife.com/2019/01/11/friday-at-the-fire-station-link-up-party-98/ and I’m glad I did! The blog I write for is confessionsofparenting.com and we are currently working on a meal planner, so this ties in perfectly!
I love the menu board, but if I hang this I would need to plan meals ahead! Great idea to keep my on track with planning. I am going to make one too. I hope mine looks as nice as yours. Happy Crafting, Kippi #kippiathome
Well, I have to admit… it’s currently empty! But, I recently did a bunch of freezer meals, so I’m trying to get back to planning
This is such a cute idea and I love that you can make your own paint. Thanks for sharing at the Bloggers Pit Stop, hope to see you next week.