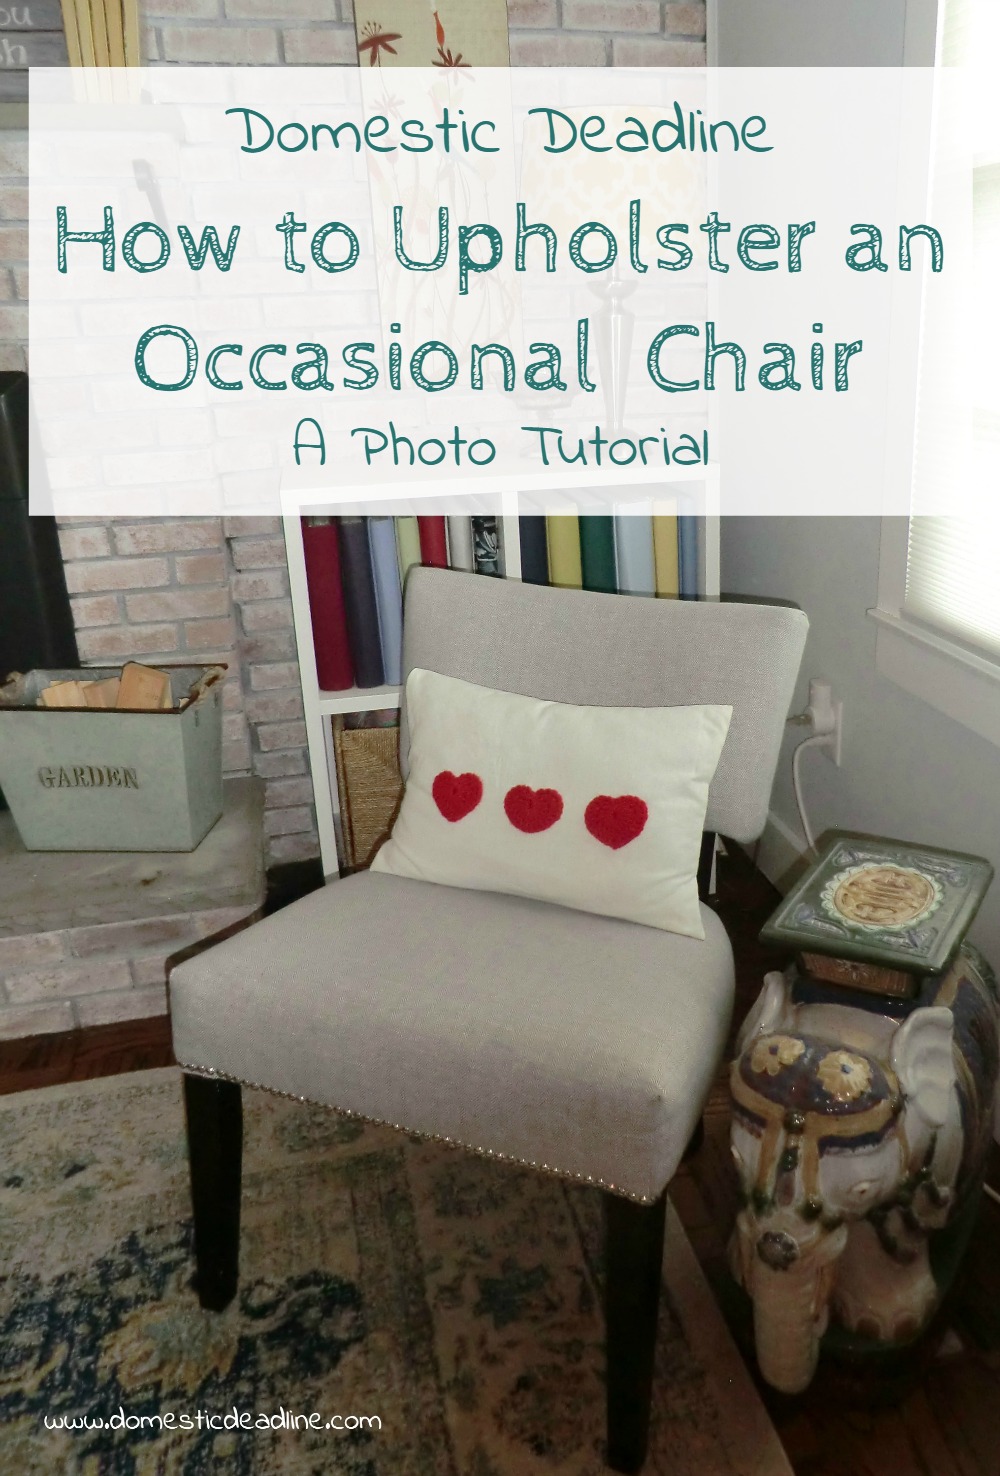
This chair was a perfect match when I bought it. For our old house. The couch and rug it looked so nice with, are now in the basement. But this little chair is a good size and a nice extra seat when we have a house full of company. After a year of looking at it, I finally decided to get down to work and reupholster it myself. Once I started putting this post together I realized I needed to break this into a few parts. I took a lot of pictures to try to show you step by step how I reupholstered this occasional chair.
This post may contain affiliate links. Which means, if you click the link and buy something, I may receive a percentage of sales at no additional cost to you. Thank you for supporting Domestic Deadline.
How to Upholster an Occasional Chair – A DIY Photo Tutorial – Part 1
I’m not a complete novice at upholstery. My mother often had me help her when she redid furniture every time we moved growing up. Or up at the lake when we brought our old furniture there and got new furniture at home.
I have a memory of my mom, dad, and sister all sewing up at the cottage. My dad and sister were sewing throw pillows shut, I was helping my mom staple and sew parts of a couch back together.
We didn’t have cable at the lake.
And this was pre-internet.
Knowing my mom, she was making it up as she went along. And we simply assumed she knew what she was doing!
Which is pretty much what I did here.
Before
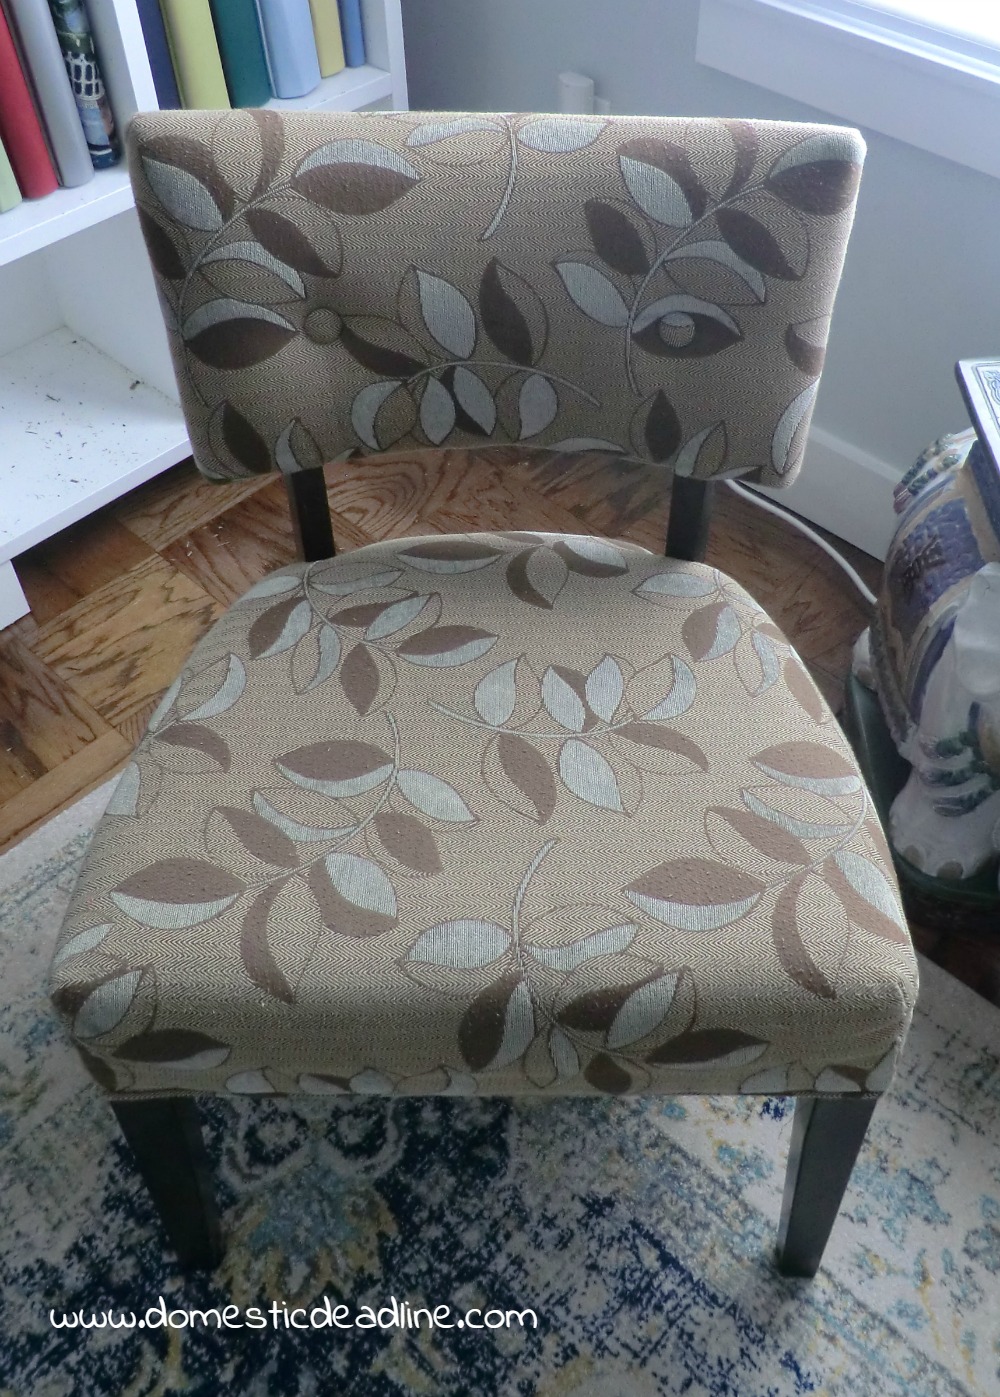
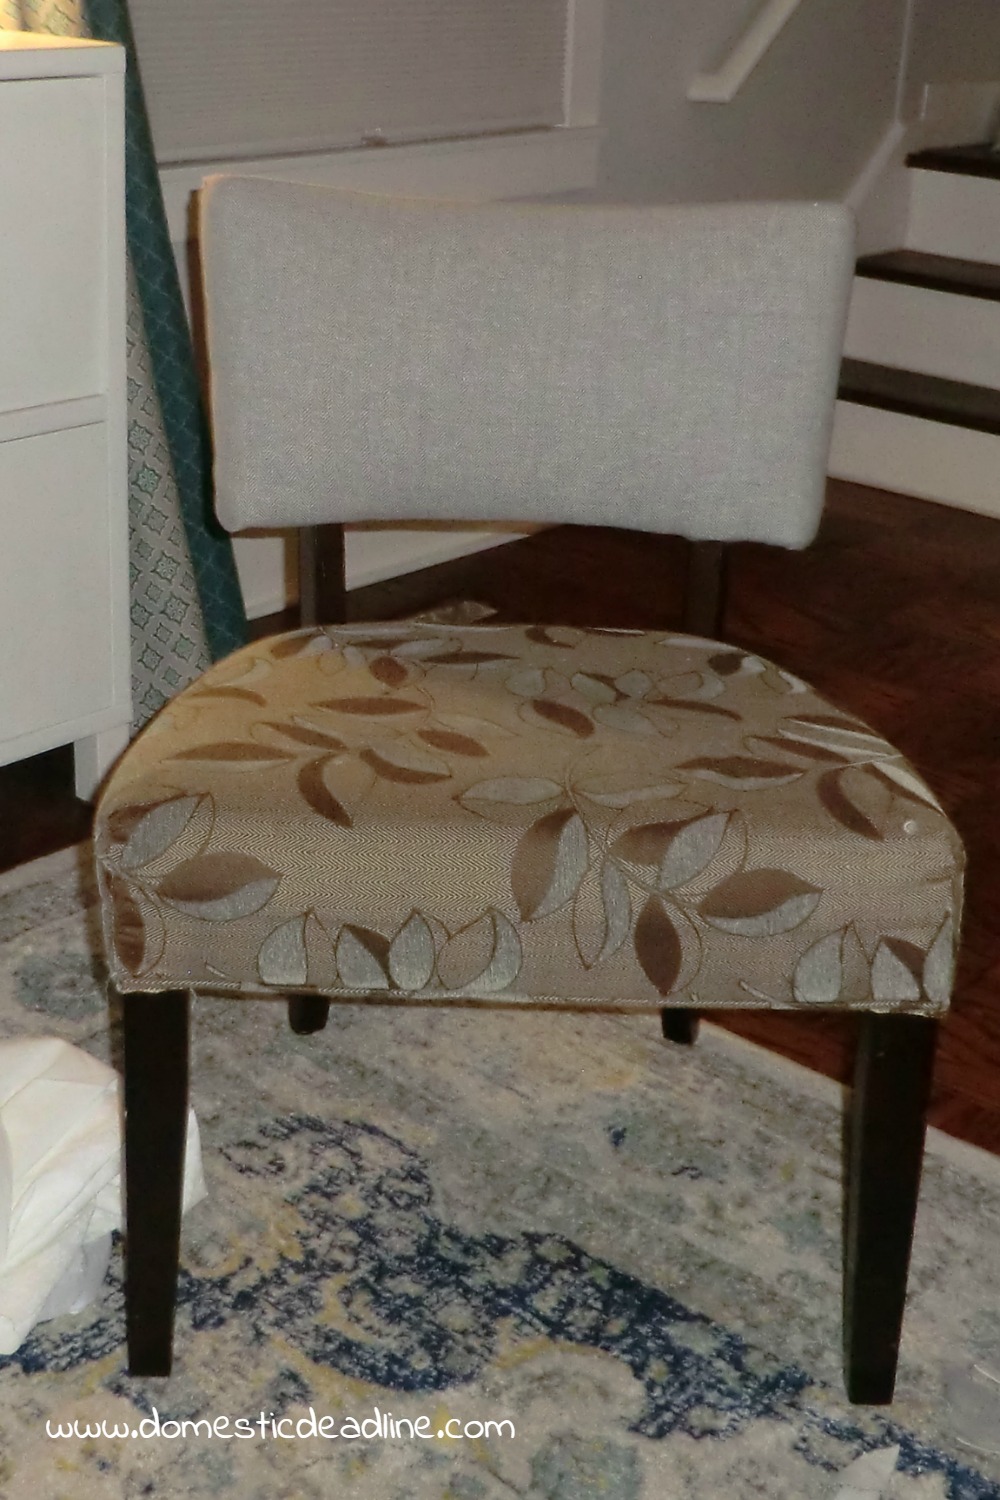
So, here is the victim chair:
Not too bad, but starting to show some wear and missing one of the tufting buttons. That fell off shortly after I brought it home. But, back when I bought it, not only was it the right colors, but the $89 price tag made it perfect.
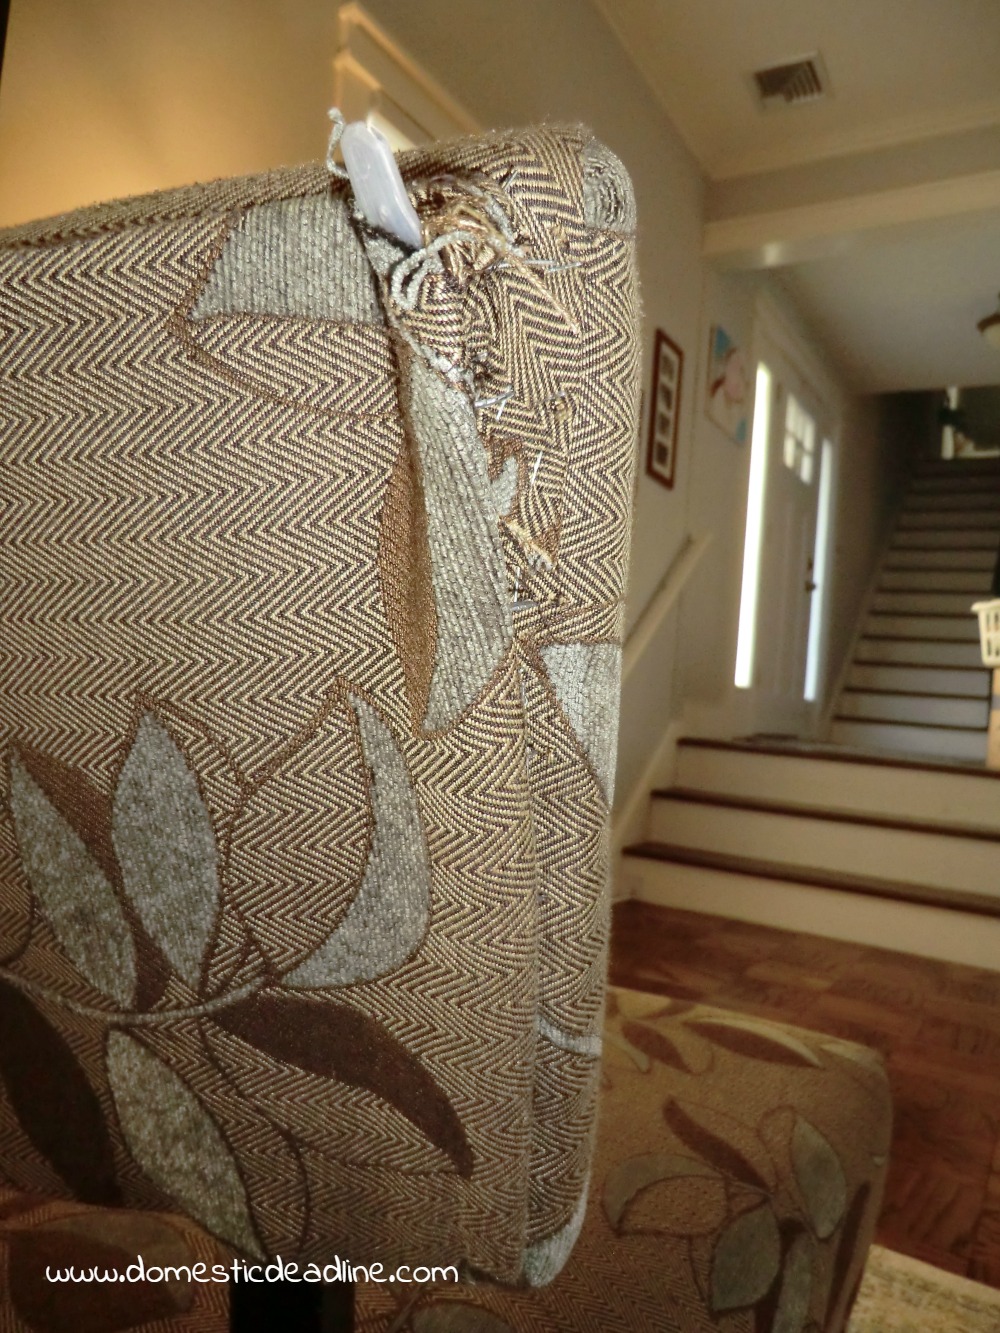
I’ll spare you the close-up pictures of parts of the upholstery coming apart.
For part one of this tutorial, I’m going to focus on the top portion of the chair. You will be able to see from my pictures that this wasn’t exactly the way I progressed, but it makes the most sense for instructions.
Tools and Taking Apart the Chair
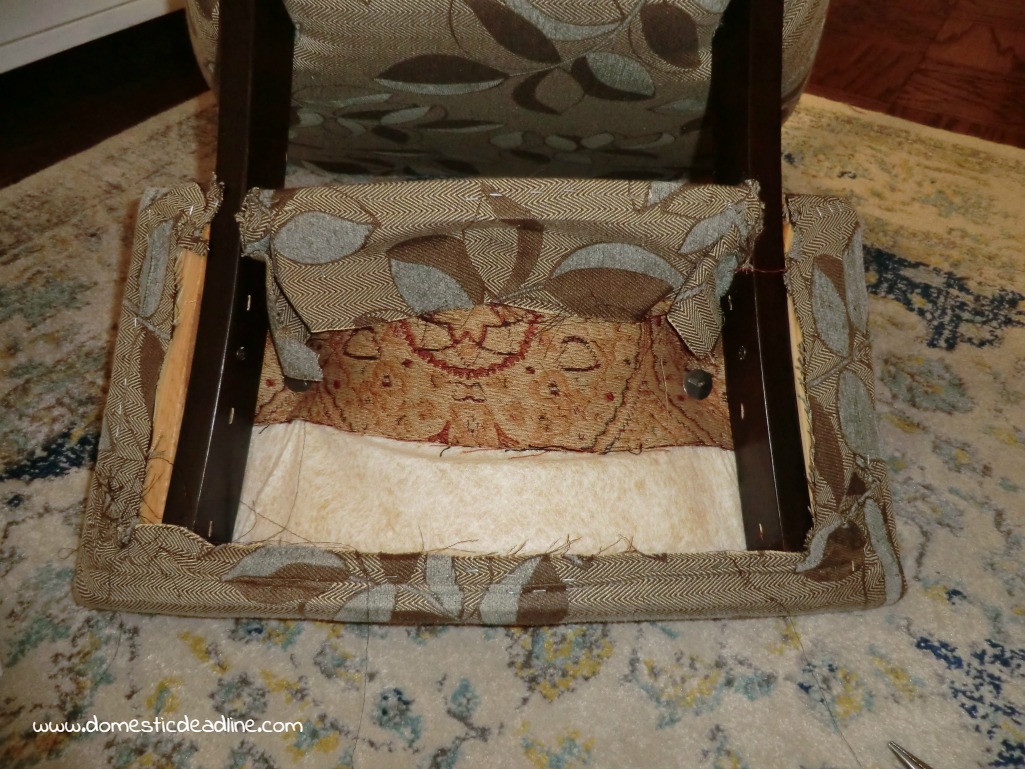
First thing I did was to determine the best way to remove the old fabric. This isn’t completely necessary and you will see I ended up not taking the whole chair apart. But, it was helpful to have some of it disassembled. I was able to reuse some parts and the fabric I removed acted as a pattern for the new fabric.
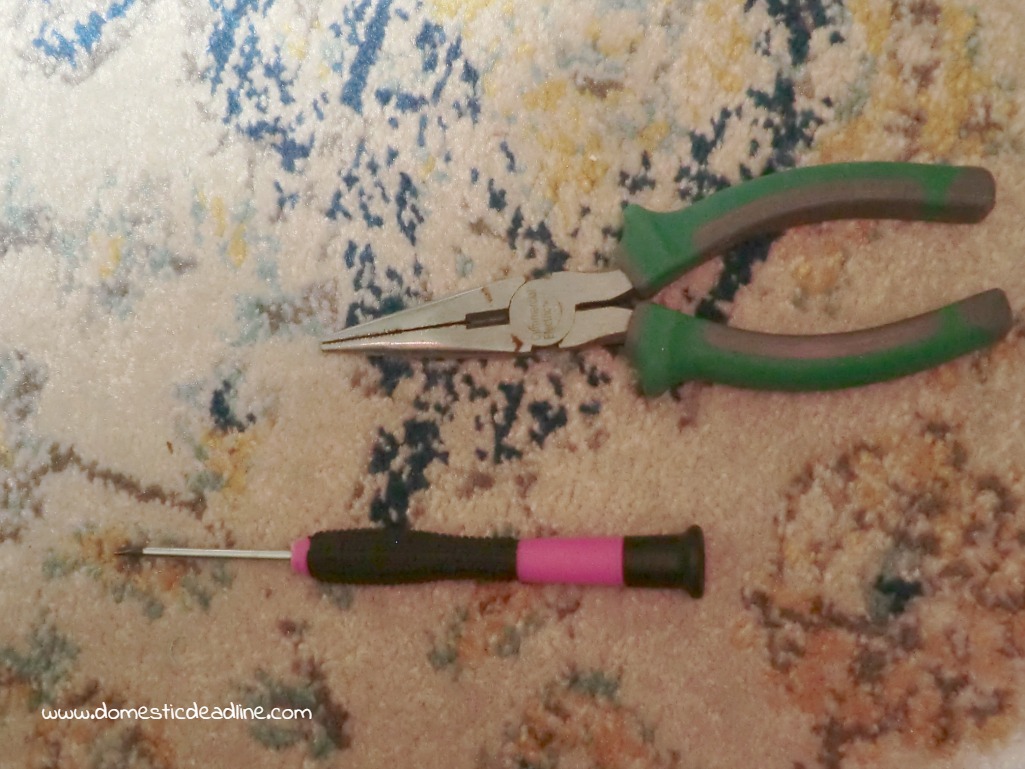
A tiny screwdriver and a pair of pliers were all I needed to remove the back. Mainly because I was too lazy to order and wait for upholstery removal tools to arrive. I’m sure actual tools would have been much easier to use, especially if the chair had been made better to begin with.
I took that part off with my bare hands (and poked myself, the metal tack strip was sharp)!
Once the whole back piece is removed, set it aside. If the upholstery tack strip is usable again, hang on to this as well. If not, a roll of this cardboard strip stuff is pretty inexpensive.
You could also remove the front portion of the chair’s fabric as well, by removing all of the staples. I decided not to.
Add Padding
Once I had the back fabric off, it was easy to see why one of the tufting buttons fell off. The backing plate had broken.
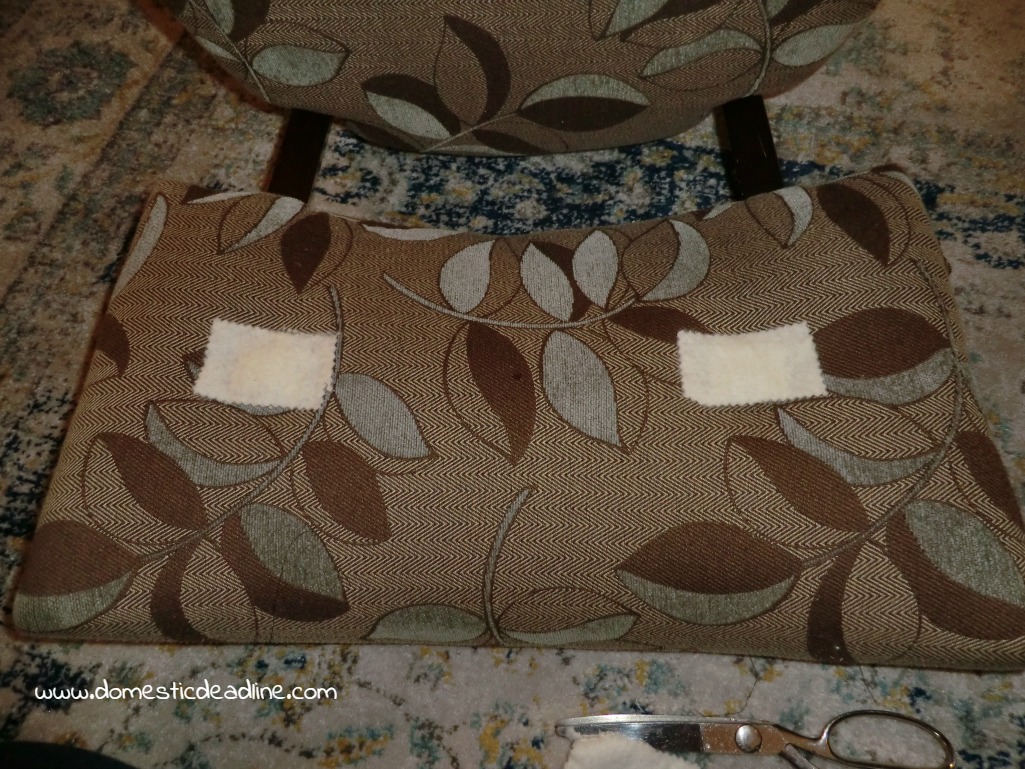
The two remaining tufting buttons were very secure. I opted to leave them in place. Not wanting the buttons to be visible later or be easily detected when sitting in the chair, I covered them. Using scraps of heavy weight quilt batting, I layered pieces in until I was happy.
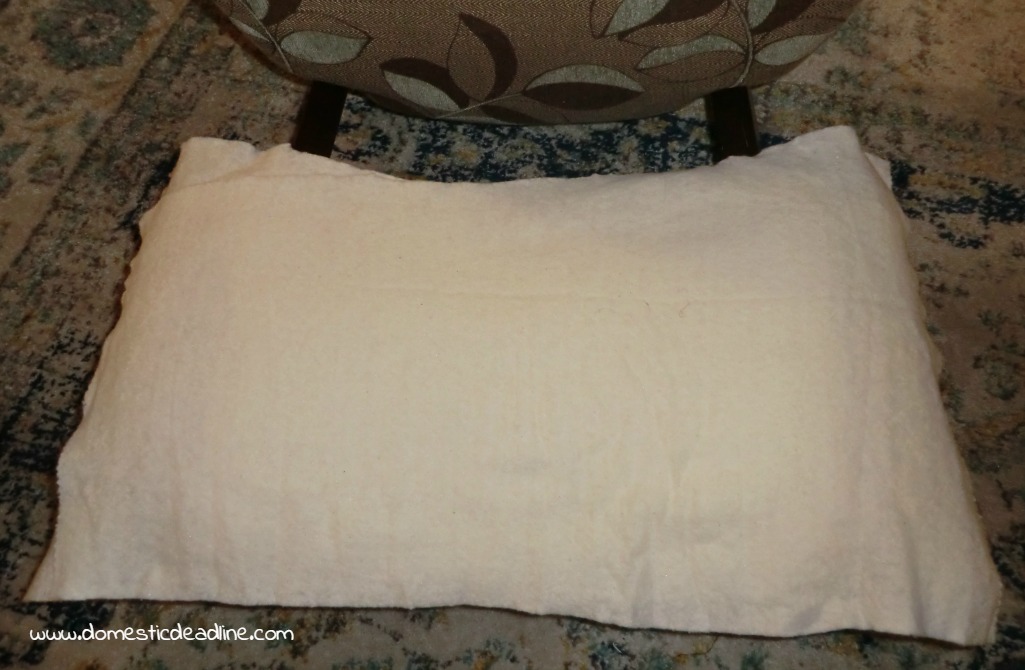
Next, adding a few more layers to the overall back can only make the chair more comfortable.
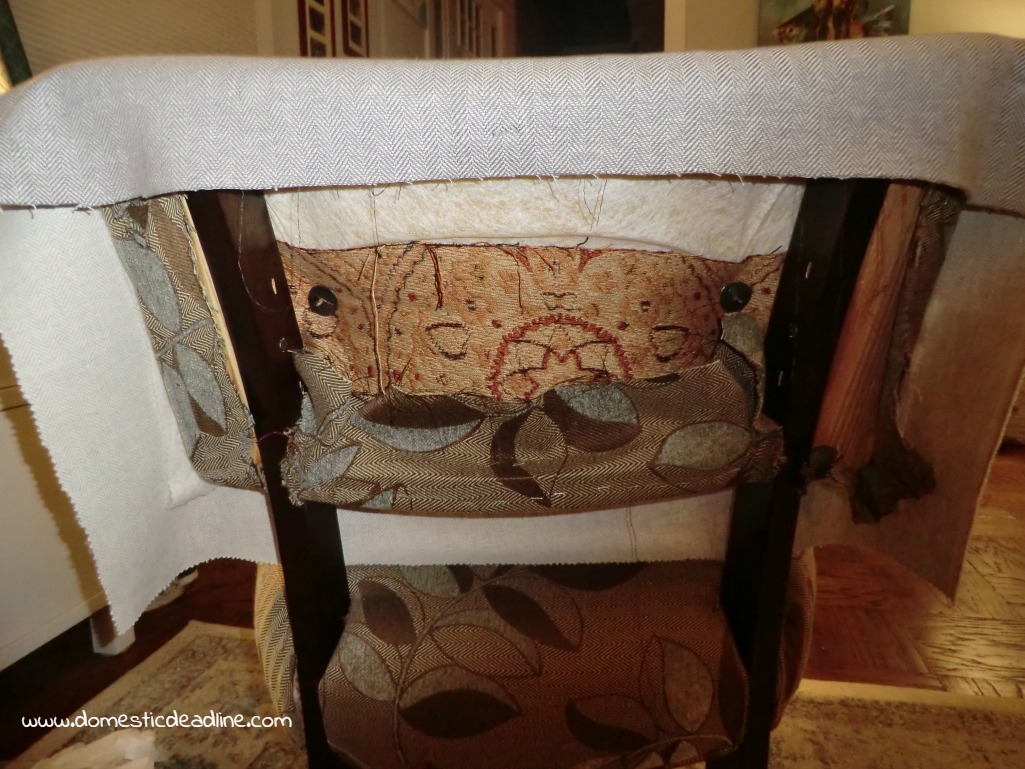
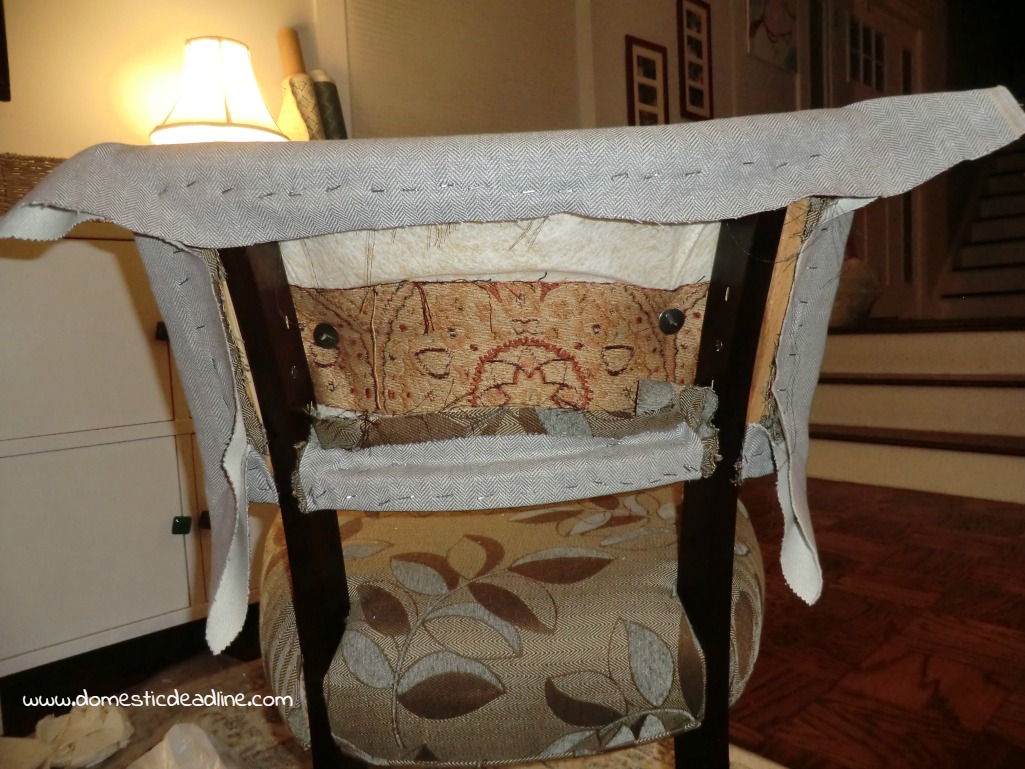
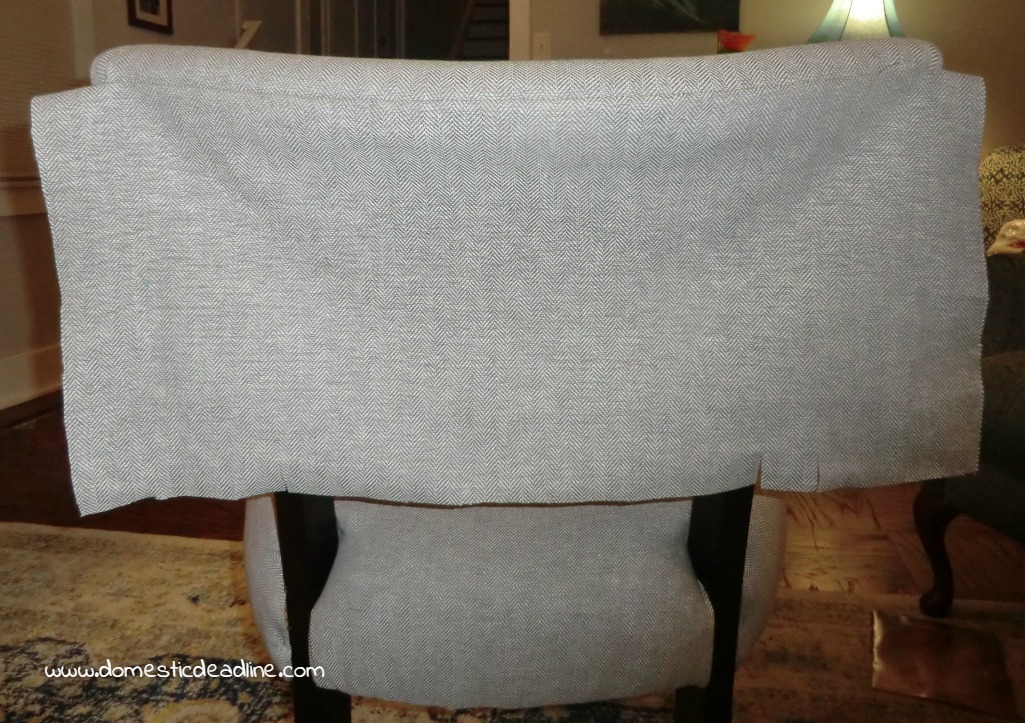
Finally, it’s time to add the fabric. Cut a large enough piece to wrap all the way to the back with leftover. Like this:
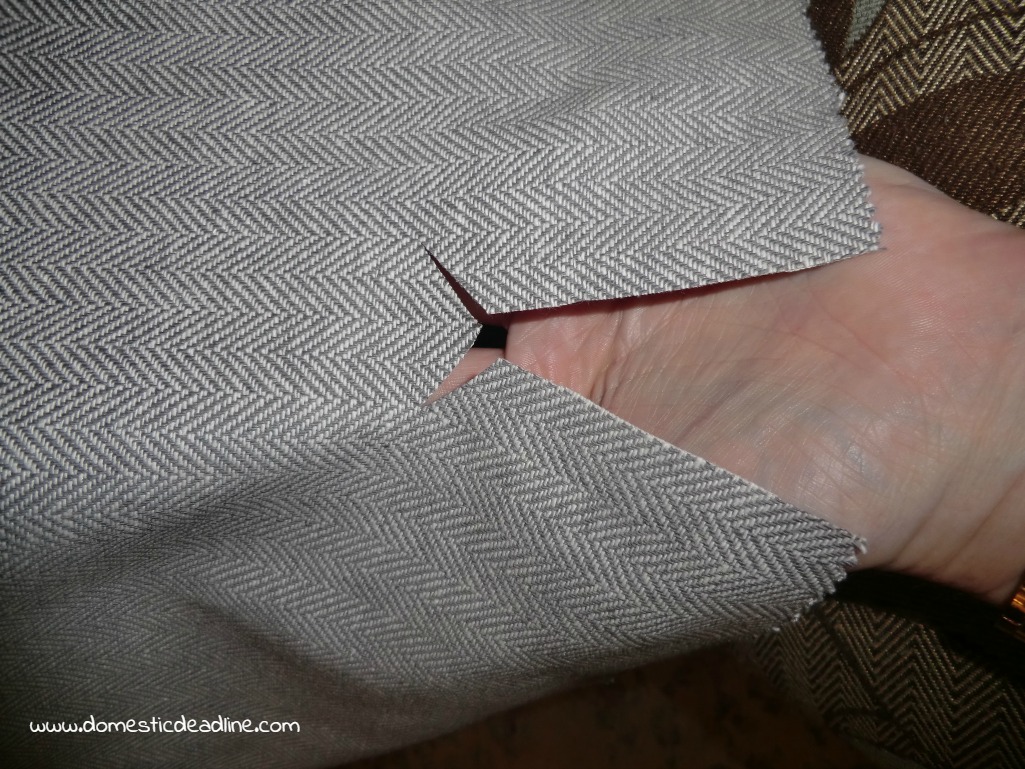
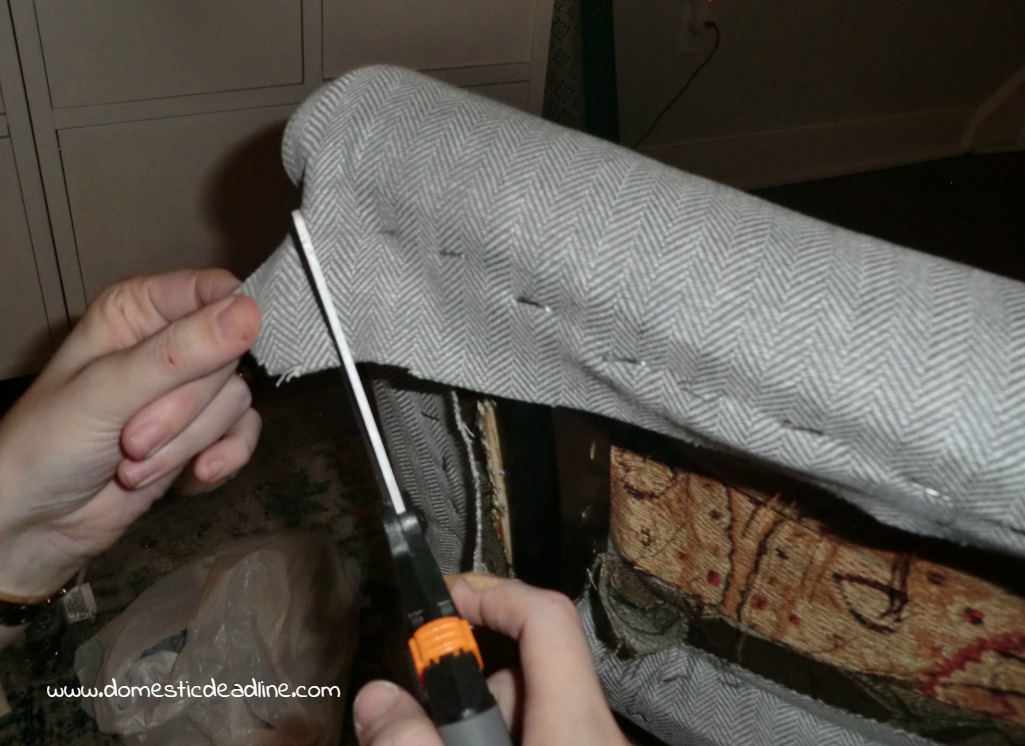
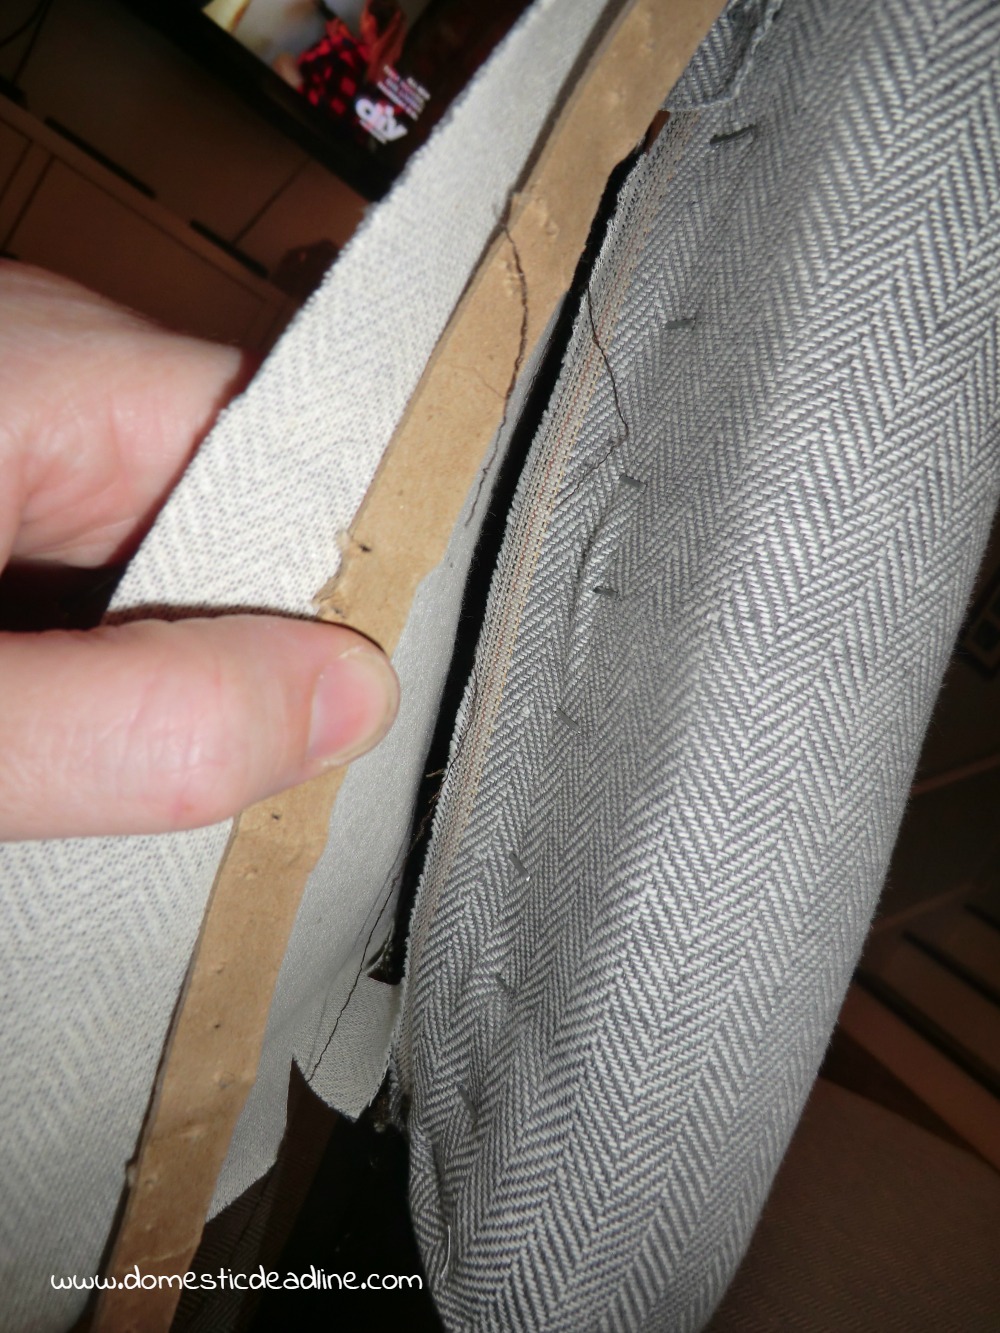
For the next step, I consulted the internet, looking for the best solution to making the fabric lay smoothly around the wood. A wide variety of sources referred to this as a V-Cut
That, in combination with a kitchen butter knife, enabled me to smooth out the fabric on the front.
Upholstry Fabric at Great Prices!
Staple Time
With the front smooth, it’s time to staple the fabric on the back side. Use a heavy duty staple gun. Start in the center of the top, stretch the fabric and staple in the center of the bottom. Repeat this until the fabric is stapled along the top and bottom. Then do the same on the sides.
Corners are tough. Trim excess and staple like a crisp gift wrapped box.
The front is done!
Attach the Back Panel
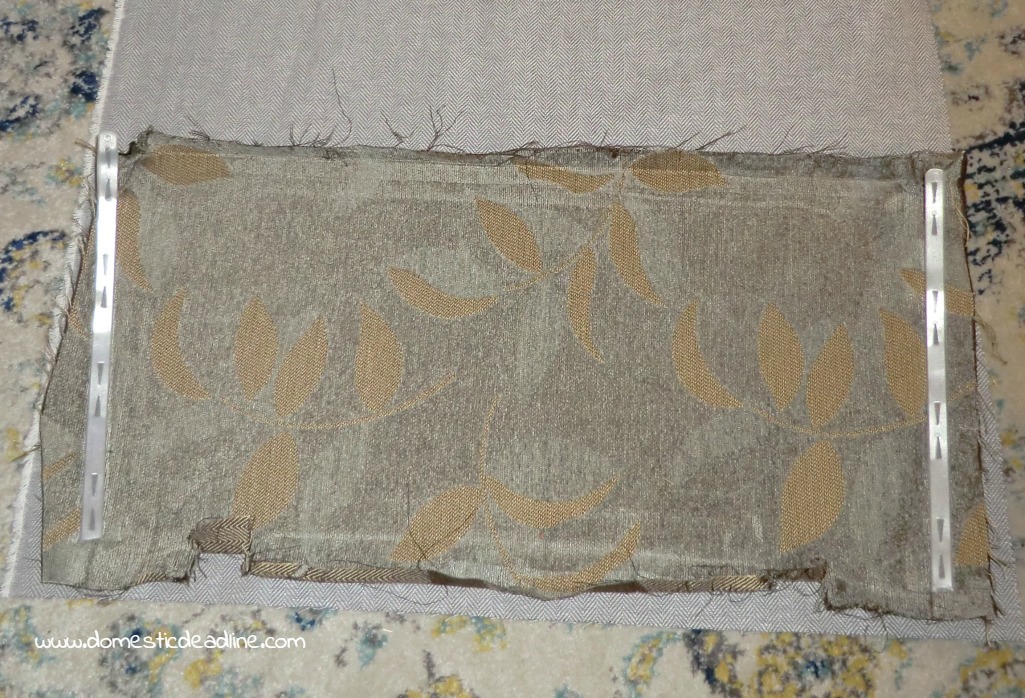
Use the piece of fabric removed from the back as a template for cutting the new back piece of fabric.
Remember the upholstery tack strip? It’s time to use that again. My chair also had a sharp metal strip on each side. This piece had tucked and held the fabric in place without staples. I had hoped to use it again, however, the prongs were pretty mangled. It was also kinda painful to work with!
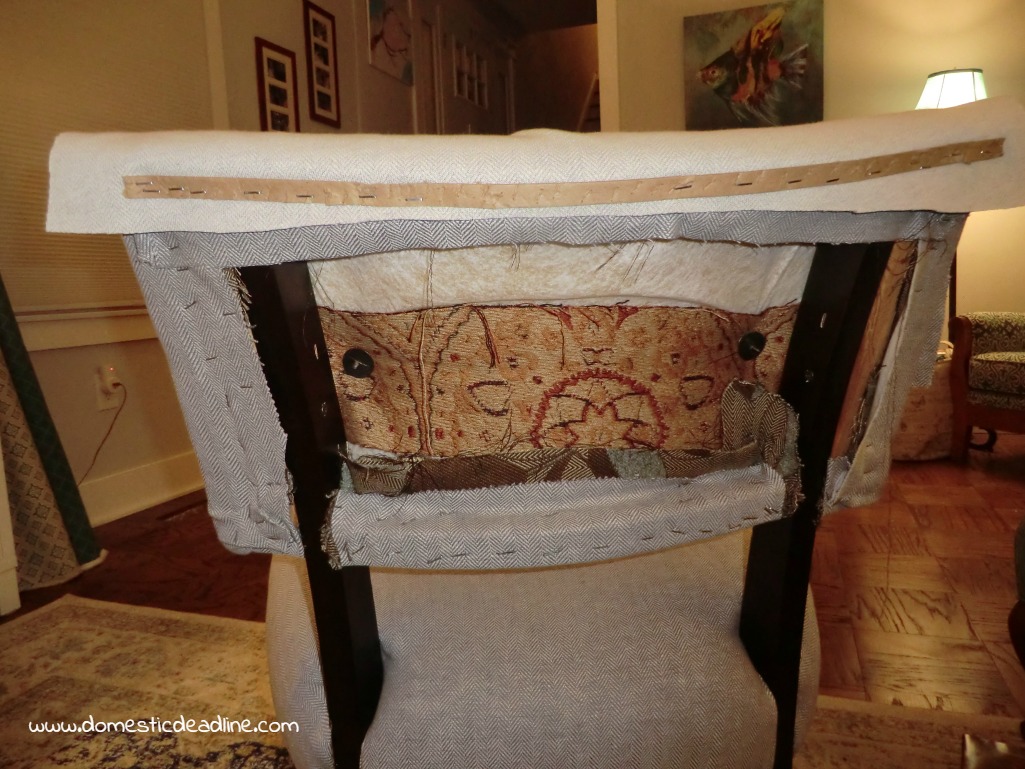
The upholstery tack strip gets stapled along the top of the chair, on the underside, like so:
Now, flip the fabric down. If necessary, make a few snips for the legs of the chair. If the piece you removed has snips, the new piece will need them too.
Fold the tack strip into the bottom of the fabric and staple. Be sure to pull tightly and stretch the fabric while stapling.
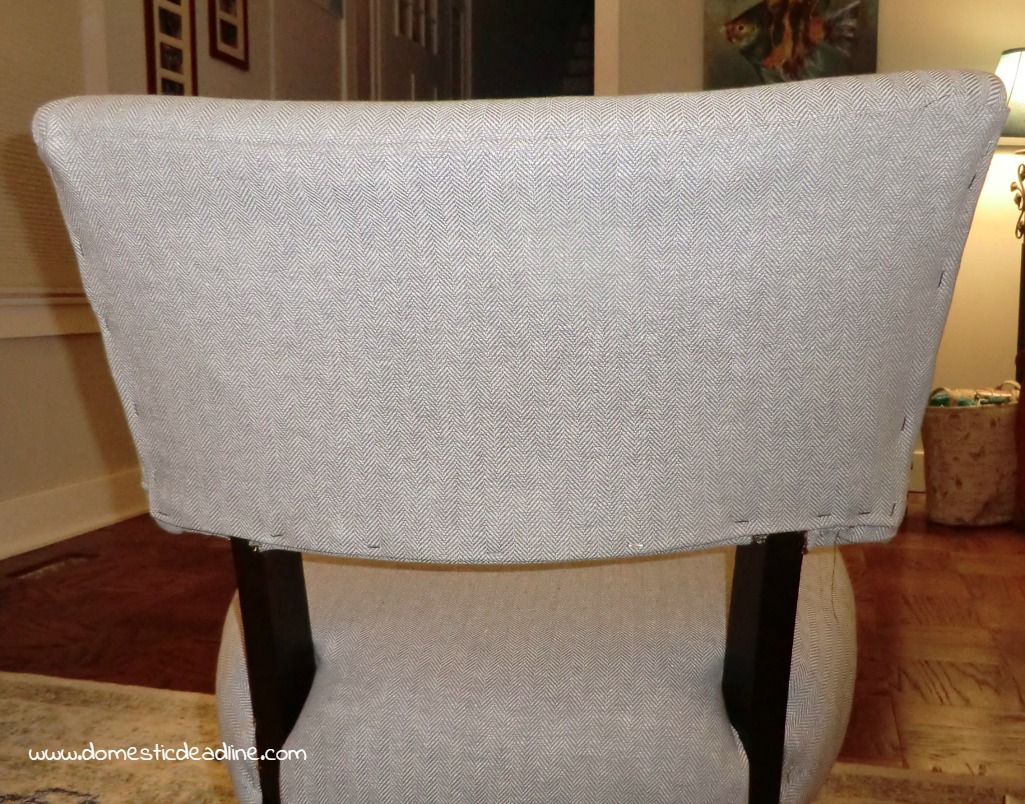
We’re going to use the tack strips and stretch the fabric on both sides next.
This is where I’m going to end Part 1.
Don’t worry about the visible staples, we’re going to take care of those later!
Please feel free to pin for later and subscribe to my email updates!





18 Comments