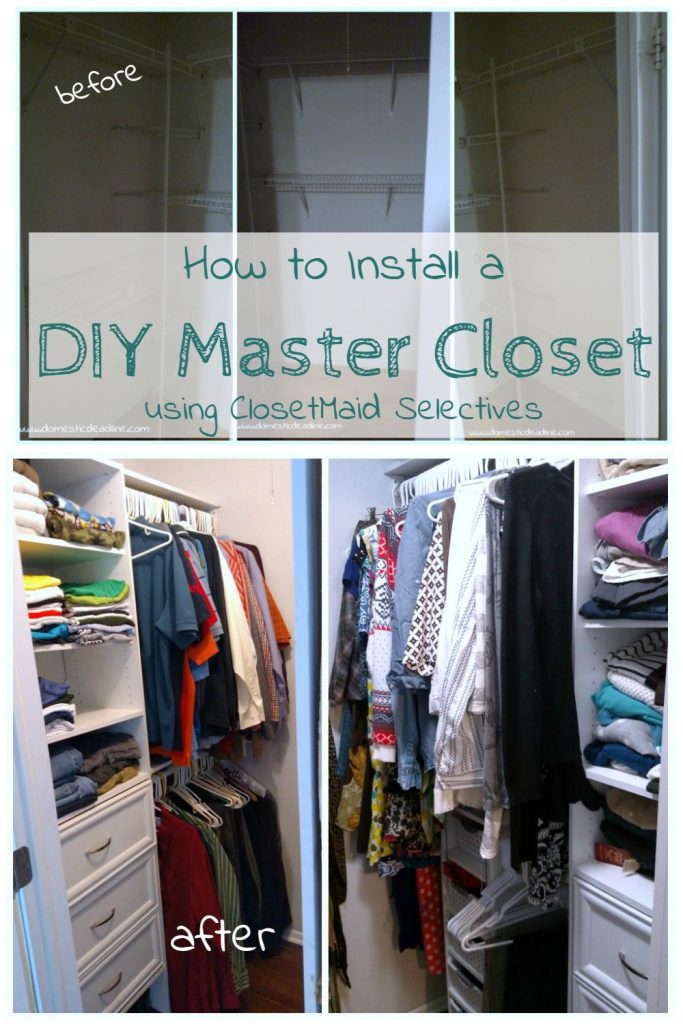
One thing I wasn’t overly concerned about while house hunting was a spacious master closet. Don’t get me wrong, I’d love to have one big enough for a sofa and it’s own lighting plan. But, given the era of the houses in our desired neighborhoods, I wasn’t going to get my hopes up. I know a good organization plan can make even the smallest space work well. Today I’ll share how to install a DIY master closet using ClosetMaid Selectives.
This post may contain affiliate links. Which means, if you click the link and buy something, I may receive a percentage of sales at no additional cost to you. Thank you for supporting Domestic Deadline.
Prep and Paint
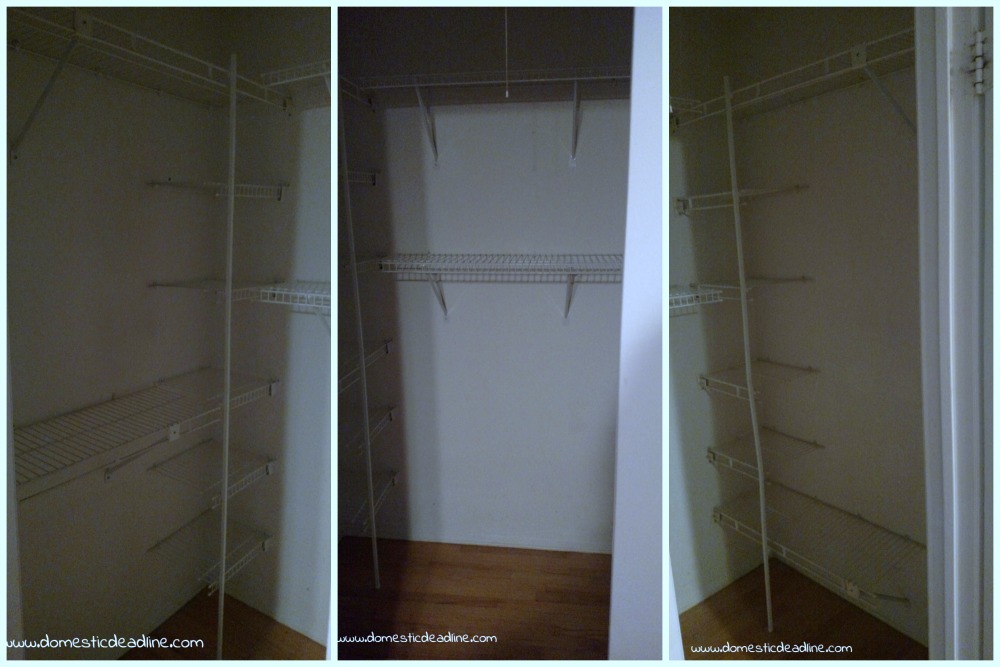
Removing all of the old happened in the first few days of owning the house.
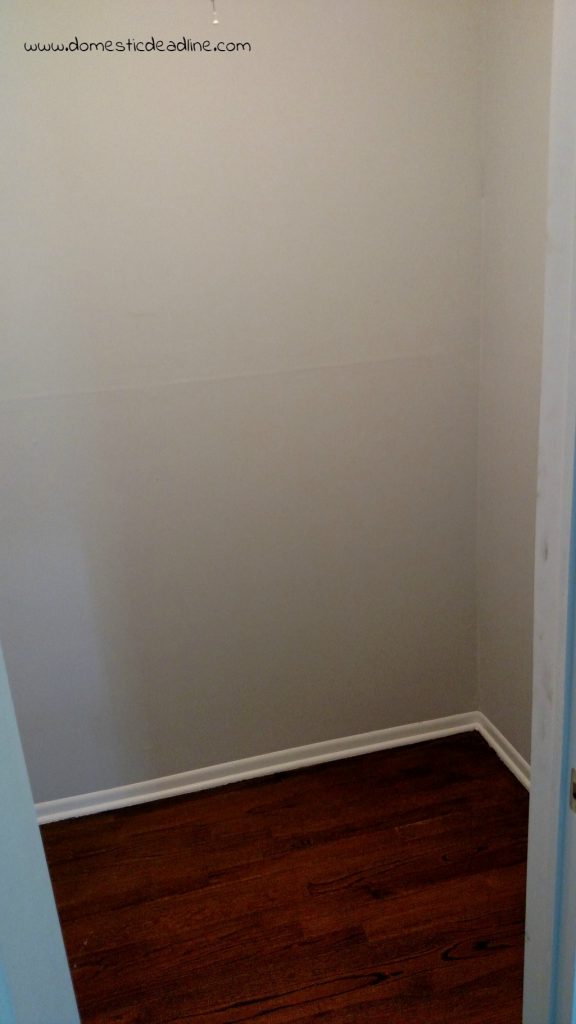
We immediately tackled fixing all of the imperfections in the walls. Knowing all kinds of things would be attached to the walls and not much visible with clothes added in, I didn’t stress over perfection. Not wanting the white cabinets and shelves to disappear into white walls, we painted the walls Silver Moon (Benjamin Moore).
It’s very hard to get a decent picture of the space because it’s pretty small.
Plan
Planning is the most important step in building your own custom closet. A lot went into the plan, a whole post’s worth! See my tips and inspiration on how to plan a custom DIY master closet.
Once I knew exactly what I needed the space to hold, I ordered all the parts I needed. To save me time and money, I used Swagbucks. I eliminated the time required to look for all the components by ordering site to store and picking everything up at the customer service desk. Since it turned out I had to go to two different stores to get everything, this was a major time saver.
Since Swagbucks gives me a rebate for purchases made through the site, I save money on things I’m going to buy anyways. I did so much of my shopping for the house this way we ended up being able to get a new TV for the basement!
Assemble
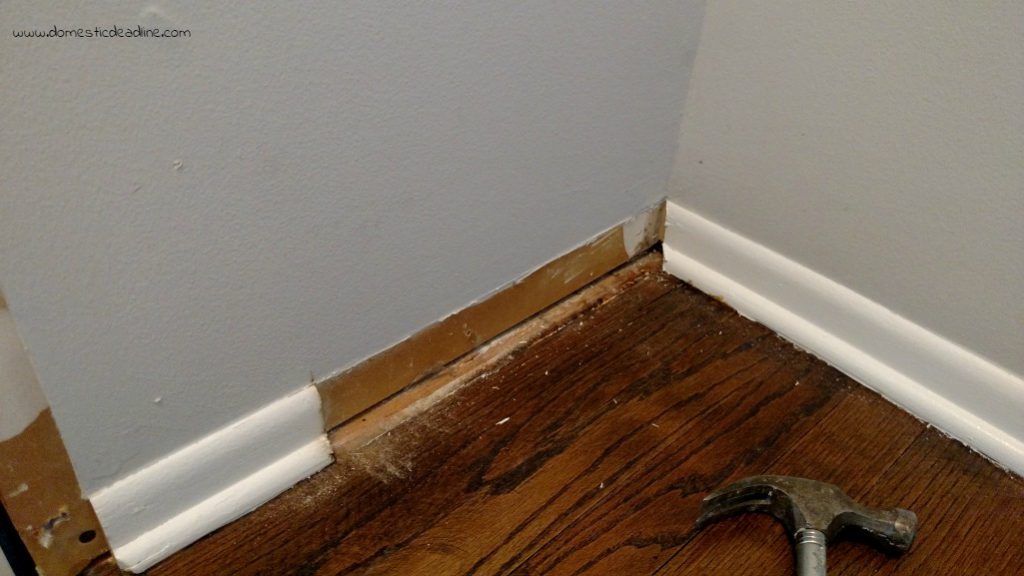
Start by assembling the components that need to be attached to the wall. With those pieces ready, it’s time to make sure they fit snuggly. My closet has base molding which needed to be strategically removed to fit each piece close to the wall.
I used my multi-tool to cut away the exact amount of molding necessary. A hammer and 5-in-1 tool helps to pry the molding away without making too many marks on the walls. Well, at least not to add more than the floor refinisher did!
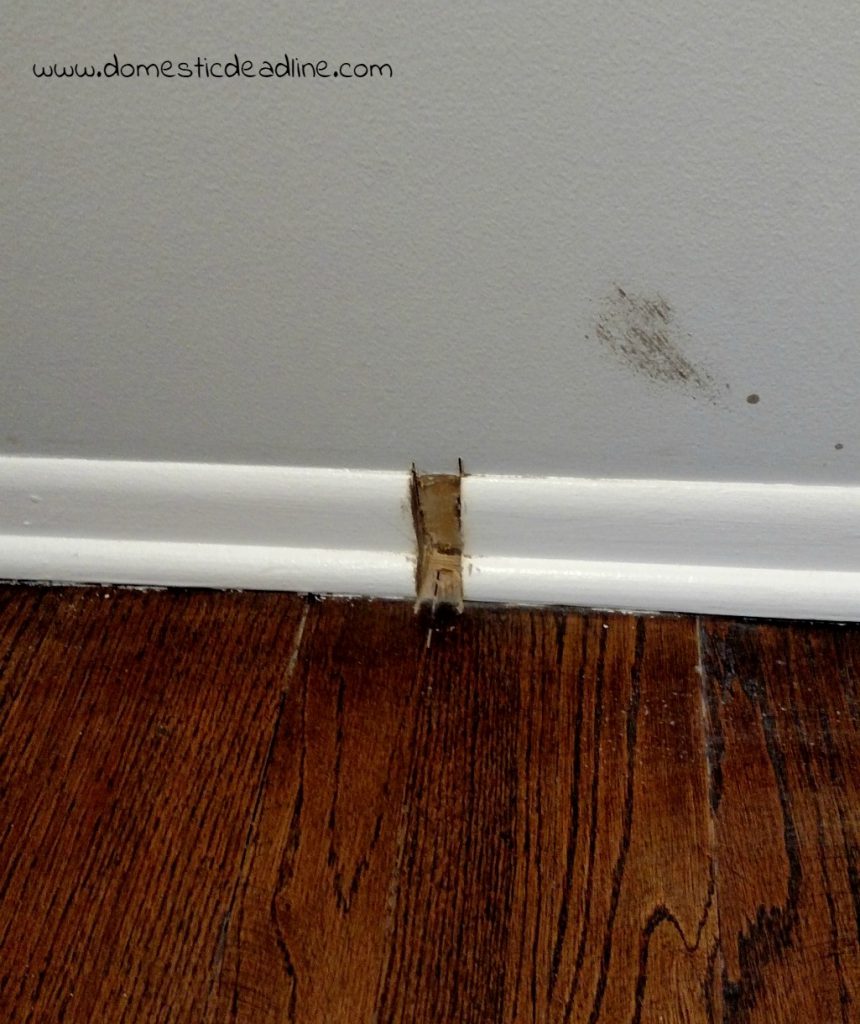
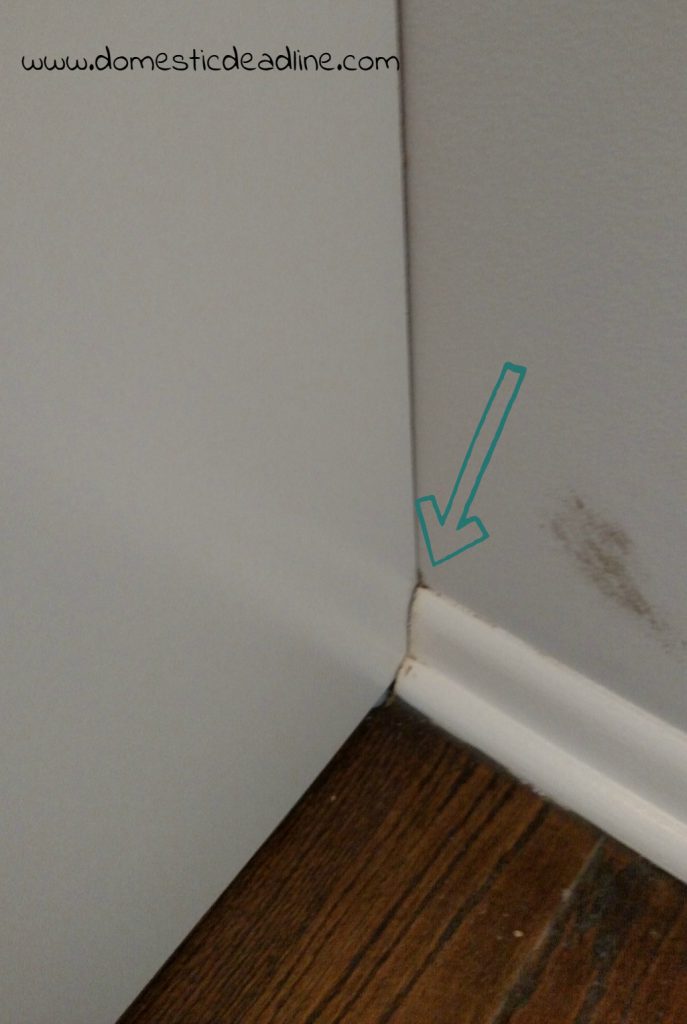
A notch in the molding like this will enable the tower unit to sit flush against the wall.
Install Tower Units
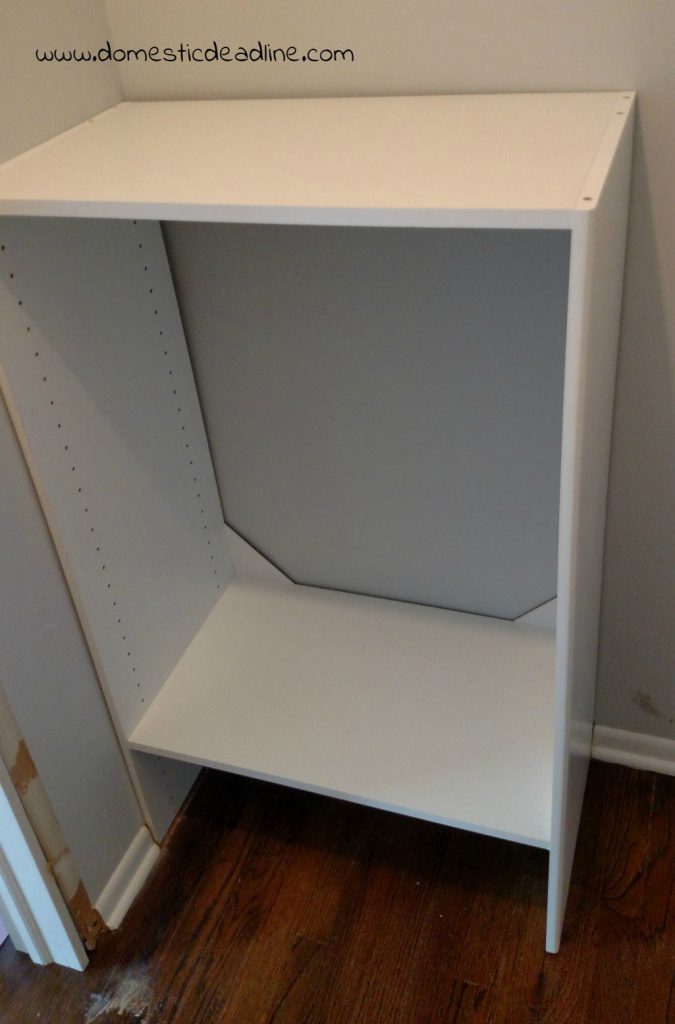
Had I not removed some of the moldings, the main tower units I chose to use on each side would have left a small gap between them and the wall. Every inch counts in a small space!
Using the brackets made for the ClosetMaid Selectives, the unit gets attached to the wall.
See, a nice snug fit!
Find a Minion
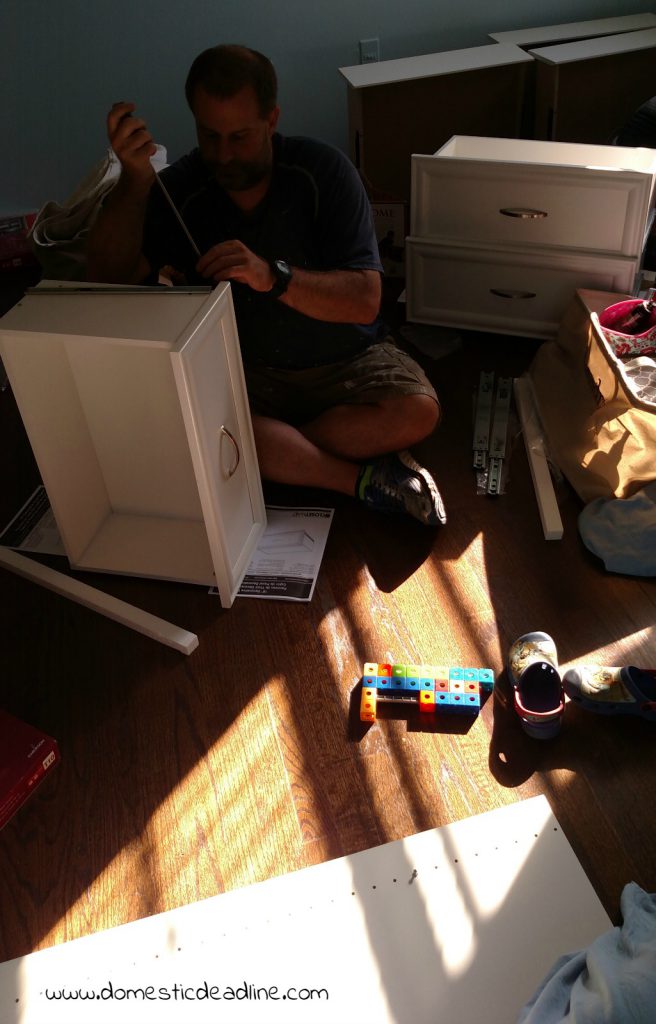
The pieces are pretty self-explanatory. Having a little assembly line going or trusty assistant moves the process along.
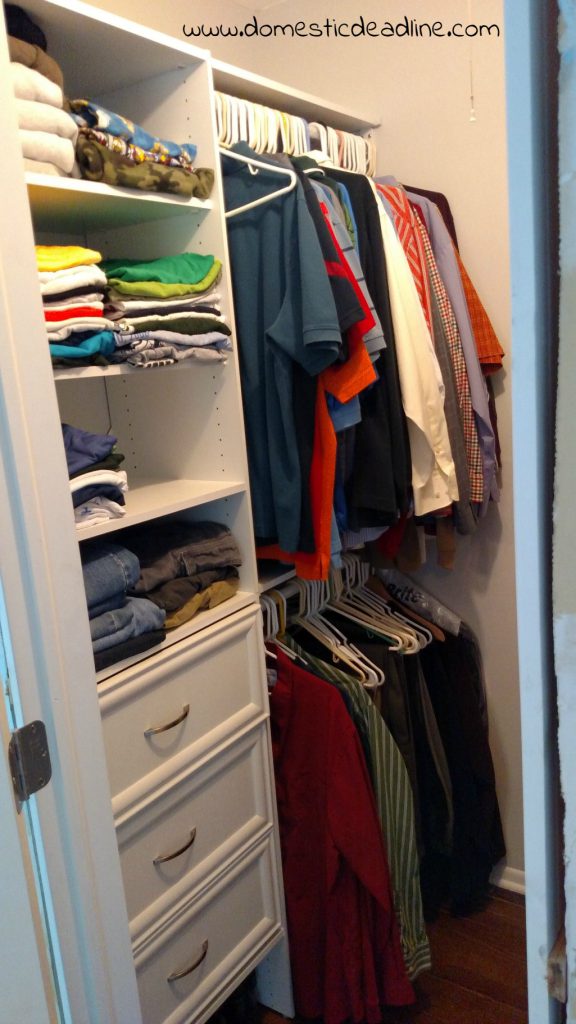
IronFish gets the left side of the closet and I have the right. We both needed drawers, shelves and hanging space. He wanted larger drawers and shelves. Ok, I decided that’s what he wanted based on how his clothes.
Keep Adding Pieces
There really isn’t more to it than that. Once the bottom base pieces are assembled and installed, continue with the parts that go on top.
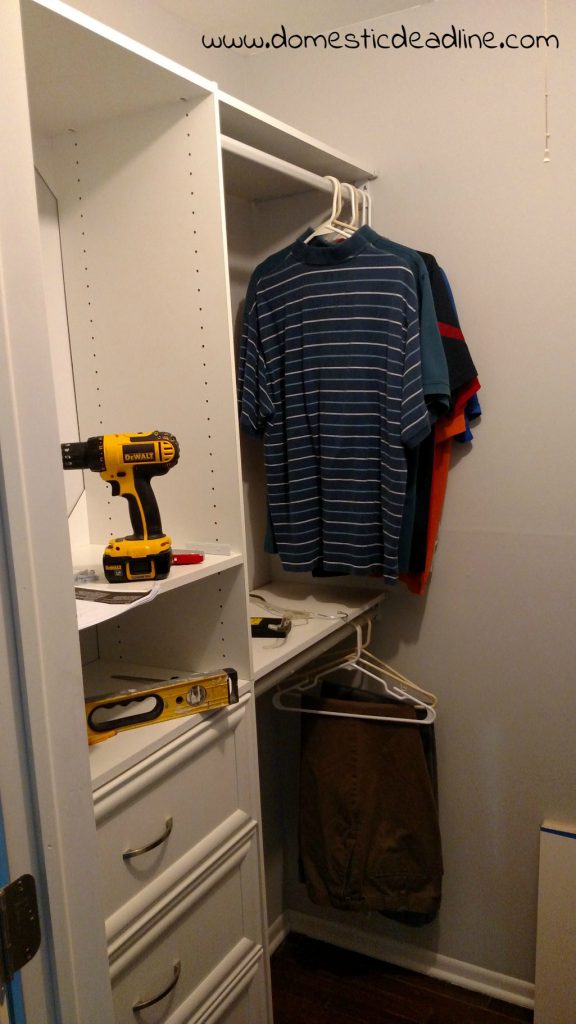
It’s good to use a level before attaching pieces to the wall. The Selectives line enabled me to add shelves above each bar making space above more useful.

Fill It Up!
I have been replacing the mismatch hangers with all white ones. The closet looks so nice now.
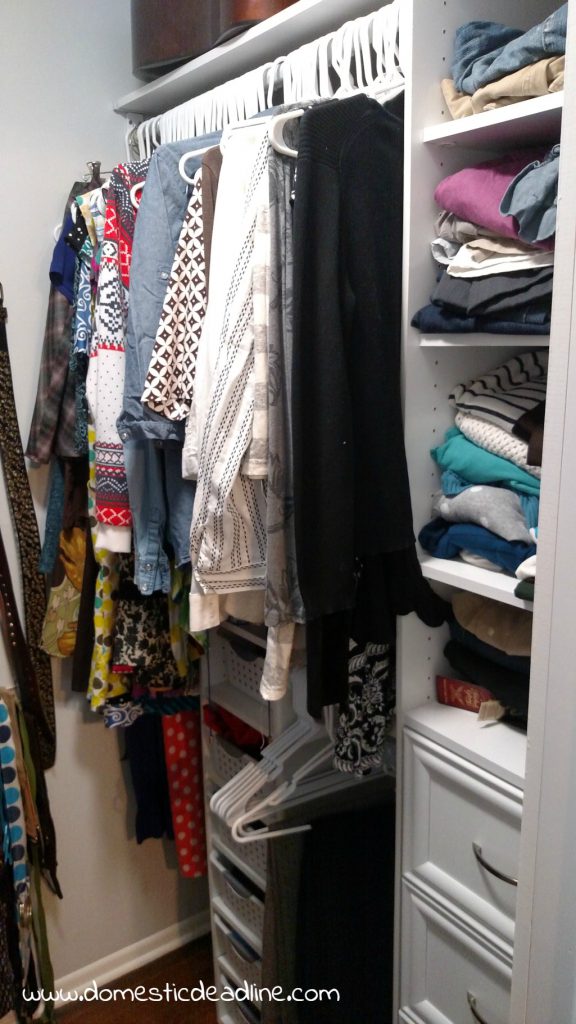
And my side.
I used a narrow tower with baskets as extra drawers for additional storage since I didn’t need a ton of long hanging space.
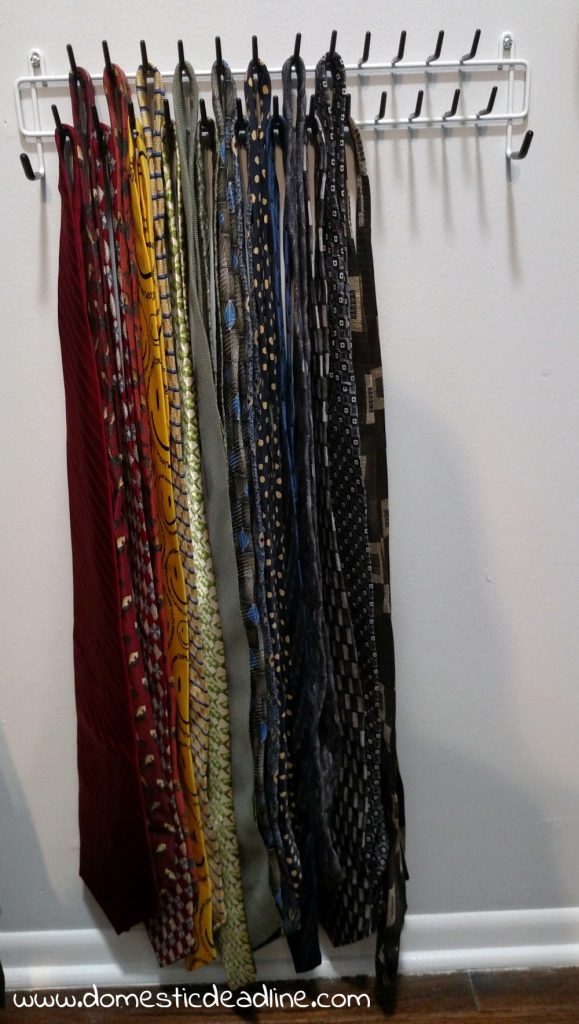
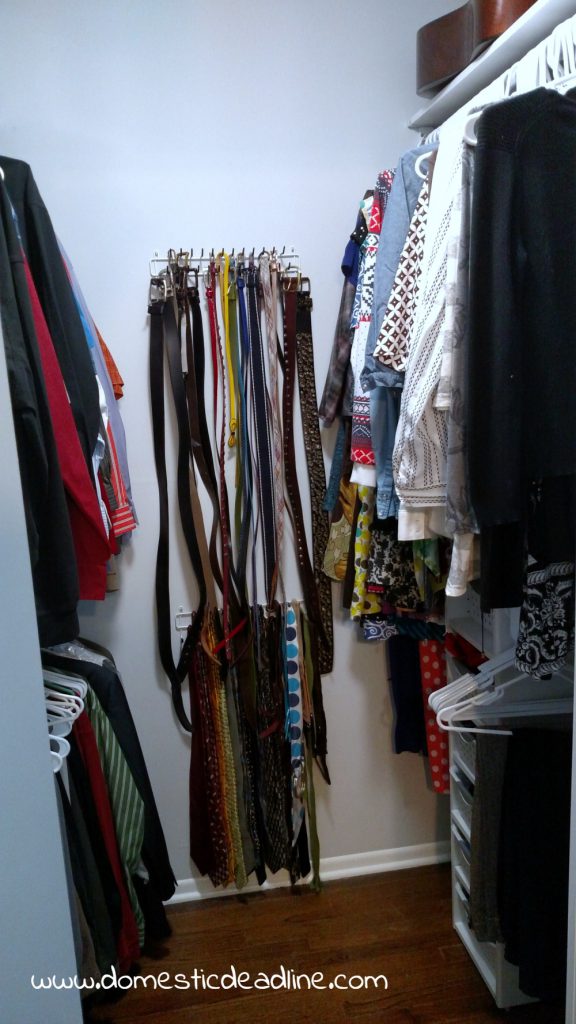
On the back wall, we used a tie/belt hanger to utilize the blank wall.
Of course, we filled up both racks!
I must admit, I’m still not great at putting my clothes away, but when I do the closet looks great! Right now, there is a pile of things I realized I haven’t worn in ages. It’s going in the donation bags so the closet will look neat and orderly again very soon!
How to Install a DIY Master Closet using ClosetMaid Selectives
I’d love for you to pin and share!







17 Comments