Trash can storage might not top everyone’s to-do list. Not long after we moved into our house we realized taking the trash out wasn’t always a simple chore. Yes, we could keep our trash and recycling cans in our garage. But our garage is just wide enough for our two cars. And we actually like to keep our cars in the garage, not on the driveway all the time. Unless we are using the garage for a DIY building project that is! So we needed a better way to store the trash cans. With a bit of planning and some weekend work, we solved our trash can storage issue.
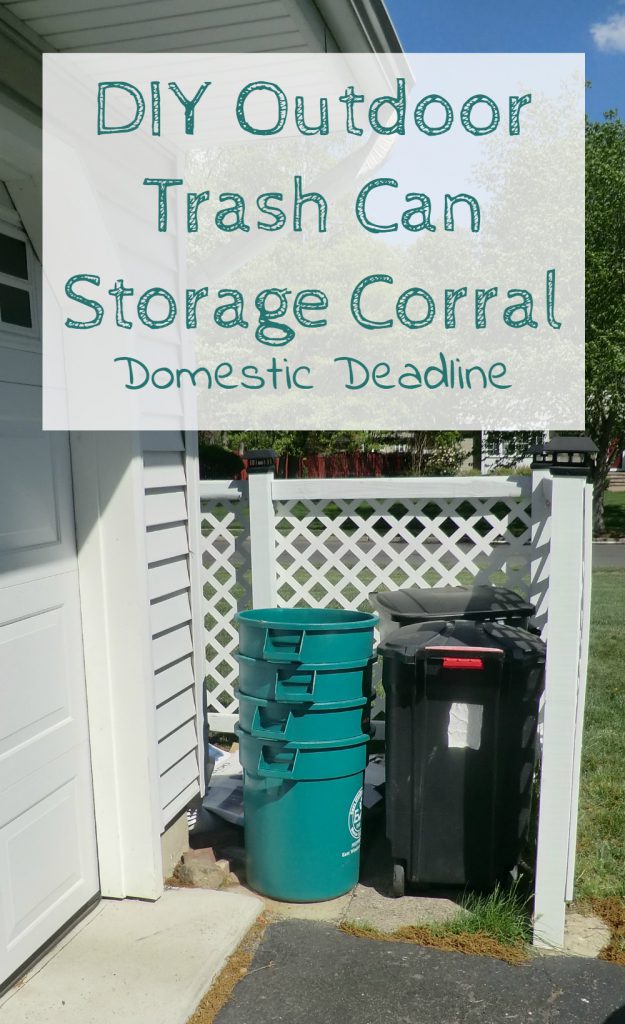
DIY Outdoor Trash Can Storage Corral
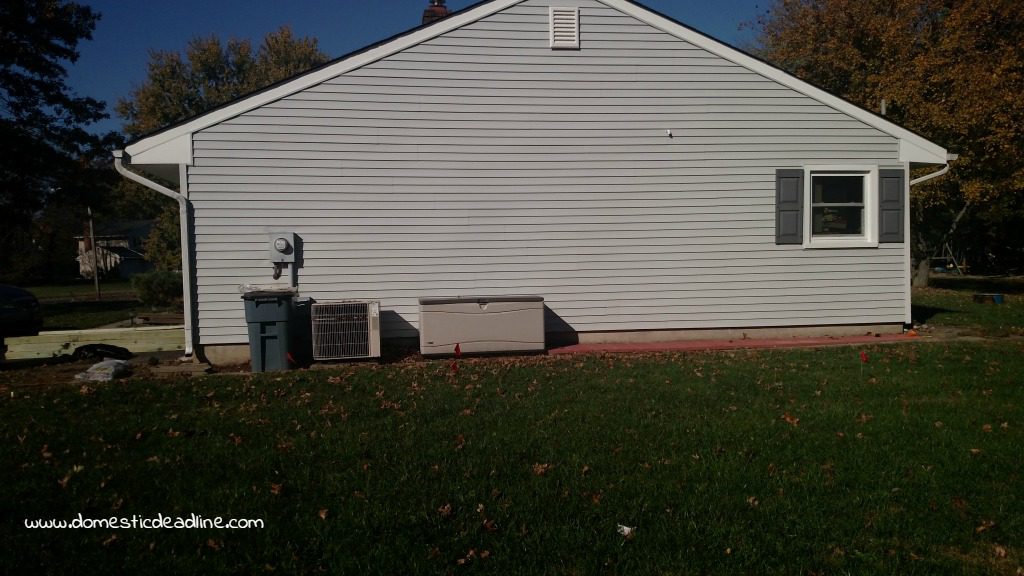
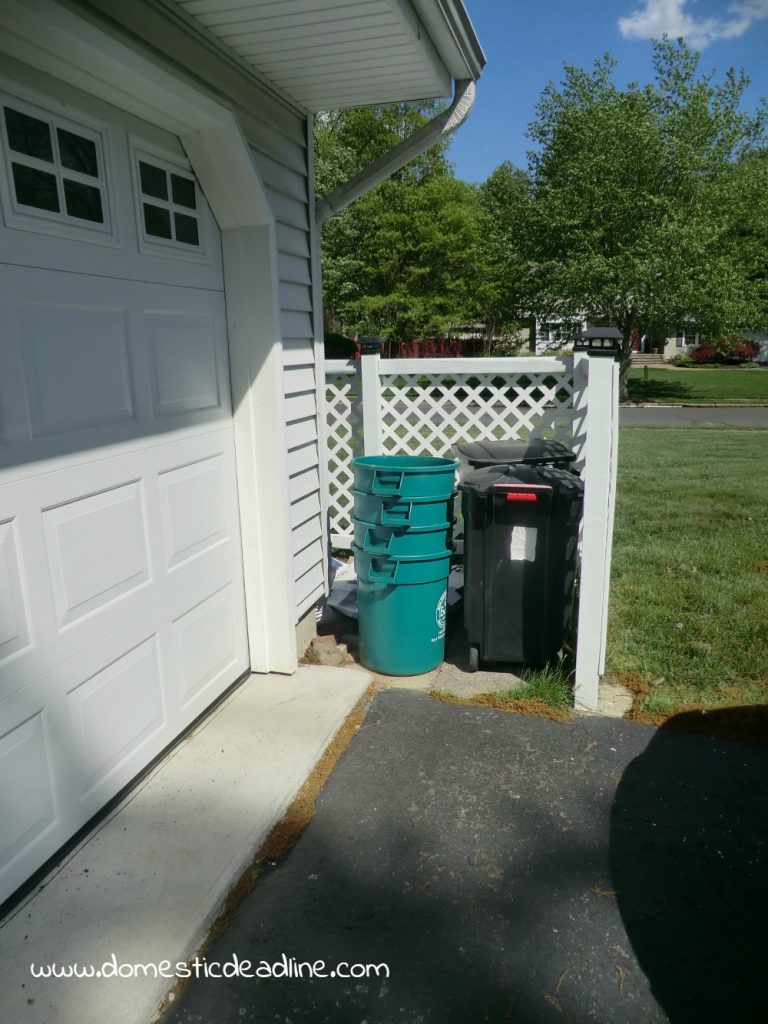
Having a corner lot means we have a little larger lot than other houses in the neighborhood. It also means the side of my house is completely exposed since our yard is not fenced in. I don’t want it to be. Of course, having 4 recycling bins, 3 trash cans and whatever bulky-things-that-don’t-fit-in-cans-but-need-to-be-disposed-of all sitting alongside my house isn’t what I want to see when I’m coming home. Doubt the neighbors want to see that either.
Spray painting the cans to blend in with the side of the house would be one option… Unfortunately, that wouldn’t stop the wind from blowing the cans over. Pulling my boots on to trudge through the snow and collect all the boxes and bottles that have blown into my neighbor’s yards, the street, and the field isn’t my idea of an exciting evening.
IronFish, JuneBug and I spent two weekends building our “trash can corral” to remedy the eyesore.
Materials
- Concrete
- Gravel
- 4×4 pressure treated posts
- 2×4 pressure treated boards
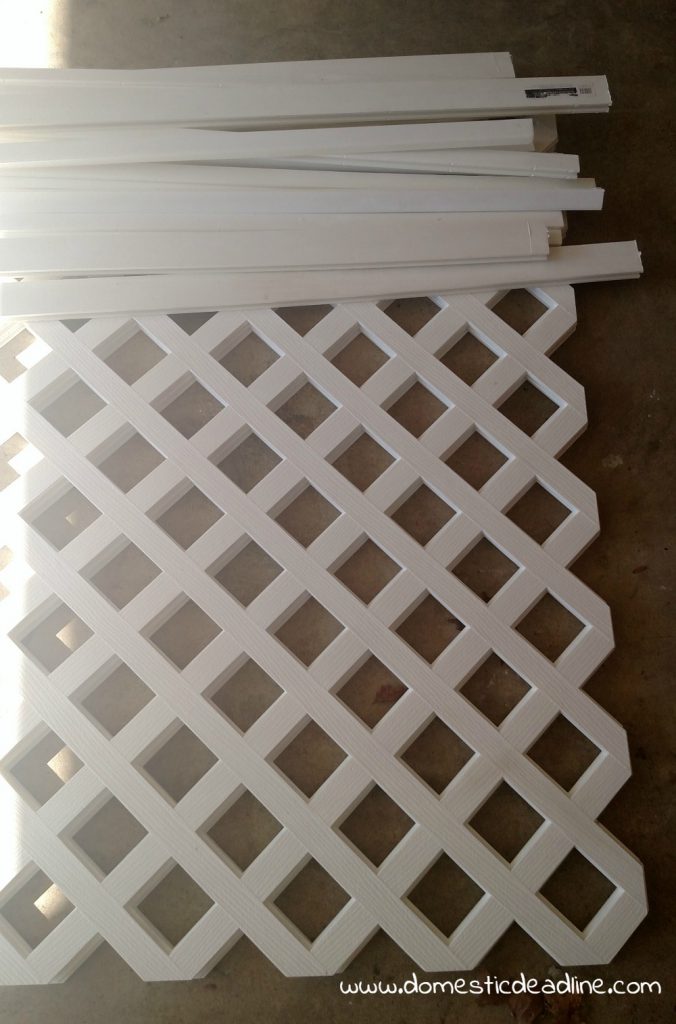
- Vinyl lattice in 4×8 sheets
- Vinyl lattice trim
- Solar light post caps
- stainless steel screws
- Exterior paint
- Stainless steel corner braces
Tools:
- Post hole digger or shovel
- large plastic tray for mixing concrete
- saws (we used a chop saw and a circular saw)
- level (we used a digital one similar to this)
- string
- measuring tape
- Marking spray paint
Warning: It’s a good idea to have your yard marked for underground lines before you dig. It’s free and when you answer some questions about what you’re going to be doing, they were very helpful and my yard was marked out a week after I called. We knew we had all kinds of lines. With the yard marked, we were able to lay out where we put our posts to ensure we didn’t hit any of them.
We used a different color for our own marks for digging that wasn’t the same as any of the underground line marks.
Please note, I’m not including measurements for cuts. Your yard is different than mine. This is a project which will vary by where it’s done. Besides which, I didn’t record the measurements to write about them!
Plan
Before we dug holes for the posts, we did a lot of planning. The sheets of lattice are 4’x8′. Our fence is a little more than four feet tall, but the length of the run wasn’t divisible by 8 equally. Towards the back of the house, we could space the posts 8 feet (on center) apart from each other. As you move towards the front of the house, the service lines start to be in the way. Using those marked lines, we determined the rest of our post locations.
While we played with the layout, we used various objects to give us a visual of where the posts would go. Hammer, shovel, squirt gun… whatever we grabbed out of the garage. Once we had a plan, we did a final measurement, using spray paint to indicate exactly where in the grass we would dig.
Dig
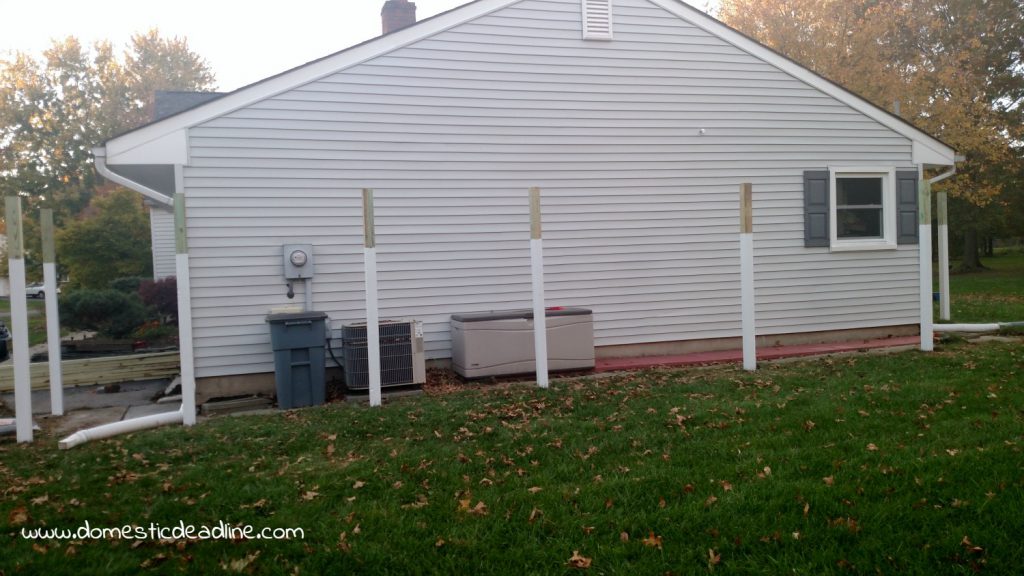
Start with the two farthest points. Using a post hole digger or just a shovel, dig a hole 21″ to 24″ deep and about a 12″ diameter. Fill the hole with 6 inches of gravel. Place the post in the center of the hole. We used 8-foot posts. Even though they were longer than we needed, we cut them later to the correct height instead of trying to calculate exactly.
Mix concrete according to package directions. It is possible to pour the concrete in and add water to the hole, but IronFish felt he had more control by mixing it before adding it to the hole. Pour concrete into the hole, filling it to about an inch below the ground line. IronFish mixed and poured concrete. My job was to hold the post in the correct place, checking for plumb. Quickset concrete meant working quickly, but also meant once the concrete was poured, the post was in place and only one needed to be braced while it dried.
With the two farthest points set, we tacked a string to the outside edge. Using this string as a guide, we dug the rest of the holes and set the poles so they lined up with the string.
Top and Bottom Rails
The following day, I went to work and IronFish employed the assistance of our eldest child, JuneBug. Actually, he put Tasha on indoor cleaning duty and JuneBug on construction duty. With some assistance from O-Man.
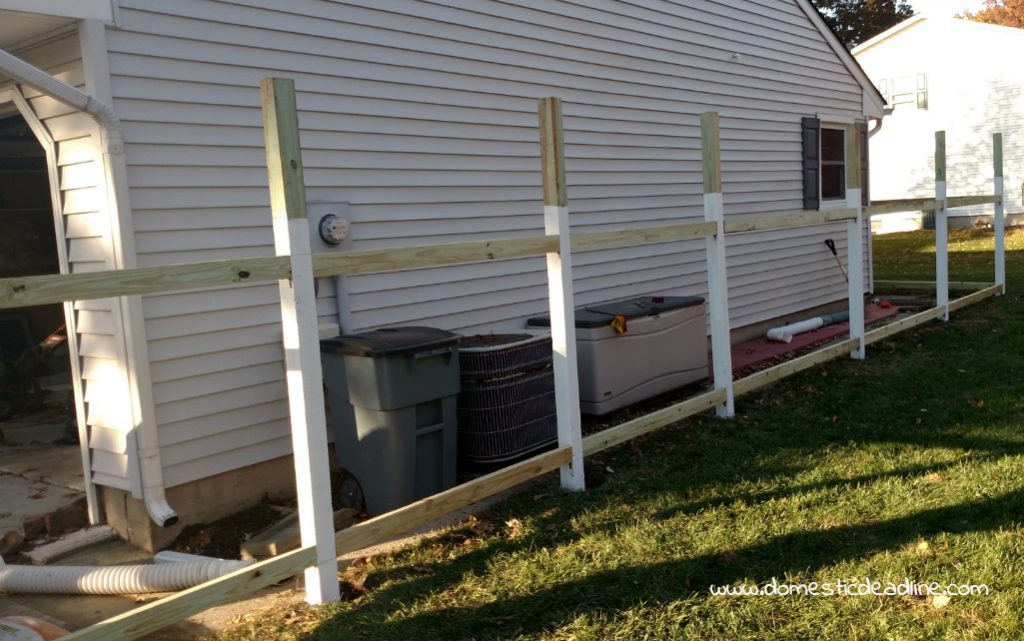
There is an obvious slope to our yard. We wanted everything to be level, so starting at the highest point, IronFish marked where the bottom rail would go and cut it to size. Using the stainless steel corner braces, the rail was attached to the post.
Once the first rail was attached, he pulled a level line off of it to hang the remaining bottom rails. With the bottom rails in place, the position of the top rails could be calculated. This was determined by the size of the lattice and the lattice trim pieces. Top rails were hung the same way as the bottom rails
With everything hung, I got home in time to help paint. It was at this point we used a circular saw to cut off the tops of the posts that were too tall. We marked them all and cut along our lines evening out the tops. They weren’t perfect cuts, but that’s ok. We knew we would be capping the posts later.
Attach Lattice
Again, I’m not going to include measurements. I don’t know if all manufacturers of vinyl or wood lattice have the same sizing. I also wasn’t home for this part again! It’s good for kids to learn some construction skills. Geometry in action.
IronFish used the screws sold with our vinyl lattice and followed the manufactures directions for the lattice and trim (we found this on their website, although our local Home Depot did have a tear sheet). It was actually pretty obvious how to assemble, we just used the website to verify and make sure there wasn’t something we were missing.
Lights
When night falls, our corner can be pretty dark. The nearest street lights don’t cast much light on our property and there are no lights on this side of the house. Not wanting to run electrical, we opted for solar powered post caps. As I’m sure you’ve noticed in many of my posts, we have a gray with white trim and touches of black theme running through the house. The outside is no exception (yet, this may change when I get some outdoor furniture!). Our siding is gray with white trim. We are changing over the exterior lights to be black. So painting the fence white and using black solar light caps was perfect.
Aliens won’t be using my yard as a landing pad. The lights aren’t that bright. But they do give off a nice glow and make it not so gloomy when it’s dark outside and time to take the trash out.
Trash Can Corral
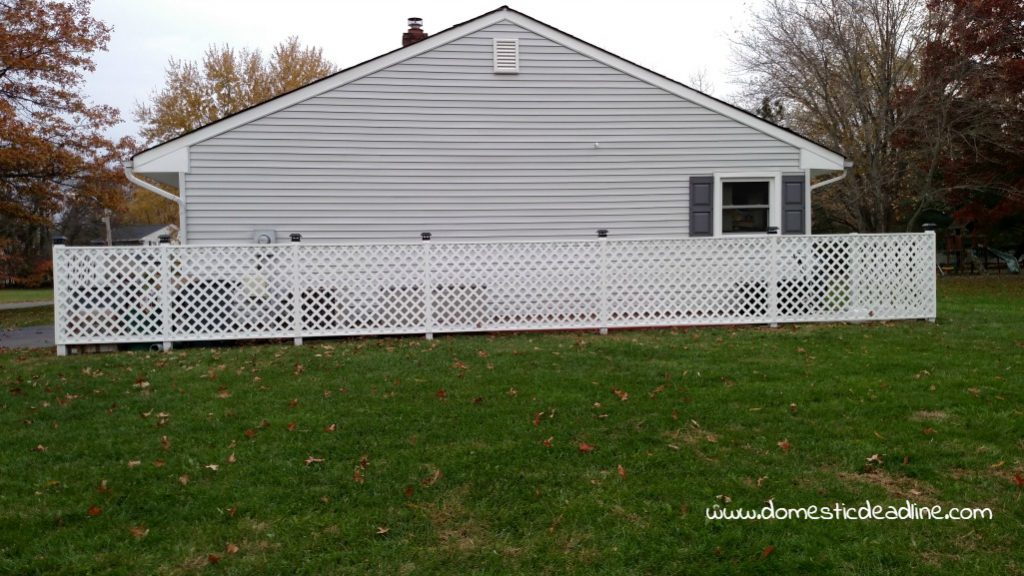
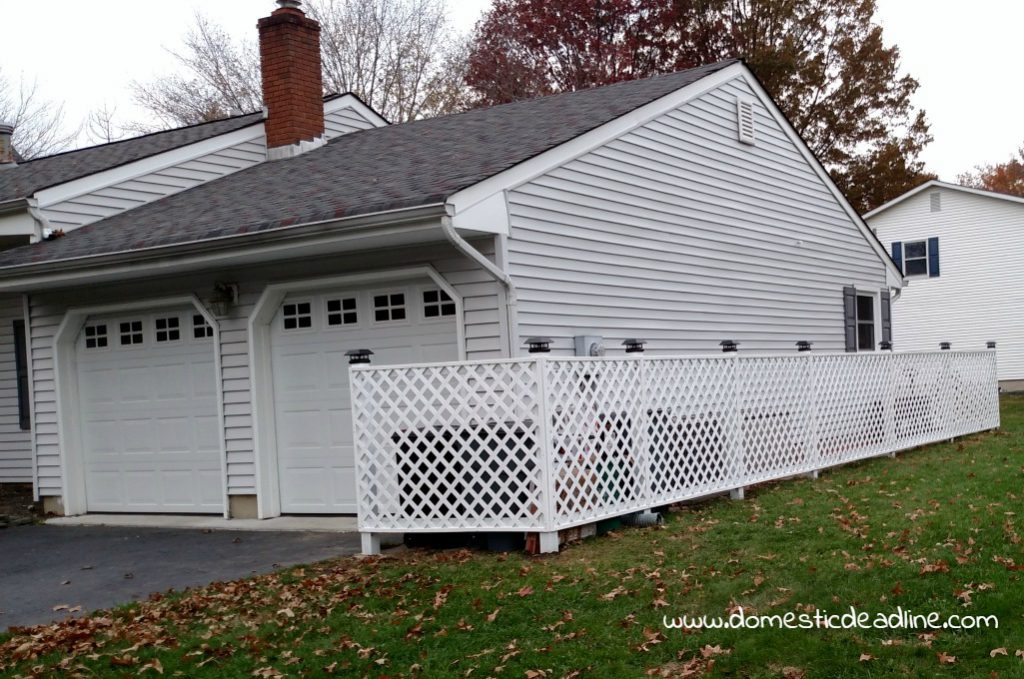
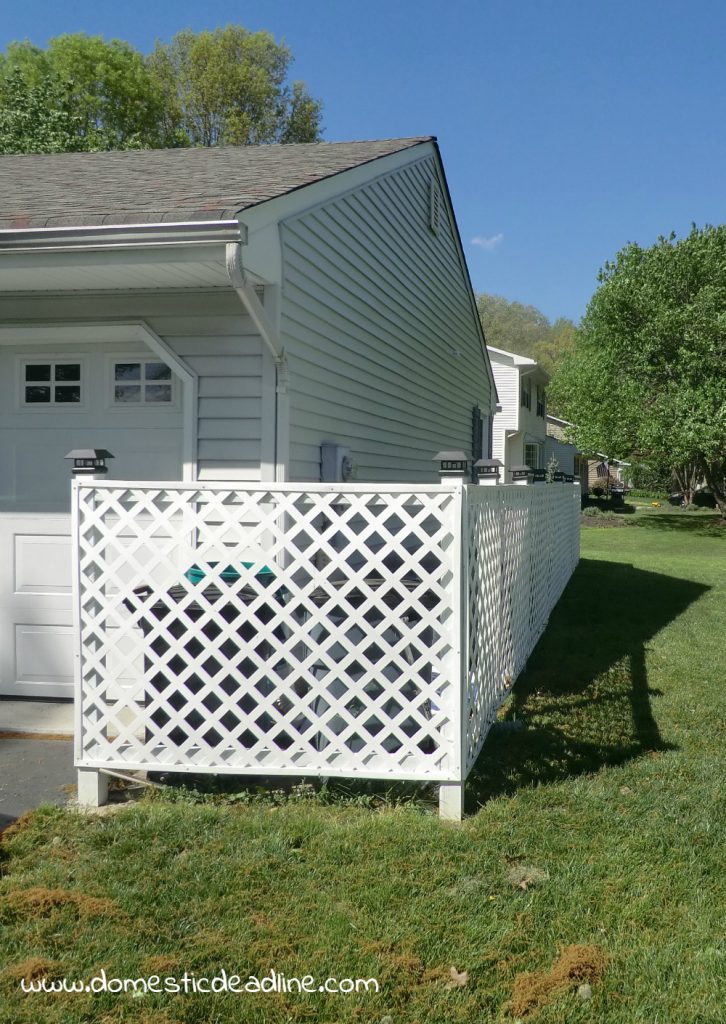
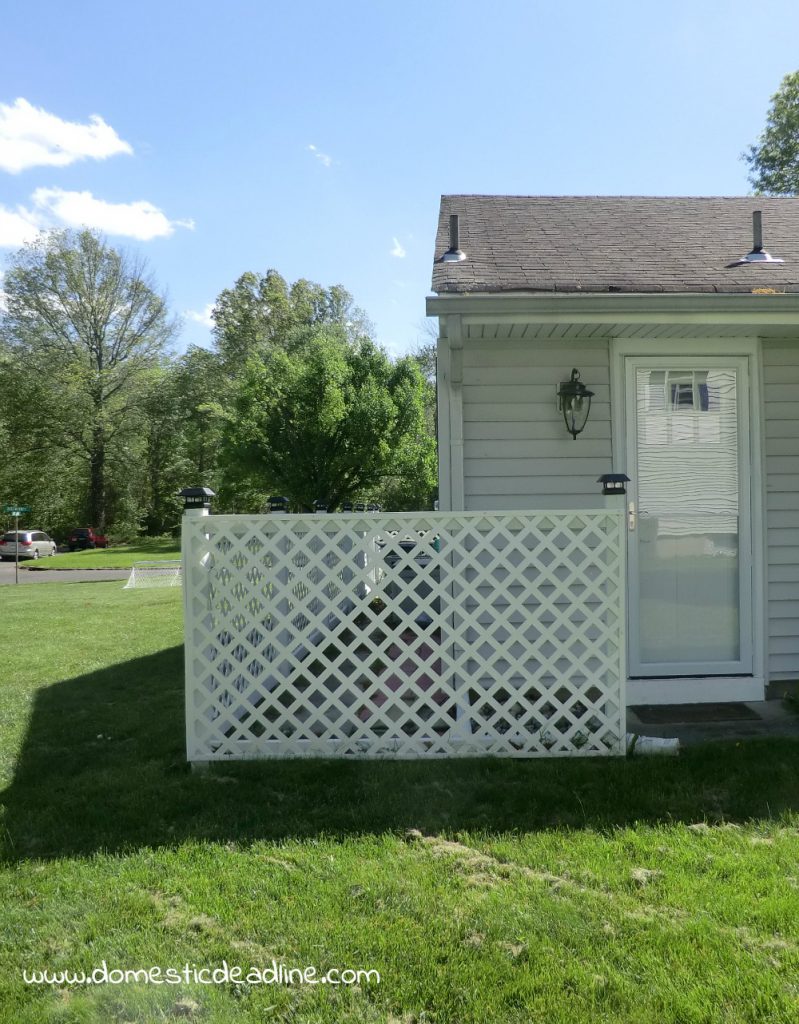
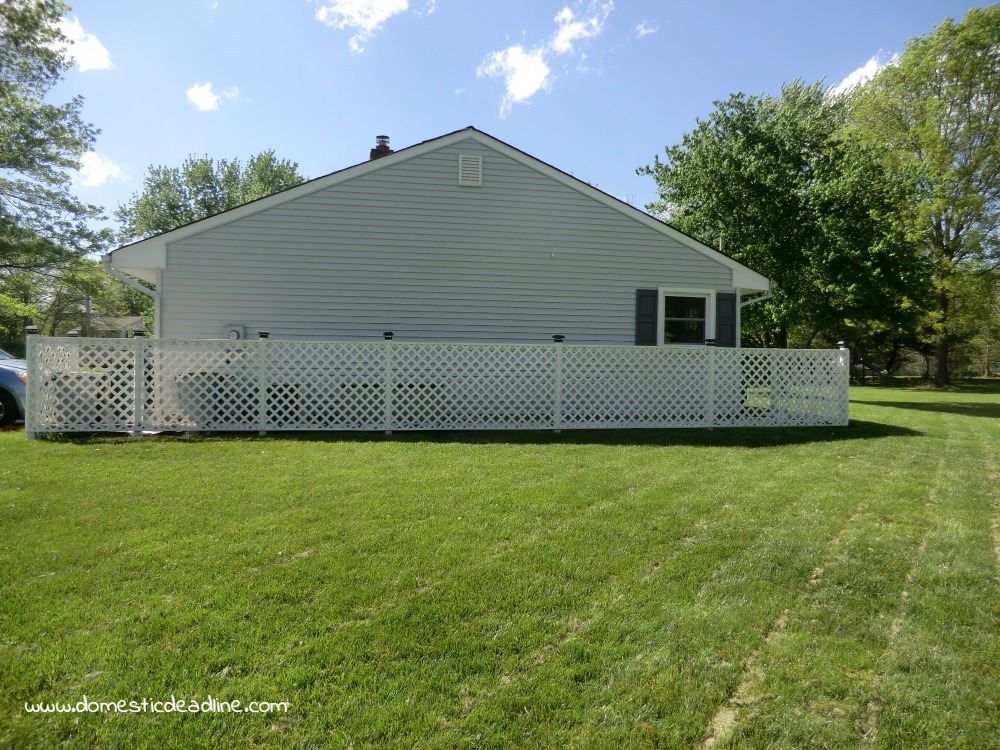
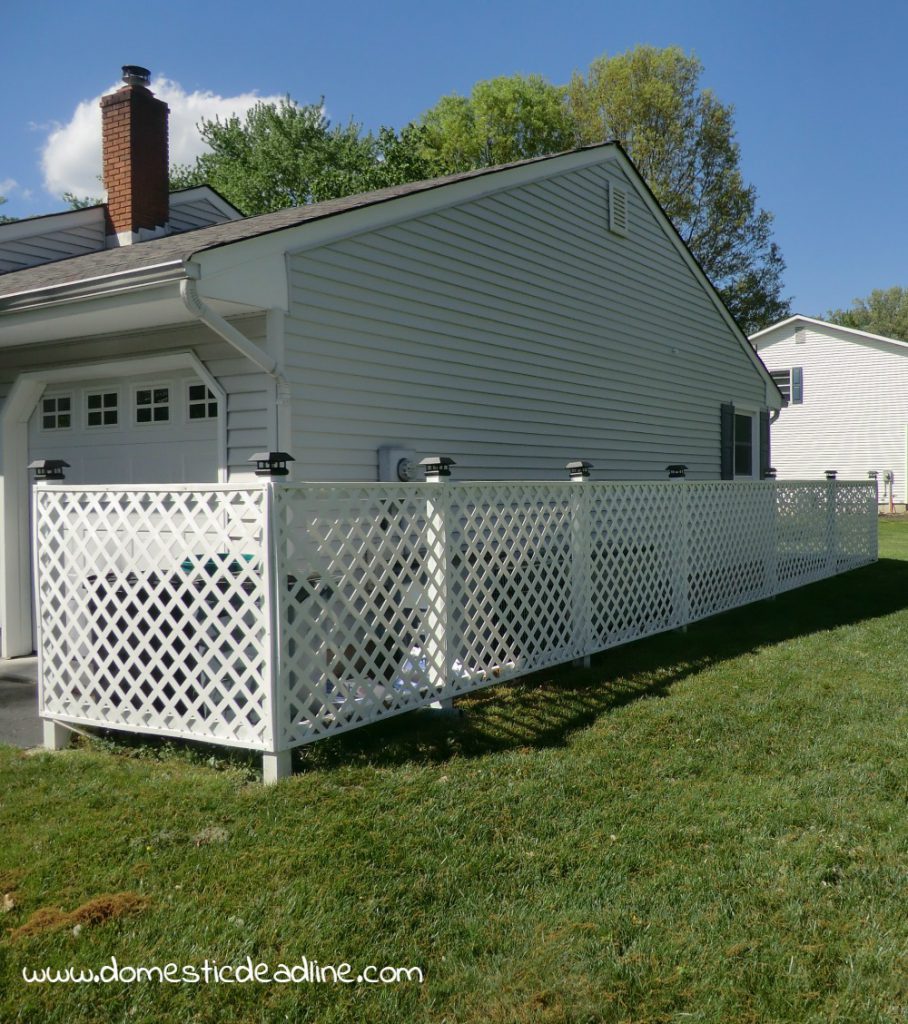
Concealed behind the lattice are the air conditioner, 3 trash cans, 4 recycling bins, various outdoor kid toys and plenty of extra space. In the future, we might want to store covered outdoor furniture over the winter.
From the yard, everything is nicely camouflaged.
During our mudroom construction, we were able to store all the unsightly construction garbage until bulk pick-up day. Since the corral runs all the way to our back mudroom door.
Yes, it was a big and time-consuming project. But the payoff was worth it! I have no idea what it would have cost to hire a fence company to come in and do something like this. Cost options weren’t something I looked into. We invested not quite $800 and two full weekends of labor into this DIY outdoor trash can storage corral.
It’s worth every penny when I drive up to our house and see how pretty our exposed side of the house looks.
Pin for Later
Please feel free to pin and share any of the pictures!
How do you corral and store your outdoor trash and recycling bins?






21 Comments