I’m a craft supply hoarder. Admitting it is the first step, right? That’s really as far as I’ve gotten as I’d rather spend my time crafting than in a 12-step program. It’s for this reason I enjoy participating in a monthly challenge along with several other bloggers. Our goal each month is to create a project with supplies we already have on hand. I don’t always participate, but when I do, I’m always overcome with a great feeling of accomplishment! Using supplies I already have on hand is like figuring out a puzzle for me. This month, I needed to sew and use up some of my fabric scraps. I’m not a quilter, but I do enjoy the randomness of crazy quilts.
My Craft Room
If you’ve been around my part of the blogging universe before, you know I’m currently in the middle of a major kitchen renovation. There are tons of posts about it, it’s been my main focus. Here’s our most recent project, adding board and batten to the dining room walls (which the kitchen now opens up into).
So, I have to admit, I did this bit of stash busting just before starting the kitchen. Because I knew I wouldn’t get to sew for a long time. Actually, I’d hoped to be able to sew by now, but it’ll be at least another month. And, since I was busy planning the kitchen for the previous month’s challenge, it counts for this one!
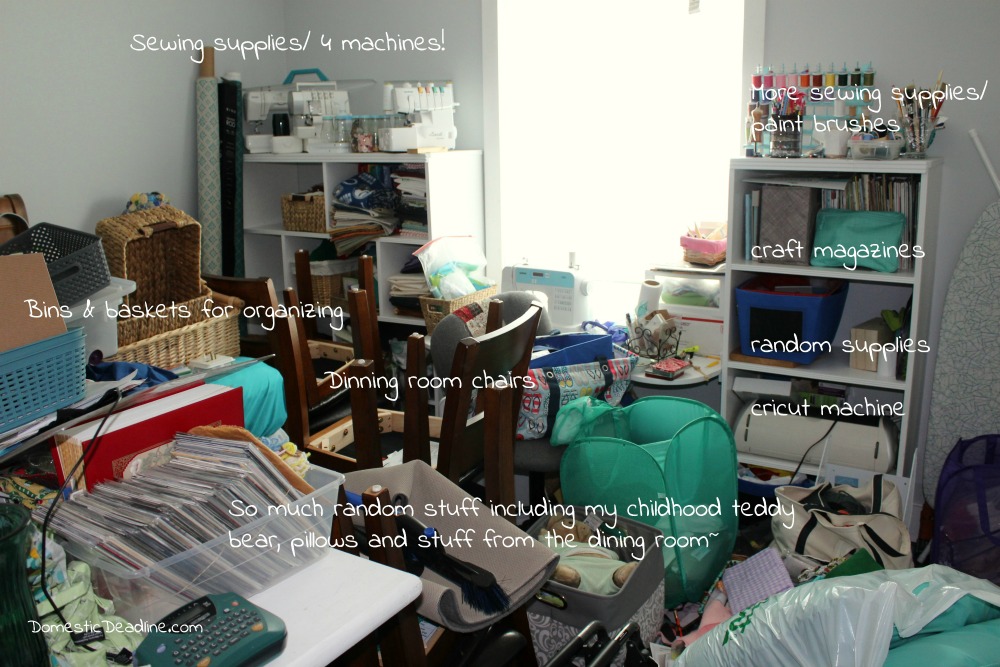
My craft room has yet to be completed, but it is next on the to-do list once the kitchen is finished. It’s currently storing more than craft supplies. Check it out…
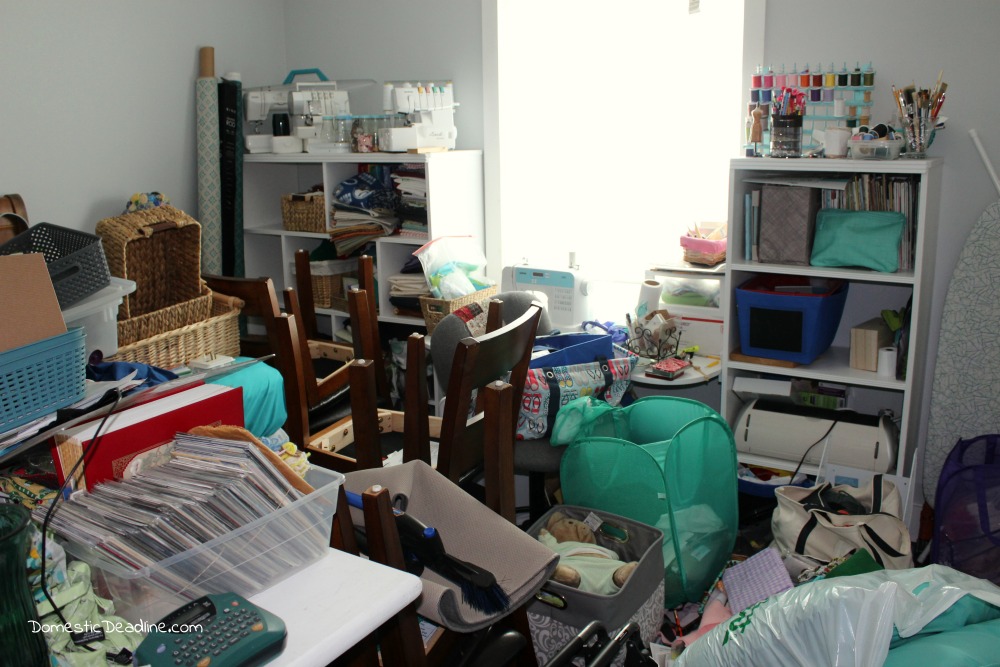
I’d love to give you a tour, but I can currently only stand in the doorway. So, here’s the breakdown:
Fabric Stash
As I said, I don’t quilt. But, I have a few friends who do. They know that I sew and love fabric; particularly scraps. So, I’m often gifted bags of fabric scraps. I can spend days sorting them. Sometimes the scraps are long strips. Others are a few pieces already sewn together.
I’ve been known to sit down with fabric scraps, come up with an idea and make it all out of scraps.
Other times, like this time, I just want to sew.
And not think.
Ok, I really like to just feed fabric into my machine while listening to an audio book. It’s therapeutic sometimes.
The Basic Technique
Sorry, this isn’t really a tutorial. It’s a pretty simple technique though.
I take two similar sized pieces, facing inwards, and sew them together. Then repeat until I’ve paired up tons of scraps.
Then, I open them up (I don’t do any ironing yet), lay another pair on top, again facing inwards. Sew the two pairs together the same way I did two single scraps. I continue to repeat until all my scraps are now 4 pieces sewn together.
I just keep repeating this process until I have one really long continuous piece. Whatever I grab, as long as it’s not matching up to another scrap that is the same pattern, gets sewn together.
Once I have a super long strip of scraps, I begin to work down the other direction. I take the beginning of my strip and match the end of it, right sides together. Sew all the way down and cut it open. Then I fold the whole thing back over and repeat this until I have a square or rectangle in a size I want.
Next time I do this, I promise to take better pictures.
Scrappy Quilt Tops
Ok, I guess this really only makes quilt tops, because I haven’t done anything else with the pieces yet. I might make them into blankets. Maybe I’ll come up with something else completely. I haven’t gotten any further with them!
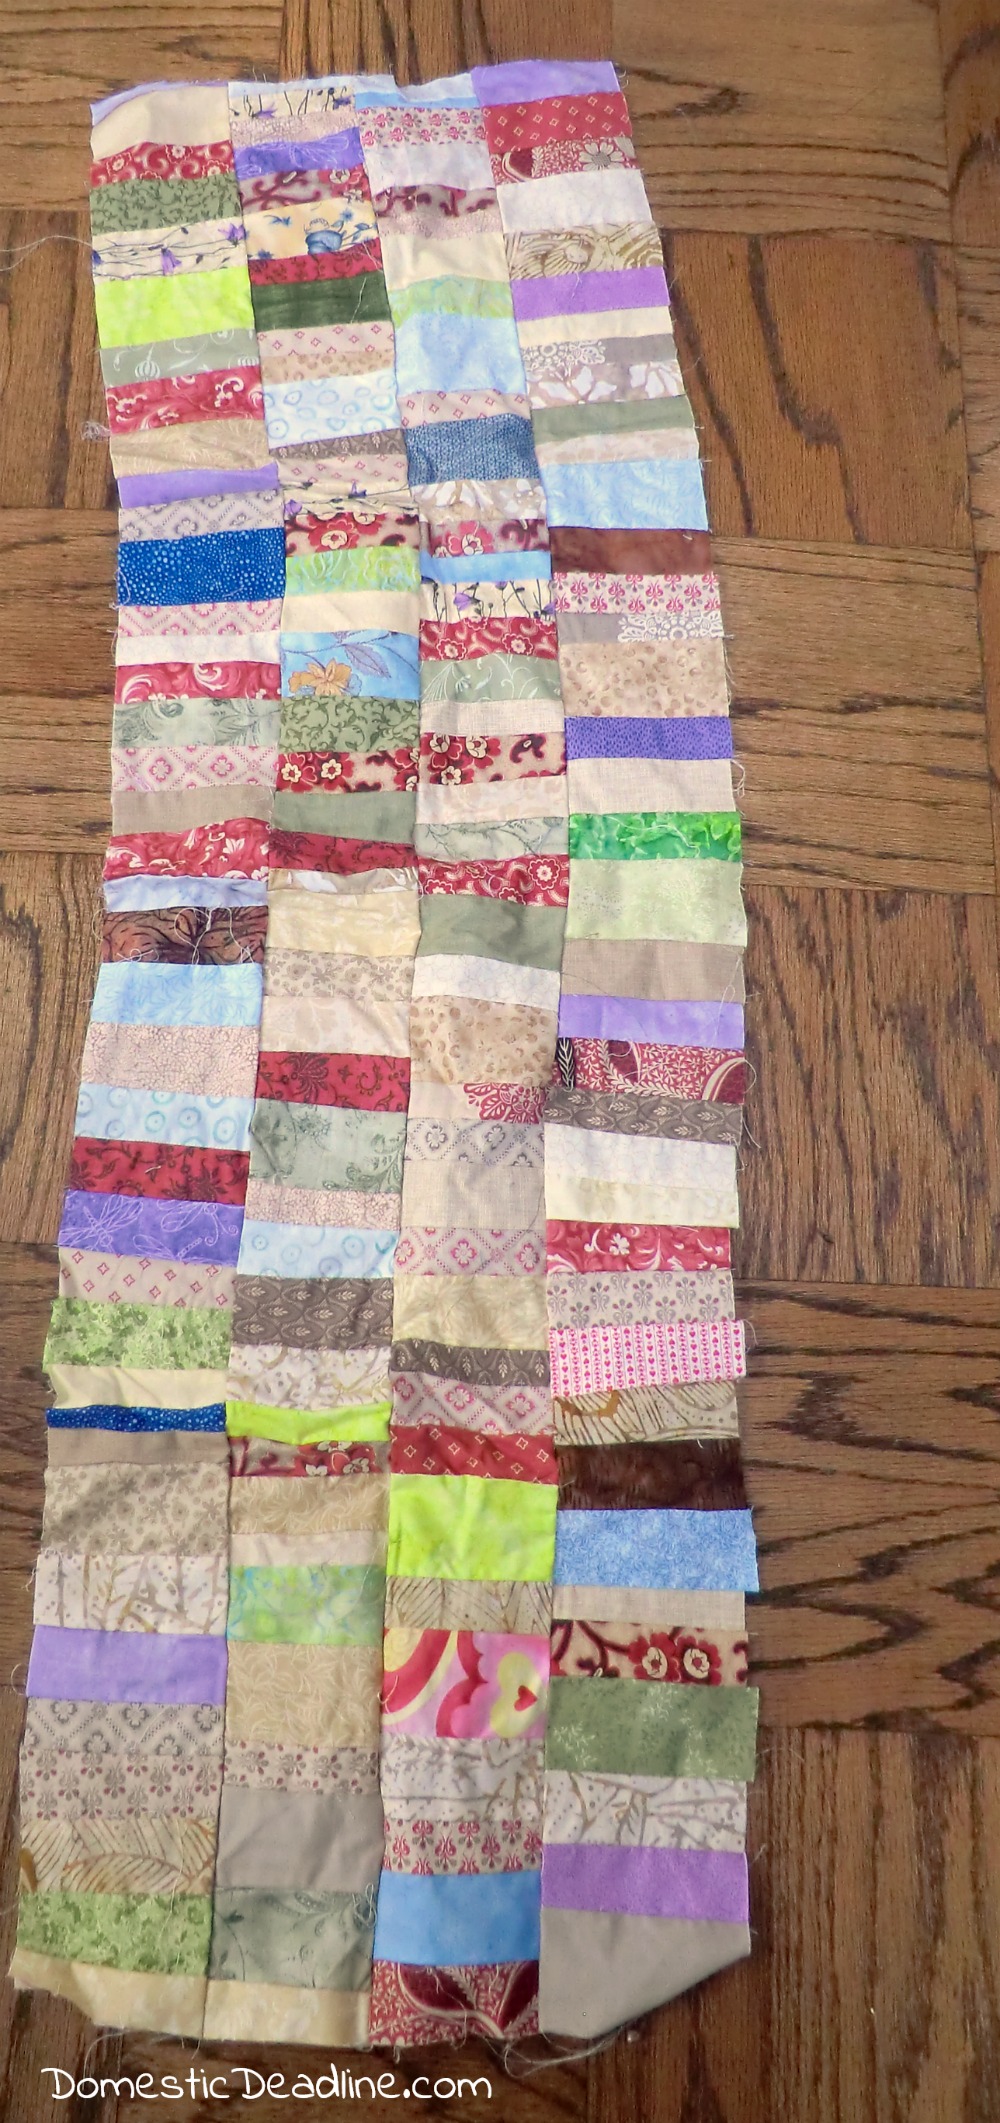
This one was all rectangles. Many of them were already two pieces sewn together when I received the scraps.
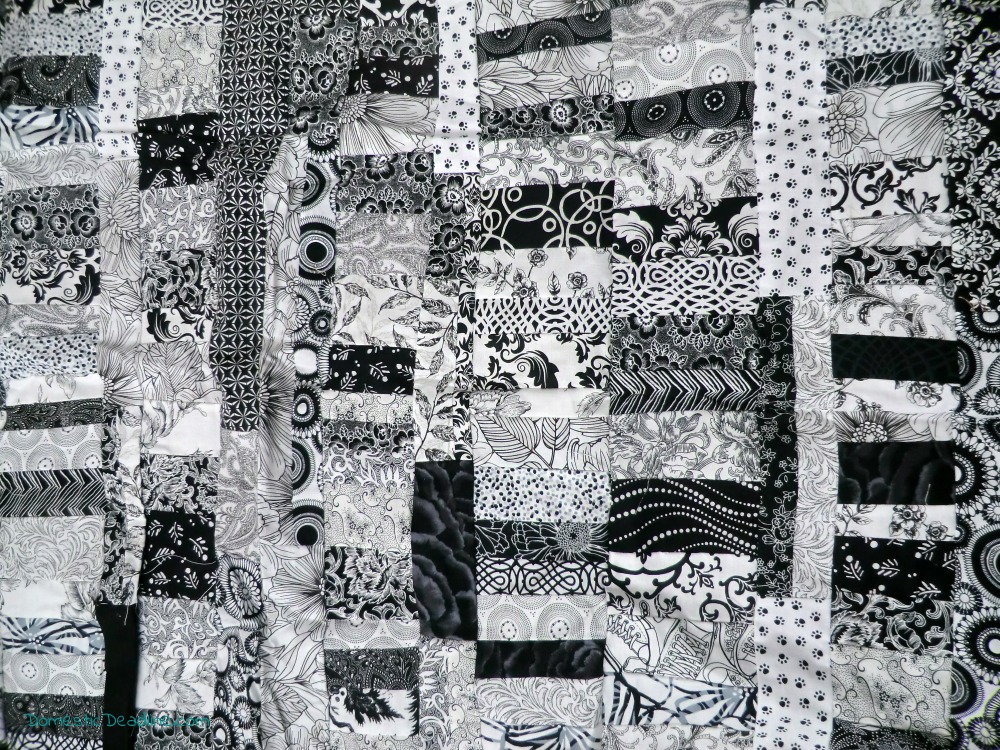
Because many of my scraps are from other quilters, I often see the combinations they used. One friend did several black and white quilts. Using all those scraps I came up with this:
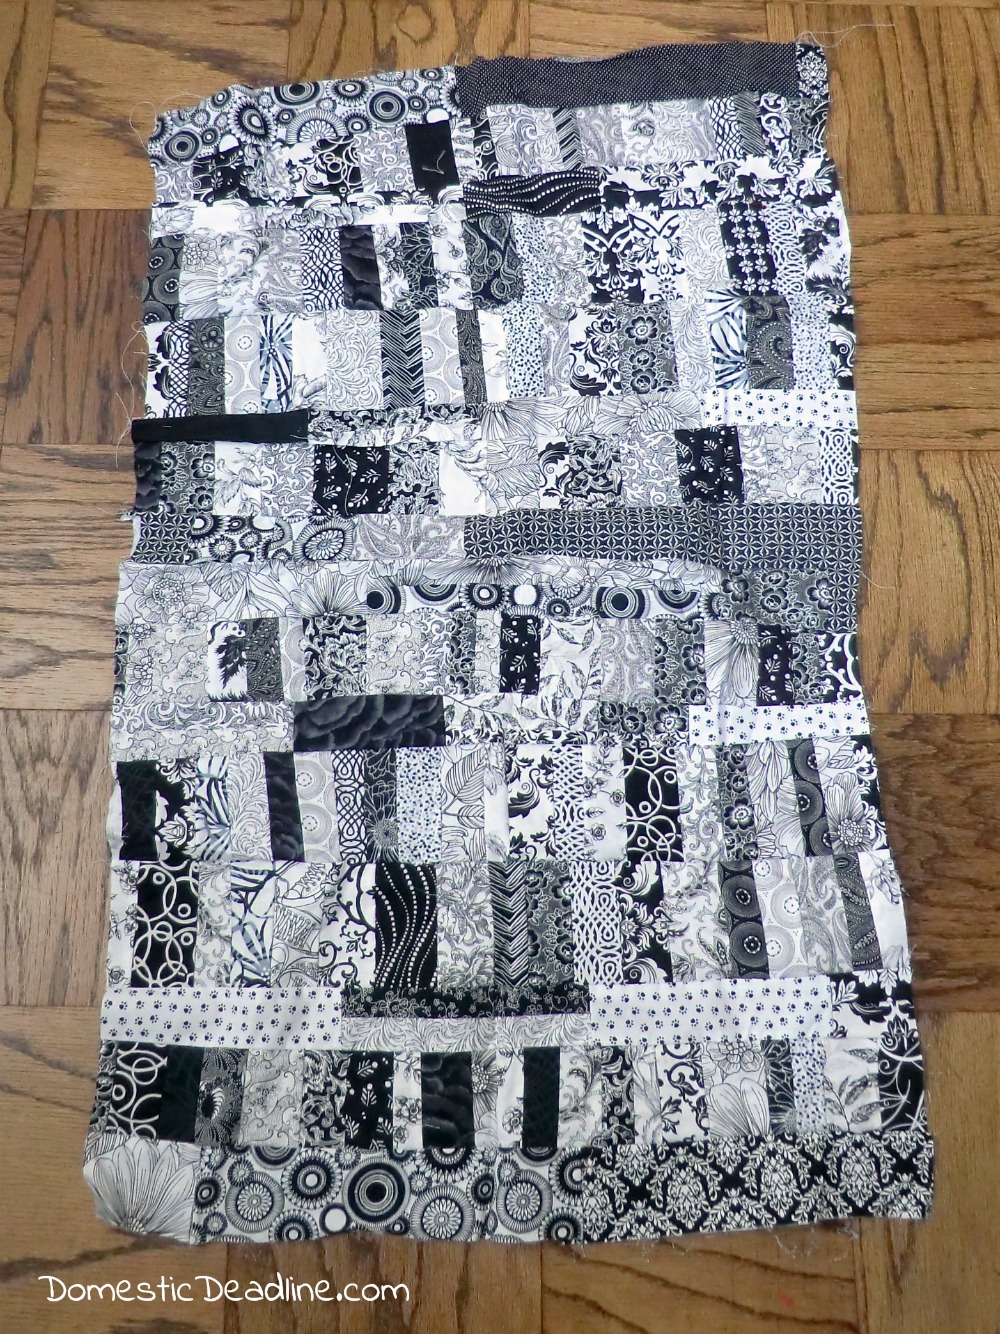
Here’s a close-up. I still sewed pieces together into strips, I just started with a lot of variation in sizes
This one was all scraps already sewn with 3 pieces together in blocks:
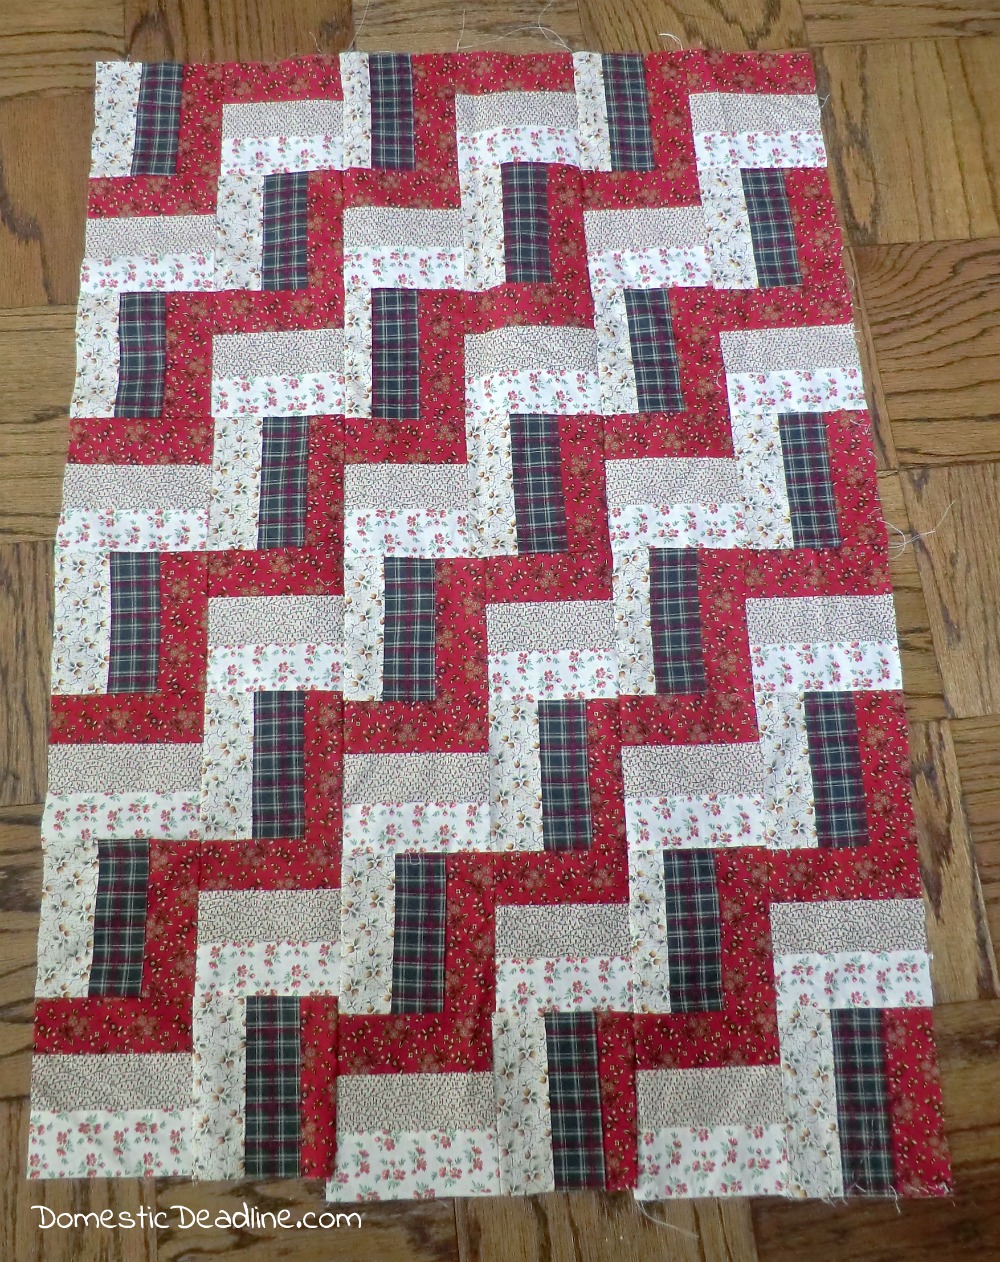
I just turned the blocks each time I sewed. You can see not everything was the same size block.
Stash Busting in an Afternoon
All of these came together in one afternoon. I’m considering making big throw pillows for the kids to lounge on in the basement. Or maybe I’ll cut them down and make patchwork zipper bags. I’ve got a whole box of zippers someplace in that craft disaster!
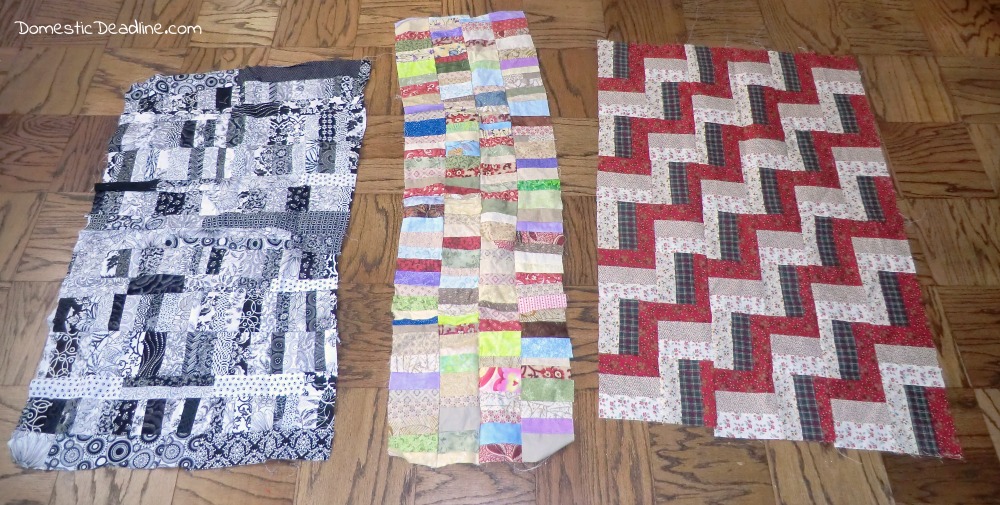
Either way, I feel kinda accomplished looking at a big patchwork piece instead of a pile of scraps. To put things into perspective… Those wood tiles on my floor… they are 8″ squares! The piece in the middle is taller than my son.
Craft Room Destash Challenge
See what my fellow crafters have been up to!

If you’d like to join in the Craft Room De-Stash Challenge, you can request to join our Facebook group here!






37 Comments