If I have learned anything when organizing, it’s if I don’t label everything, I might as well not organize. Unfortunately, I’m stubborn and often worn out by the time I finish organizing a space. This means I think, “I’ll label it tomorrow.” That never works in my favor. Since I often organize and reorganize (not always because I didn’t label it, but because it wasn’t right), I like flexibility in labeling. Making DIY chalkboard labels has resulted in several spaces actually staying organized! Plus, I’ll be linking up with some friends with more organizing ideas.
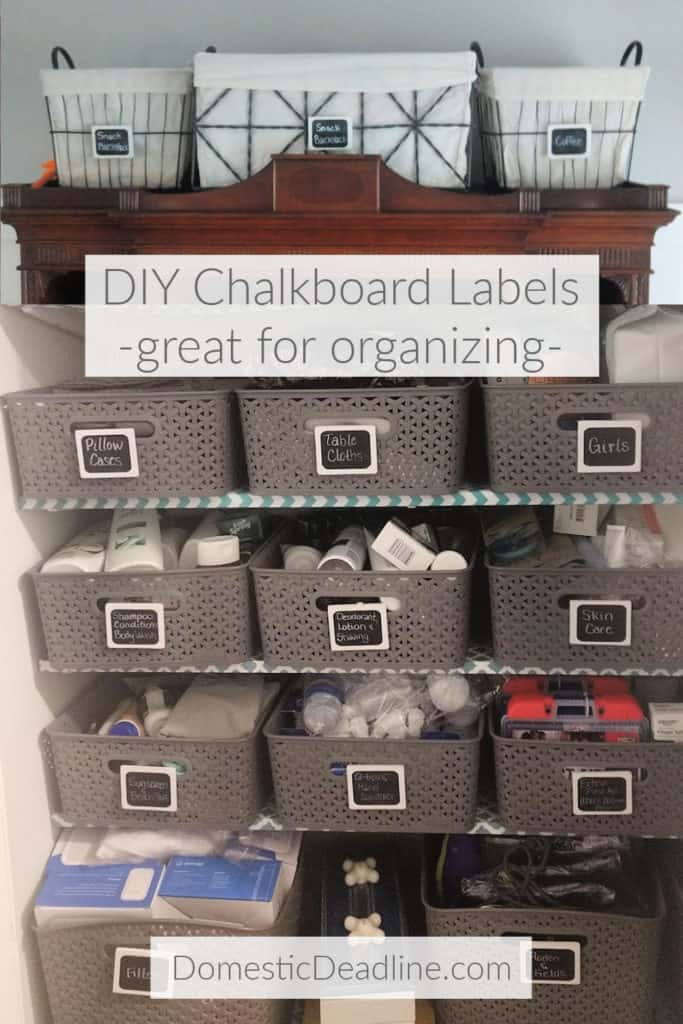
Chalkboard Labels
I started with wood rectangles I cut down from things I already had, into about 2.5″ by 3.25″ pieces. About the same size as these pre-cut pieces. If I hadn’t already had the wood, I probably would have just purchased these 2″ by 3″ wooden cutouts.
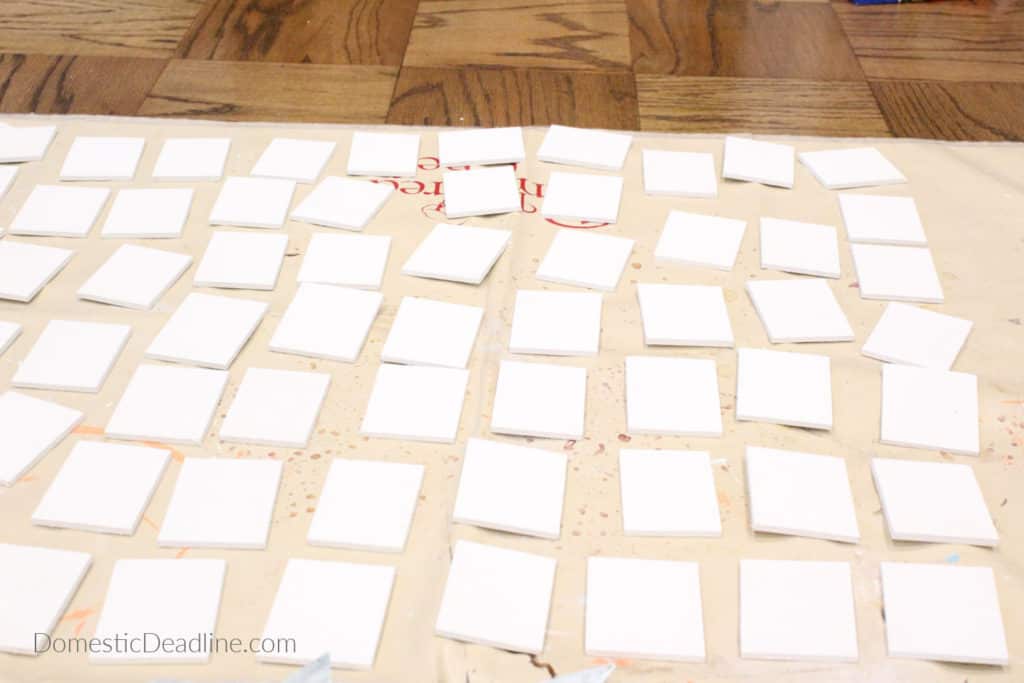
I painted at least 75 of these pieces with white chalk paint. Both sides.
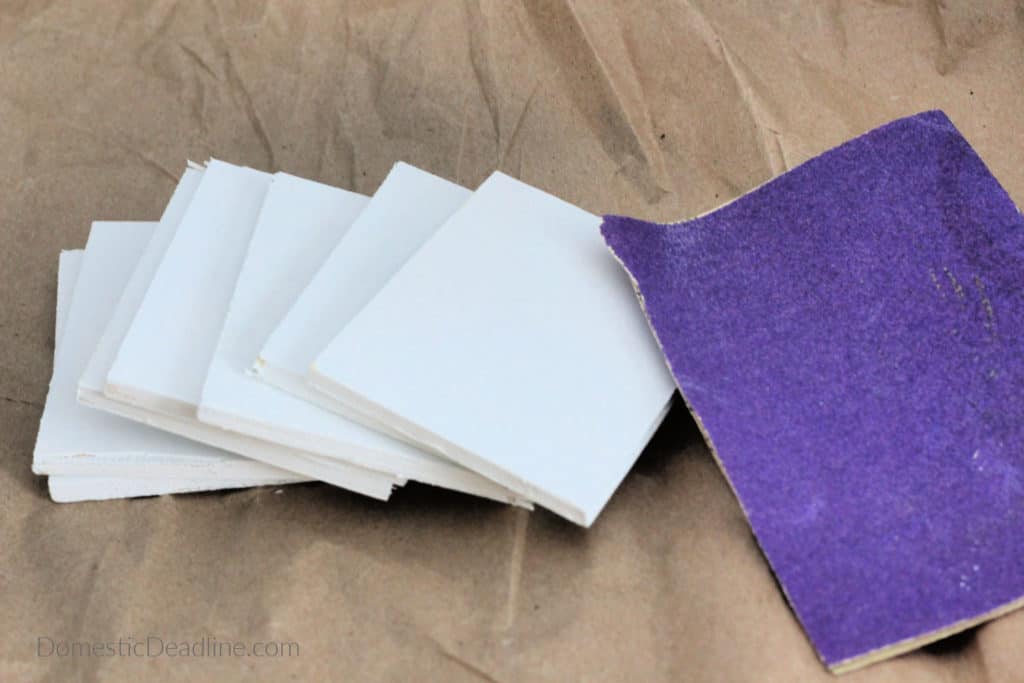
And then sanded all of them.
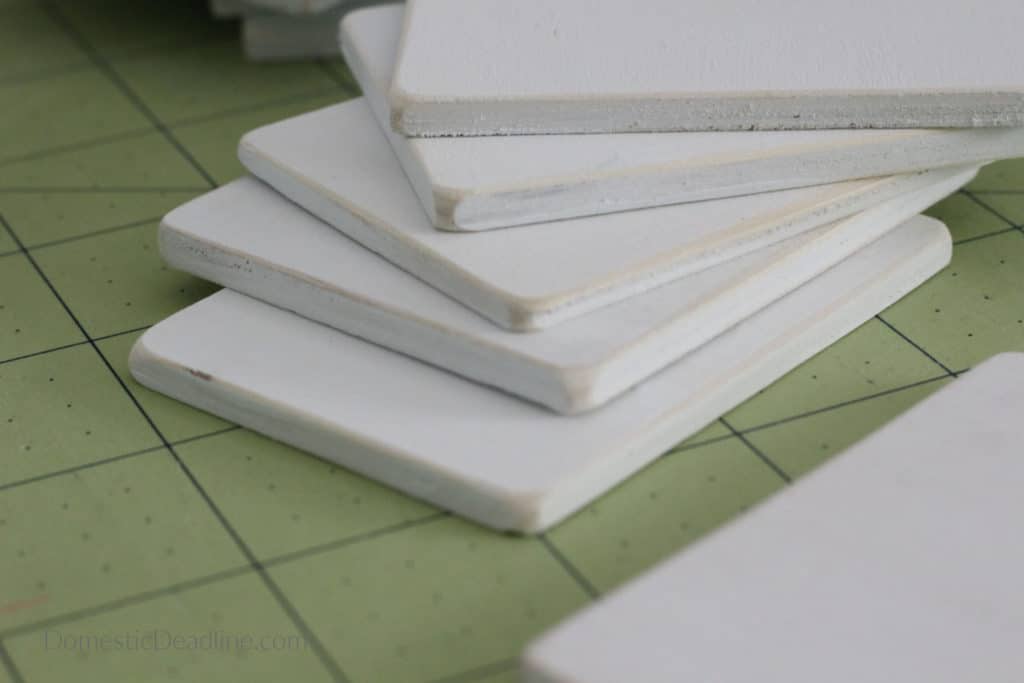
Rounding the corners a bit gives them a hint of a rustic look with touches of raw edges.
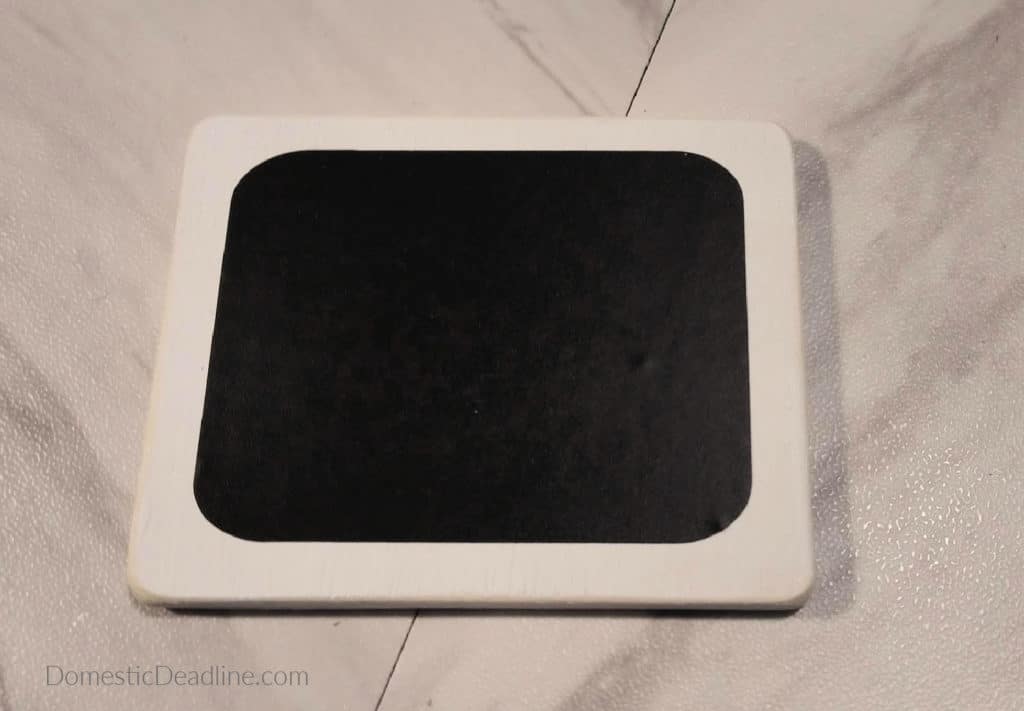
Next, I used my Cricut to cut chalkboard vinyl a half-inch smaller in both directions and placed one in the center of each painted wood square.
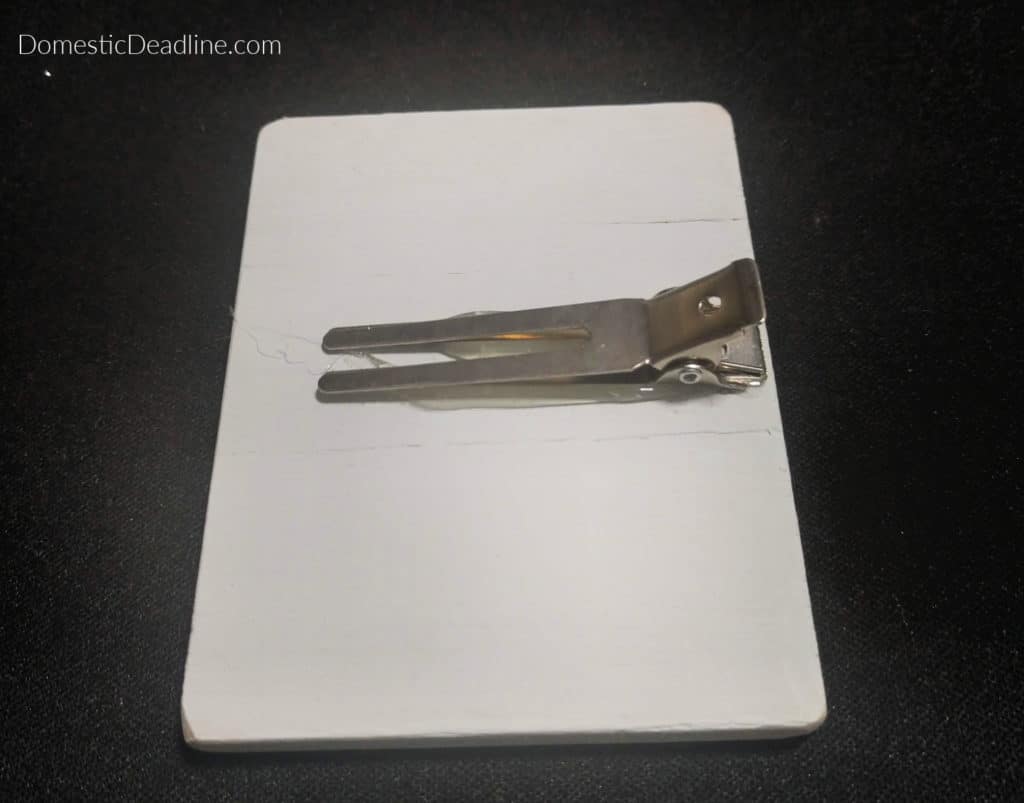
Finally, on the back, I hot glued hair clips.
Organizing in Baskets
My linen closet is one space that always gets disorganized if I don’t label it.
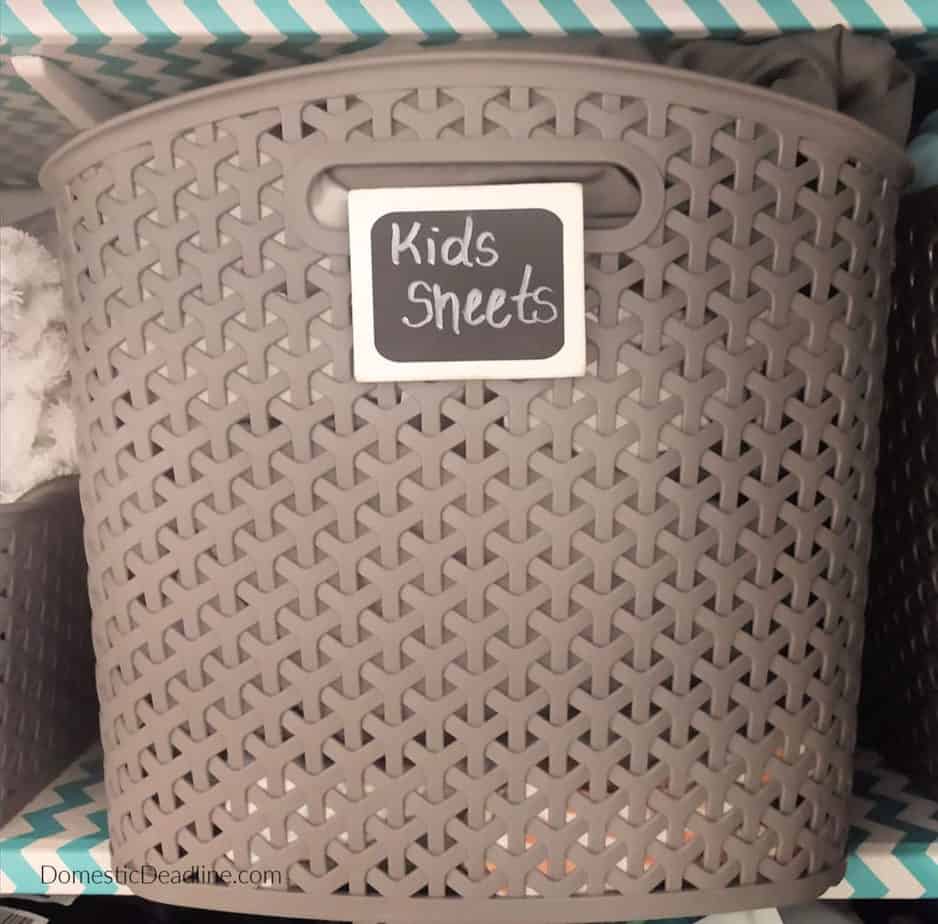
Baskets of a variety of sizes, but all matching, help me to corral like things and keep the space more orderly than just stacking on the shelves.
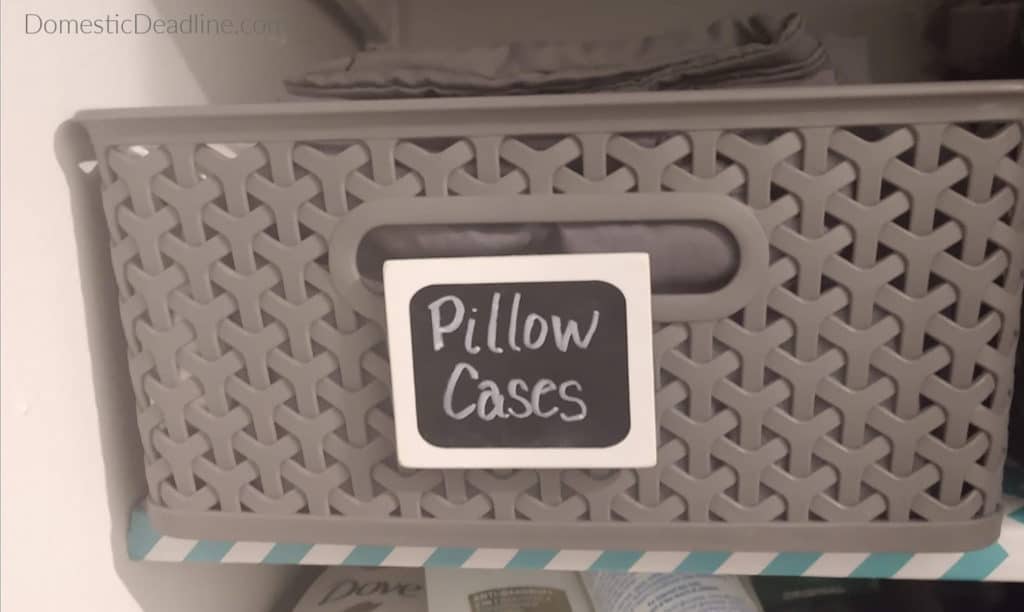
Initially, I used chalk to write on the labels but it didn’t take long for me to realize the labeling would last longer if I used chalk pens.
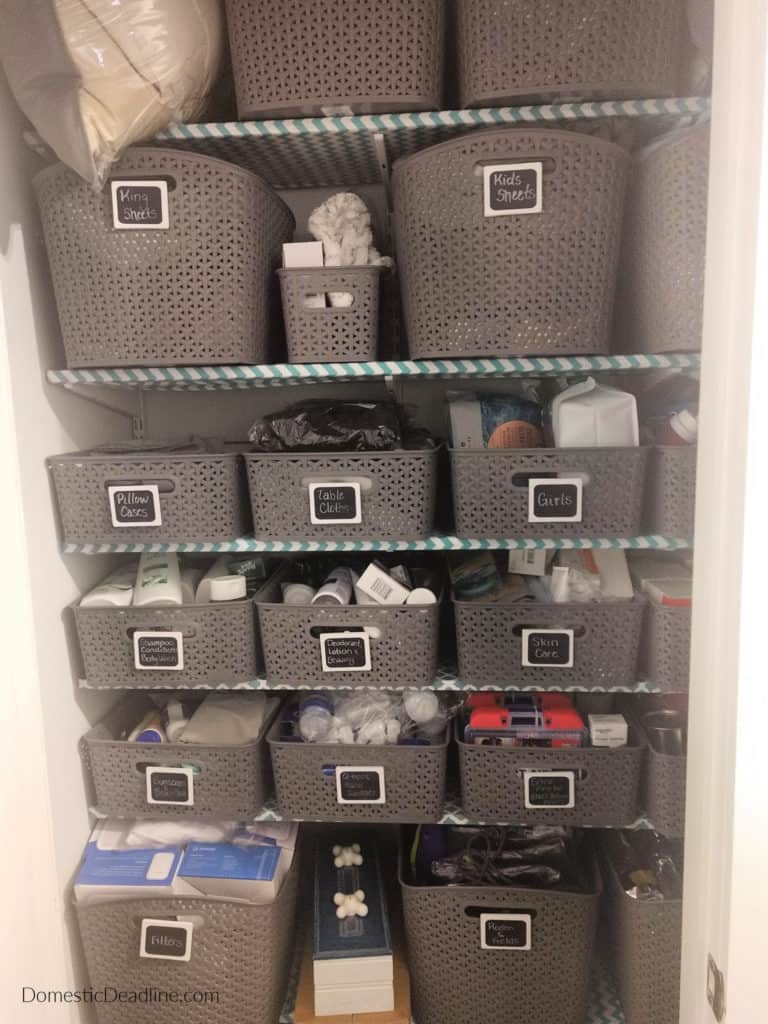
The hair clips and the chalk pens make it easy to switch the labels around or change what is in the bins.
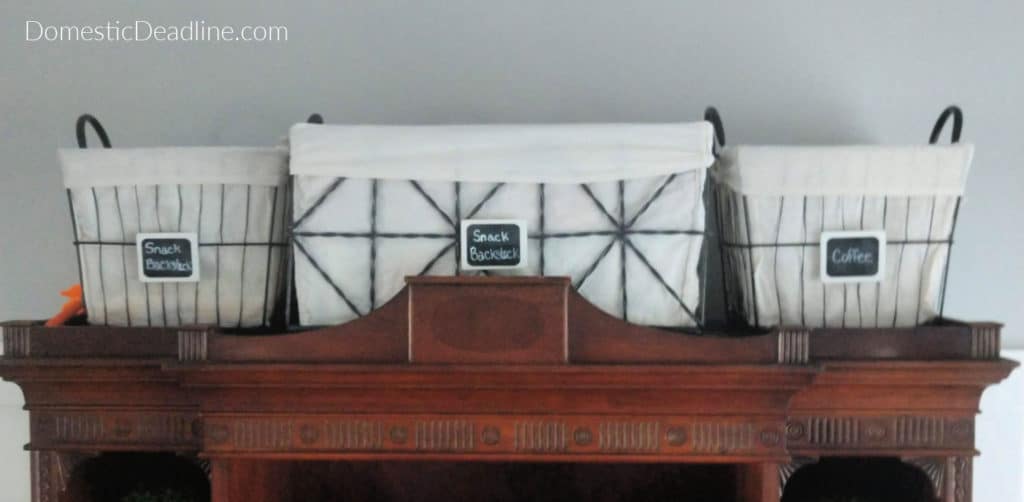
I’m happy with them on baskets and bins not hidden behind a closed door as well. Since we are trying to keep our trips to the stores less frequent, I find we are buying more and storing more back stock.
Actually, I like how the chalkboard labels look so much, I’m inspired to organize and label a few more spots in my house.
Organization Ideas

Now, time to see what my friends have been up to with organizing.
Across the Blvd
Domestic Deadline
Purple Hues and Me
Coastal Bohemian
Slices of Life
Cookies, Coffee, and Crafts
Be sure to check them out.
Pin for Later







7 Comments