Hi again! Just a few days ago I shared the first part of how to upholster an occasional chair. Due to the mass quantity of pictures, I broke the tutorial into two parts. Part one walks through step by step reupholstering the back of the chair. The likelihood that you and I have the exact same chair is slim but I would do the same thing to any chair of similar style. This is why I took so many pictures; to show you what I did step by step. Today I’ll show you how to reupholster the seat of an occasional chair, again, with tons of pictures!
This post may contain affiliate links. Which means, if you click the link and buy something, I may receive a percentage of sales at no additional cost to you. Thank you for supporting Domestic Deadline.
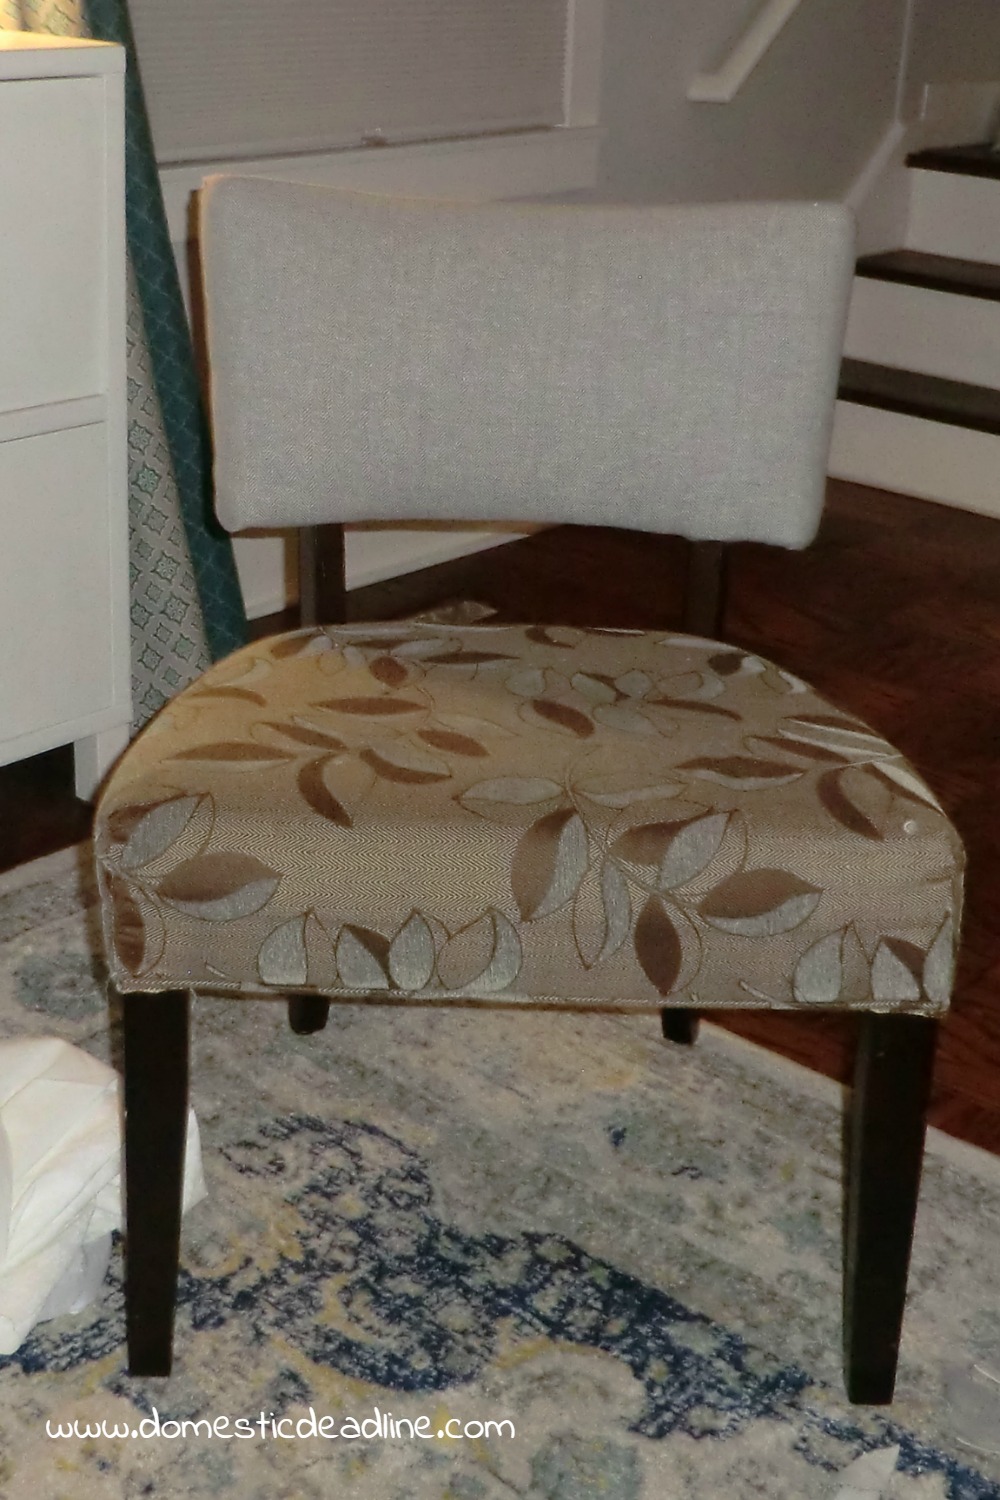
So, where did we leave off?
The back of the chair now has extra padding and new fabric.
Here’s what you’ll need in addition to the new fabric:
- Nail gun and nails
- Hammer
- Sewing machine
- Nailhead trim
- Old sheet or scrap piece of fabric
- Pins
- Scissors
- Extra padding (I used leftover quilt batting)
- Butter knife
Time to tackle the seat.
How to Upholster an Occasional Chair – A DIY Photo Tutorial – Part 2
I opted not to remove the original fabric from the seat. Now, I’m all for trial and error and figuring things out as I go, but I also don’t like to waste good fabric!
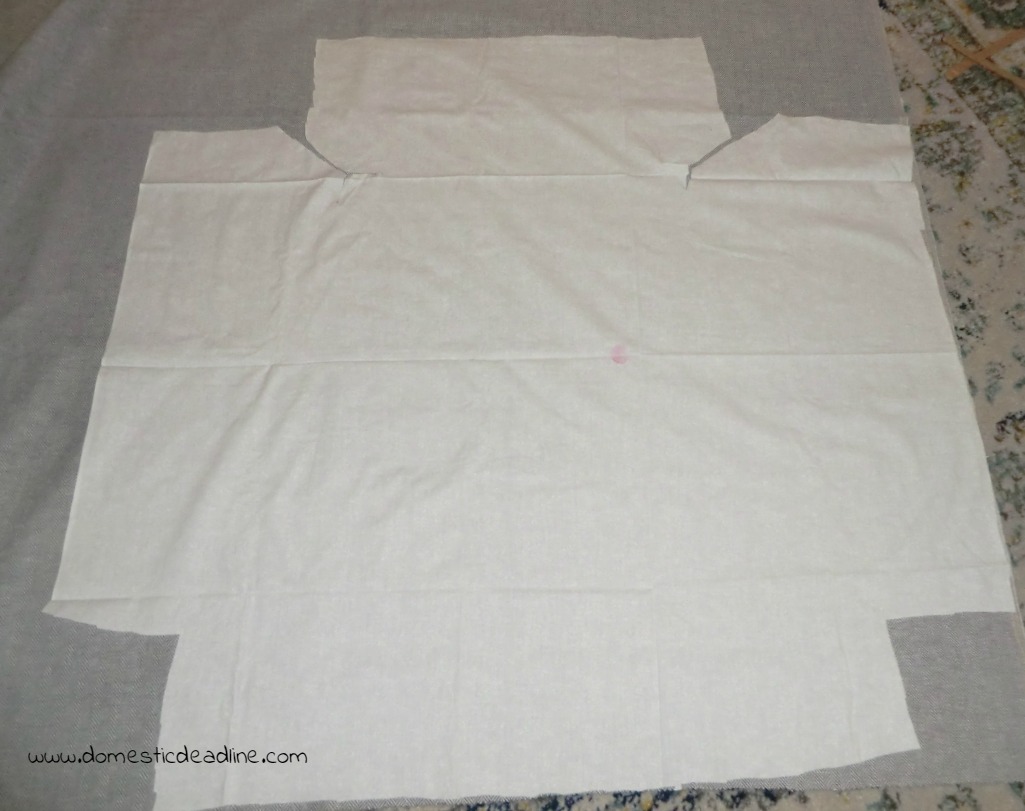
This is where the old sheet or scrap fabric comes in handy. Cut a piece large enough to drape over the seat. Then experiment and adjust until you’ve got a good idea of how to cut the good fabric.
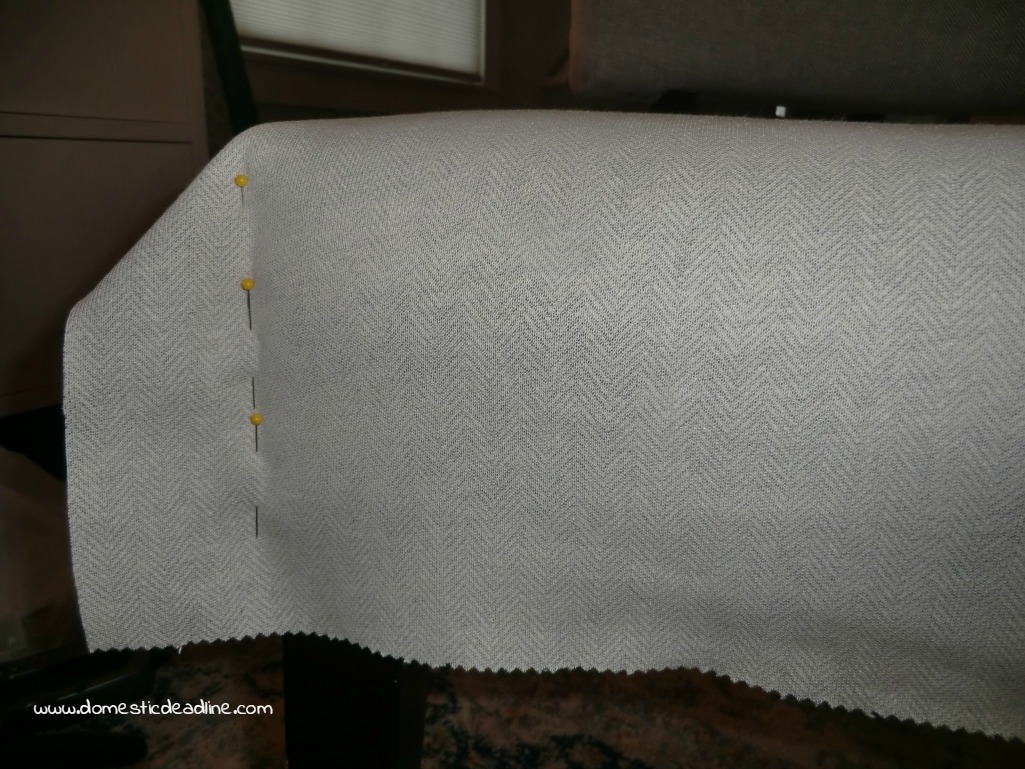
Now that we have our seat fabric cut, lay it over the chair inside out. Smooth and tuck the fabric where it needs to go, double checking the fit. Now we’re going to determine where we need to sew the corners of the cushion.
Pull the fabric smooth and pin it inside out. Be sure to pin both sides, I only photographed one.
We want the fabric to fit snuggly since over time the fabric could stretch a bit and look saggy. I know, I’m full of highly technical terms here! I found a combination of two things helped me get the new cover to have a nice snug fit.
First, using a narrow stitch, sew just inside where we pinned. Check for fit. If it could be a little tighter, sew again, just inside your first seam.
It may be called an occasional chair, but at least a child sits on it almost every day. To ensure my seams are really strong, I sew back and forth several times.
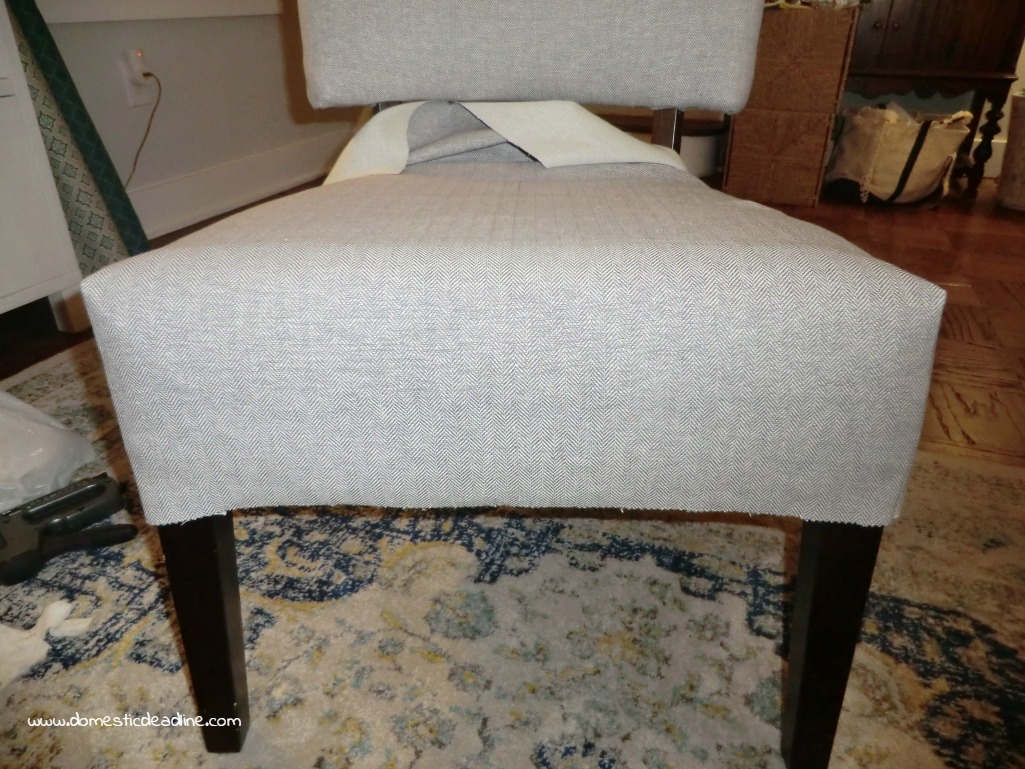
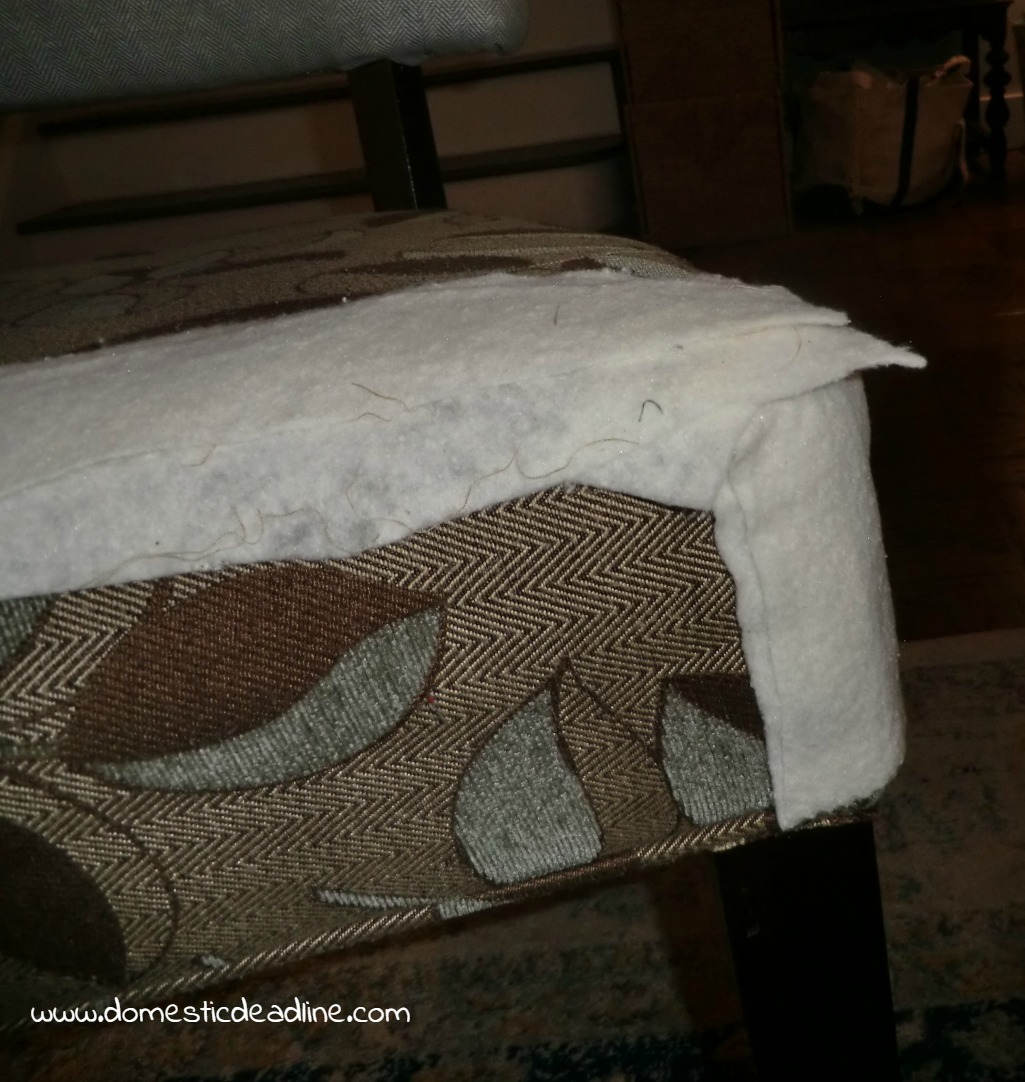
The second way I ensured a snug fit was to add some layers of extra of padding. My original fabric had begun to sag. So those wrinkles don’t show cause bumps in my new fabric, I laid a few strips of the batting along those areas. A top layer makes everything nice and smooth.
V-Cuts and Butter Knives
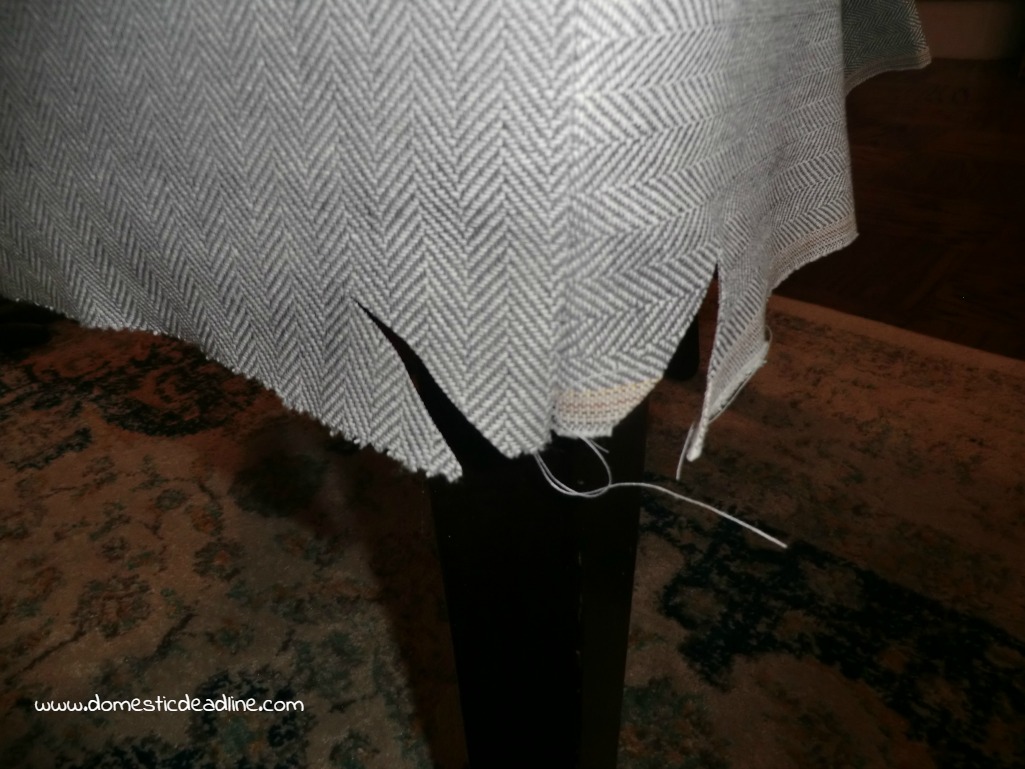
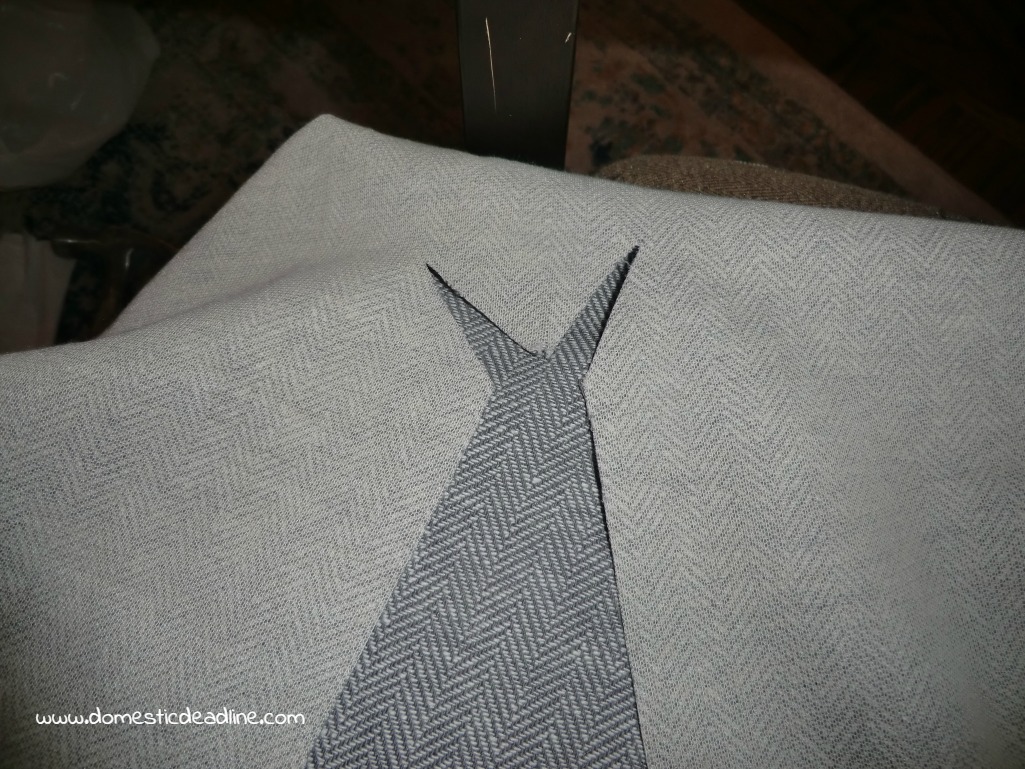
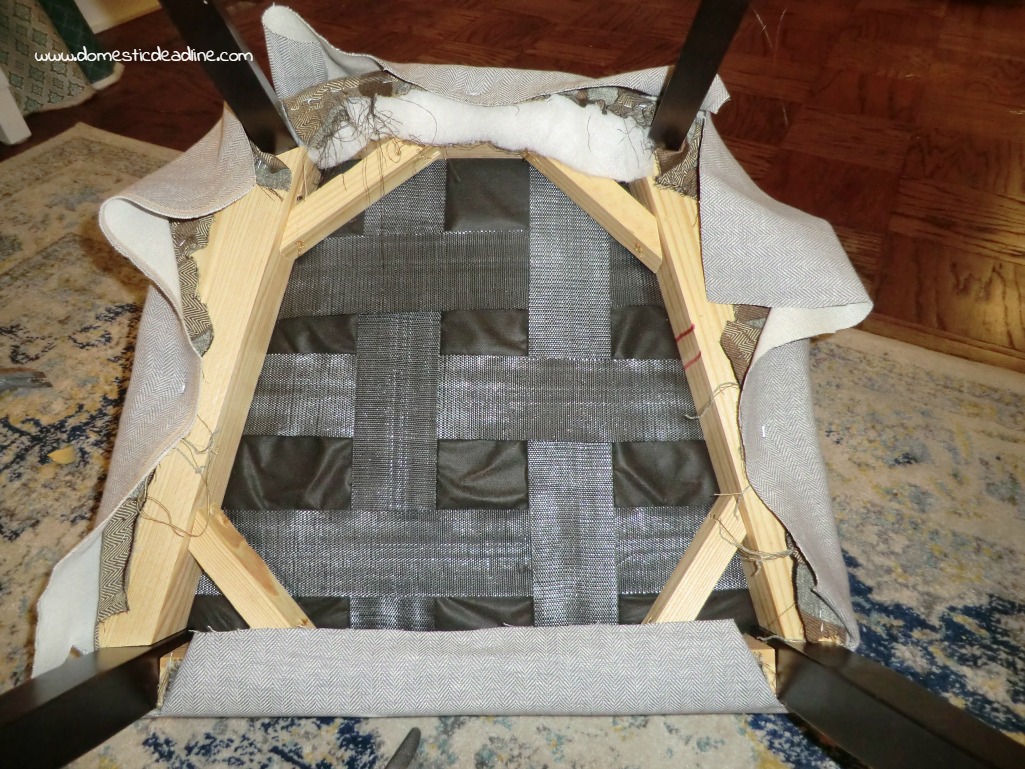
It’s almost time to break out the stapler again, but not until we have the new cover positioned just right. We need to accommodate for the legs of the chair. Make diagonal cuts from the seam to the outside edge of the chair leg.
When we are ready to staple, the middle section (in the picture above) gets tucked under to conceal the raw edges of the fabric.
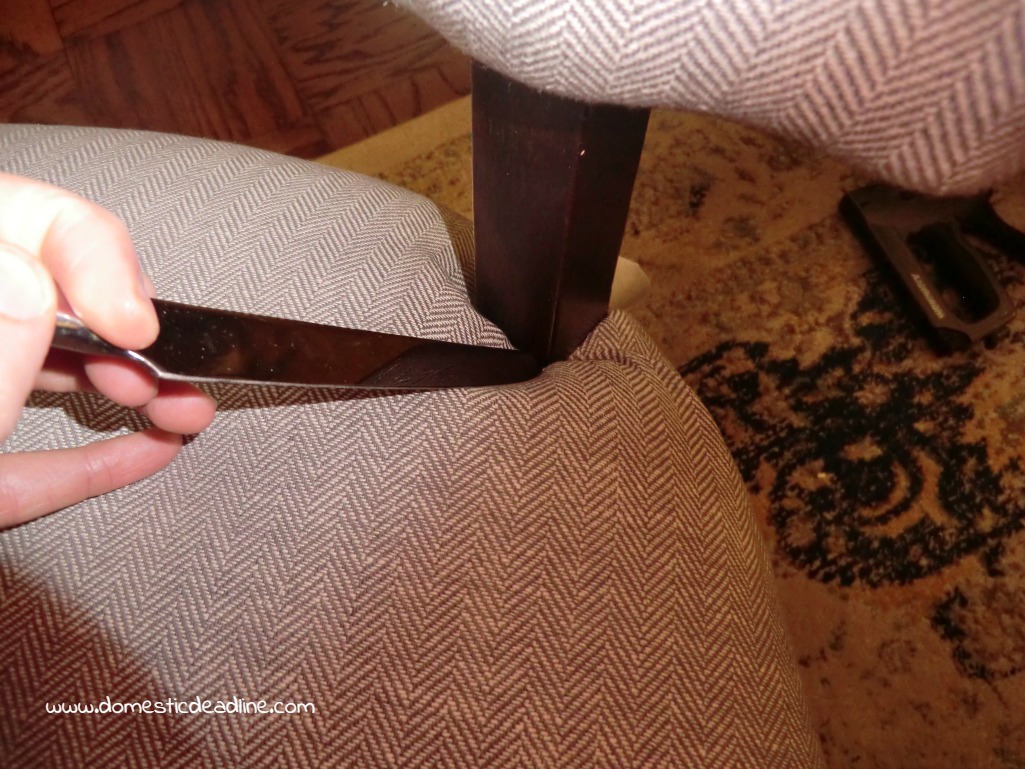
Now for the back legs. Determine where the fabric gets bulky around the leg. We need to alleviate the pressure from the excess fabric. A V-cut enables the fabric to lay smooth and curve around the leg.
With the cuts made, it’s time to use our butter knife! Seriously, this was the best thing I found for pushing the fabric in around the leg. My chair’s cushion was pretty firm back there. The leg is securely in place but we still want to get the fabric jammed in there. The butter knife works nicely and doesn’t tear any holes in the fabric.
Staples
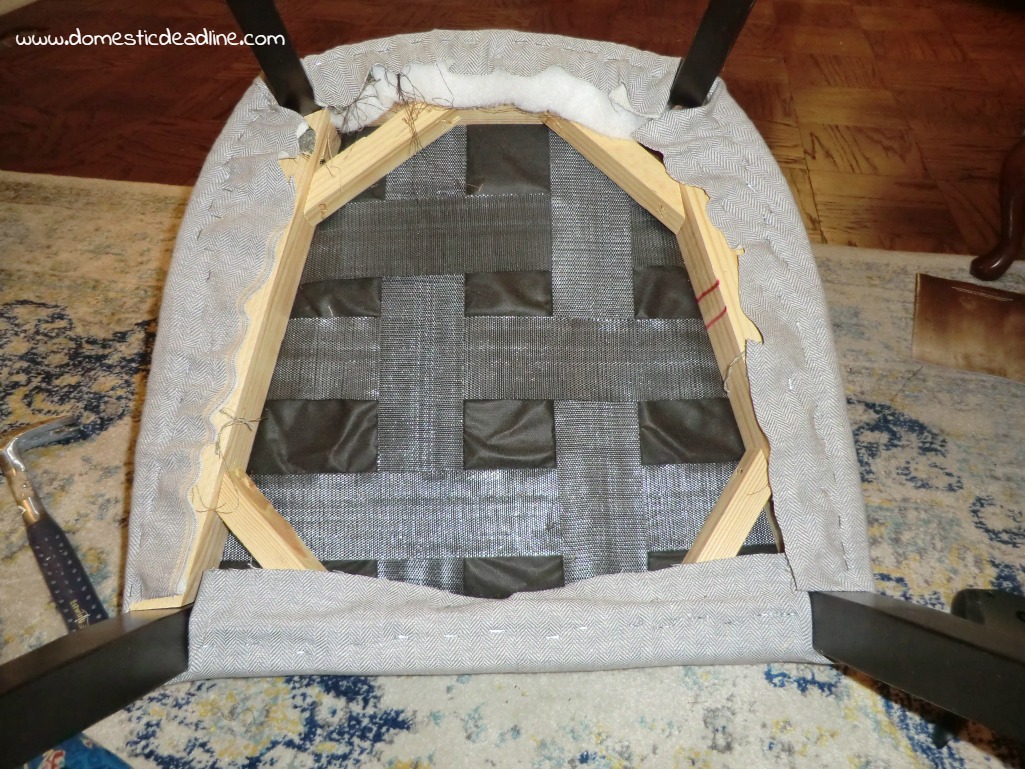
With everything in place, it’s time to flip the chair over and start stapling! Unless you have a pneumatic stapler, a hammer will also come in handy here. Give necessary staples a few extra taps to make sure they are all the way into the wood of the frame.
Start with two opposing sides. Stretch the fabric as tight as possible. Staple once in the center to hold in place. Repeat so you have fabric tacked down on all 4 sides.
Flip the chair back over and make sure everything looks perfect. If not, remove those staples and made adjustments. Once everything is where you like it, it’s time to add lots of staples.
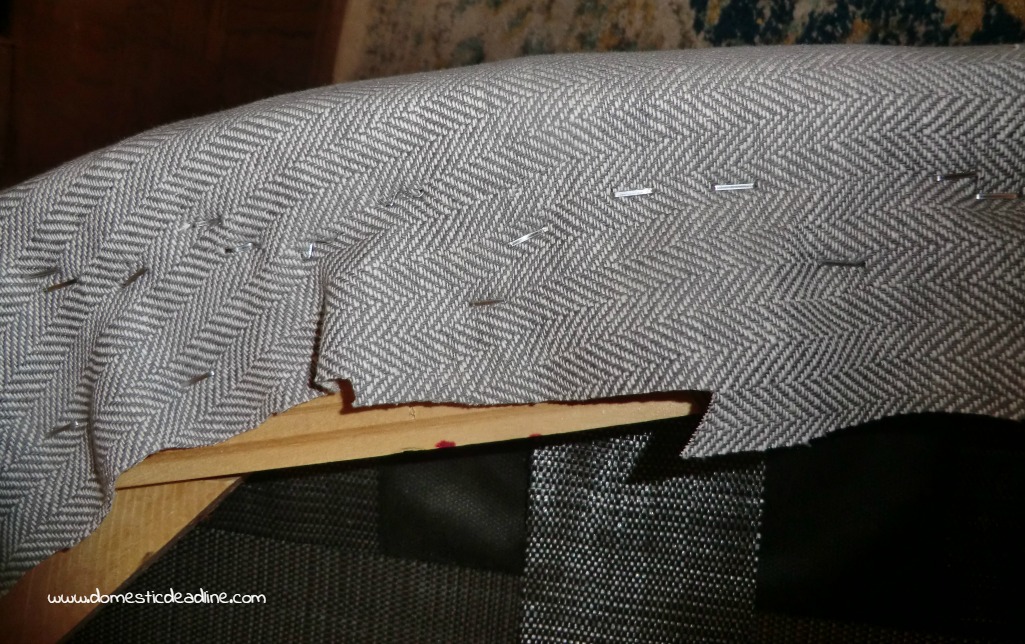
Be sure to pull the fabric tight before each staple.
Kinda looks like duct tape in the picture! It’s not, it’s webbing.
If you think you have enough staples, put even more in. Get lots of them in there! Trim any excess fabric.
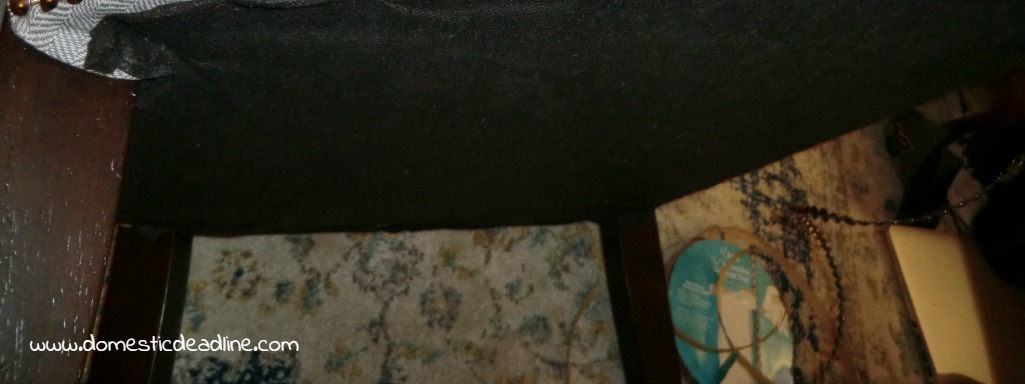
Finally, it’s time to reattach the dust cover, aka the-thin-black-fabric-that-is-on-the-underside-of-furniture. If your chair doesn’t have one, or this piece didn’t make it in the dismantling of the chair to be reused, a piece of dark cotton or another piece of the upholstery fabric would work also.
Sorry, that wasn’t the best picture, but it’s what I have.
Finishing Touches
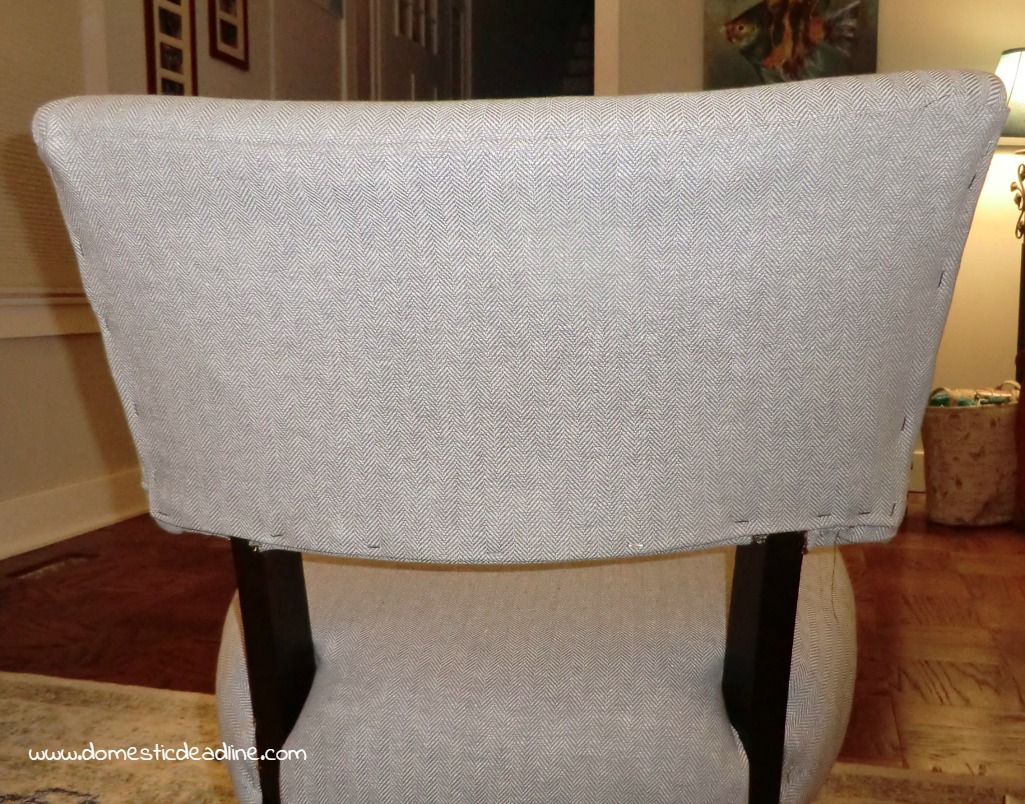
When I ended part one, I said we would take care of the visible staples later. Here’s a reminder of what I am talking about:
It’s time to take care of that and add the finishing touch that, I think, really makes the chair something special.
Nailhead trim!
And because the back of the chair isn’t often visible, I also added the trim to the base of the seat as well.
Yes, you could sit with a hammer and line up each individual nail head and tack them in, hoping they line up perfectly.
But, there’s a better way.
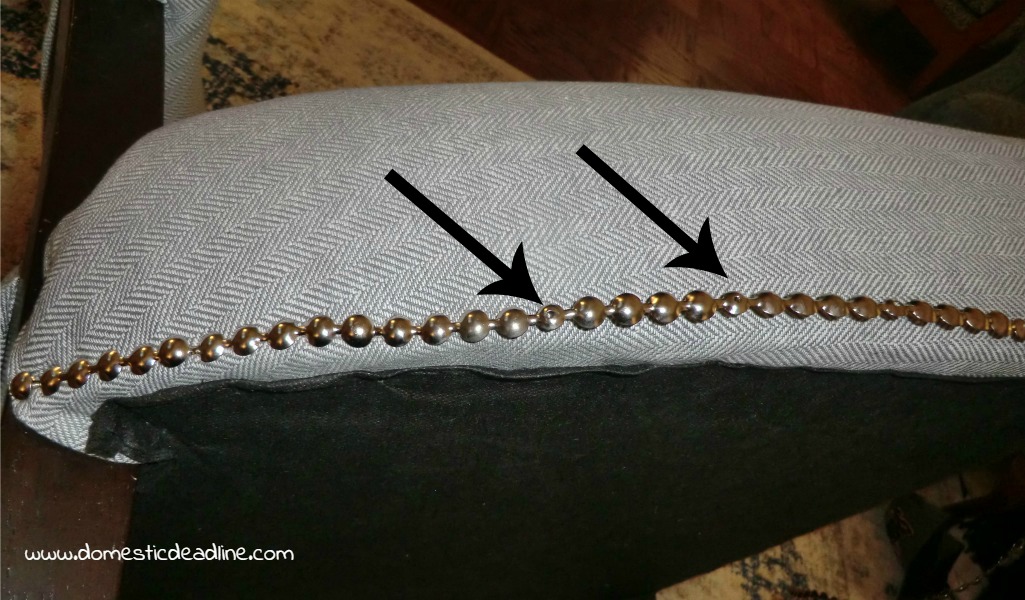
This stuff comes on a roll. There are lots of options for finishes. I personally liked the silver with my gray fabric. The great thing is, every 5th spot has a hole to tack an actual nailhead in. The others are faux.
Yes, I realize the above picture makes it look like the trim is all wonky. It’s not easy to hold it in place, flat and take pictures at the same time.
Especially when the only available assistant does this when you ask for help taking a picture
“Upsidedown Kissy Face! It’s a thing, Mom.”
I also got some close-ups of his eyes, up his nose and down his throat.
Moving on.
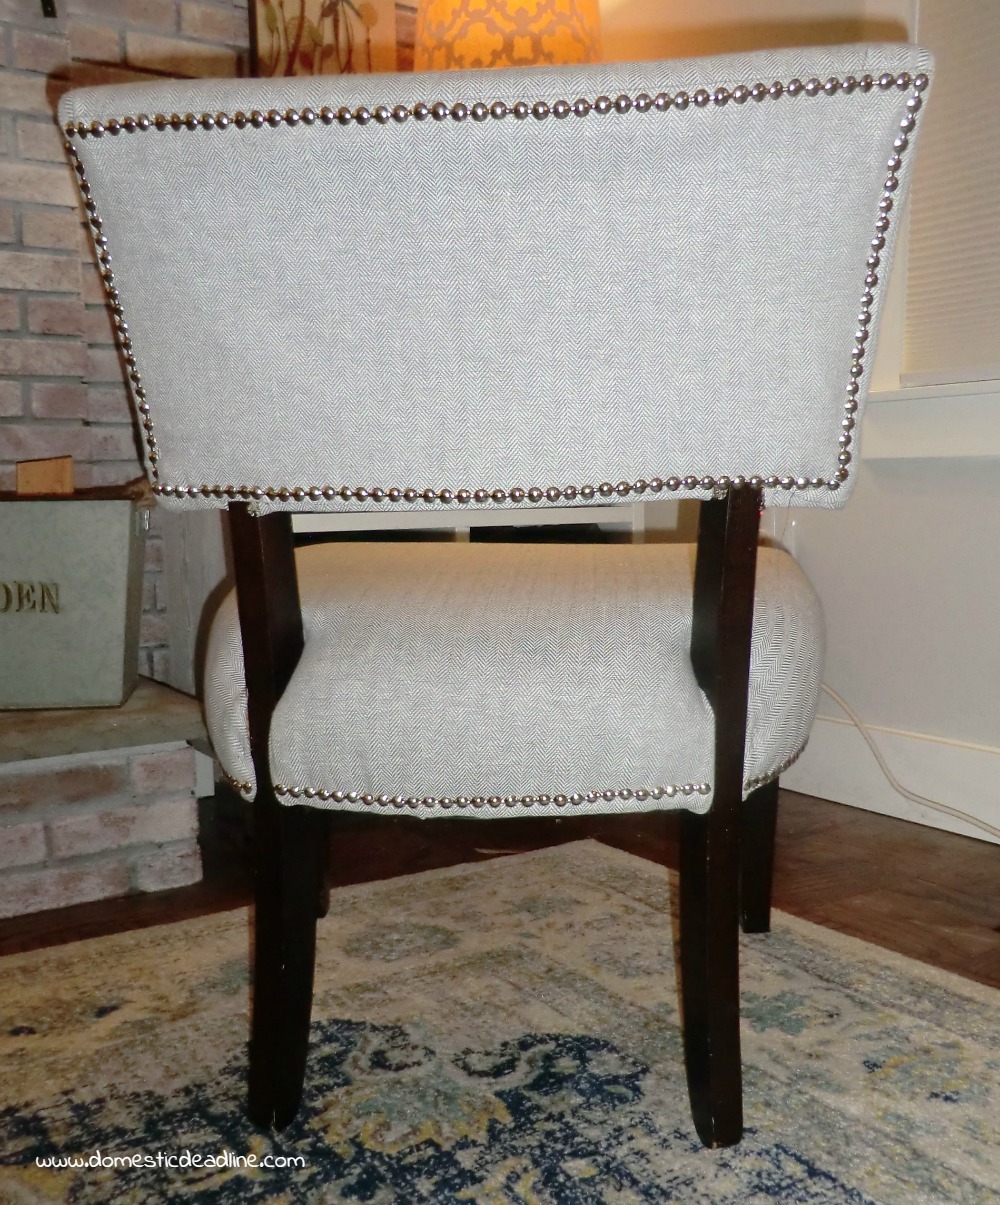
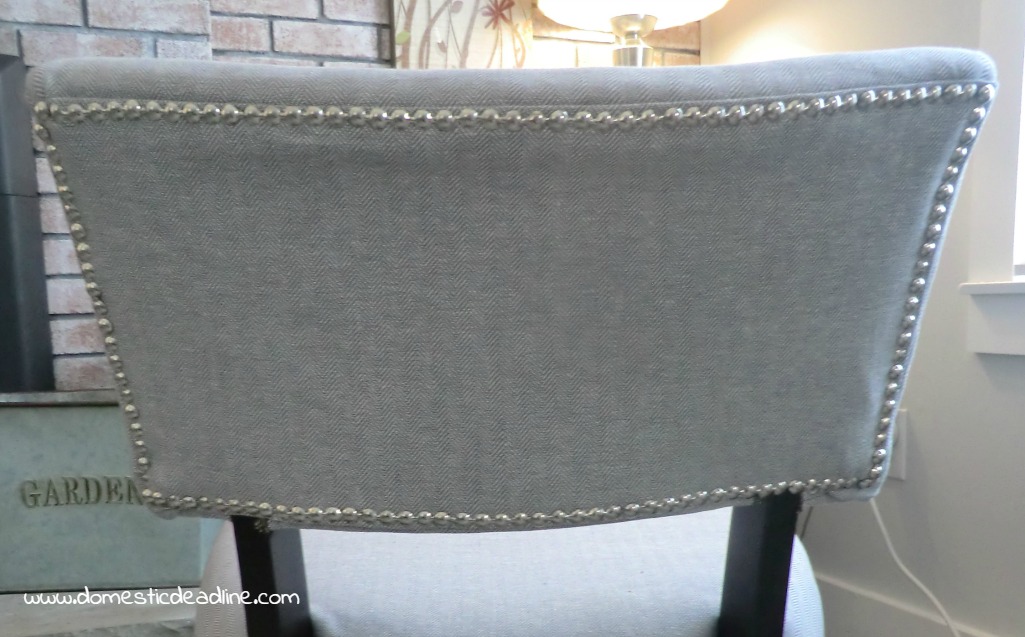
Here’s a view of the chair from the back trimmed out.
A little closer, it’s not 100% perfect, but overall, I’m very happy with it.
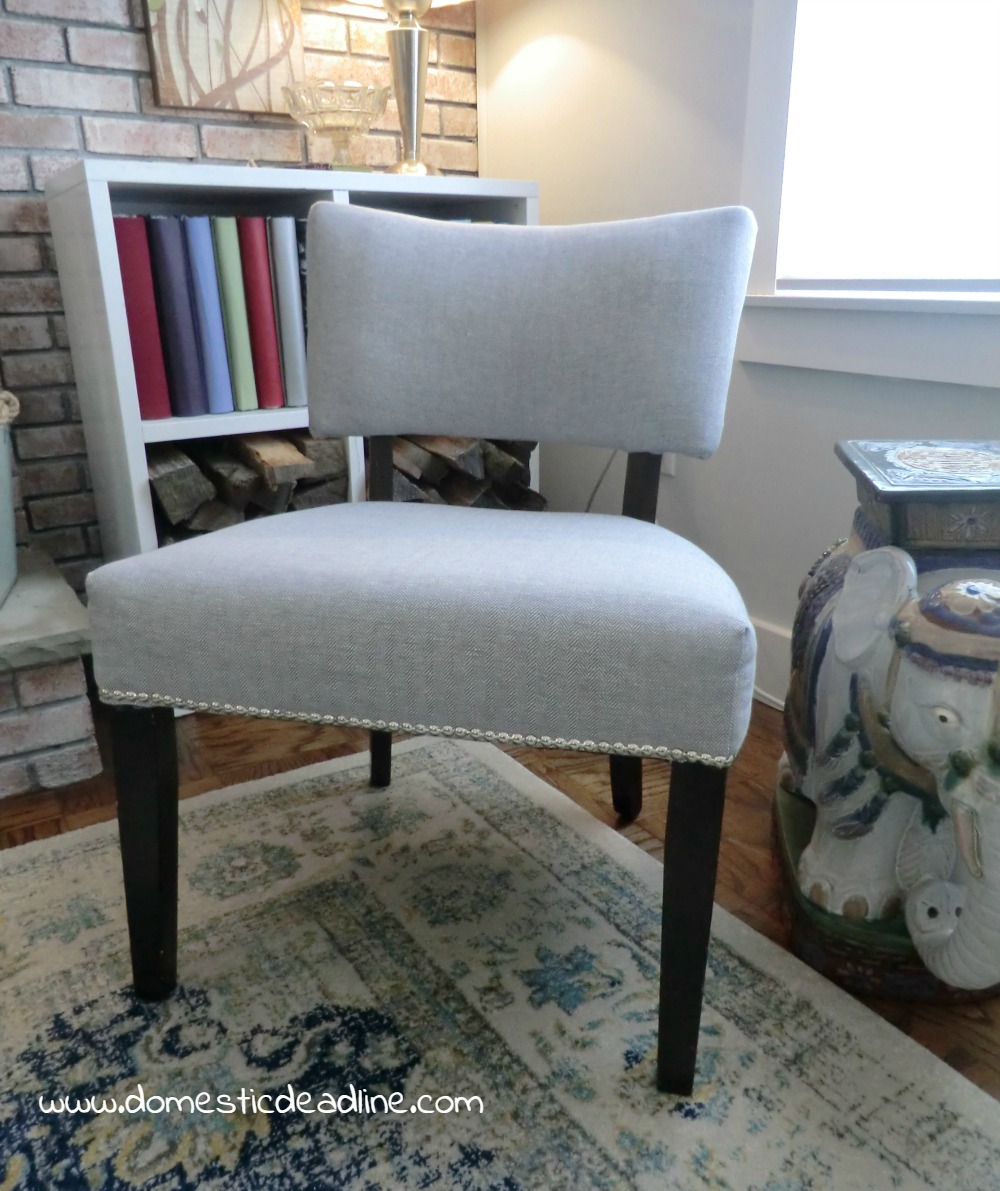
A view from the front, where the chair sits most of the time.
Before and After
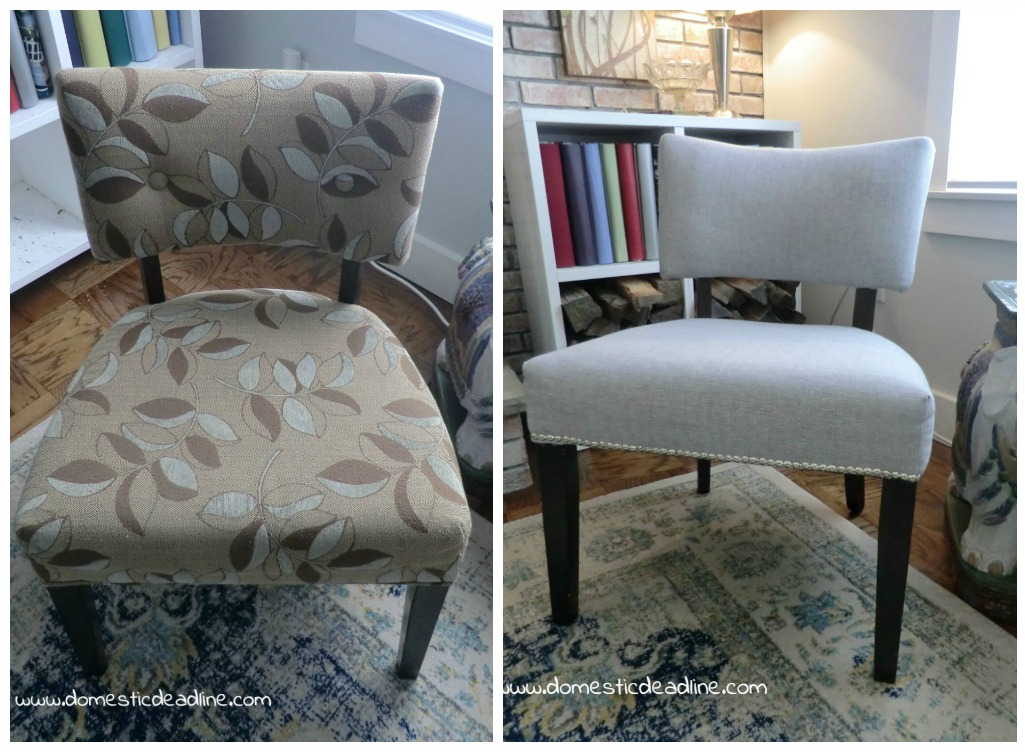
Because, let’s face it, who doesn’t love a little before and after side by side picture?
Ultimately, I have to say, the most exciting part of this project was how much money I saved and still have a new chair! The fabric was a steal at only $6 a yard and the nailhead trim was under $15 (check out Famcor Fabrics and Fabric.com for some good online fabric finds). It definitely took me some time to make but I love the results.
Do you have a piece of furniture in need of reupholstery?
Don’t forget to pin and share!





12 Comments