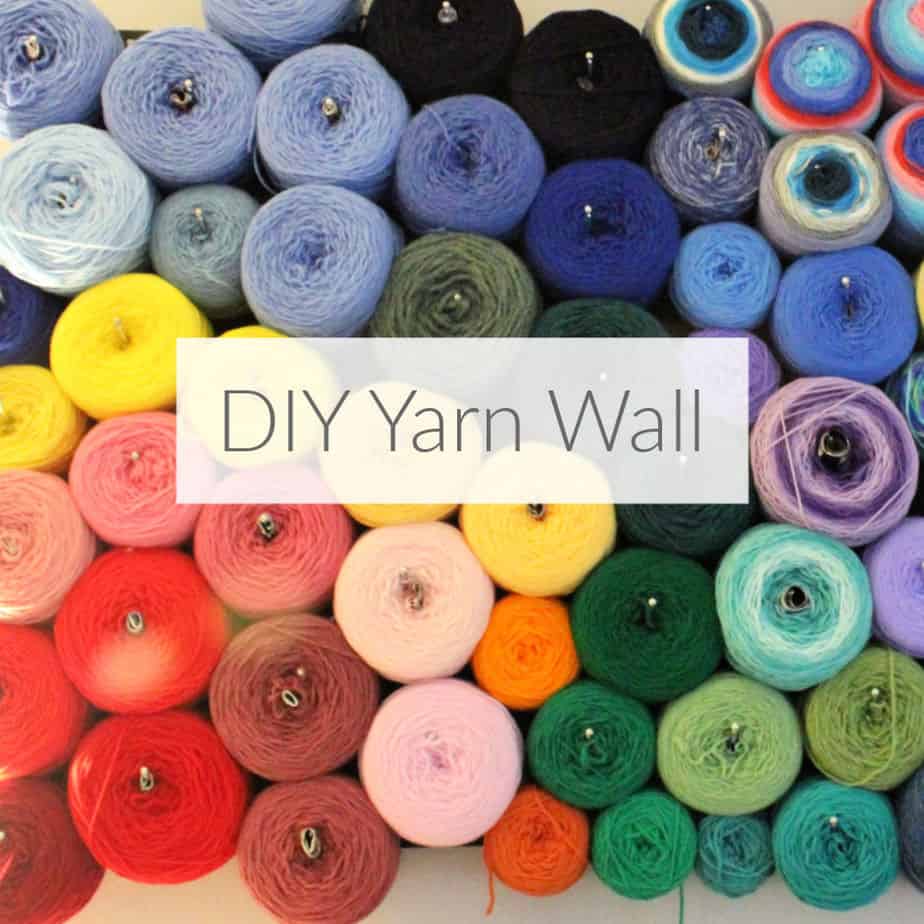
Welcome to the monthly Pinterest Challenge Blog Hop, hosted by My Pinterventures. The purpose of this Pinterest Challenge is to motivate all the participants of this hop (and you too) to not just pin, but to make it happen! With everything going on leading up to Christmas, for some reason, I decided I needed to tackle and organize my yarn! So, I finally made a yarn wall. Yarn is probably the only thing organized in my entire craft room, eek.
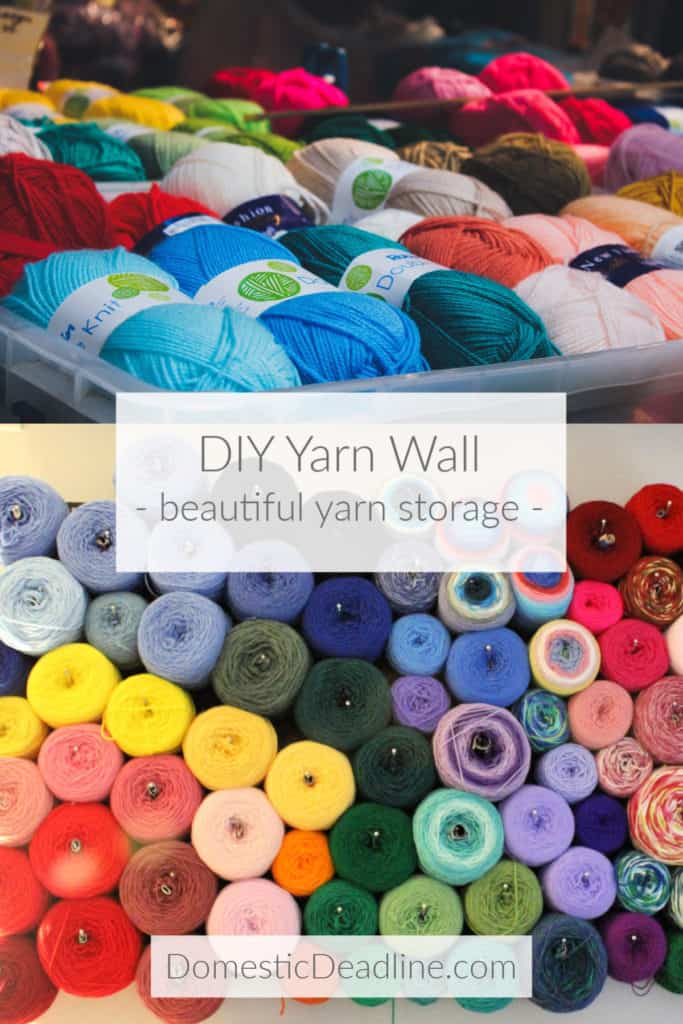
Inspiration
I have inherited yarn. Literally. Ok, so maybe it wasn’t in an actual will, but I was gifted mass quantities of yarn after a dear friend passed away.
Hmmm, I don’t really mean for that to sound morbid.
This particular friend I crafted and crocheted with for many years. She was very much the opposite of my grandma, but at the same time, she reminded me of my grandma. My grandma taught me to crochet, so spending time with Judy was special too.
When she passed, her daughter told me she wanted me to have all of her crochet and knitting supplies. Now, I think of Judy and my grandma when I knit or crochet.
But, my basement has been overflowing with bins of yarn! Color coding in clear bins helped but still made it hard for me to get inspired. Then, I saw a yarn wall…
If you’re a yarn enthusiast like me, you probably need one too!
My Yarn Wall
Ashley, from Heart Hook Home, goes into detail about how she built her yarn wall.
I was lazy. Dealing with large sheets of pegboard, painting it, installing spacers behind it…
My yarn needed a new home as quickly as possible or it wasn’t going to happen.
So, I took a shortcut.
A few months ago my son and I made a “Nerf wall” in his bedroom.
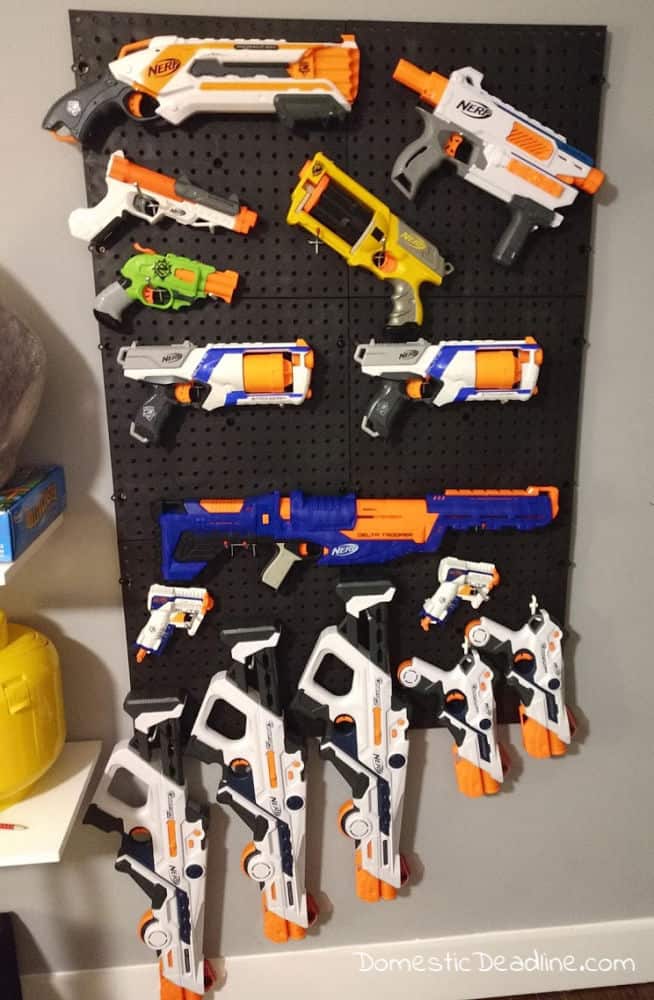
Interlocking pegboard went up in a matter of minutes… Find studs, attach with screws, connect the next piece, repeat.
White would be preferable to me, but speed was more important.
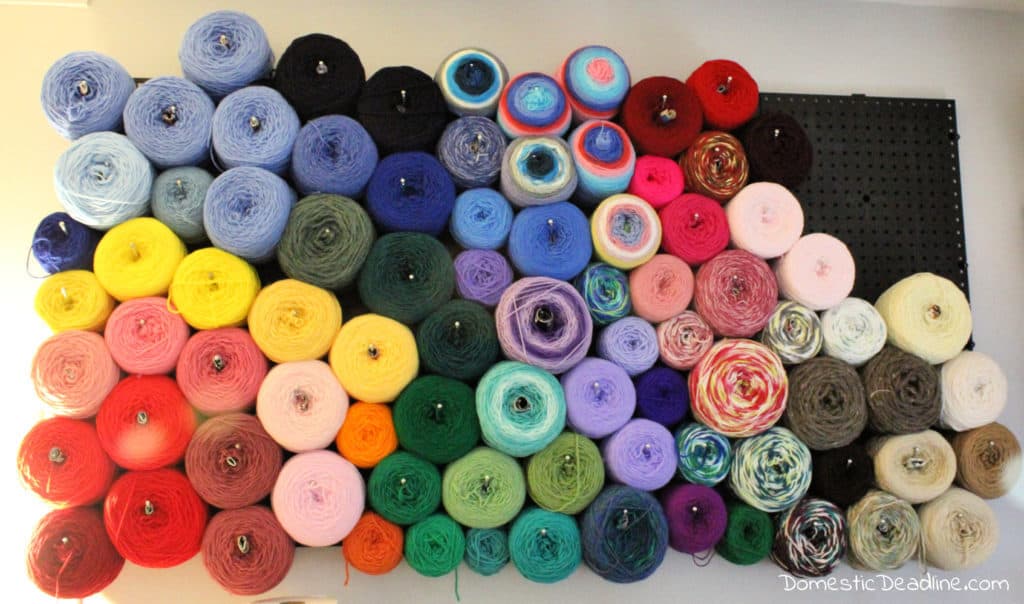
Besides, it’s basically covered in yarn!
Pegs can be pricy, but ordering them in bulk makes them $0.38 each. Otherwise, they are more than $1.00 each in the hardware stores.
After the holidays, I’ll resume using my Stanwood Ball Winder and finish filling up the yarn wall. That’s my other big tip in this project… the Stanwood ball winder is the only way to go. My bargain-priced one couldn’t handle a full skein of yarn. Plus, I was constantly stopping to re-secure it and adjust it. No wonder it was super cheap on FB marketplace!
In the short time my yarn wall has been up, I’ve actually finished more crochet projects too. When I have a project idea, I can grab the yarn and get started… putting the excess yarn away, well, that’s another story.
Pinterest Challenge
My Pinterventures • Domestic Deadline • Elle Marie Home Cookies Coffee and Crafts • Across the Boulevard • Slices of Life Teadoddles • Our Good Life • Farm Girl Reformed • Peony Street Decorate and More with Tip • Mom Home Guide • Sew Crafty Crochet This Autoimmune Life • Christina Faye Repurposed • Stone Cottage Adventures Love My Little Cottage • Eye Love Knots • K’s Olympic Nest • My Family Thyme Seeking Serenity & Harmony • Lulu & Celeste • DIY Vibes • Life Beyond Kitchen

Now, let’s see what the other hosts have created
 Loading InLinkz ...
Want to remember this for later? Save this DIY Yarn Wall to your favorite Pinterest board!

More from my site









6 Comments