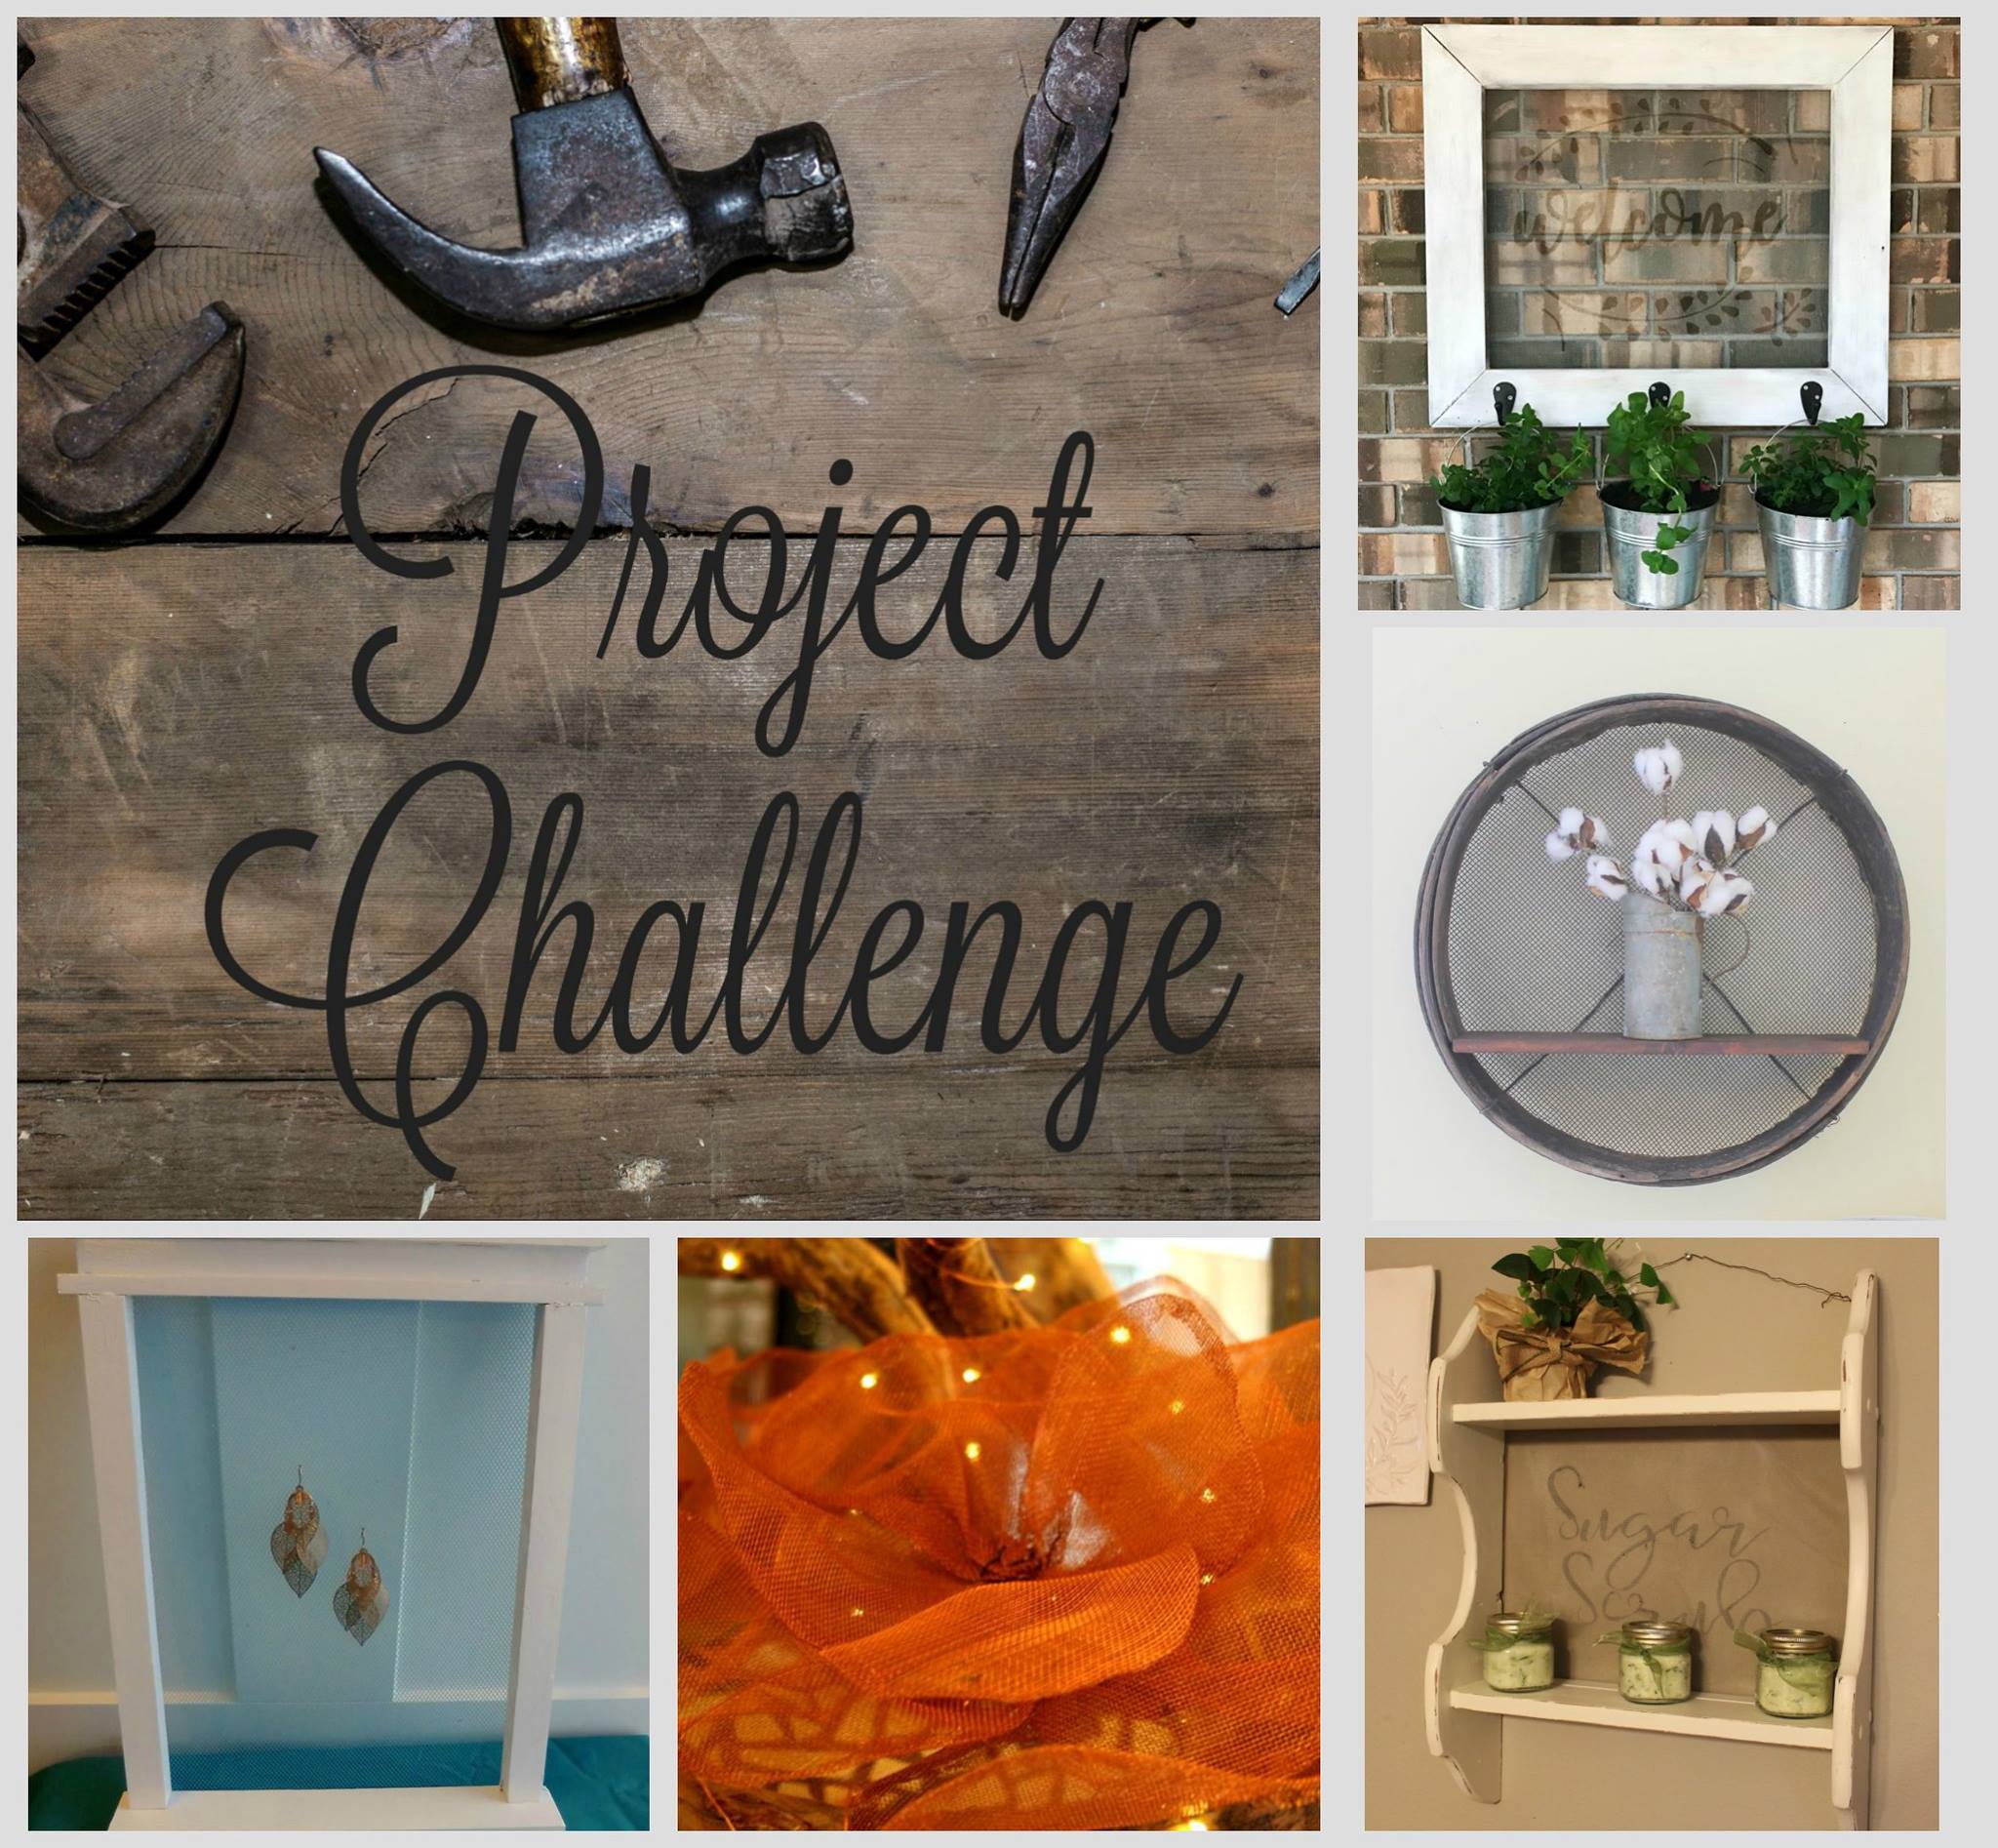
It’s time for another edition of project challenge! This month our challenge item was screening. Ideas are always spinning around in my head, but using a screen? That one pretty much stumped me. Finally, I had the idea to make an earring holder for JuneBug.
 When I headed out to the garage to see what scrap wood I had available I only had a rough idea of what I wanted to make. Knowing this was going in my daughter’s room, I looked for scraps already painted white. The trim in our entire house is white, so it wasn’t hard to find something. Both girls have white furniture also, another reason for white painted wood.
This post may contain affiliate links. Which means, if you click the link and buy something, I may receive a percentage of sales at no additional cost to you. Thank you for supporting Domestic Deadline.
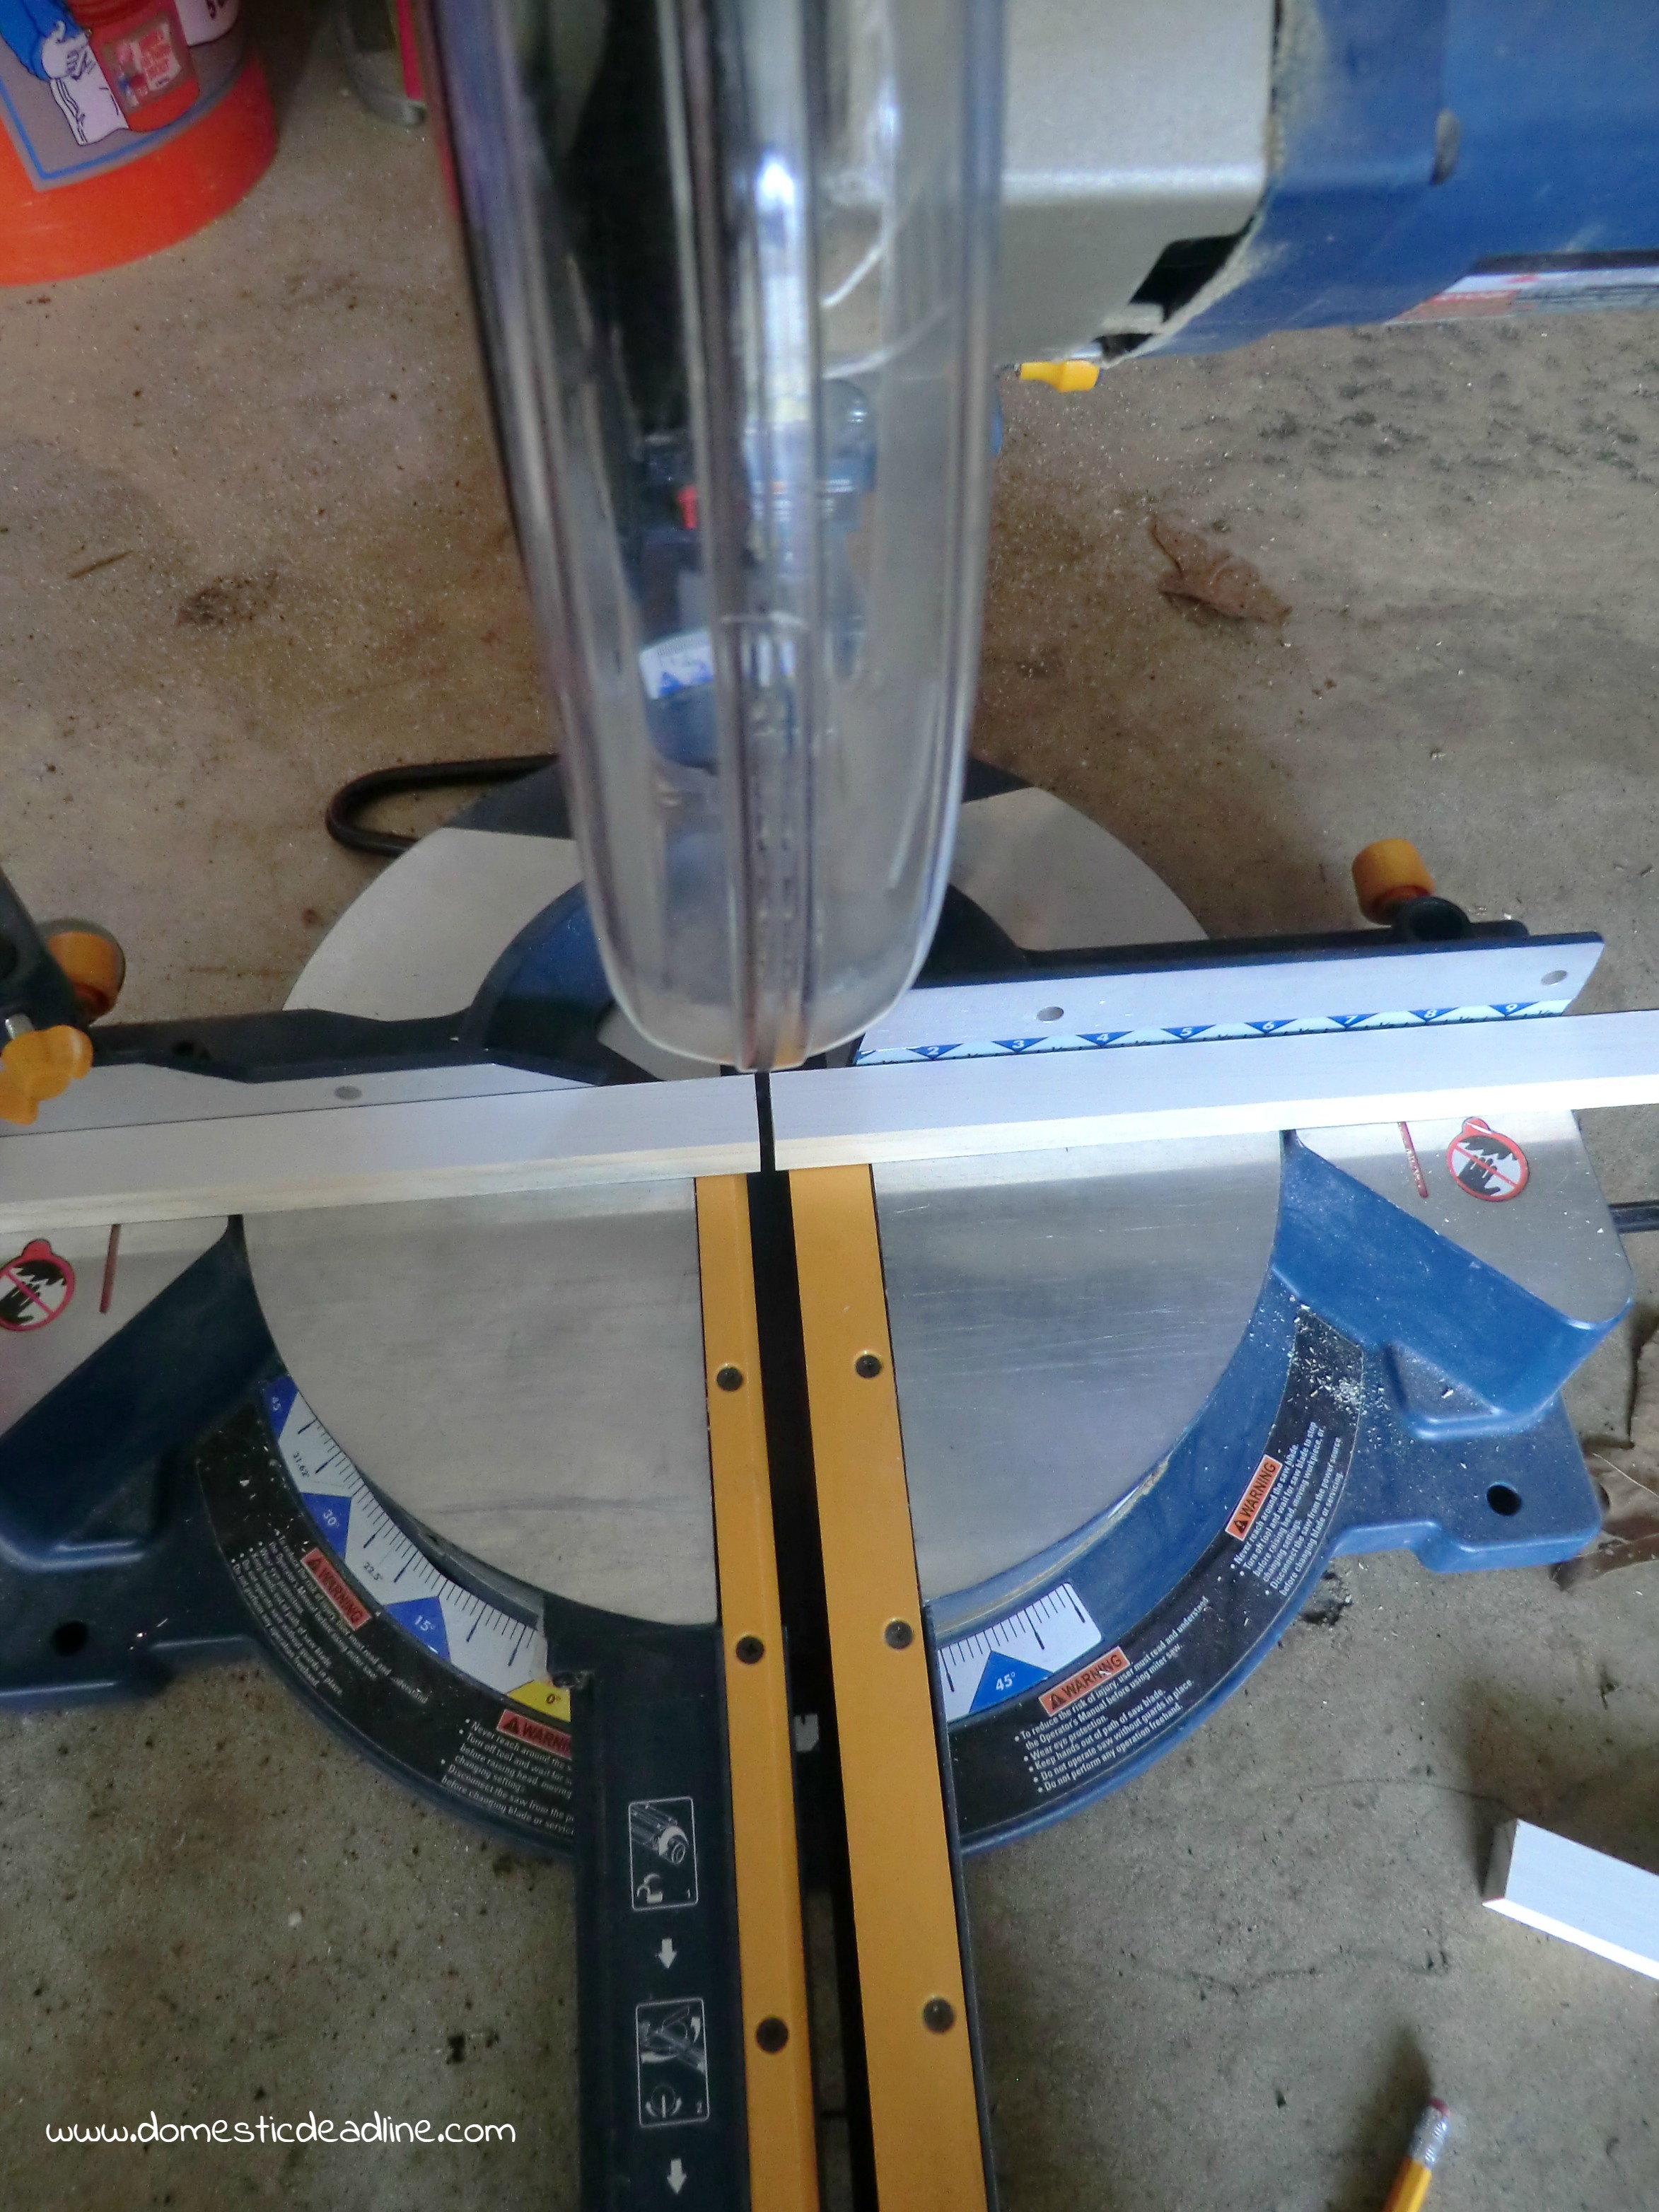
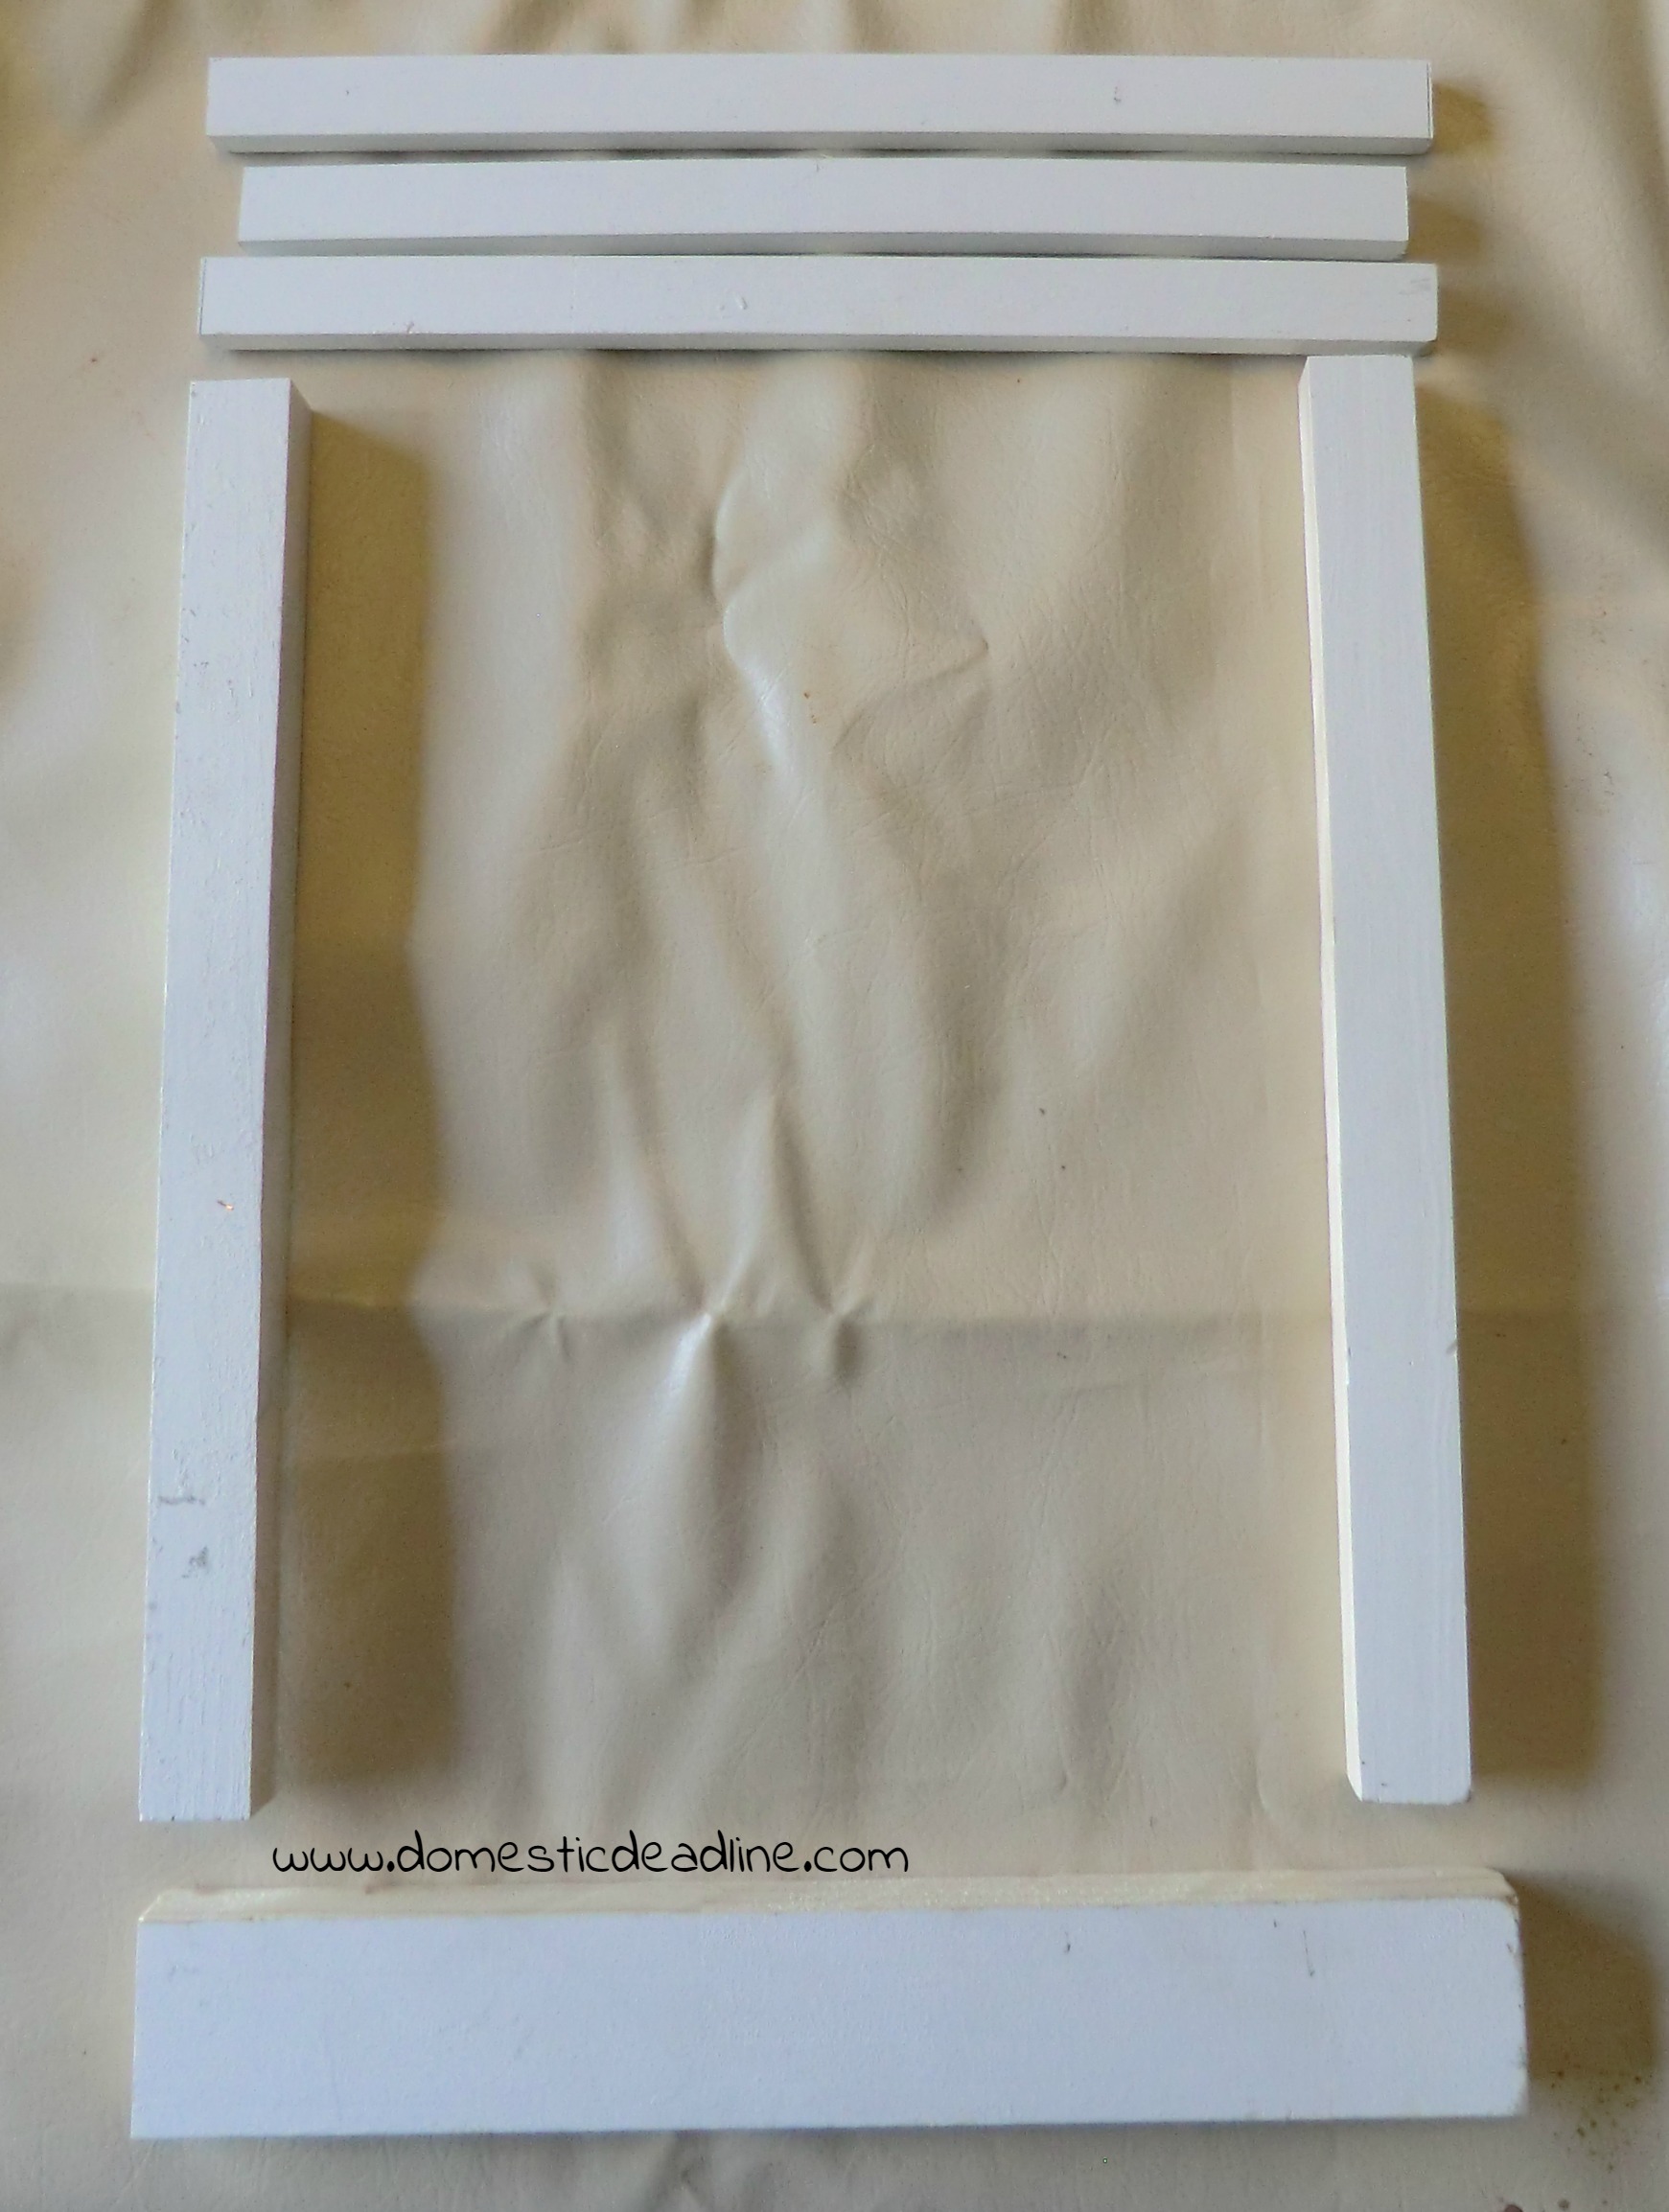
As I began laying out my pieces and deciding what I wanted, it occurred to me to make the frame similar to our window trim. Once I had decided on a size, I cut all my pieces. Two for the verticals, a thicker piece for the window ledge and 3 pieces for my top header.
When we first bought our house we knew we needed to replace the windows and doors. Since we had to do the work, we opted to five the house a bit more architectural style with craftsman style trim…. The whole house! IronFish and I built all the headers for every single door and window, no two were the same measurements! I will say, IronFish did most of the work, I assisted, with an occasional assist from JuneBug. He has the skill mastered.
OK, back to the earring holder… I started by assembling the header. I cut 3 thin pieces of wood; two of equal length to the ledge and one about a half inch shorter. This can be any size, I drew lines and cut, just making sure pieces that needed to be the same length were.
Assembly
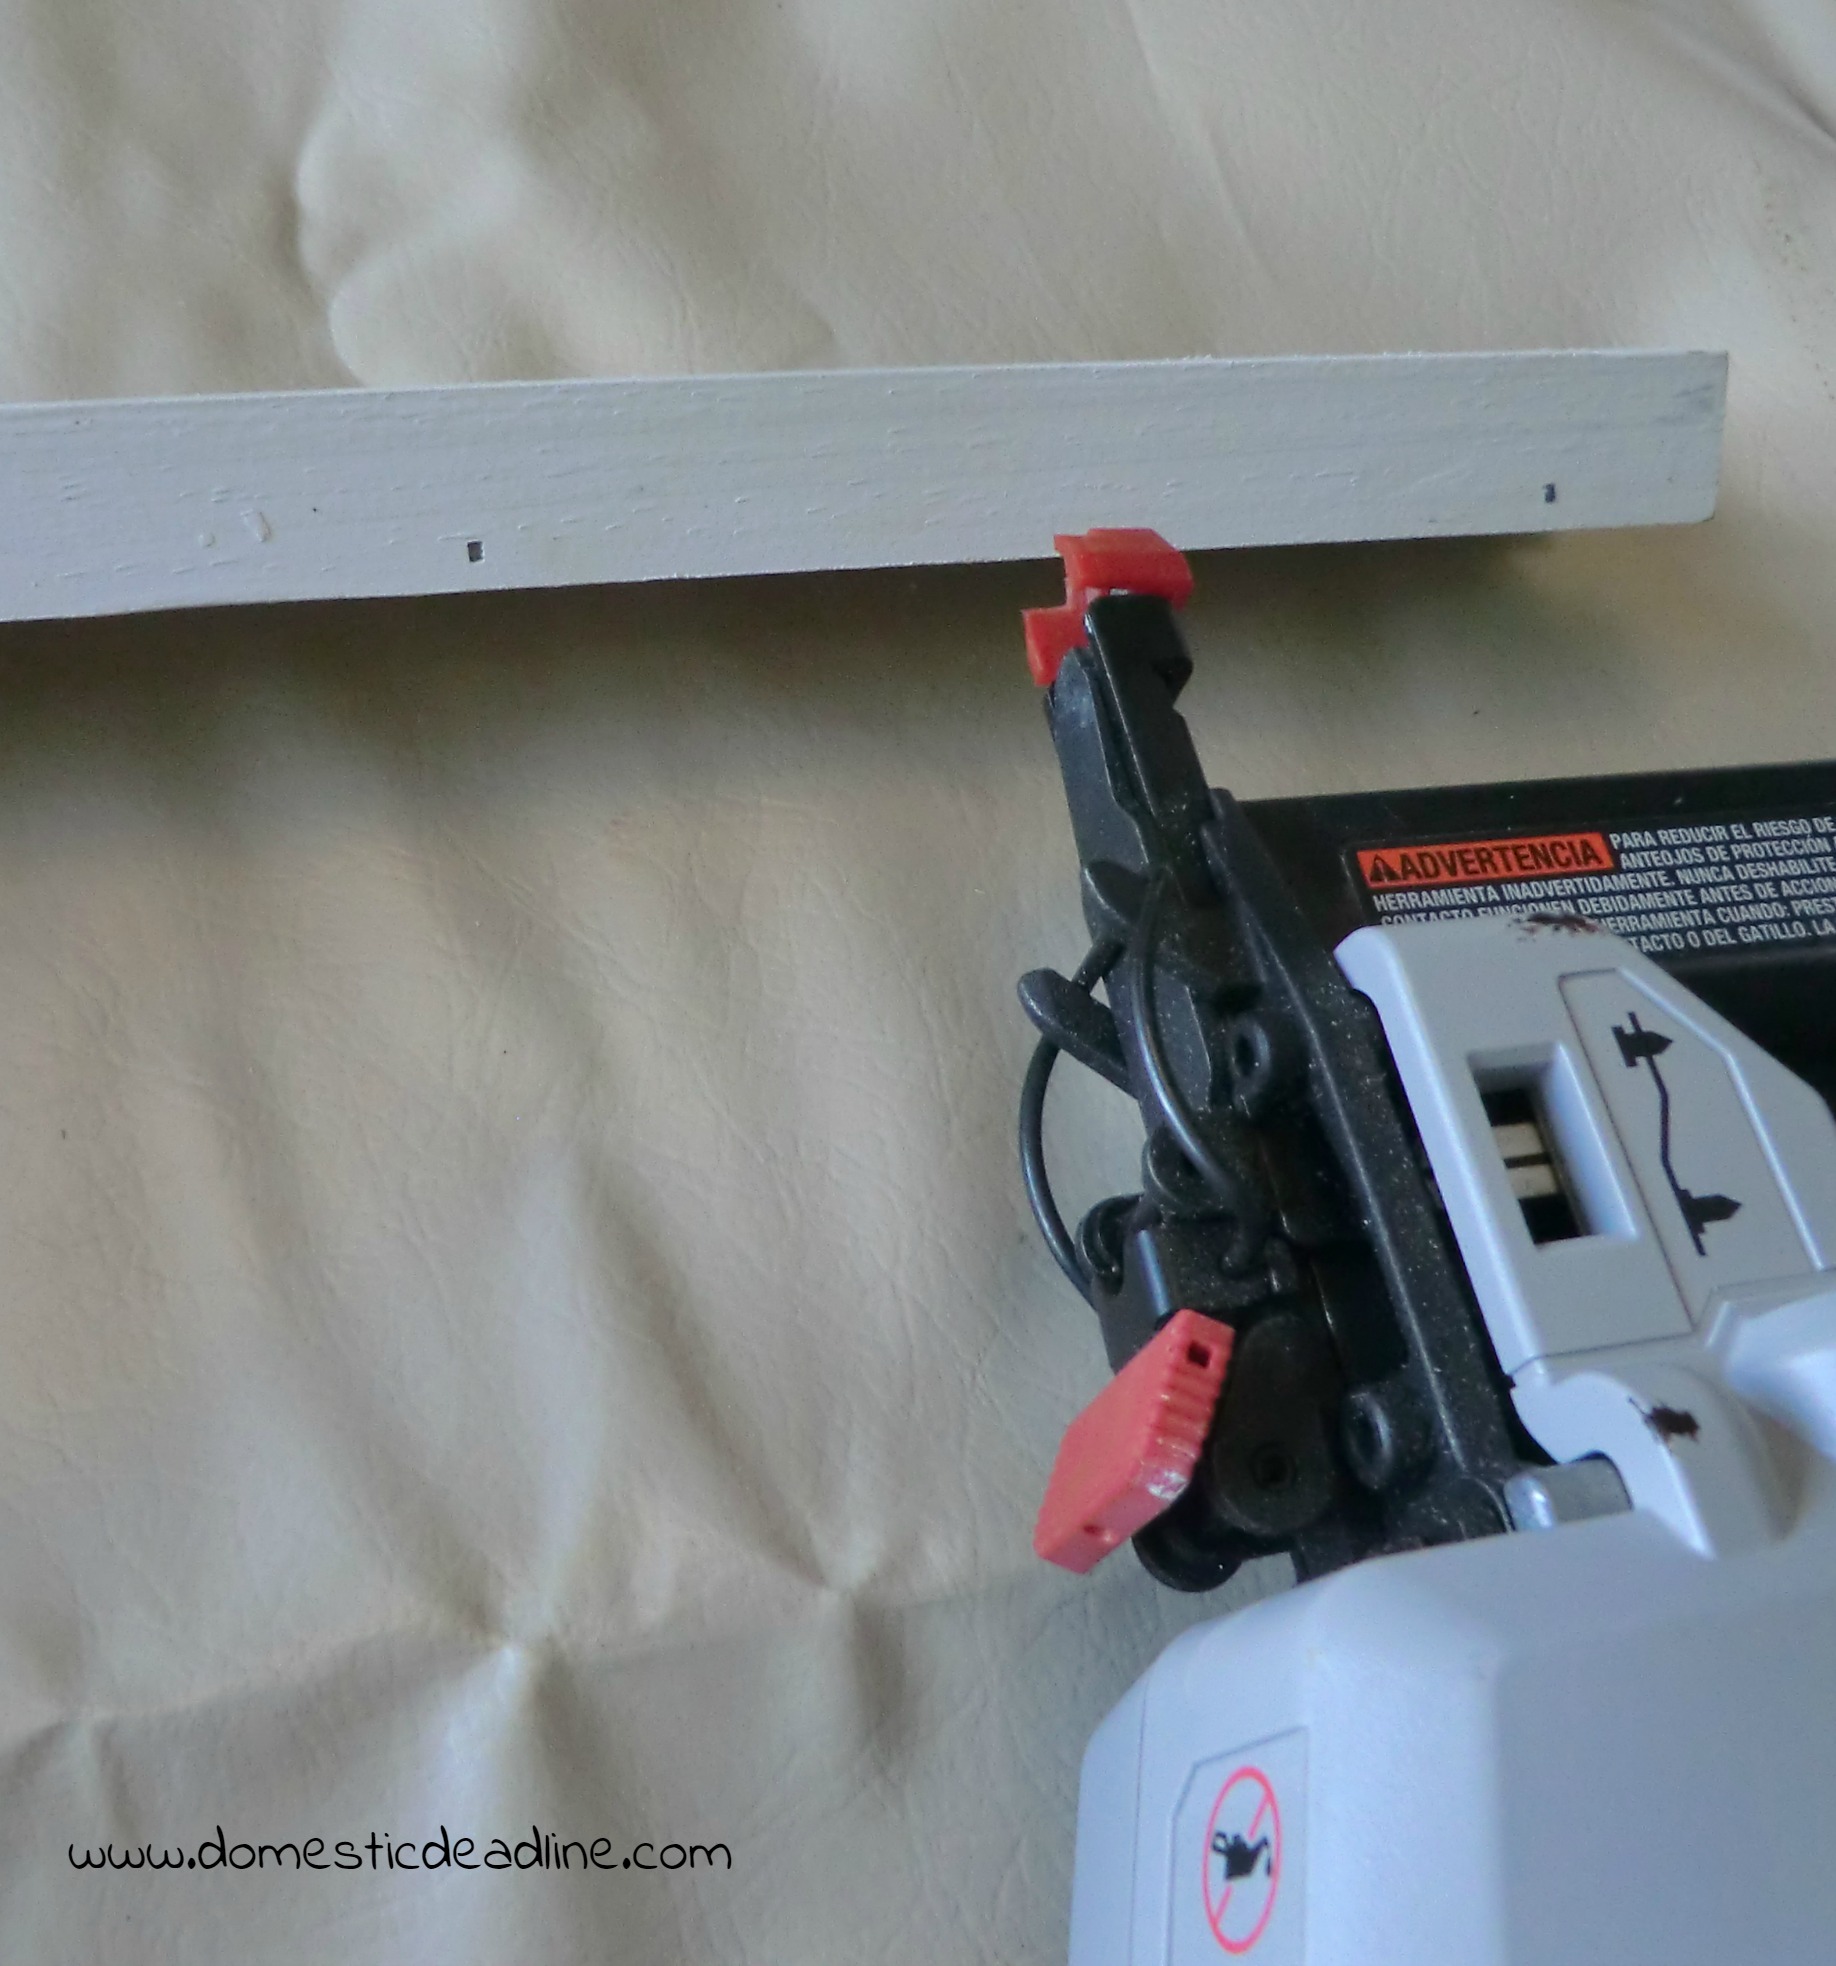
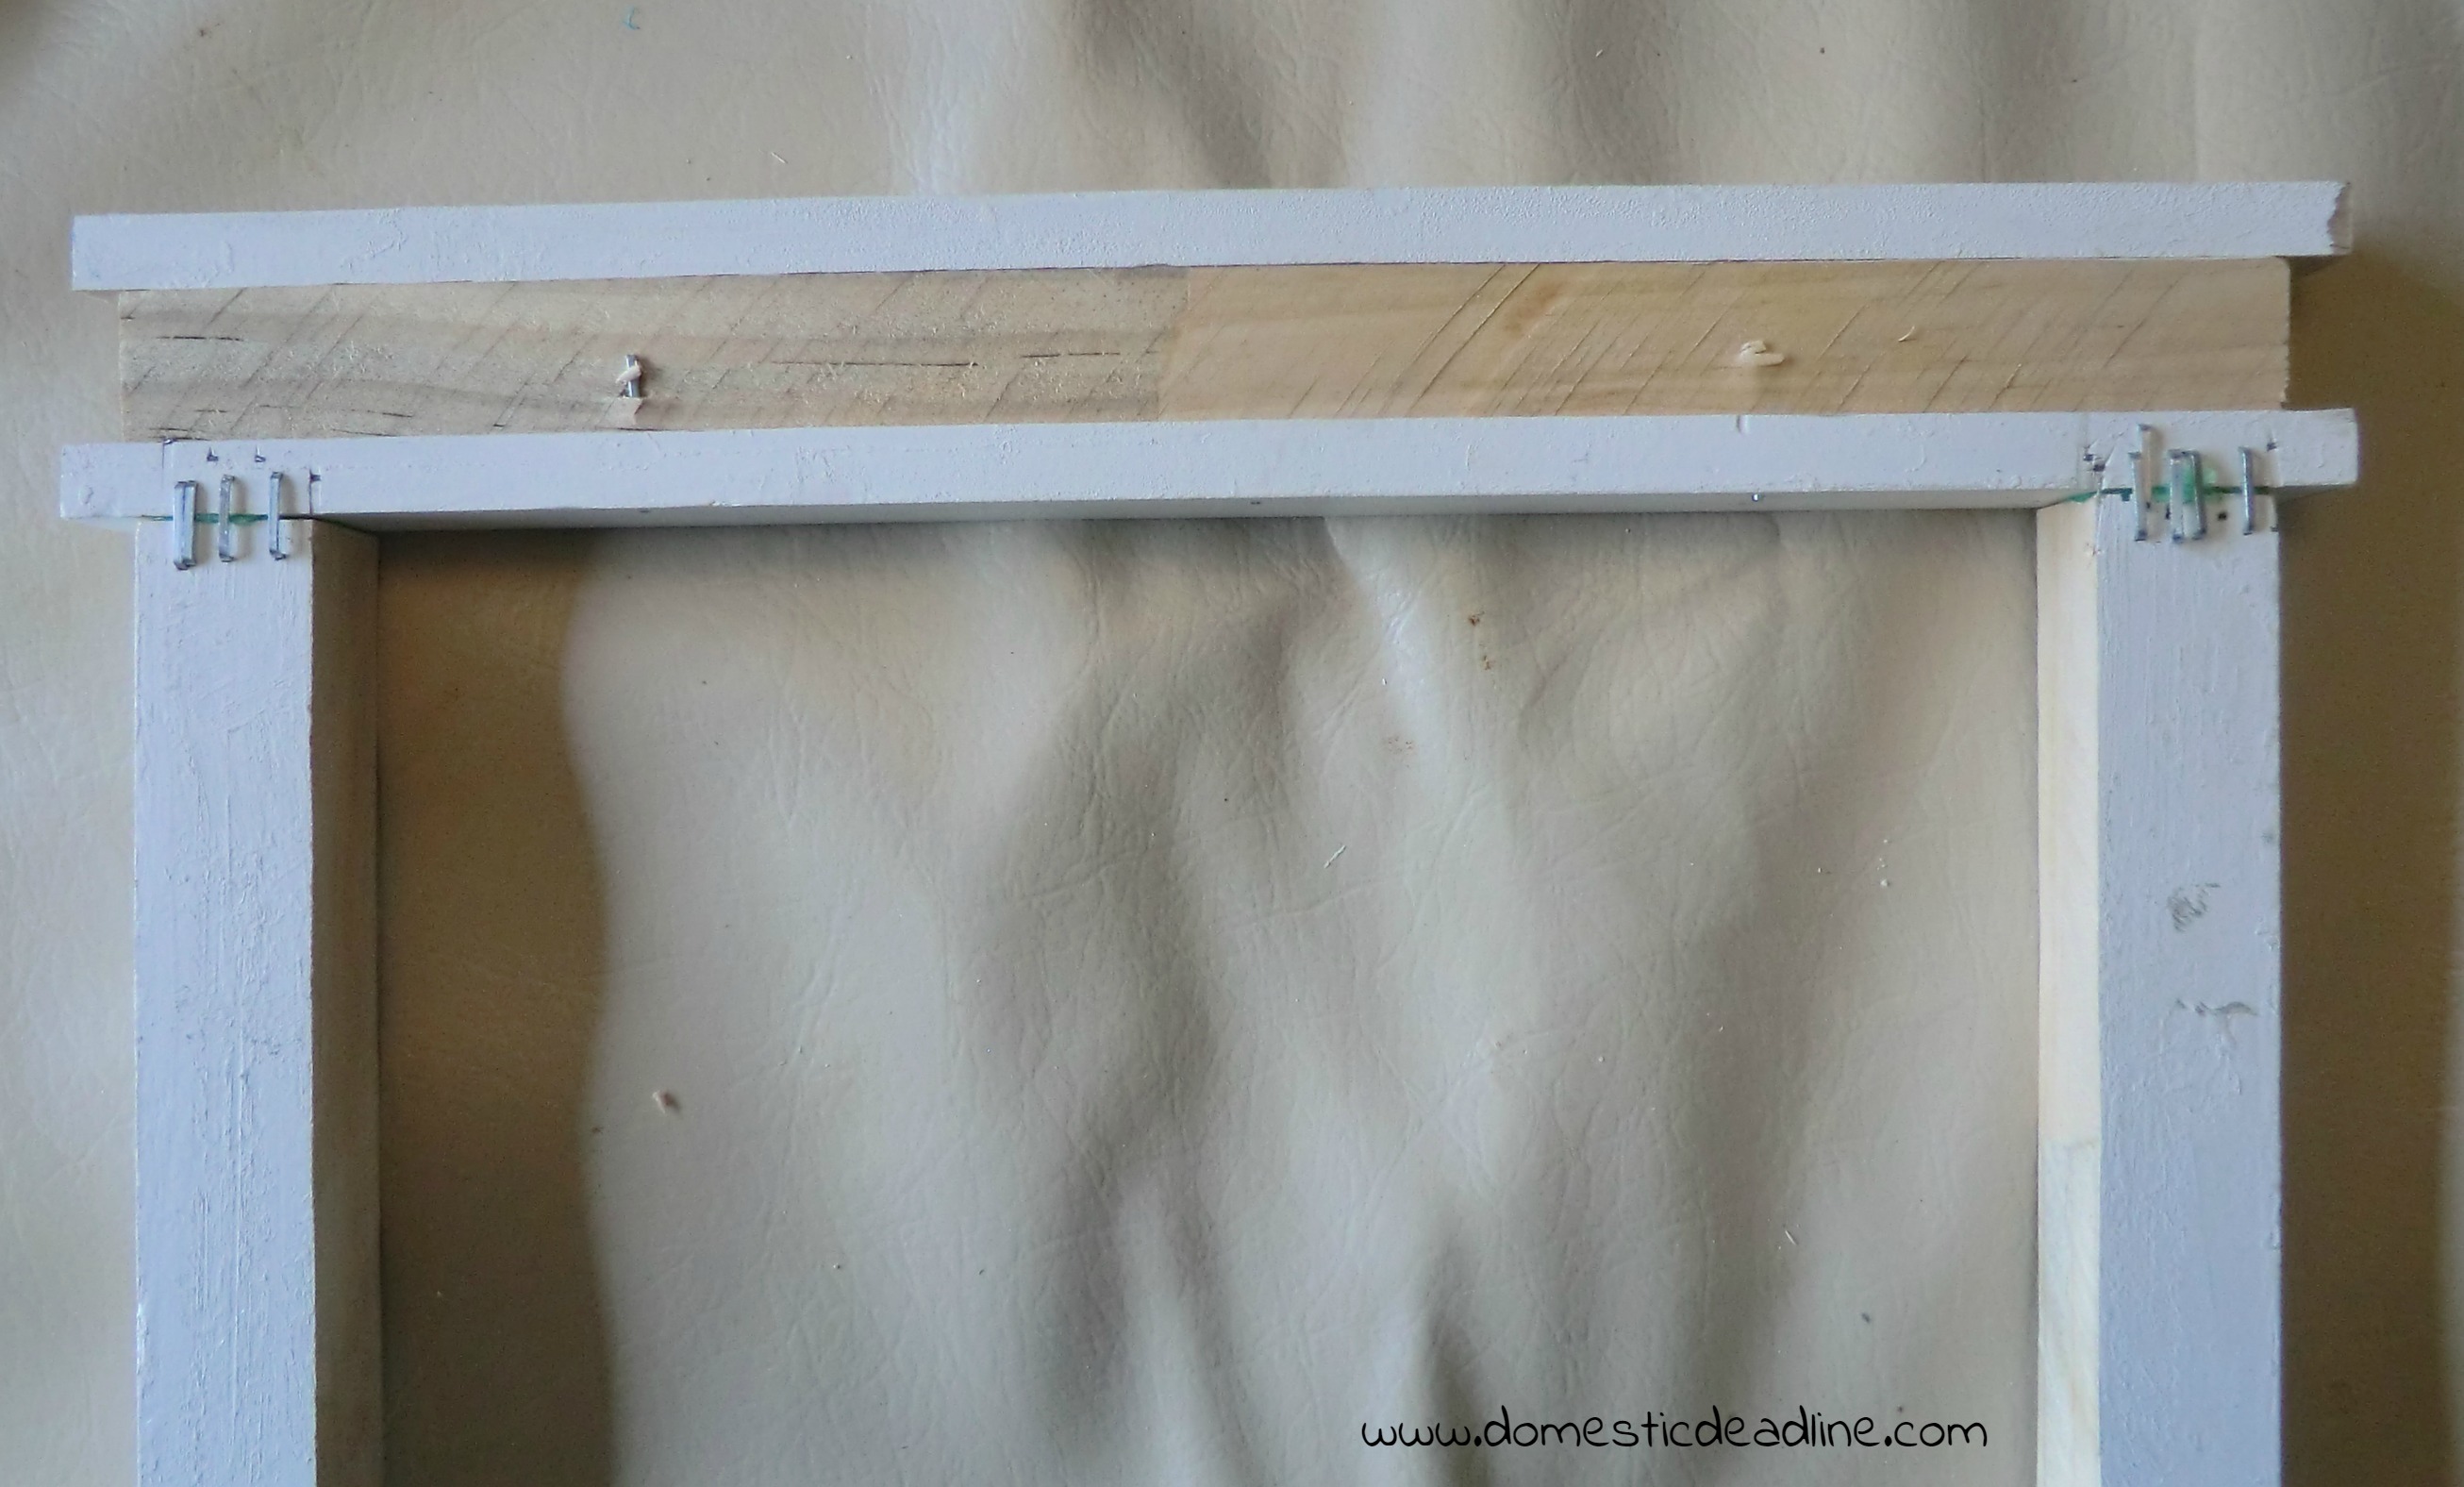
Starting with the header, I used my nail gun to attach the top and bottom plate. In hindsight, I would have attached the bottom plate to the verticals first. You’ll see why in a few more steps…
Nail guns make projects so quick!
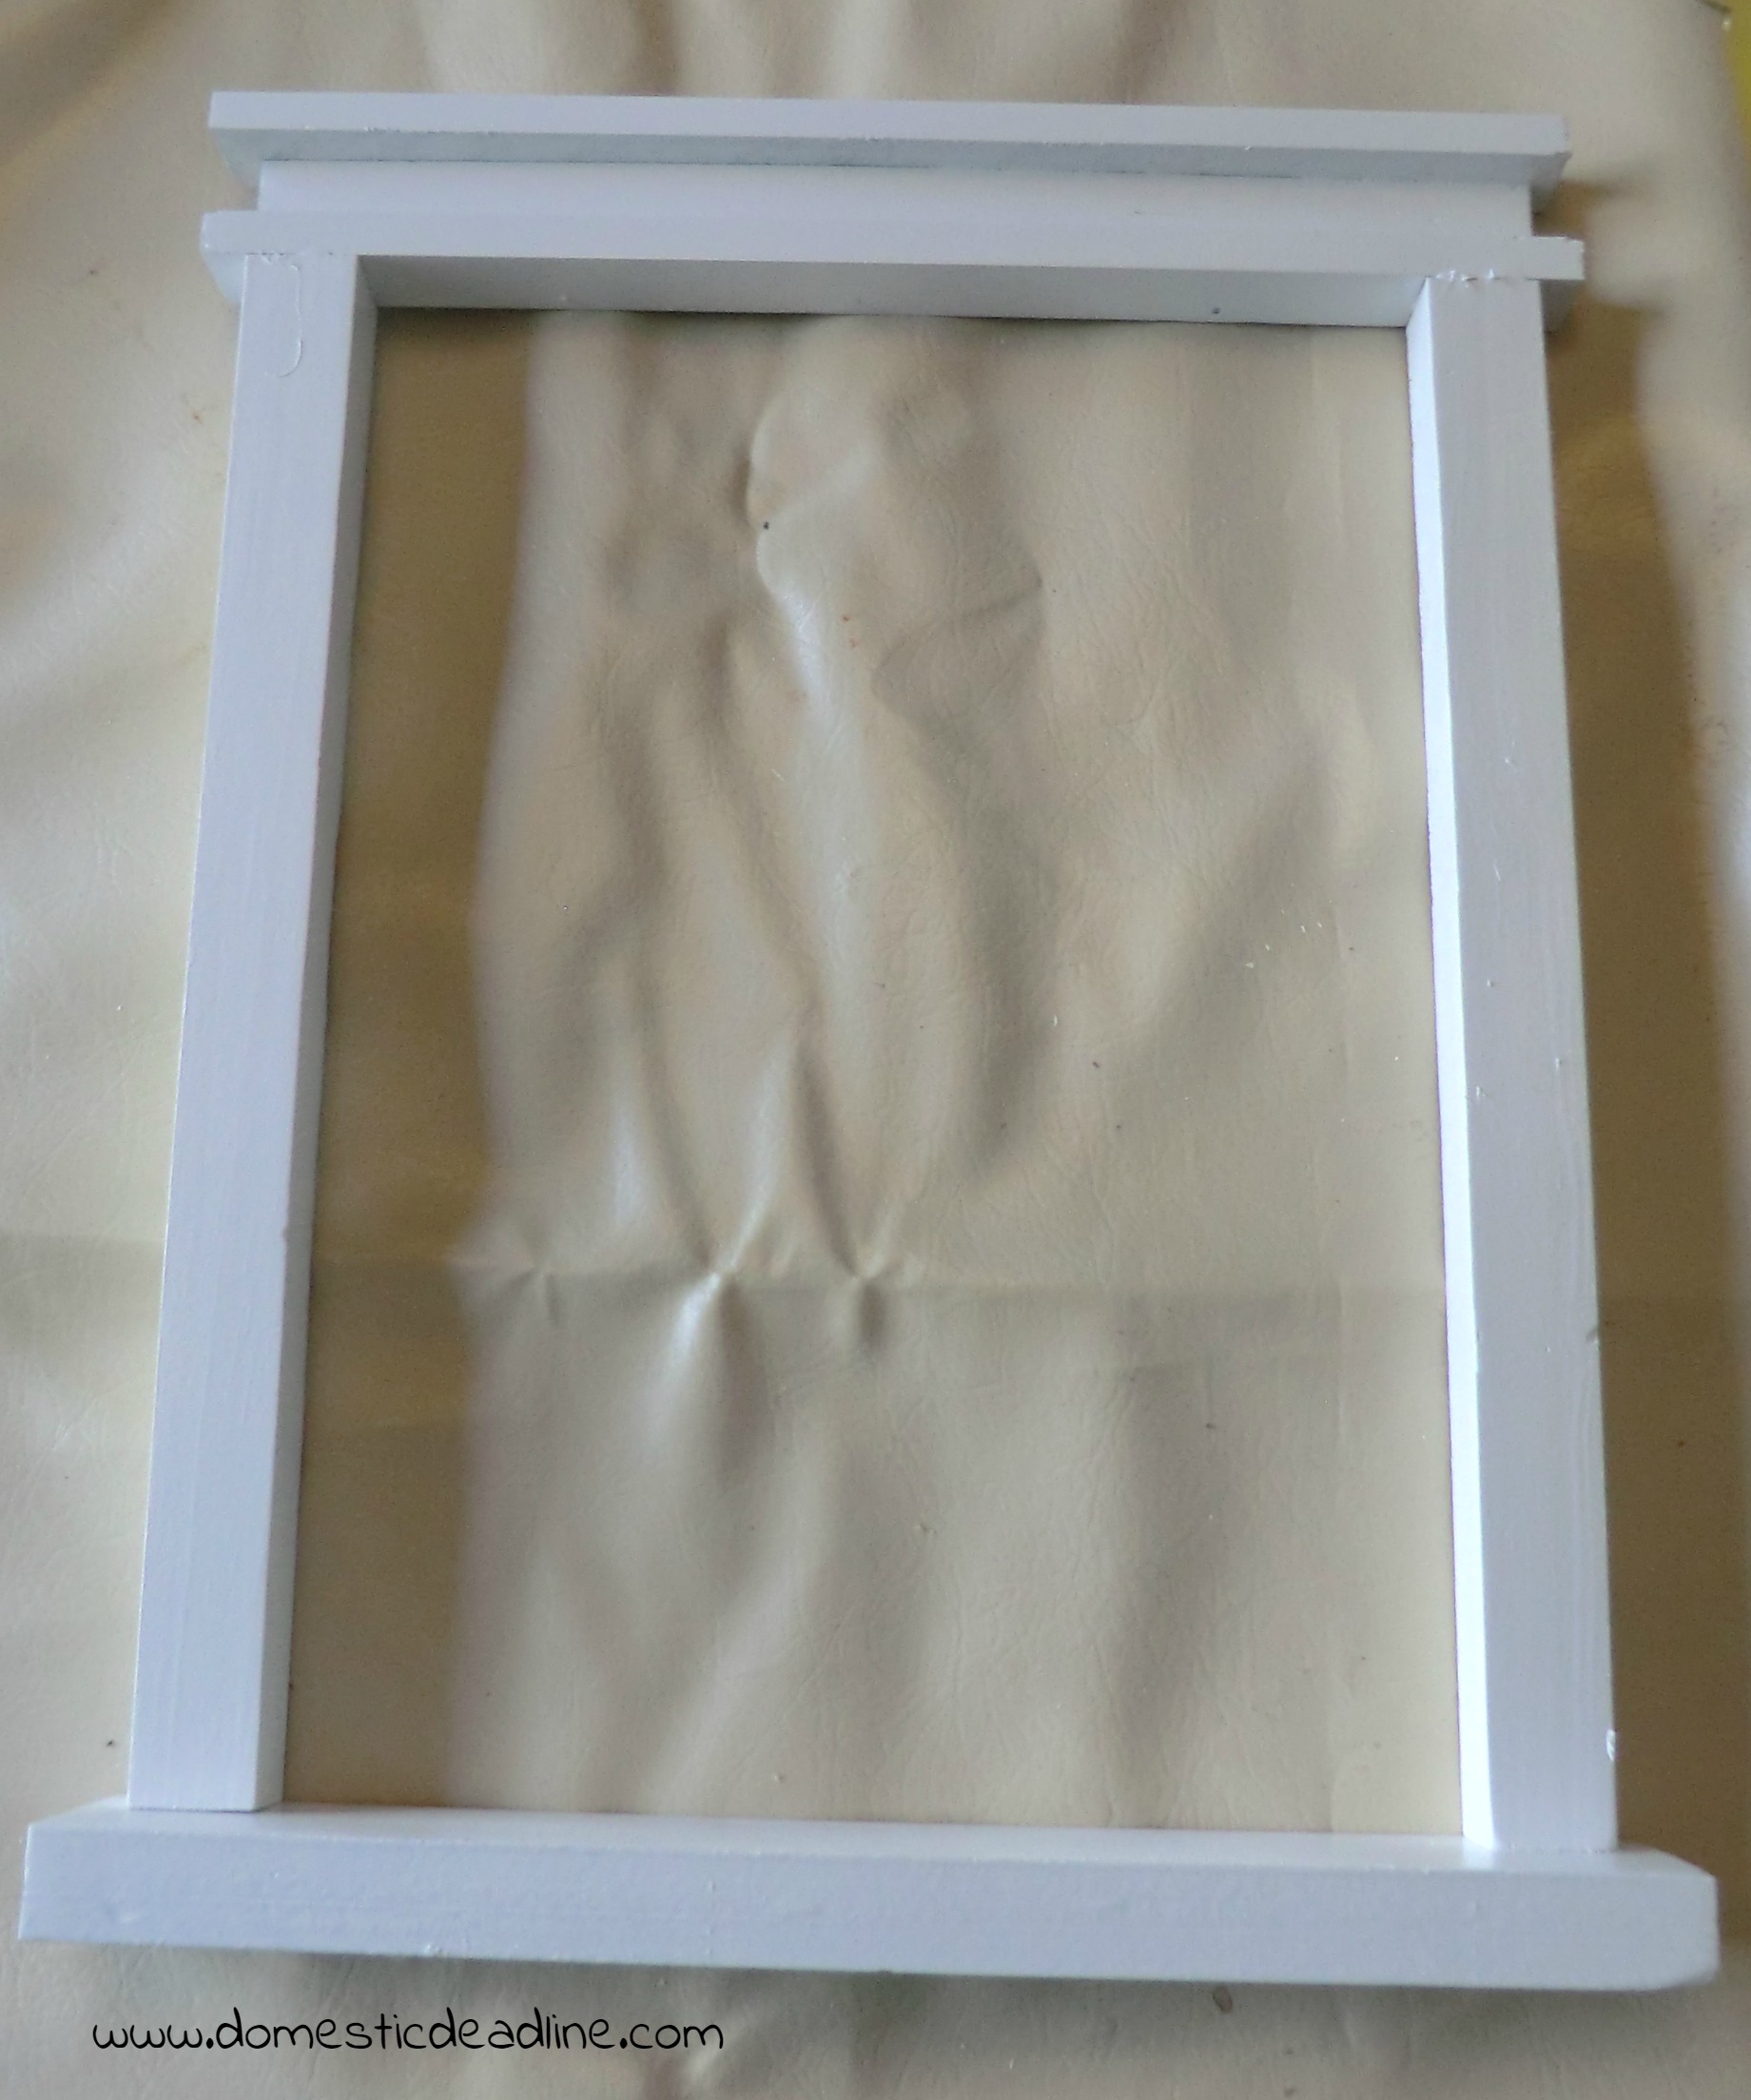
Here’s the header all assembled:
A mini version of our windows and doors!
 Again using my nail gun, I put the rest of the frame together. When I went to attach the header, I realized my mistake. Too late! Glue and staples to the rescue!
It works. The whole piece is very light weight and JuneBug likes big earrings, but they have to be light.
Even though I started with wood already painted white, I still had some raw edges. It has been gorgeous weather this February so I took the opportunity to spray paint outside. The raw edges got a coat of white glossy spray paint. Then a nice even coat over the whole piece.
Add the Screen
It was at this point when I realized I’d made a second mistake… I was so focused on what my project would be, I never looked at the window screening I had. At one point, I’m positive we had a roll of window screen, maybe that didn’t come with us when we moved… All I found in our workshop was a small patch kit!
Oops!
Luckily, I hoard collect random craft supplies. After a few minutes of rummaging around, I came across a very stiff piece of blue mesh. It was in my fabric supplies, so I’m guessing it would have been good for a dance costume or something like that.
Either way, I had enough of it. Bonus, it is the same color as JuneBug’s walls!
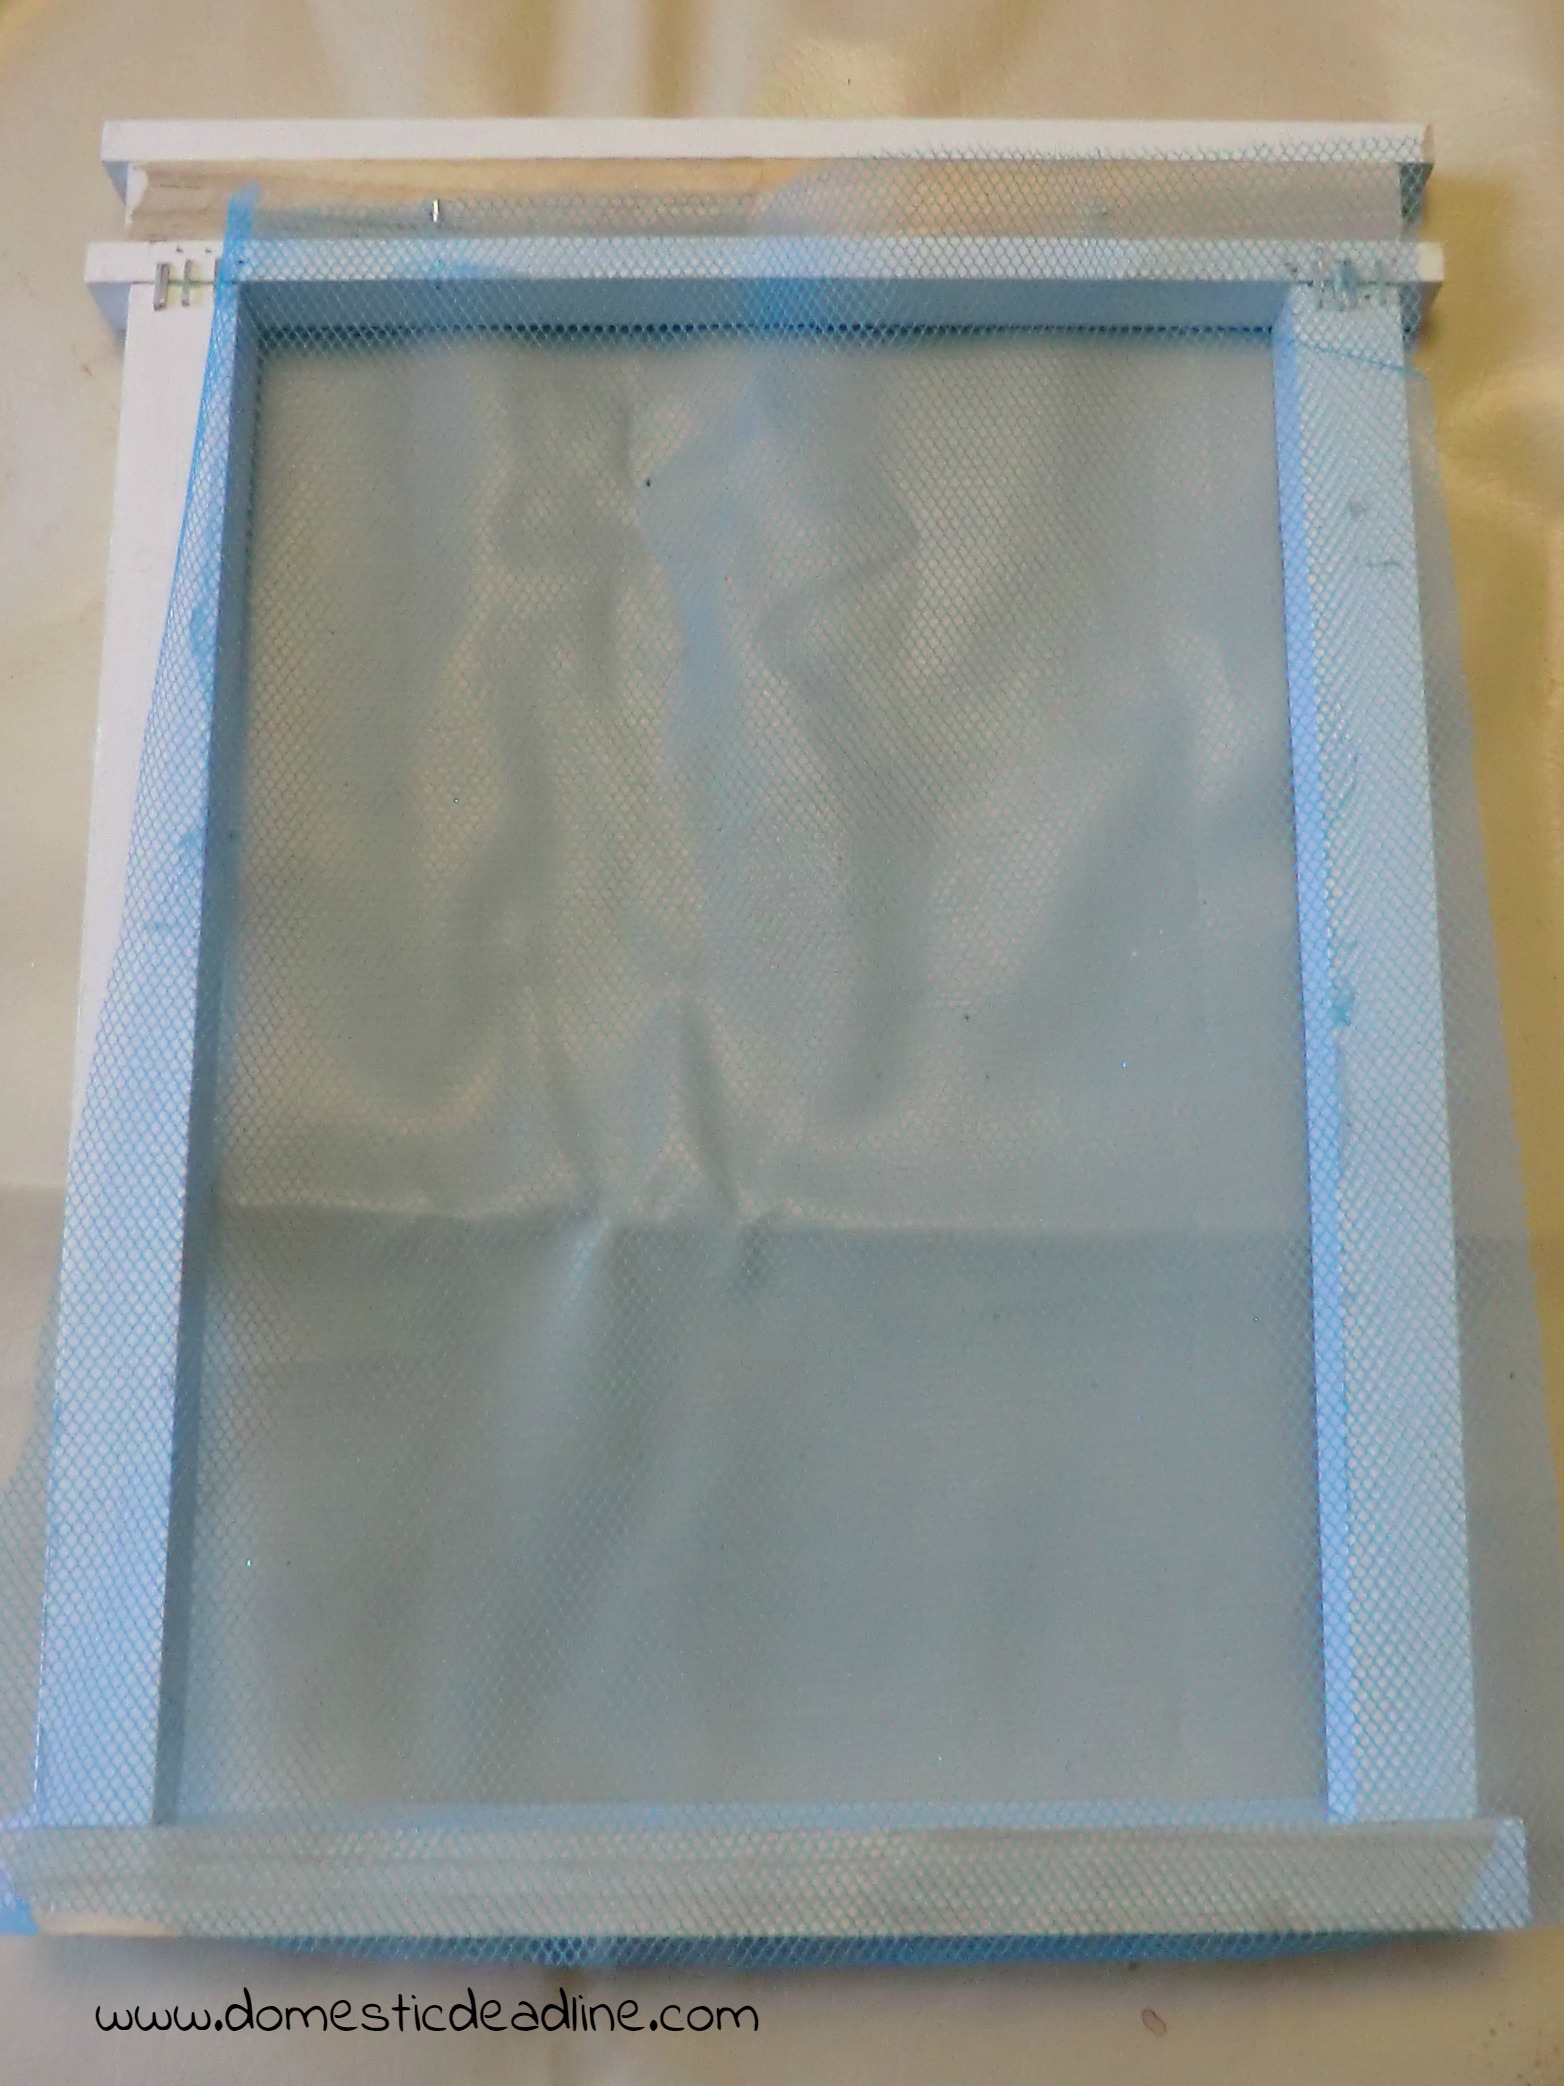
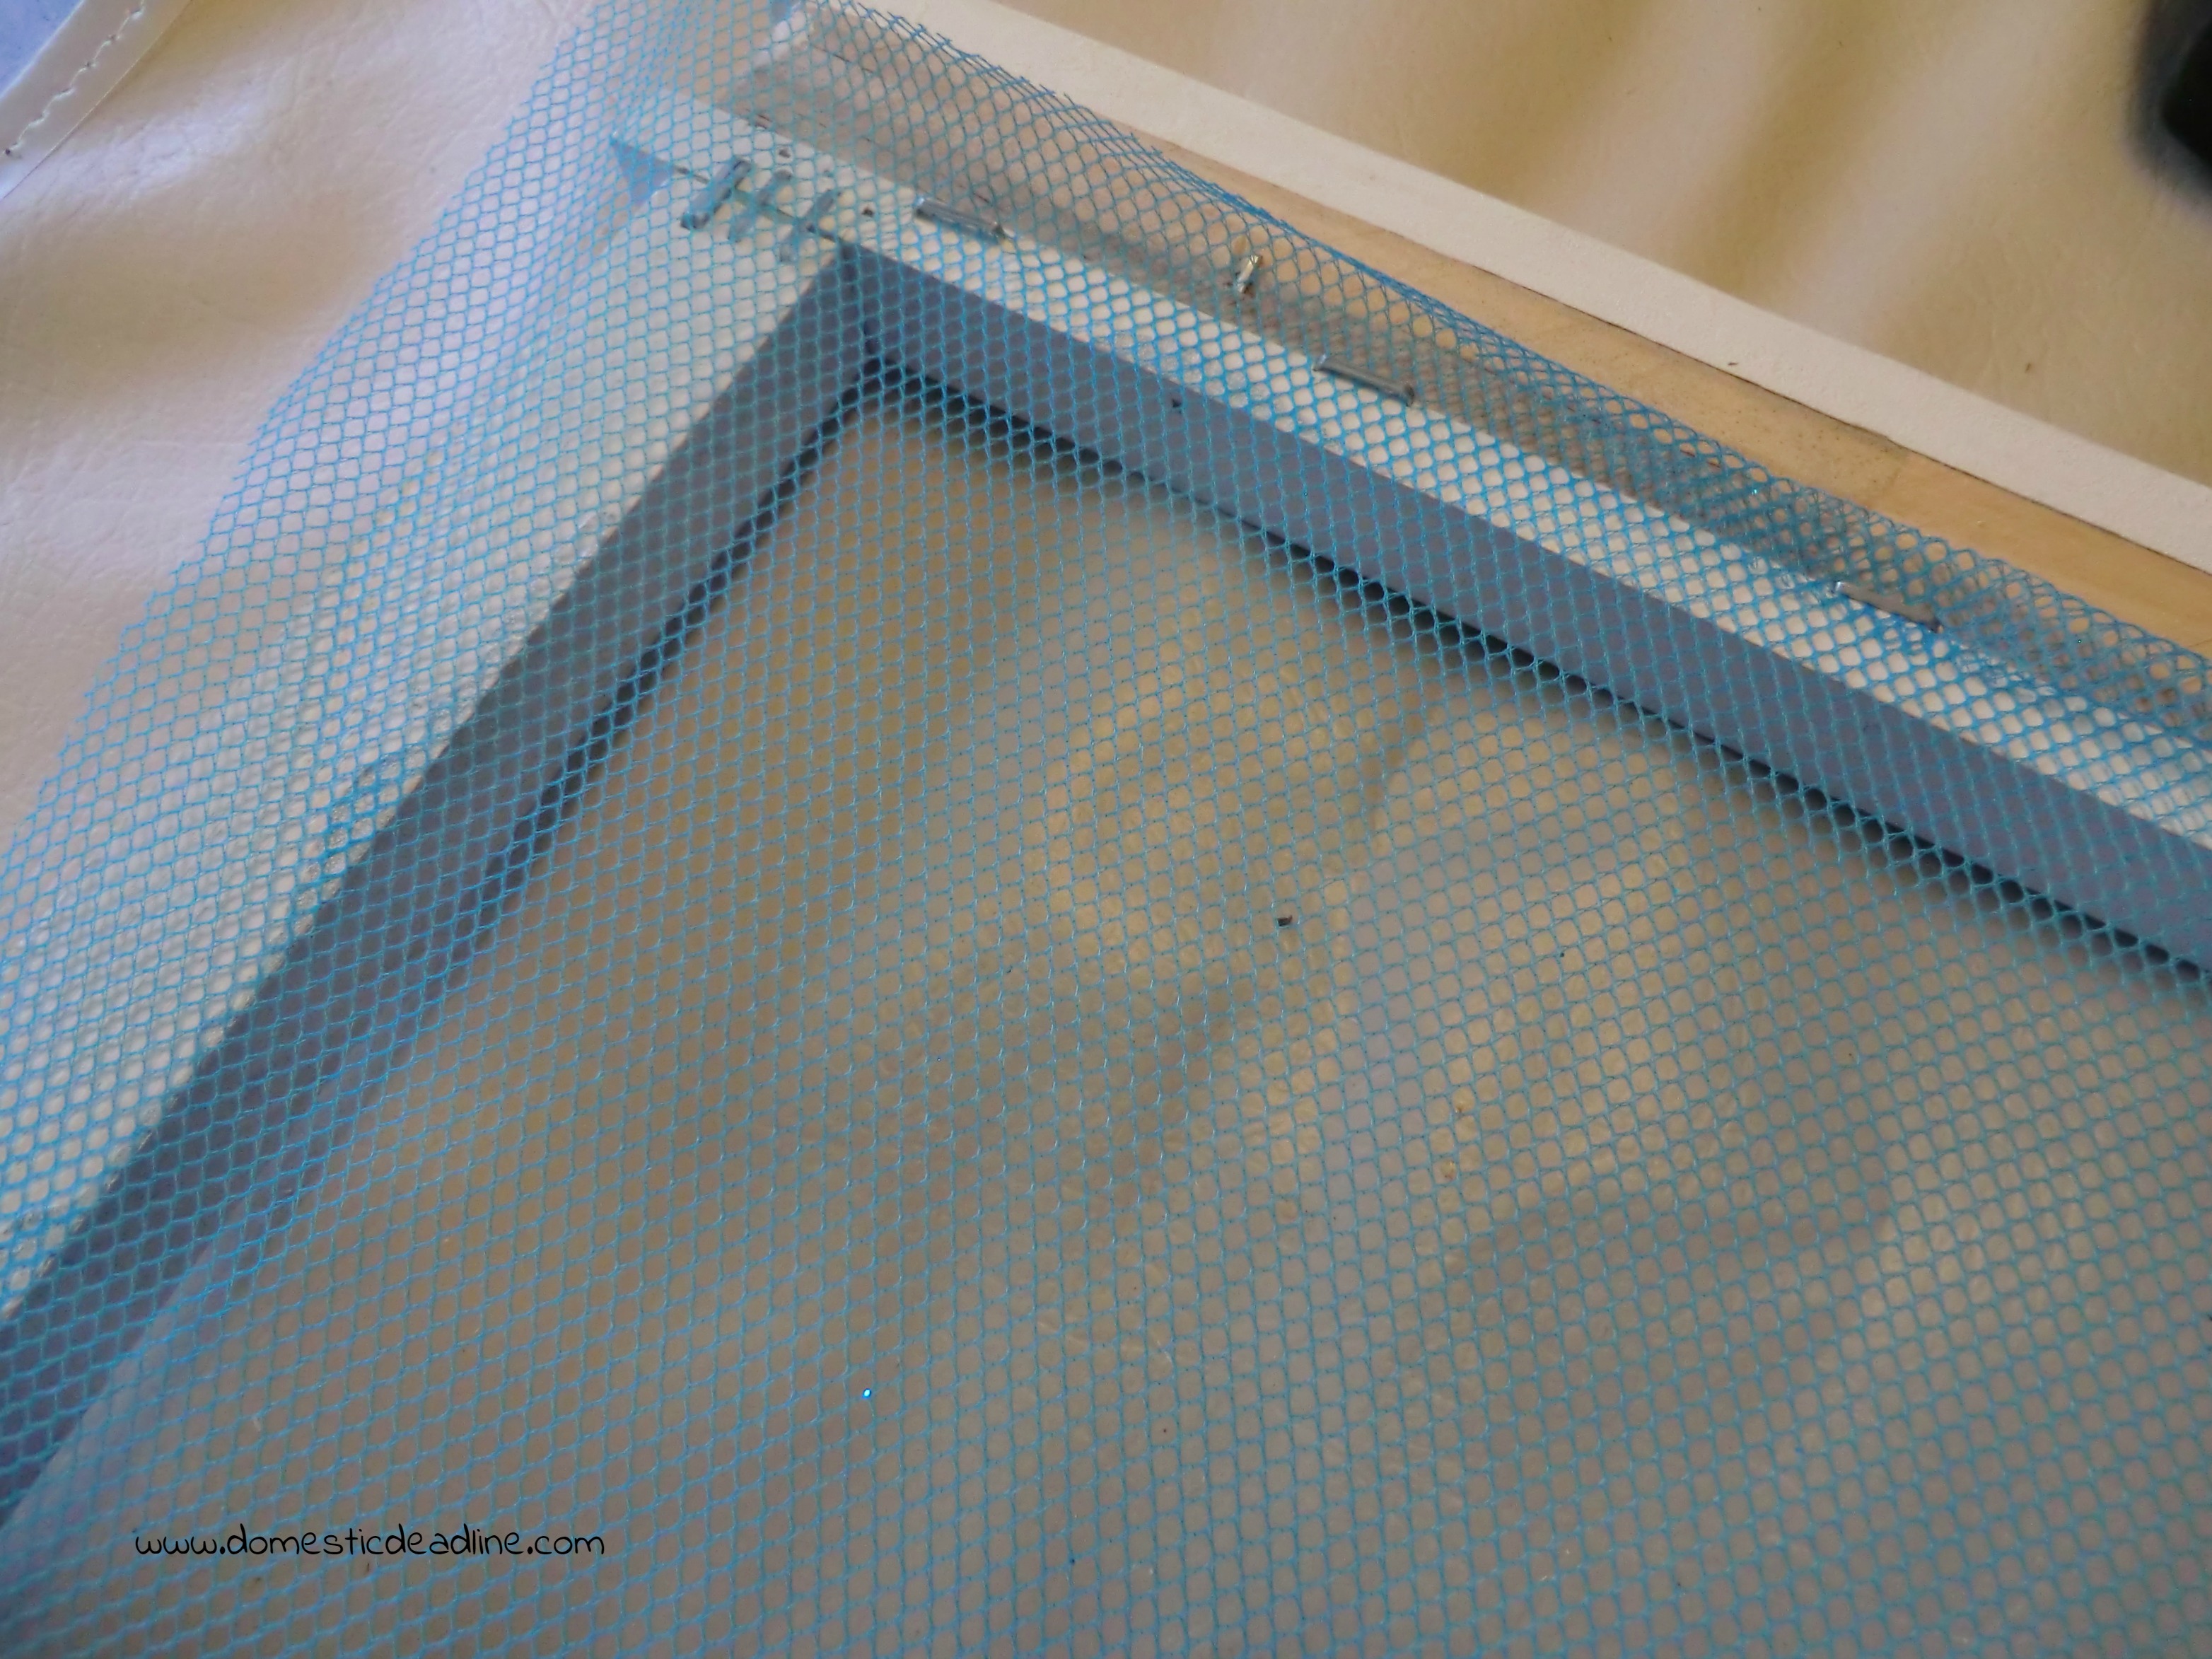
Using my stapler, I attached the mesh to the back, stretching it tight in both directions.
Trim off the excess, hang and add earrings.
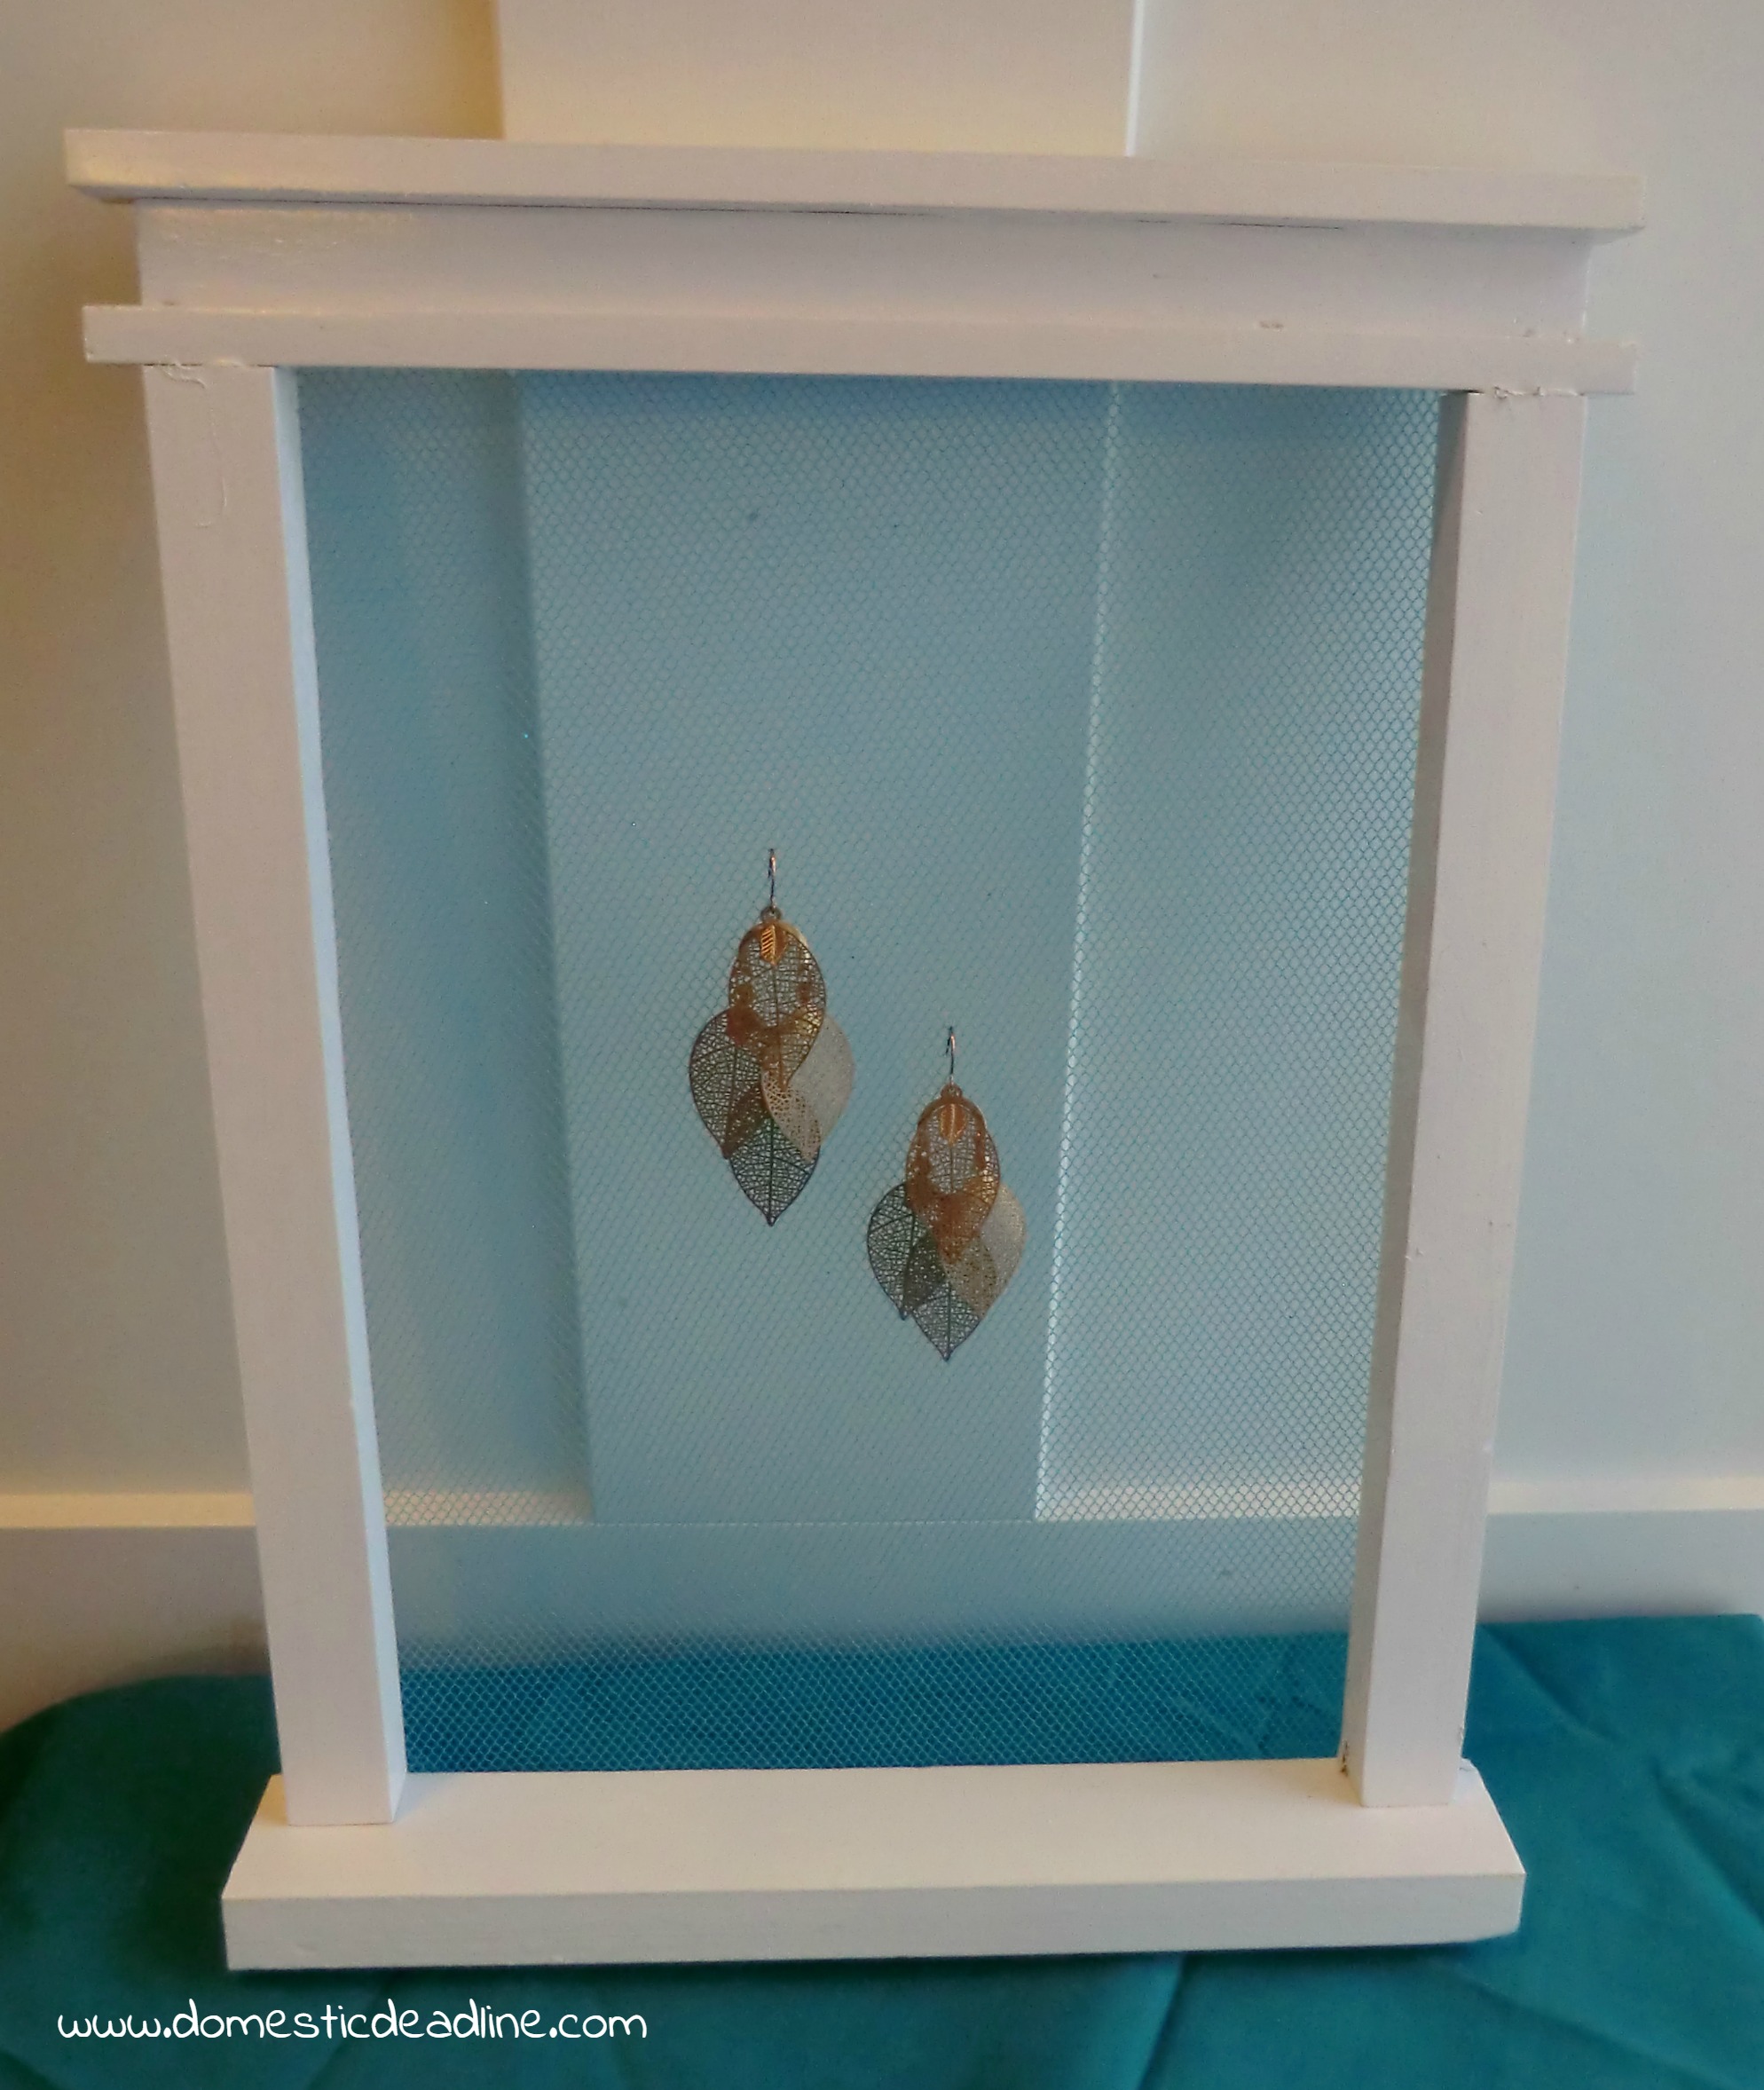
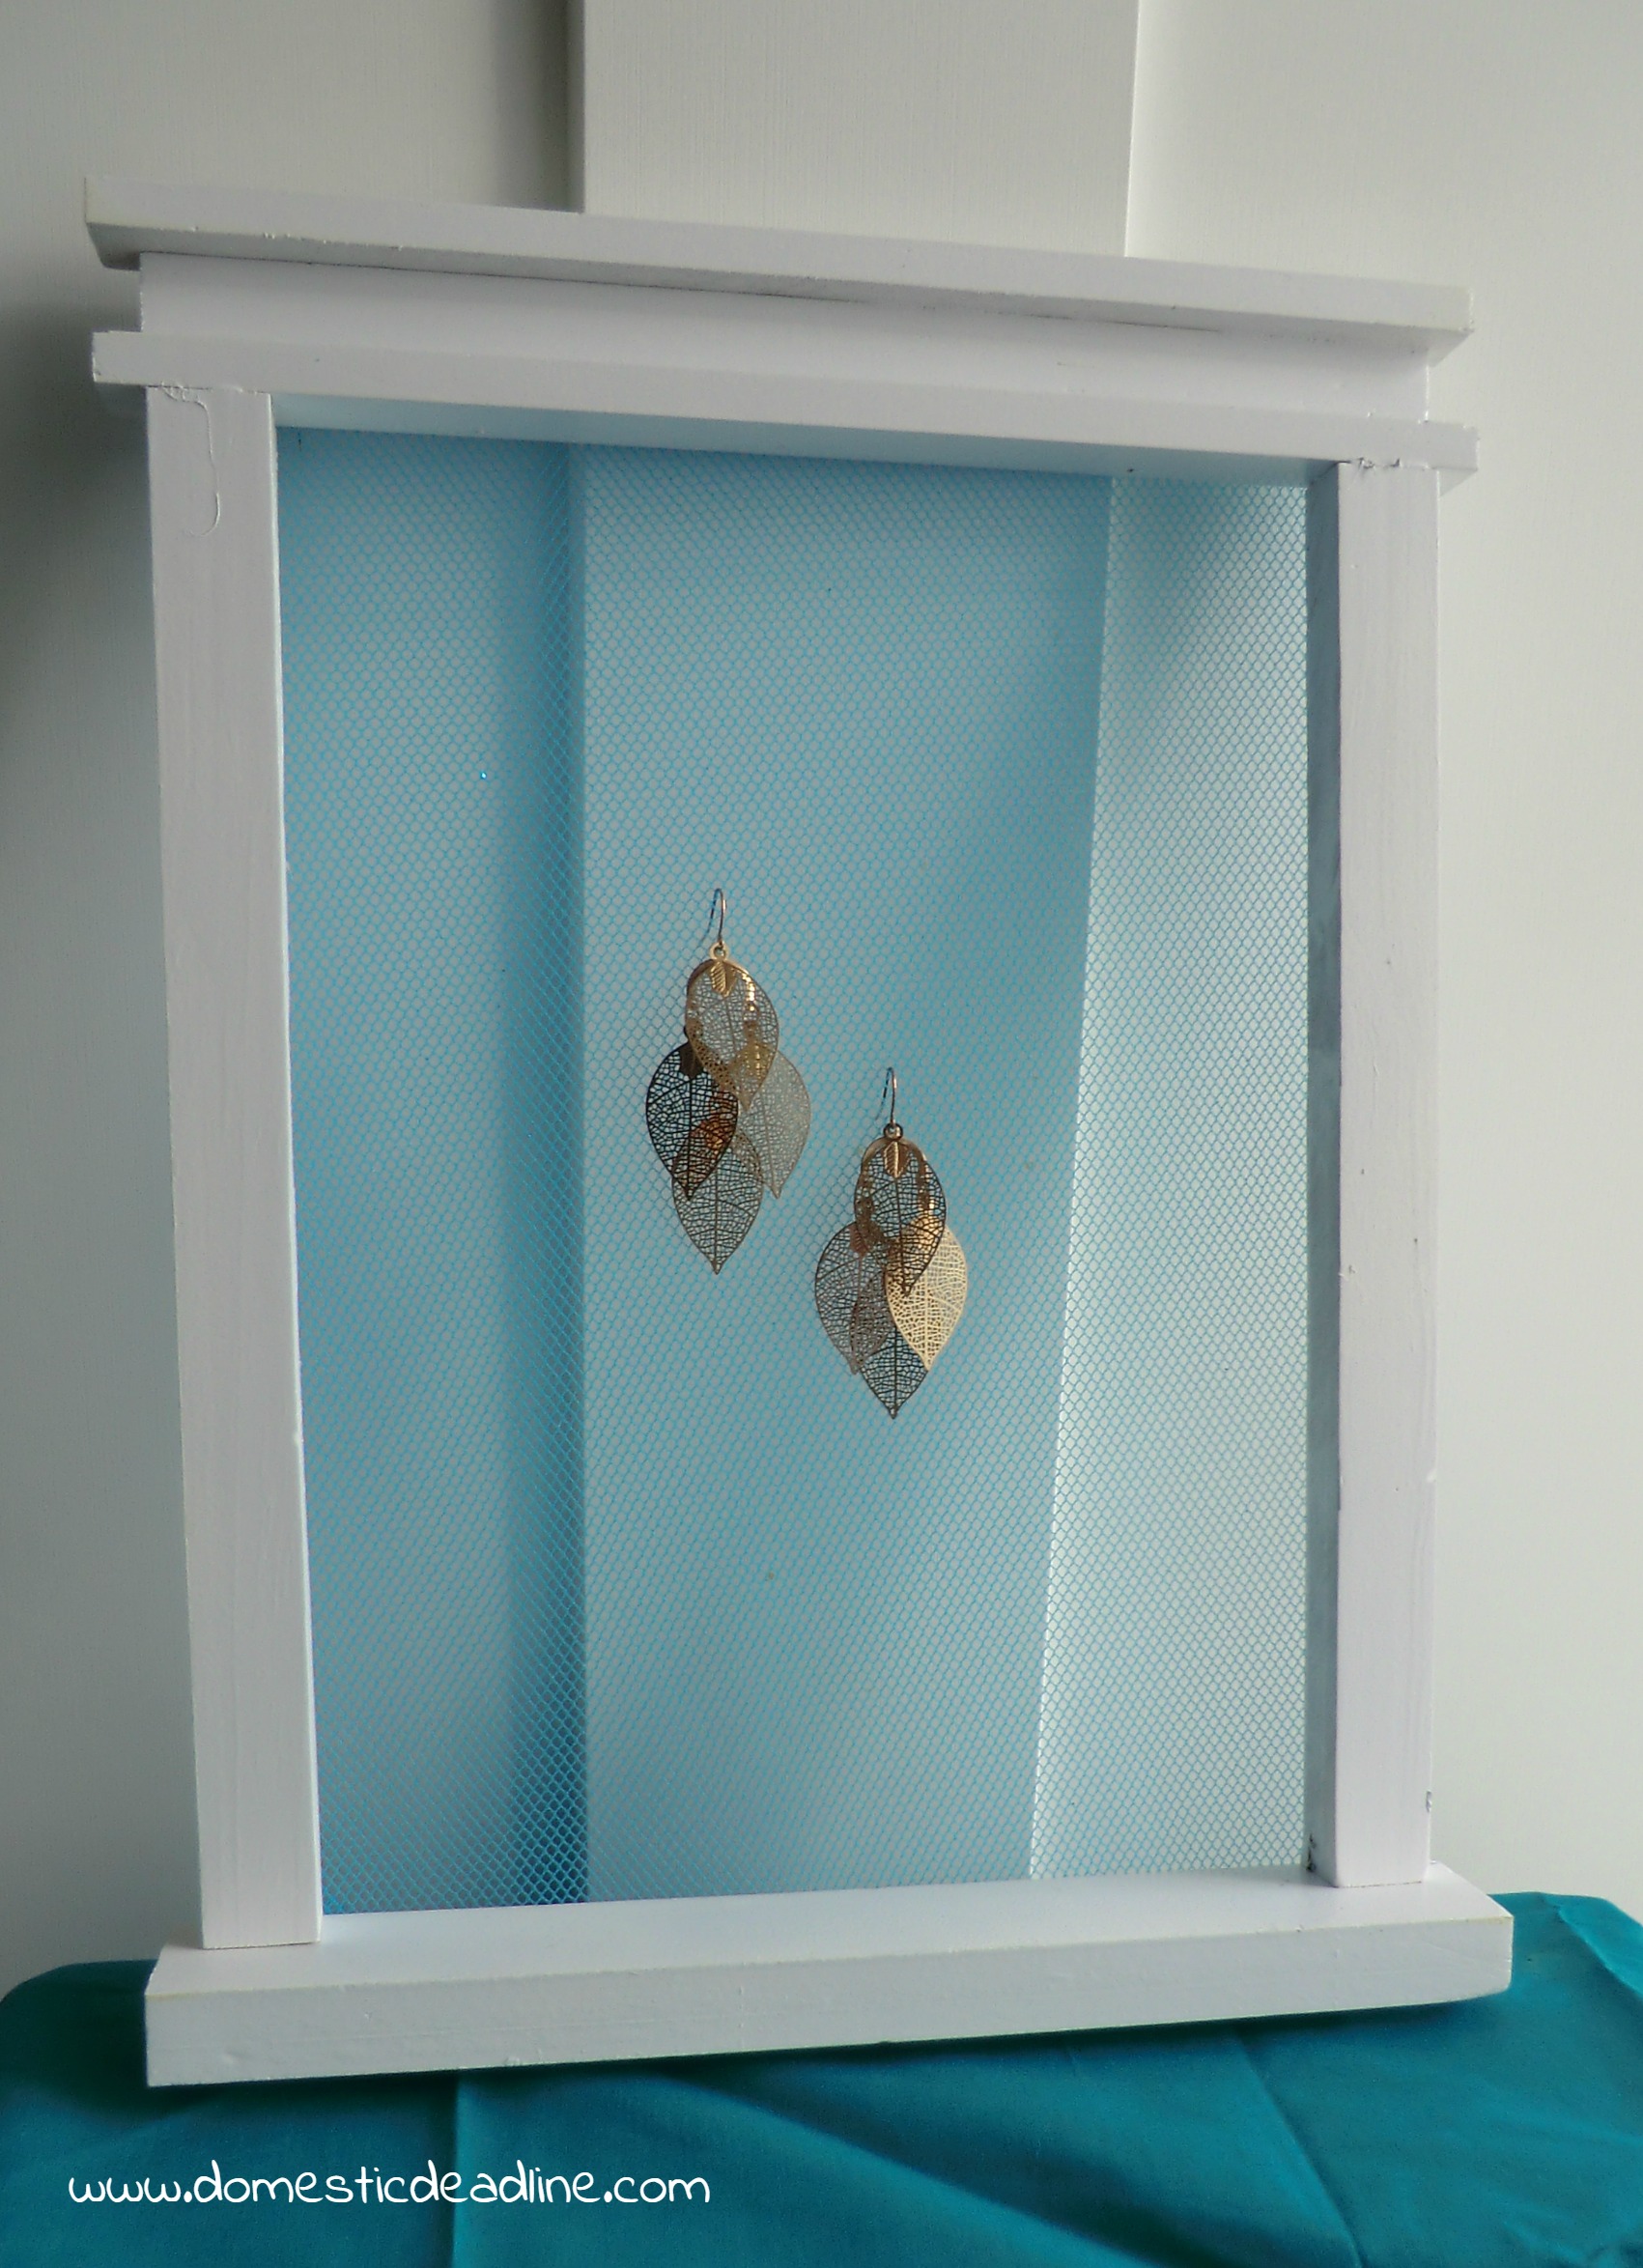
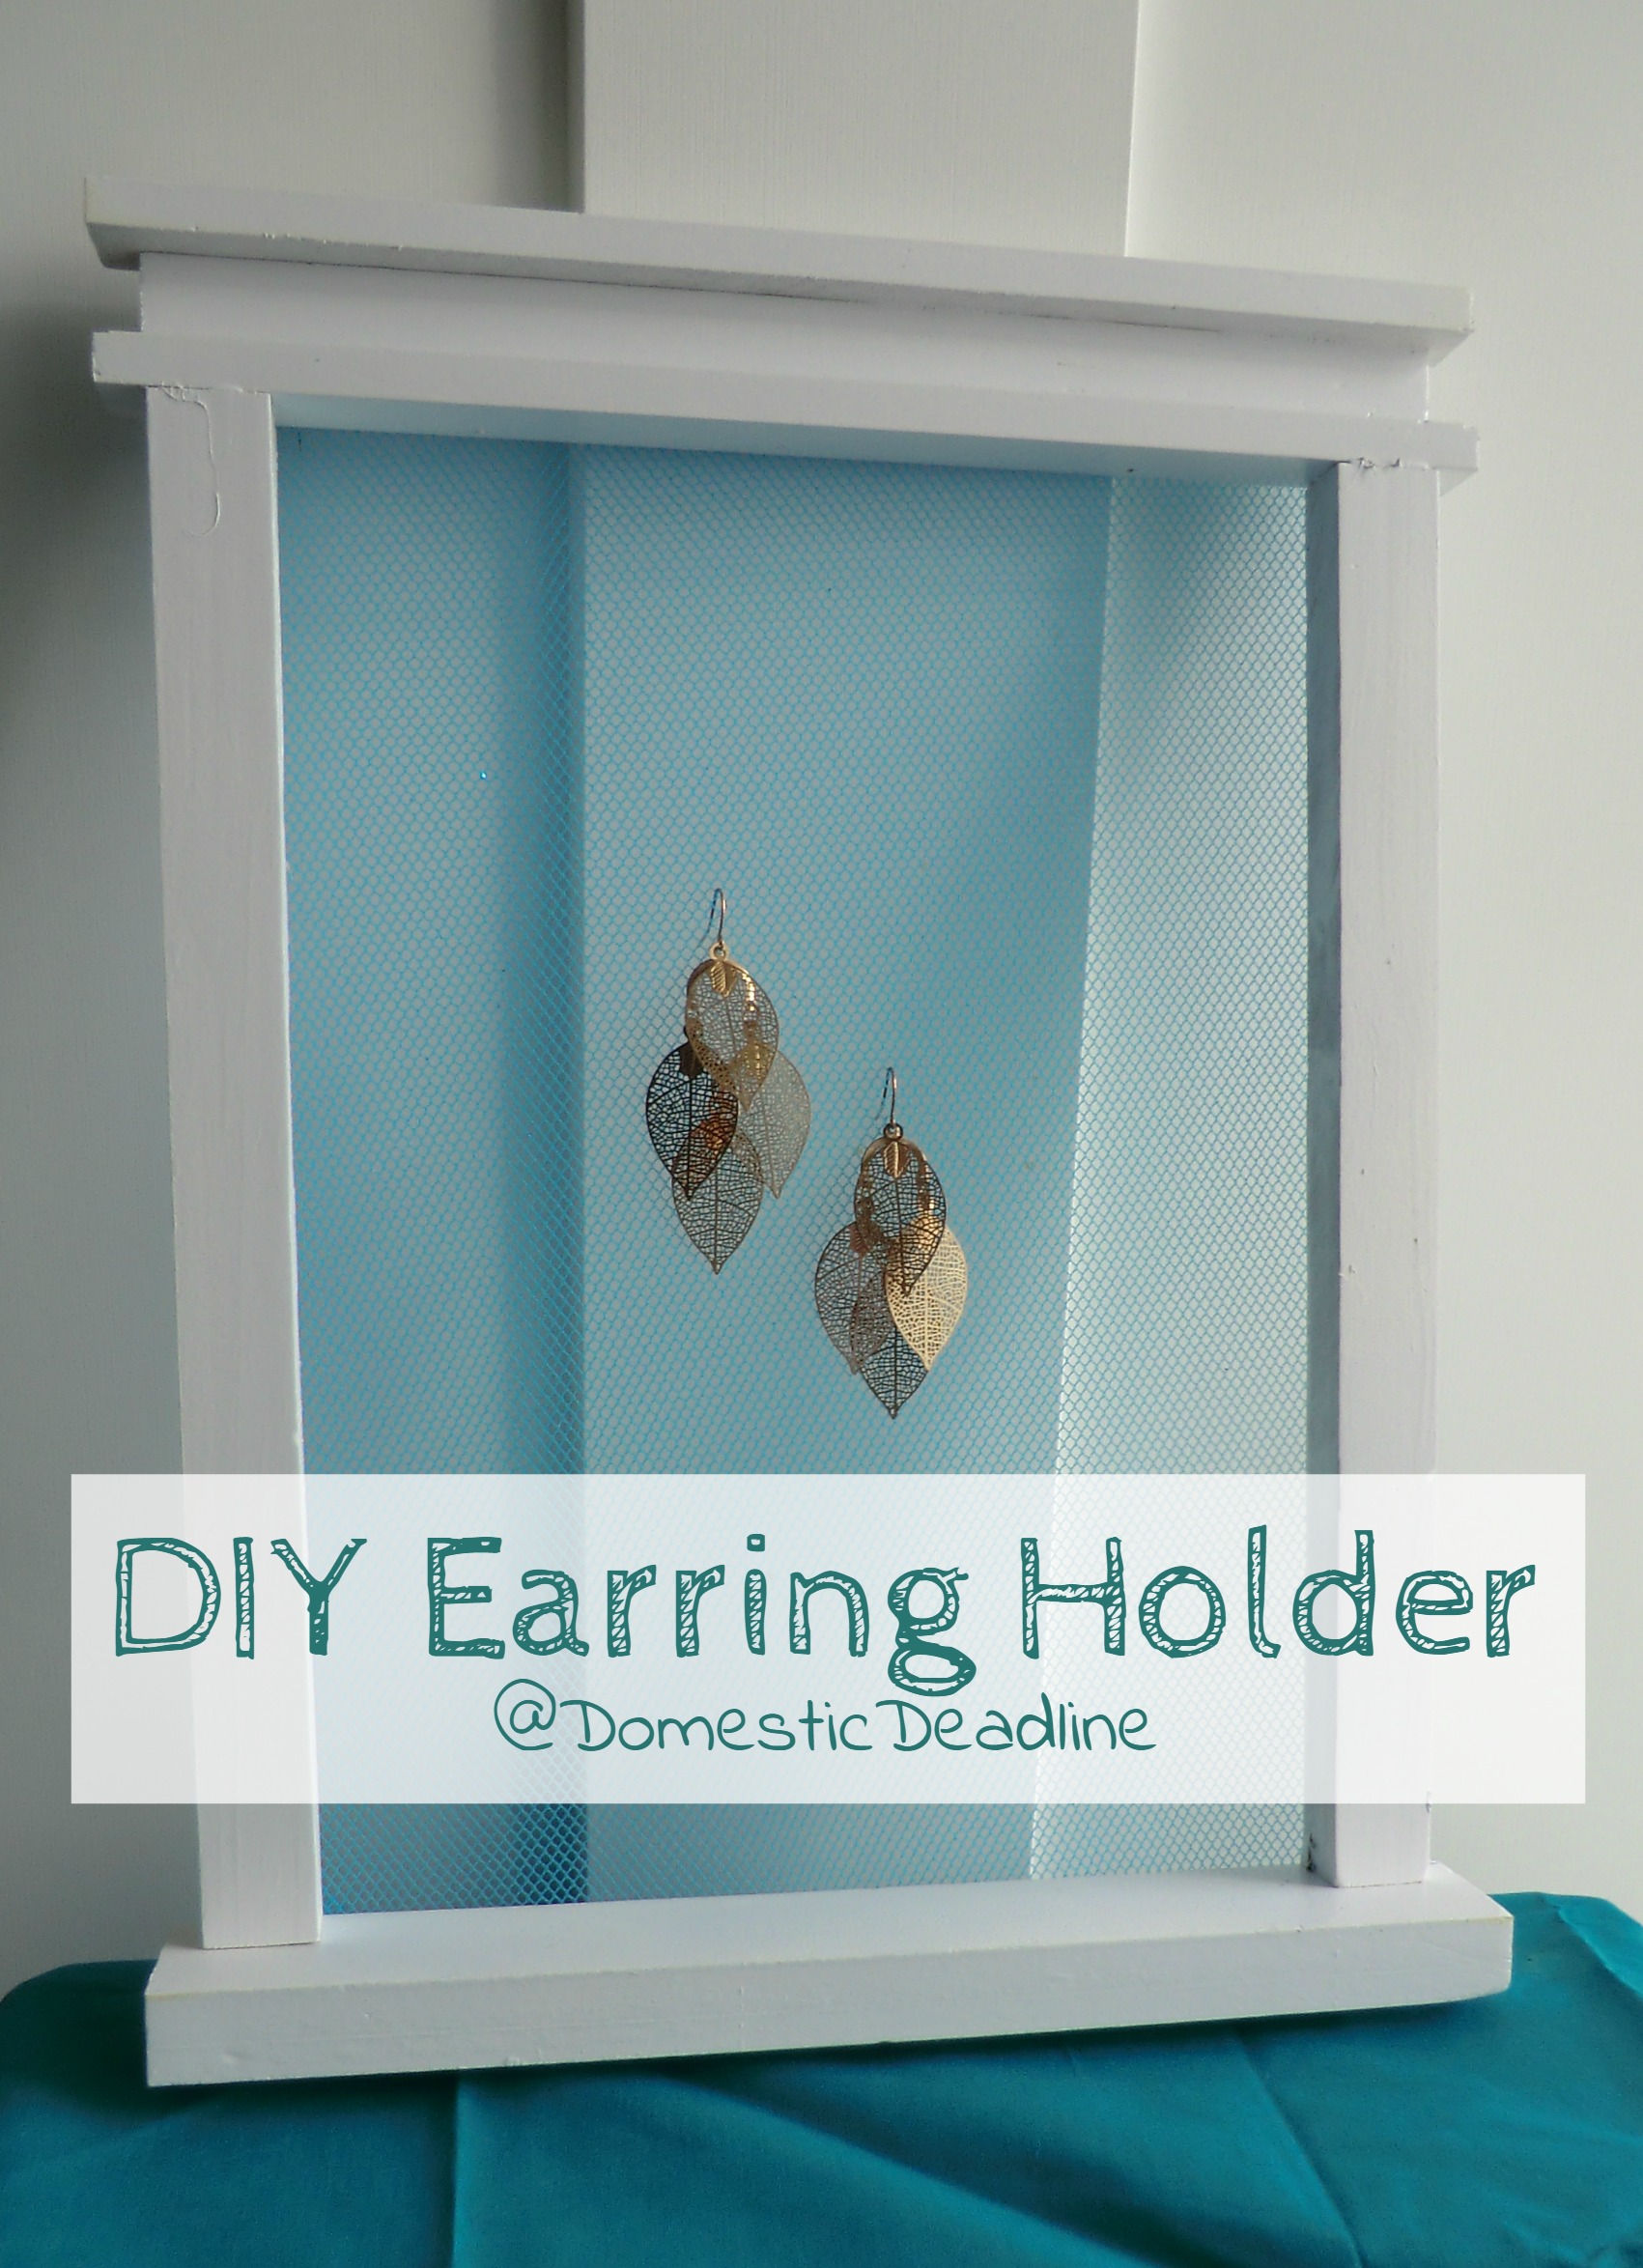
Here’s the finished piece
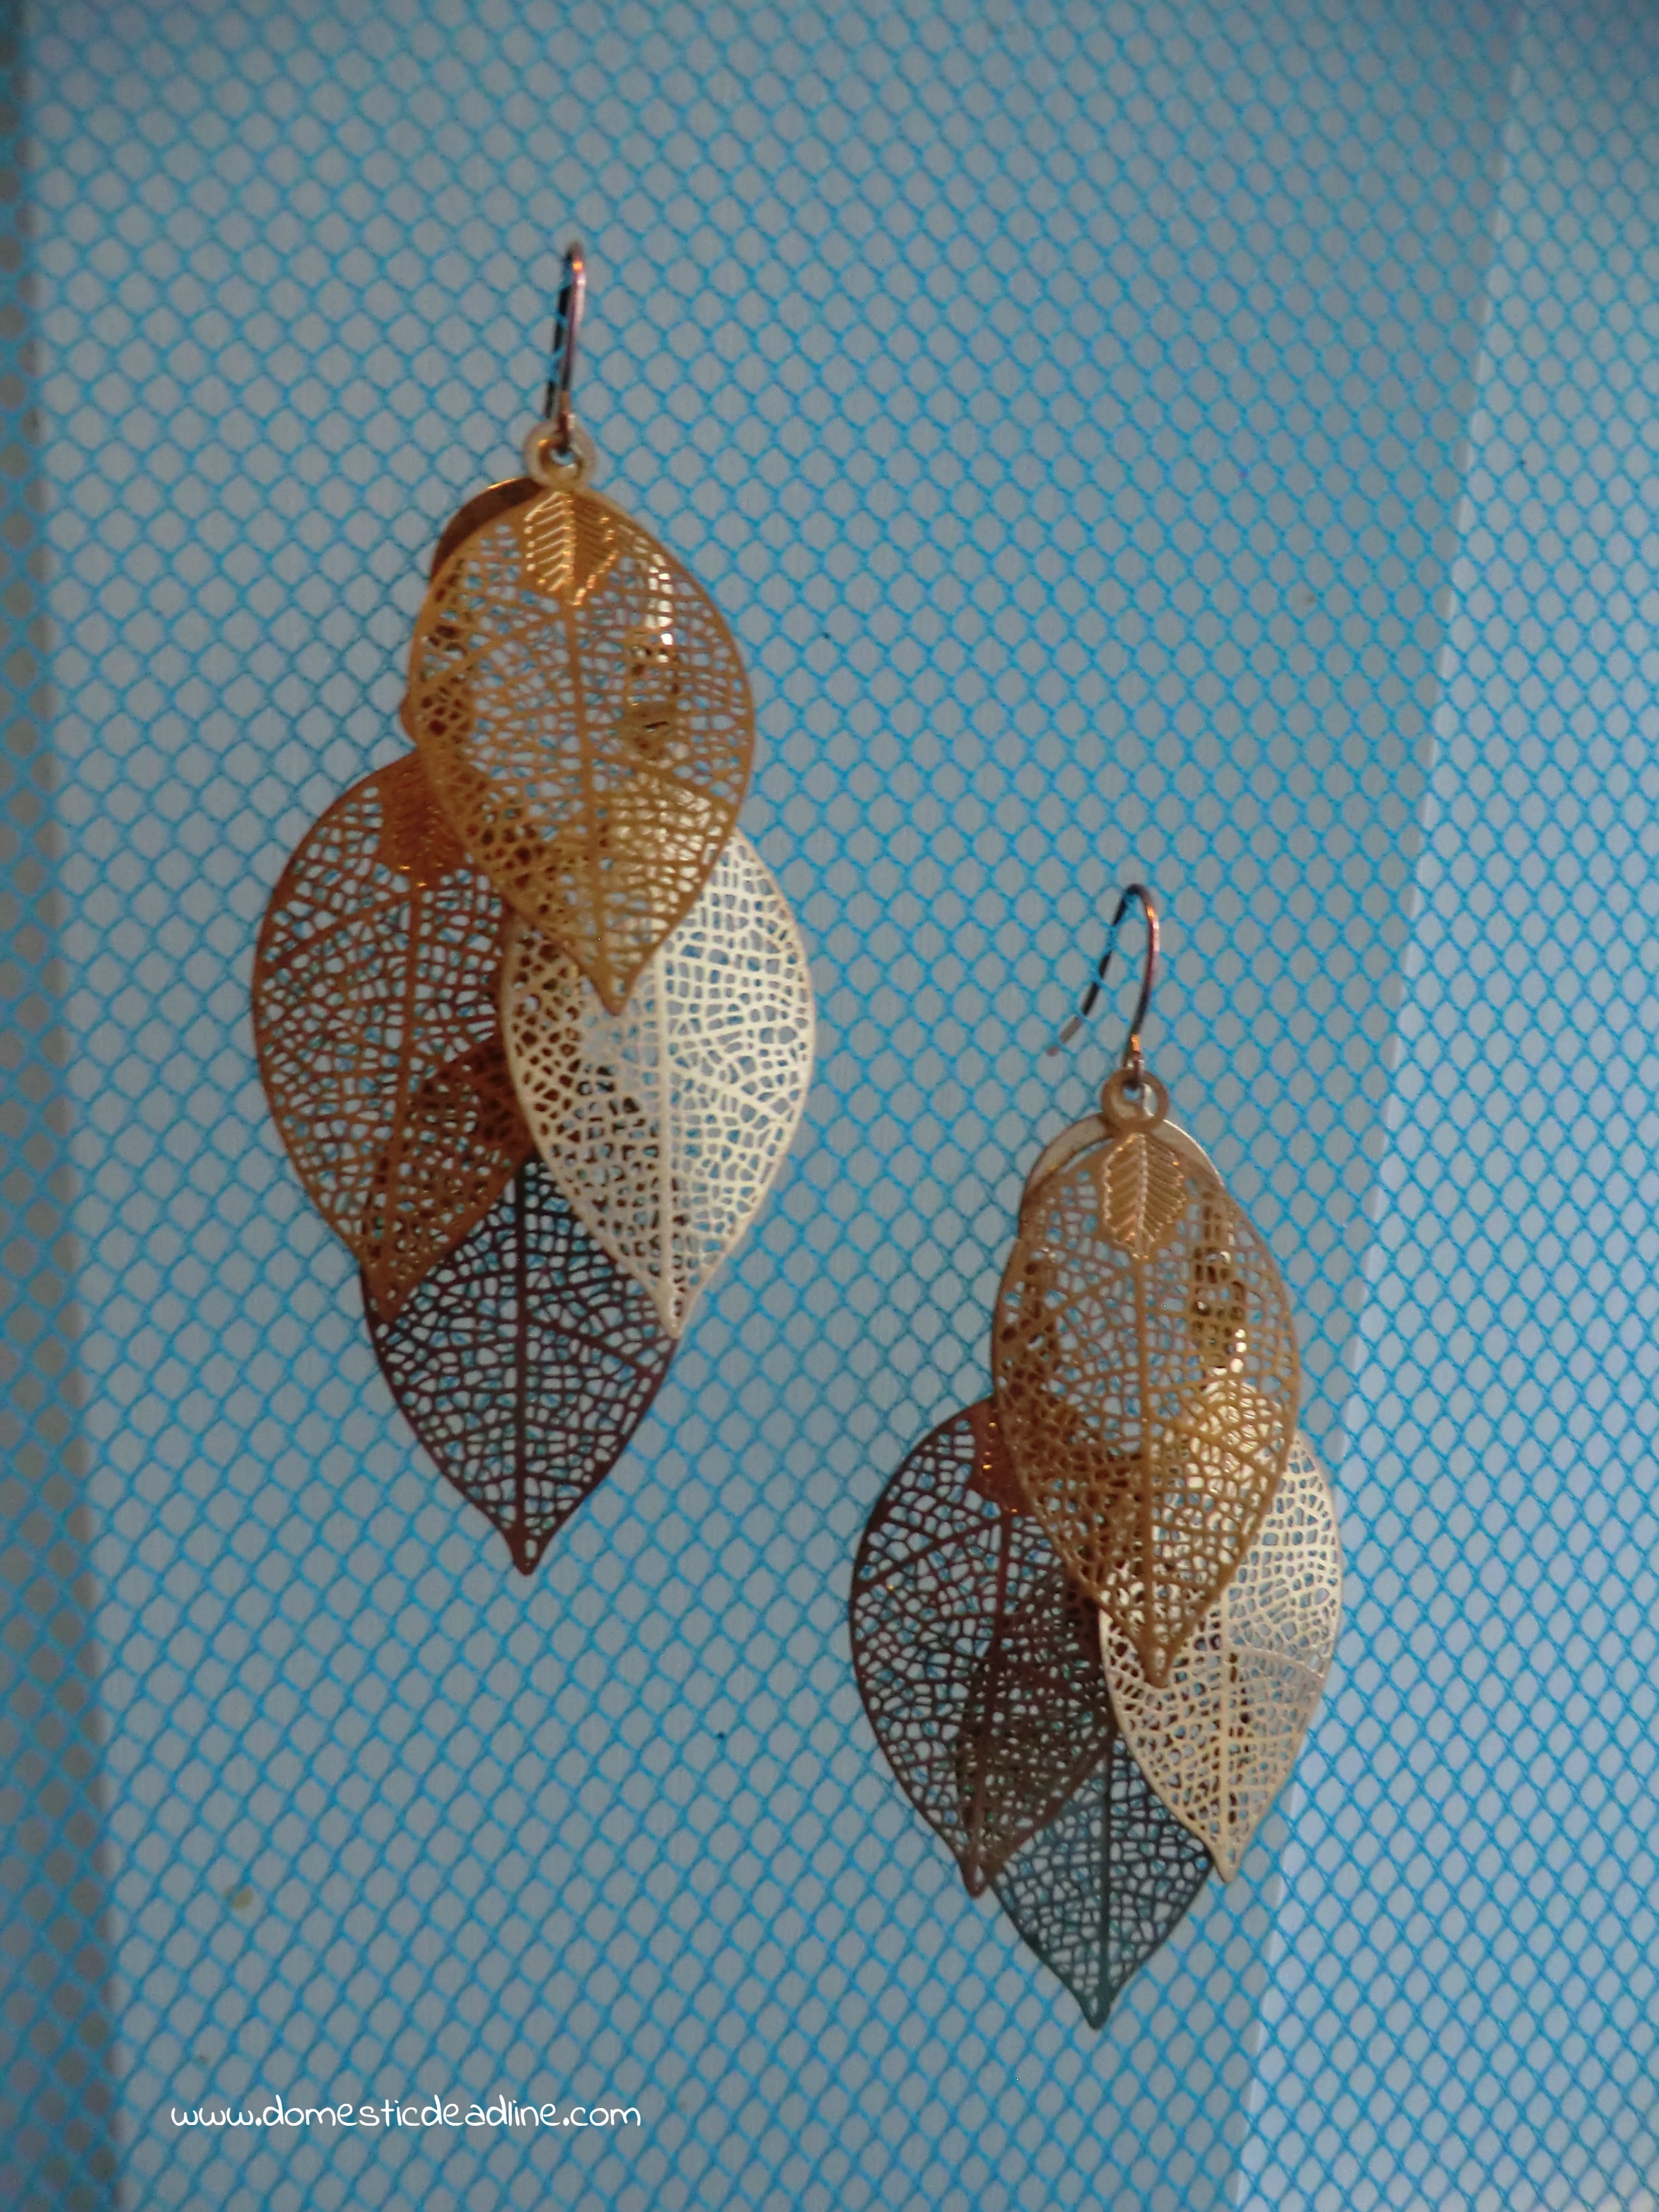
The blue was such a perfect match, it blends right into JuneBug’s walls! It’s kind of neat, like the earrings are floating. Not great for pictures, however.
Project Challenge
There are several of us in the group and everyone has made something awesome using screening. Hop on over and check out these beautiful pieces.
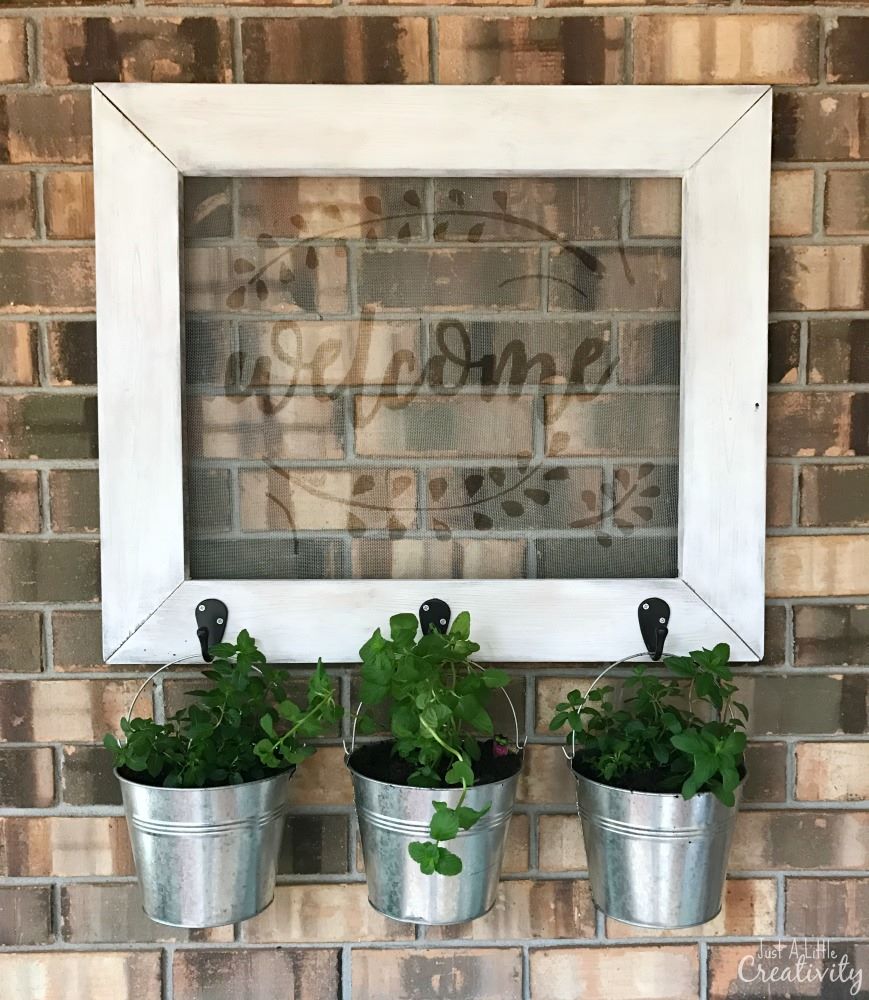
Molly’s DIY Farmhouse Style Frame for Your Outdoor Space
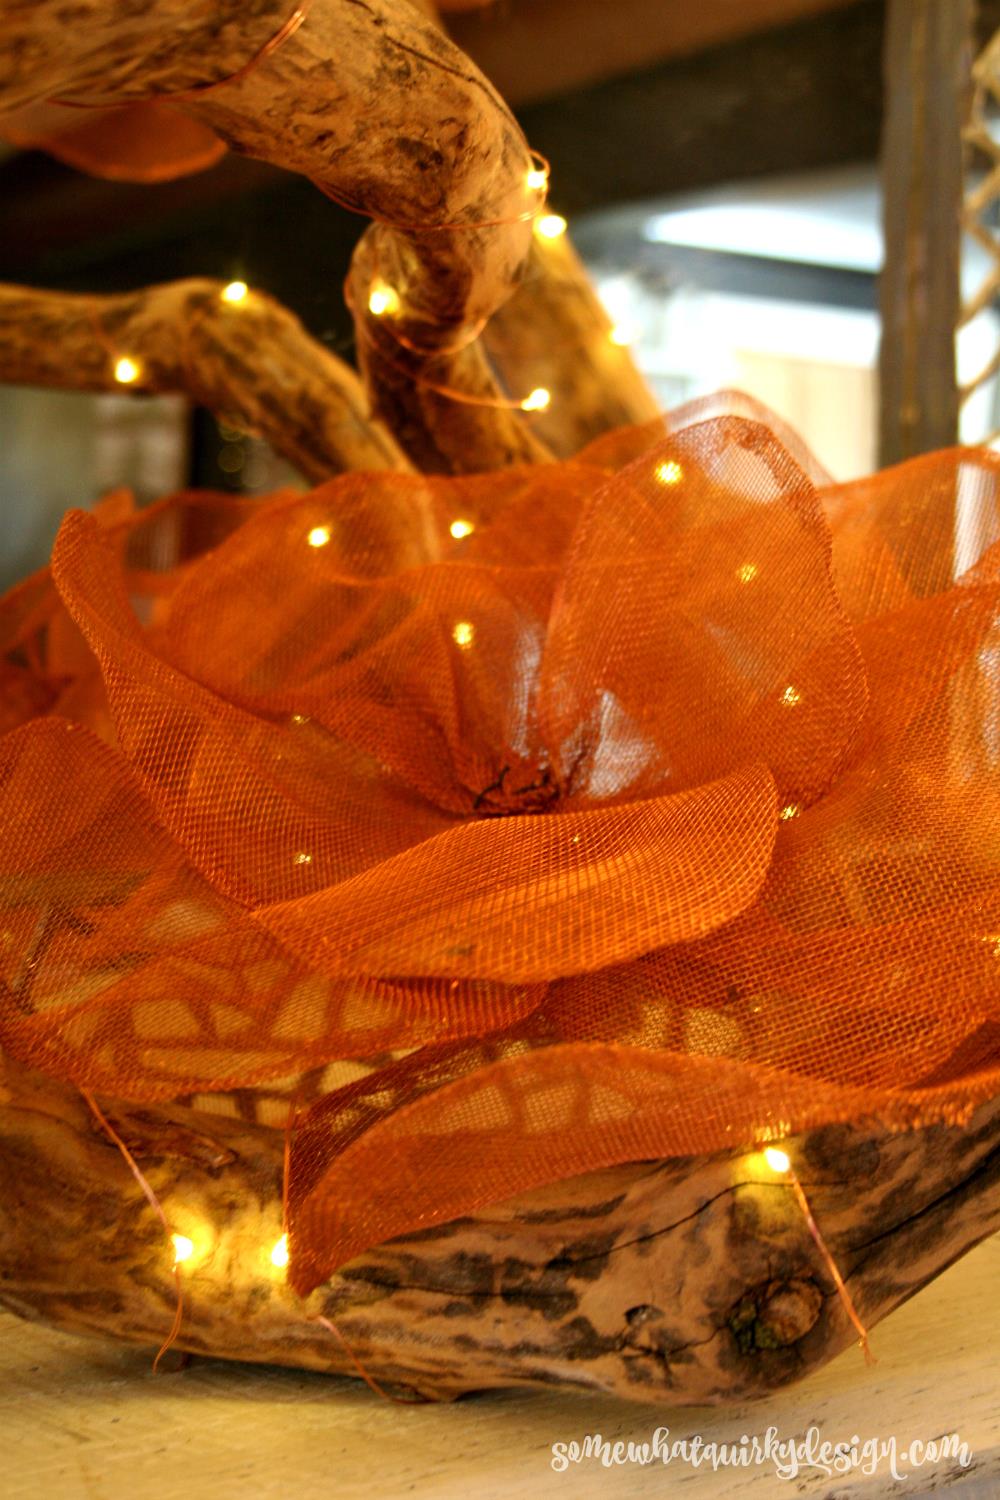
Karen’s Copper Screen Ribbon
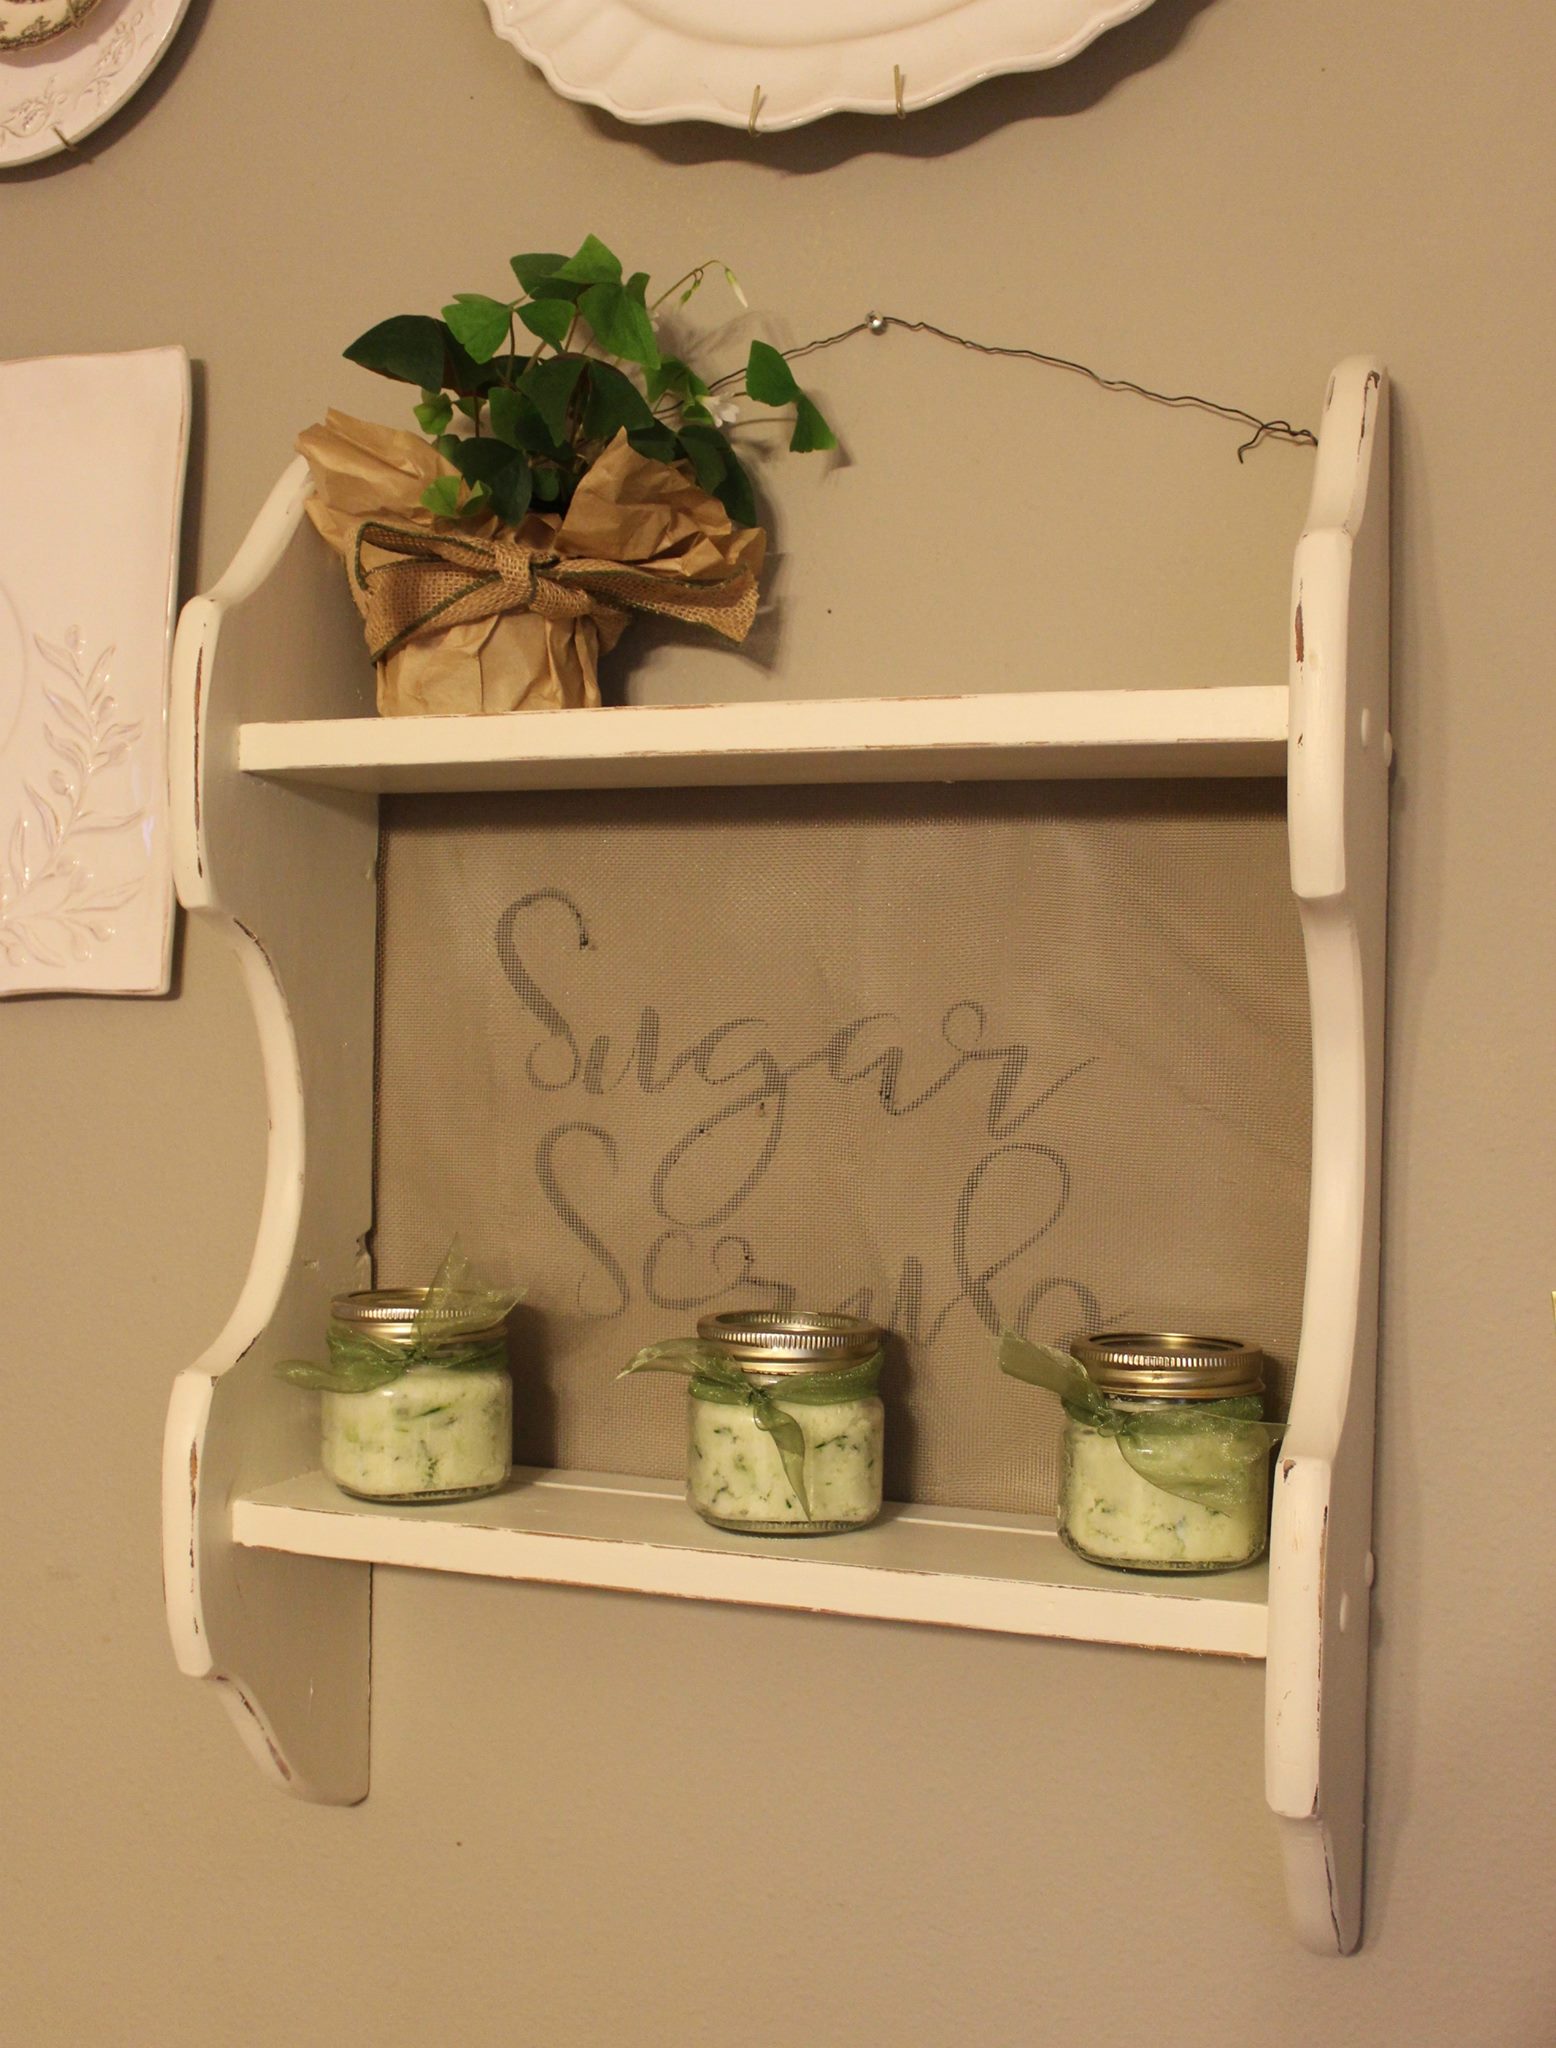
Michelle’s Sugar Scrub Shelf
Colleen’s Farmhouse Shelf
Window Screen Earring Holder
Put a pin in it to remember later.







18 Comments