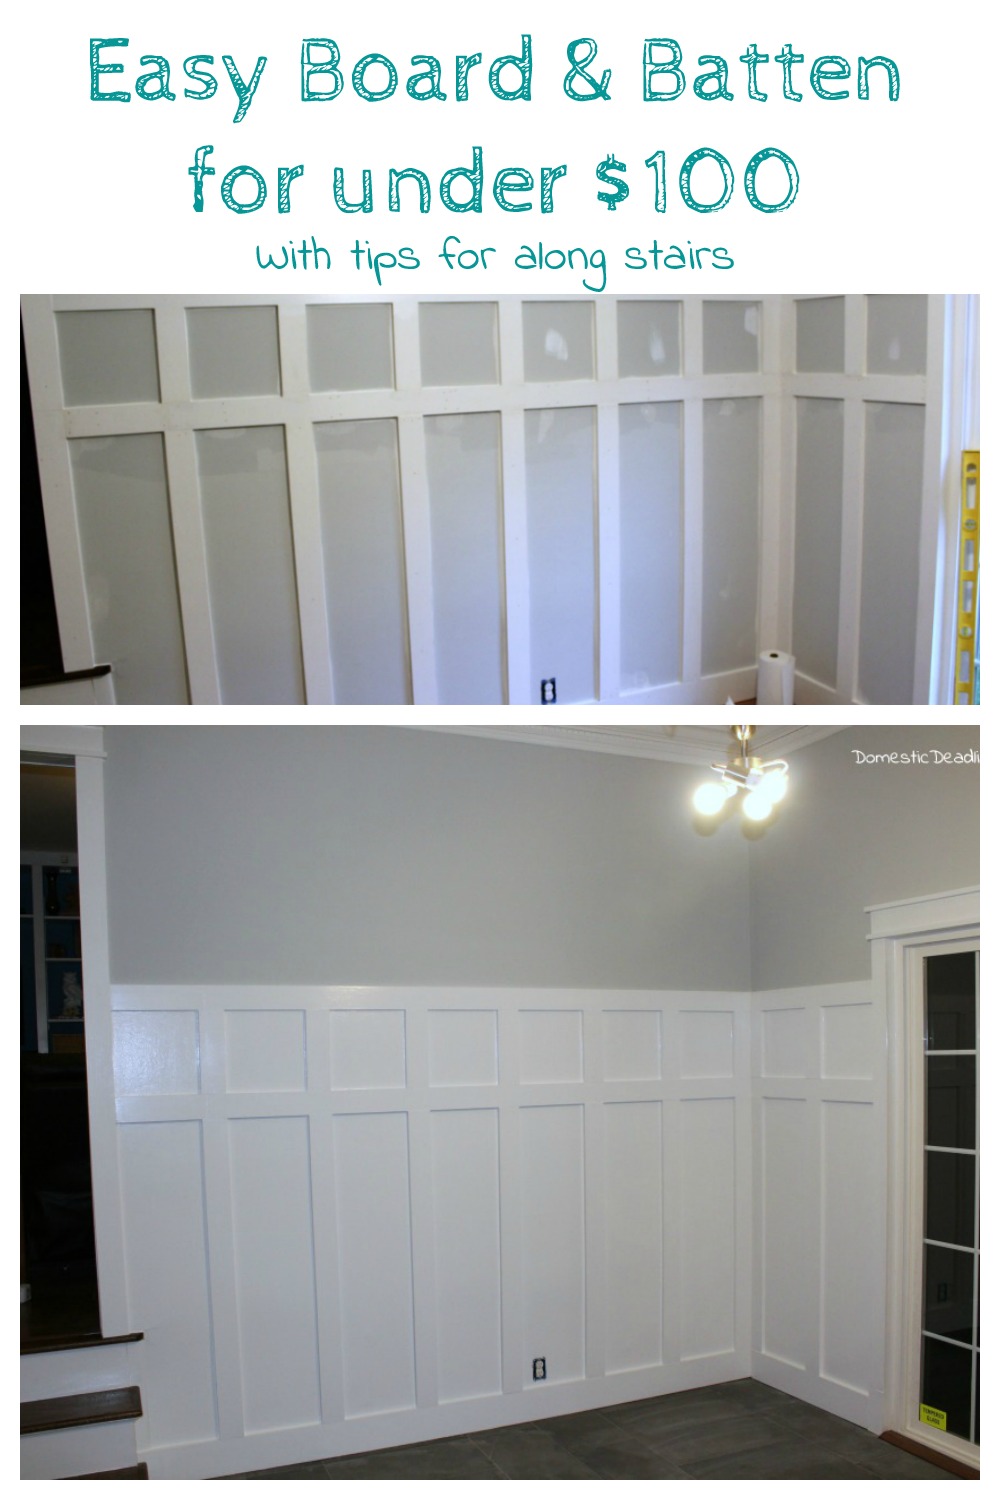
When IronFish and I began painting and working in our house, almost exactly 2 years ago, we started talking about board and batten in the dining room. Because the room had once been wall papered, and we removed a chair rail, the drywall was very scarred. After some serious work, we painted but still weren’t thrilled with the final results. But, we trudged ahead with all our other projects on our list. Now, with the kitchen opened into the dining room, the space has become one. It was time to reconsider board and batten. Here’s how we gave the walls a board and batten look on a budget and tips for installing along stairs.
Materials and Tools
If we were going to do real board and batten, we would have to first apply wood sheets (like birch plywood) directly to the wall and battens or trim pieces over the joints. Because we had already worked on fixing the walls, we opted not to apply plywood.
- Pre-Primed 1×4 boards in 8-16 food lengths depending on the length of the wall
- Construction adhesive
- Nail gun and finish nails
- Caulk and wood filler
- Paint, brushes, and rollers
- Level
- Measuring tape
- Chop saw
- Square
Starting Point
The kitchen has a lot of different lines. Since I was adding more linear focus to the dining room, I wanted it to flow. Working off the line created by the bottom of the cabinet, this became our starting point.

Despite the way it appears in the picture, the bottom of this board is flush with the bottom of the back of the cabinet.
We’ve had a laser level for years, still in the box. This was a great reason to use it! The laser level gave us a level line around the room.
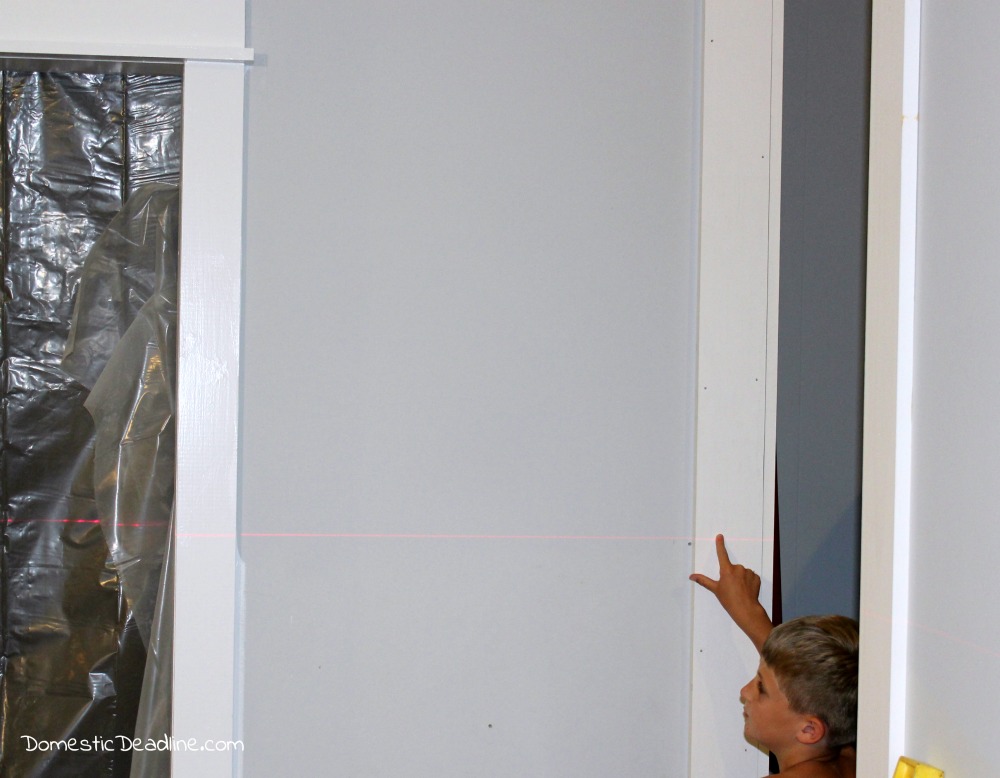
O-Man assisting to make sure we knew where the line was!
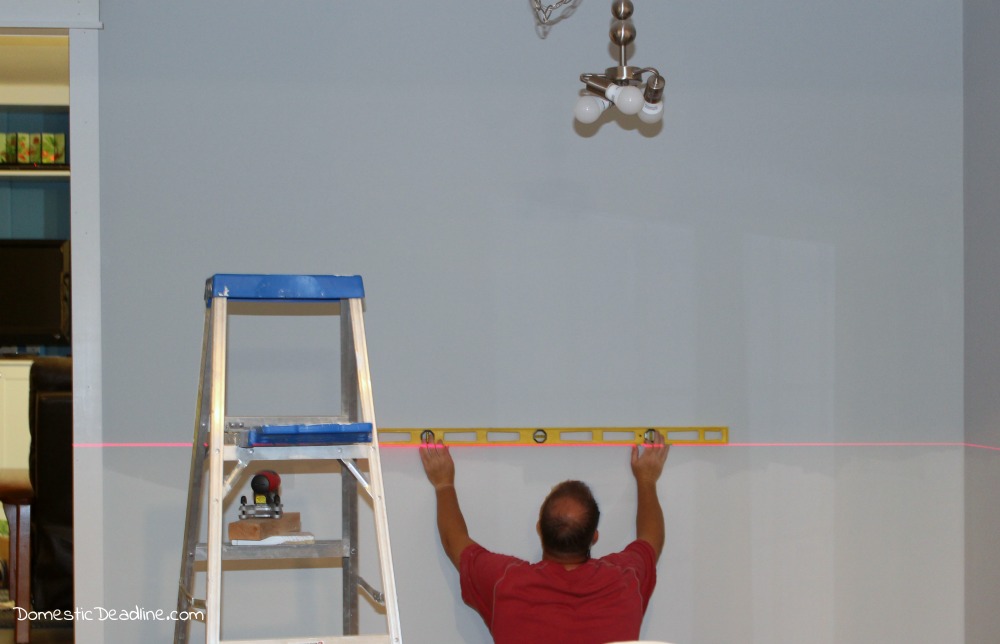
We did also verify that the line really was level! You don’t have to use a laser level, we just had fun with it. Honestly, measuring the height we wanted and using our 6-foot level was actually easier. So, don’t feel this project can’t be done without a laser level.
You don’t have to use a laser level, we just had fun with it. Honestly, measuring the height we wanted and using our 6-foot level was actually easier. So, don’t feel this project can’t be done without a laser level.
Horizontal Battens
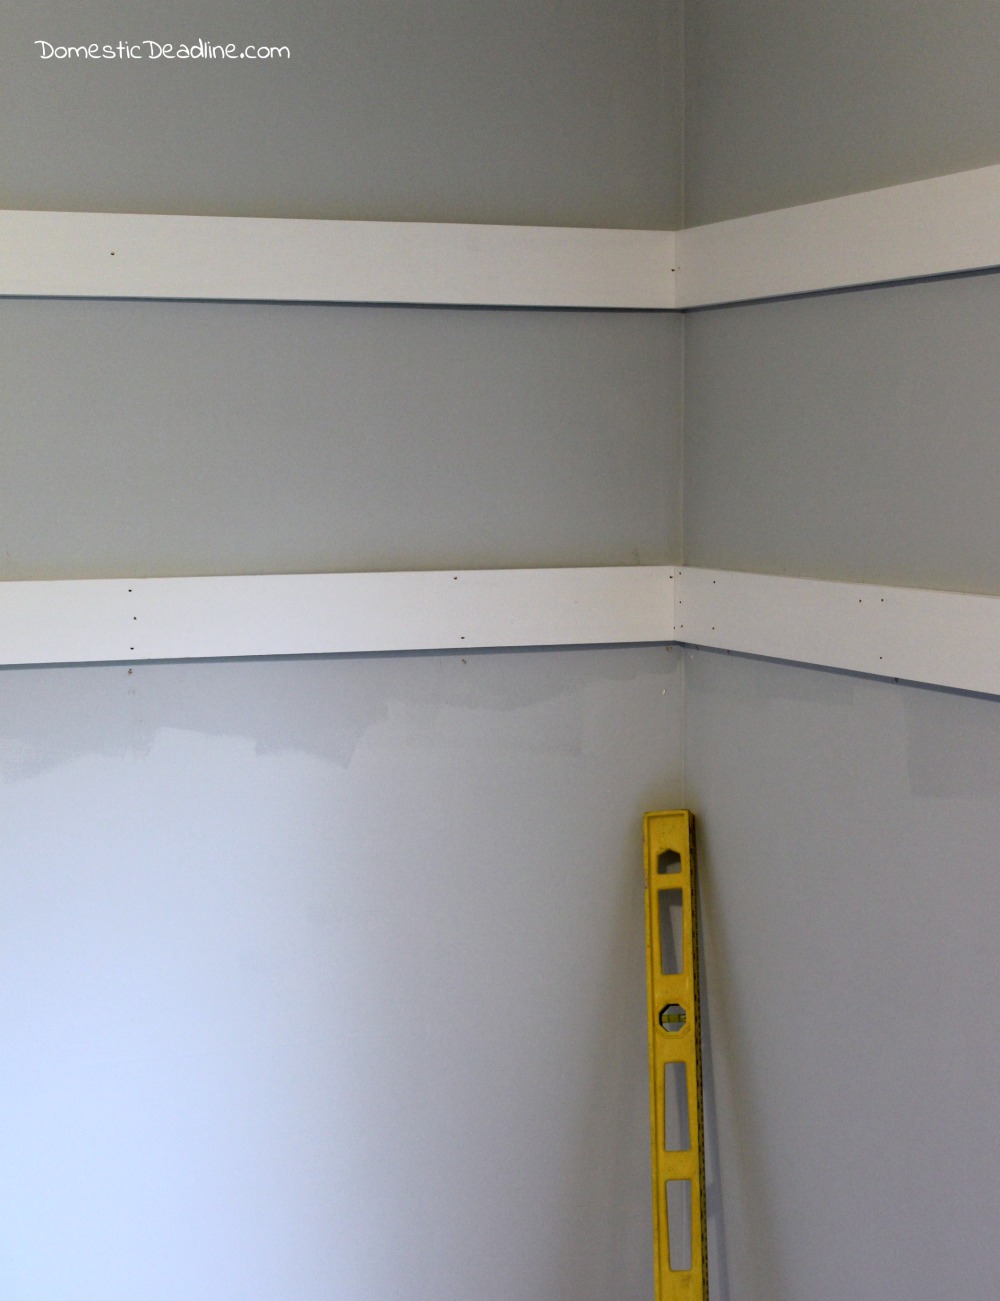
Once we projected the line around the room, we installed our first row of horizontal battens. For us, these were the 1×4″ pre-primed boards. Using my trusty nail gun and 2″ finishing nails, each board was nailed into the studs.
We wanted a “square over rectangle” look. With 10-foot ceilings, we opted to put our next row above our first. Leaving 12 inches between the top of our bottom row and the bottom of the top row was visually pleasing. This determined our verticals.
Vertical Battens
We started by cutting several 12′ pieces of 1x4s. I also cut a scrap piece to 12 inches in length. This piece acted as a marker. Simply placing it horizontally between the verticals showed me exactly where to place the next batten.
Then I stepped back and looked at the placement.
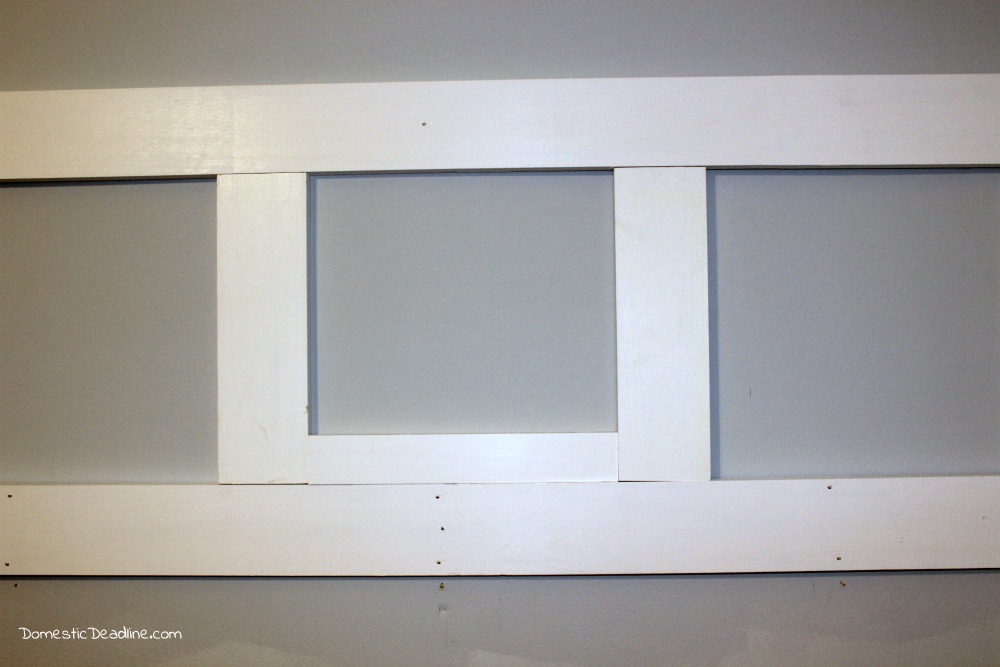
Before using construction adhesive to install each piece, I also placed one of the lower pieces in place.
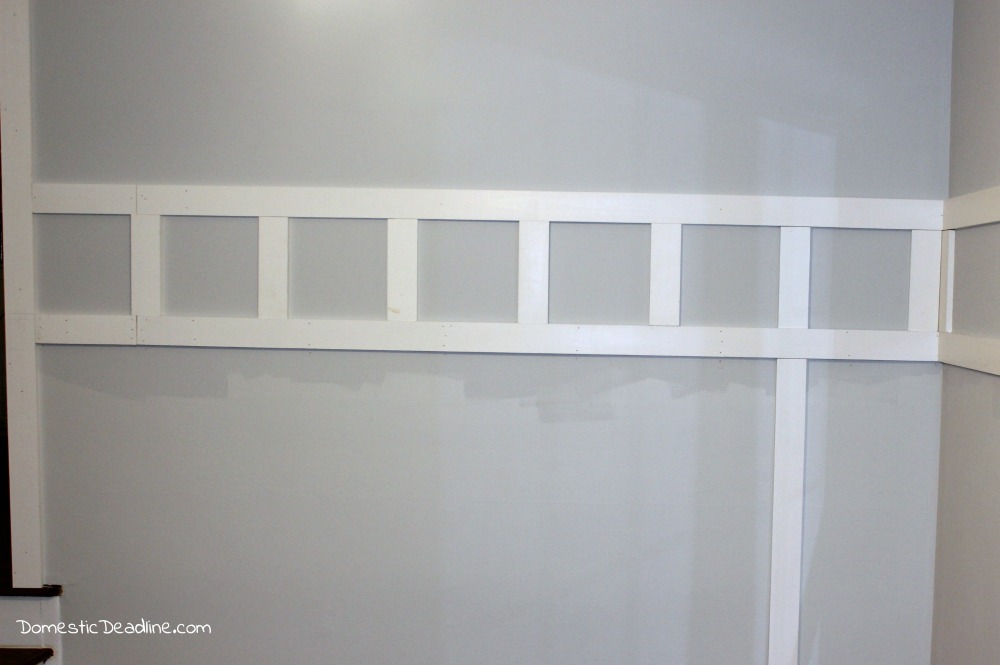
We considered cutting one batten down for the corner, but the layout was perfect with a complete one in each corner.
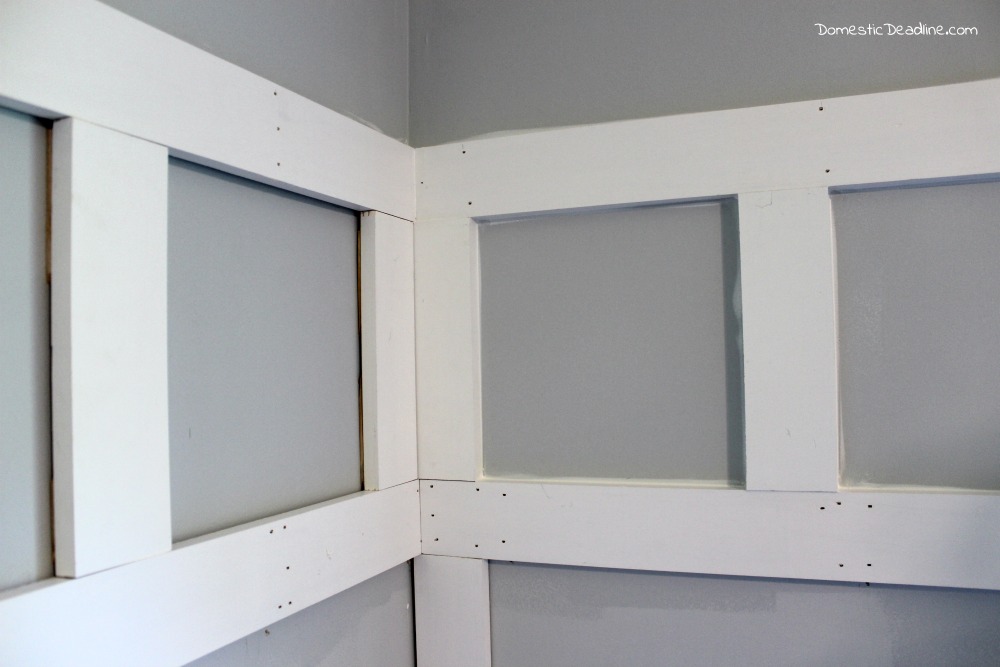
And, because the wall has some waviness to it (they all do!) I occasionally needed some shims. For these shorter battens, I used a liberal amount of construction adhesive on the back of the 1×4 board. Once it was in the place I wanted it and plum (“level” up and down), I pushed pieces of shim behind the 1×4 to bring it flush with the horizontal boards.
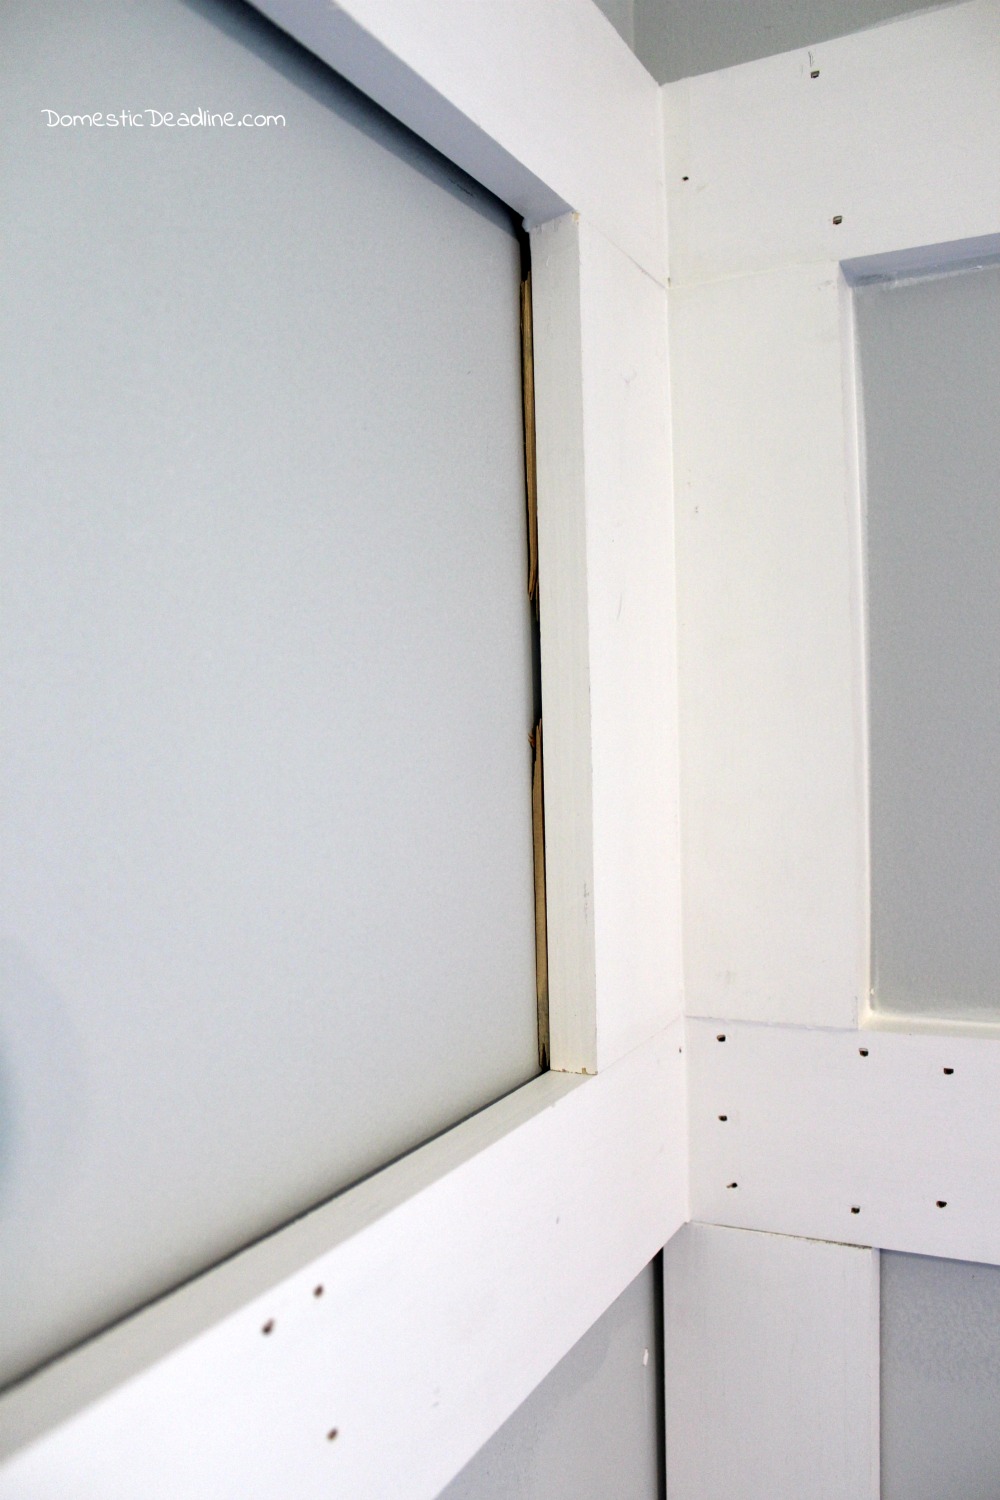
It’s more important for the faces of all the wood pieces to be the same. The shims will be hidden by caulk and paint later.
Lower Verticals
There is a slight slope in my floor. Much of it I worked out when tiling, but the base molding runs right along the floor. Therefore, the longer, lower verticals aren’t all exactly the same length. The variation over 10+ feet is less than 1/4 inch.
But, I didn’t want large gaps that needed to be filled with caulk. So, I numbered each vertical on the wall. As I measured, Tasha made a list of cuts with corresponding placement numbers.
Then, we cut. I measured and cut each board and we wrote it’s placement on the back.
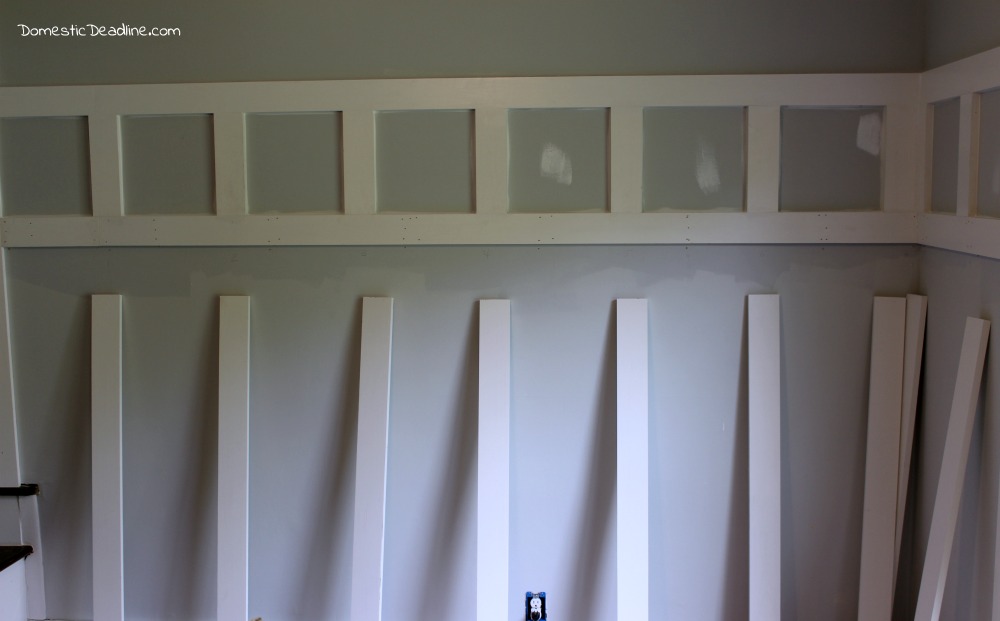
We verified each board fit correctly before installing. Then, applying a liberal amount of construction adhesive to the back, we fit them into place, shimming where necessary.
Because these battens were each almost 4 feet long, I did need to shoot some nails, to hold them in place while they dried. Only one of my verticals was over a stud. Toenailing at the bottom and top and then shooting two nails on a diagonal, crossing over each other, about every foot.
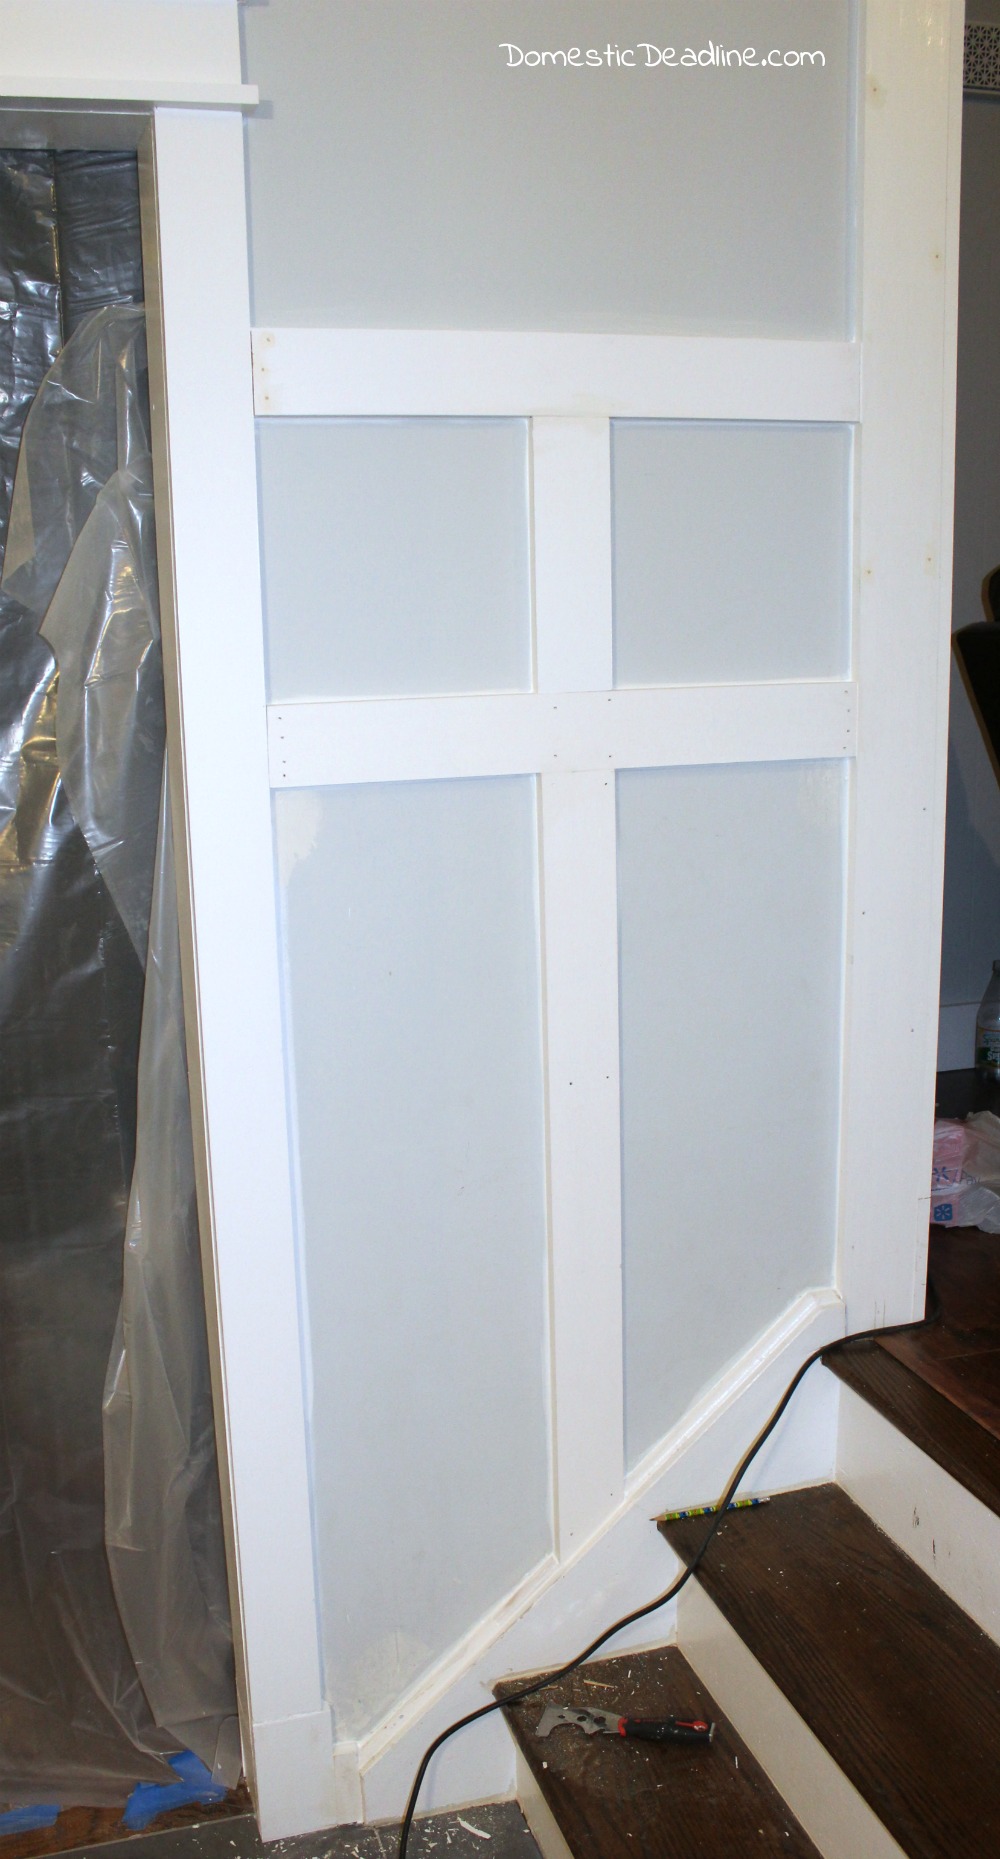
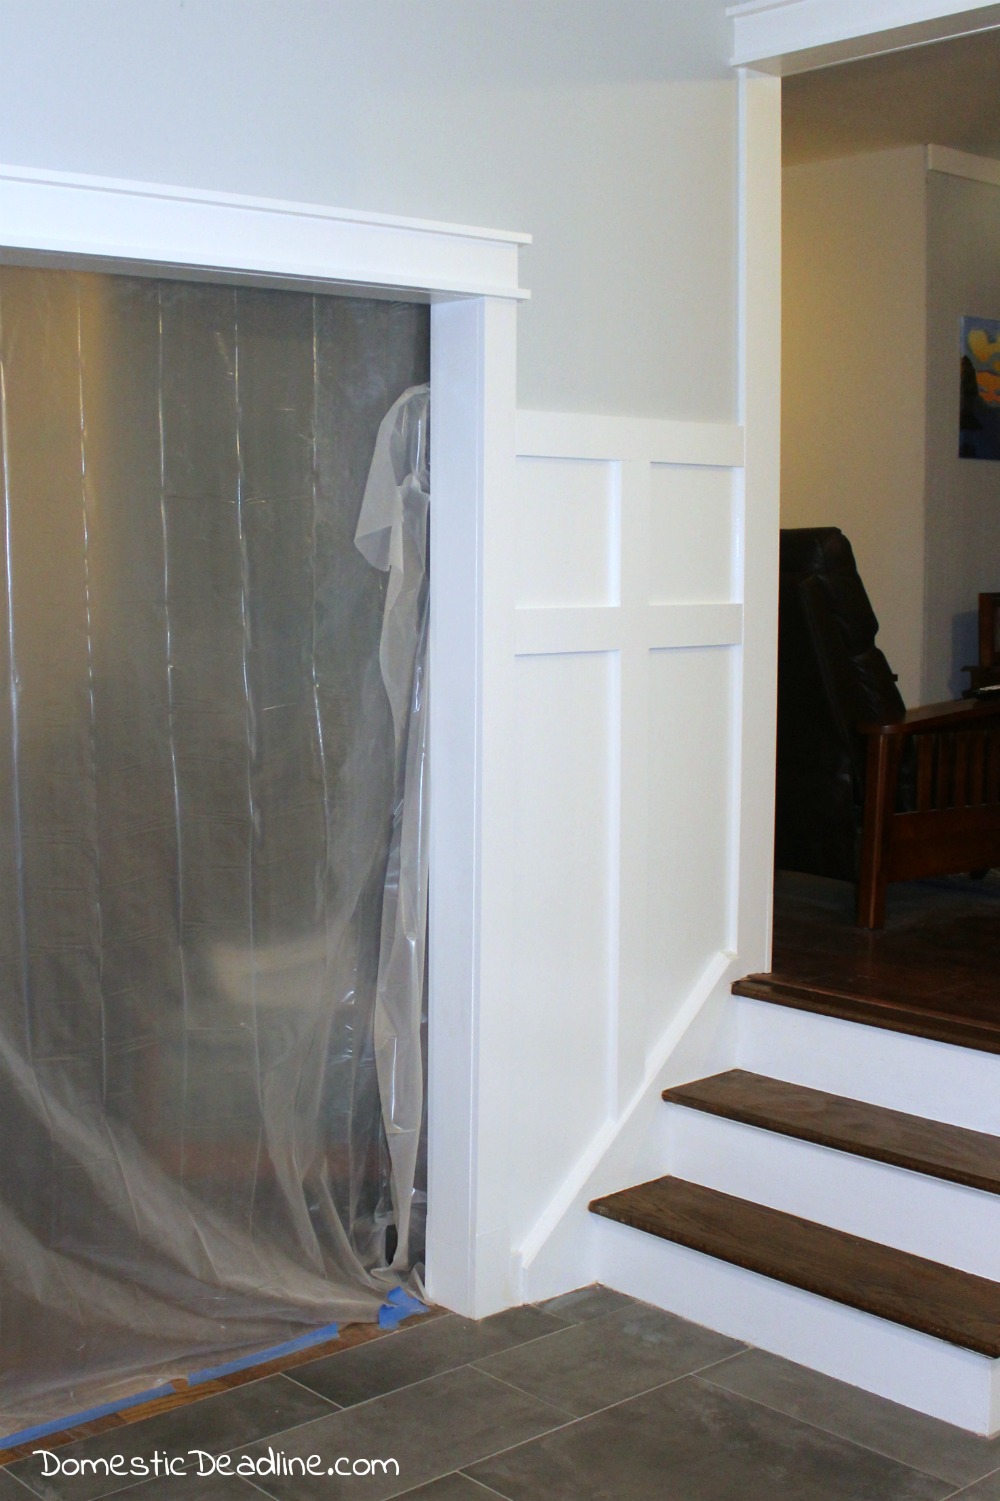
Along Stairs
Our kitchen, dining room and living room are two steps lower than the rest of the house. The dining room leads to IronFish’s office.
Once I determined where the batten would fall in place, I marked a space of the quarter-round to remove.
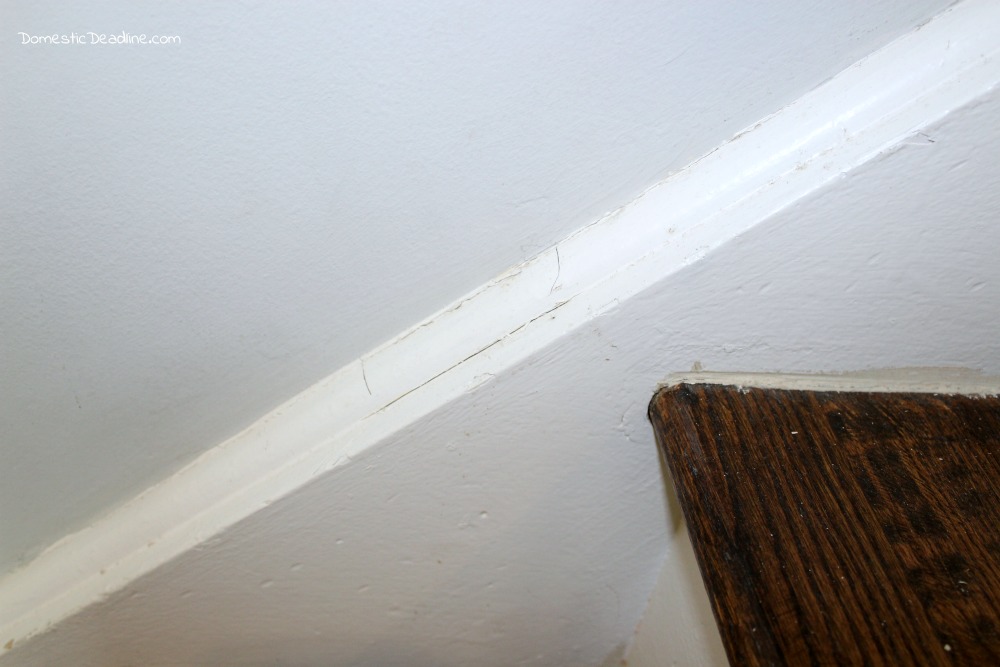
Using my multi-tool, cutting the quarter round was simple. About 2 seconds after I took this picture, I realized the entire piece of quarter round was held in place with two nails… I’d just removed one of those. Only a little caulk and paint were holding the rest of the piece in place and it quickly fell off!
Nothing a little nail gun can’t fix.
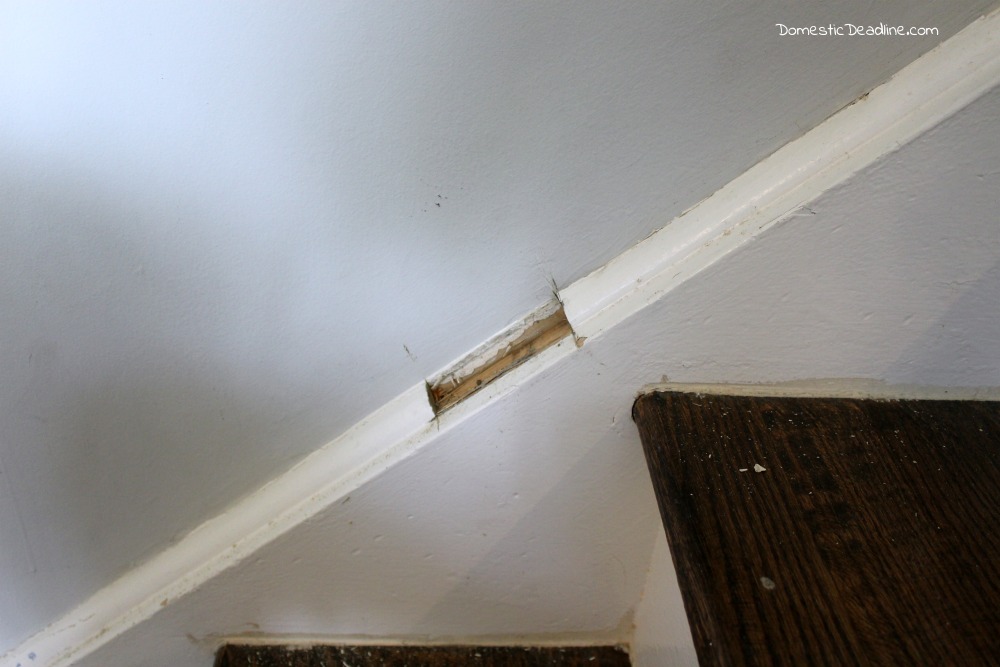
For the vertical, I measured from the bottom of the rail to the shortest side of the piece. Using a square, I made a 45-degree line to the longer side. Then, using my chop saw at a 45-degree angle, I cut along this line.
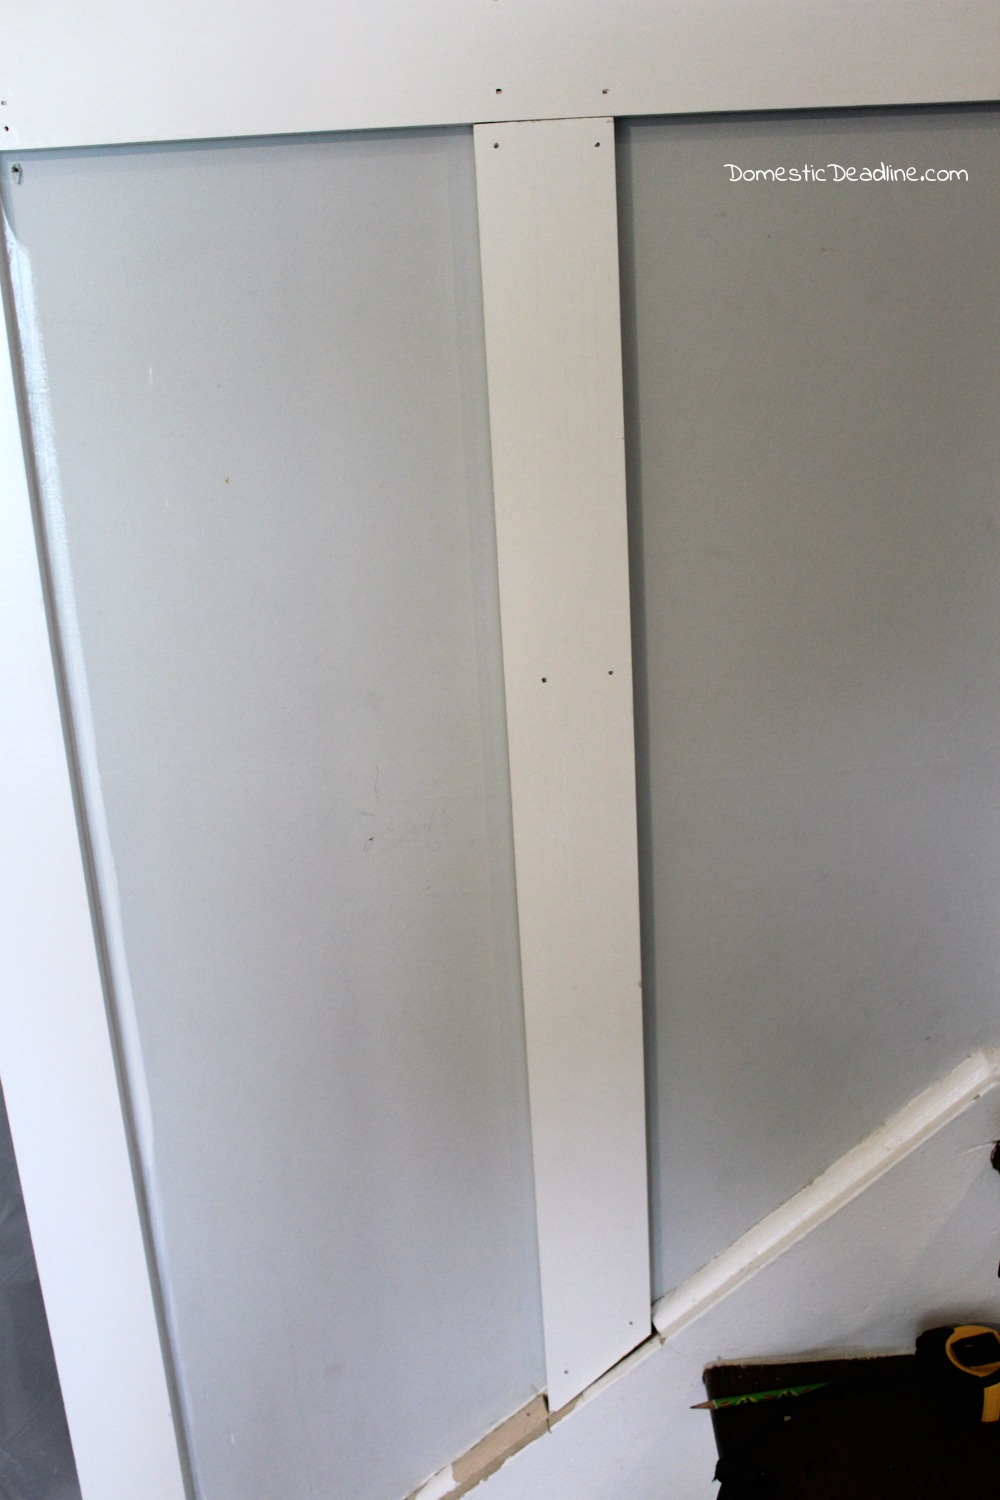
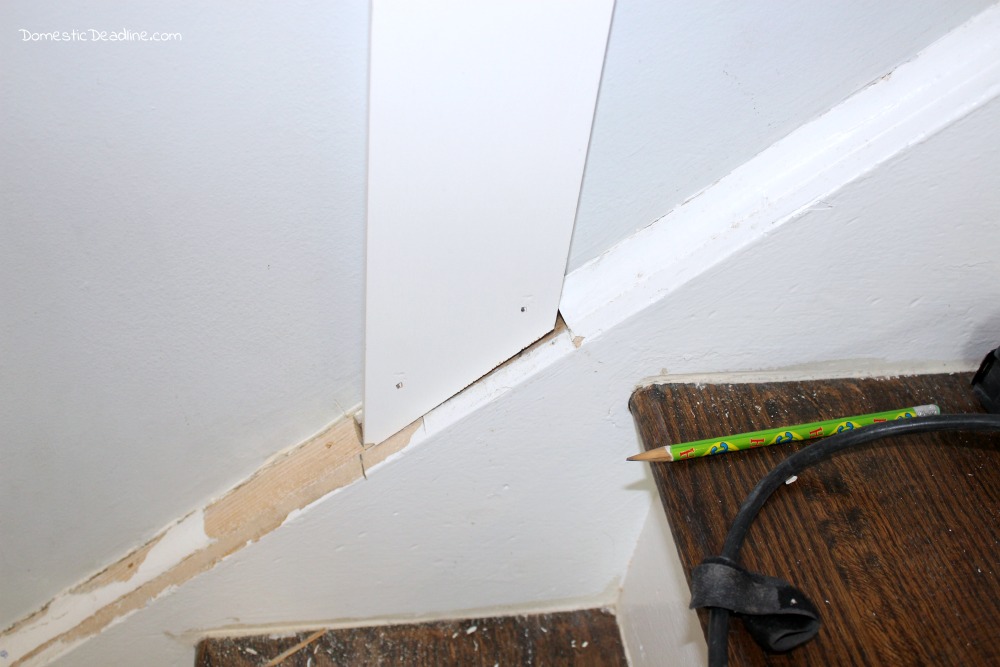
Minor gaps are easily filled with caulk.
I obviously have some painting to do also as the old paint chipped off.
Caulk, Fill and Paint
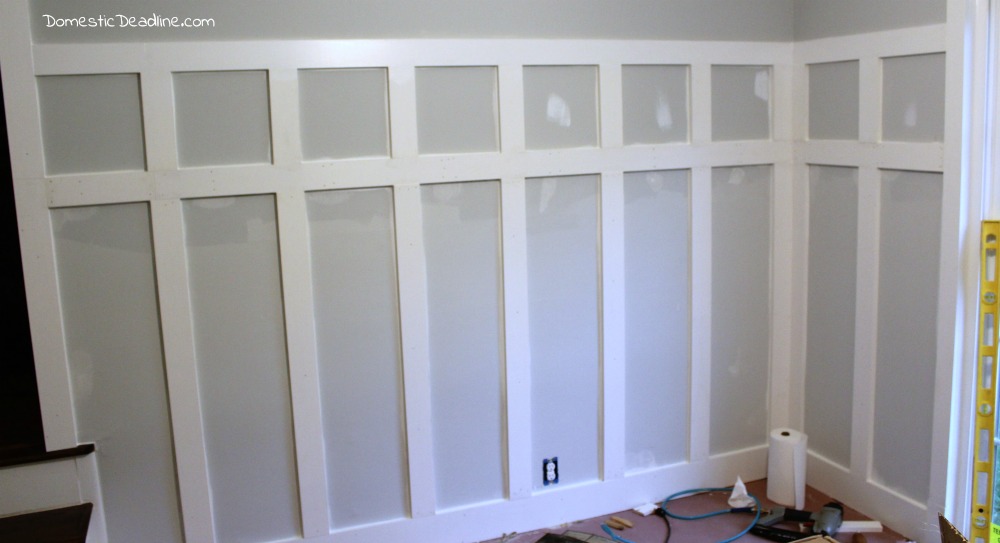
Once everything was in place, Tasha filled nail holes while I used paintable silicone caulk along every joint.
Be sure to smooth out the caulk and sand any bumps in the wood or caused by the nail filler.
Rolling on the paint and then brushing it out eliminated the stipple caused by paint rollers.
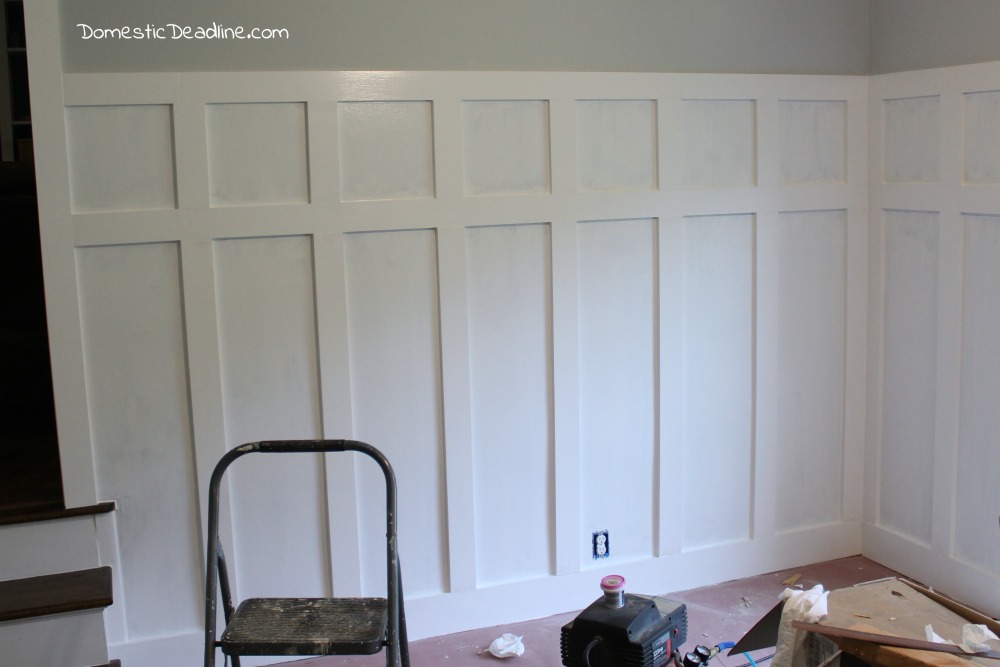
It did take 3 coats of my trim paint to have the even texture I wanted. Notice the outlet? In all our planning, we had only rewired that outlet. Thankfully it was the easiest outlet to move! Otherwise, it fell right under the center board, oops!
All Finished
Well, except for the outlet cover…
We opted not to have any additional molding at the top, nothing fancy. There are enough lines in the room and I like to keep the look simple.
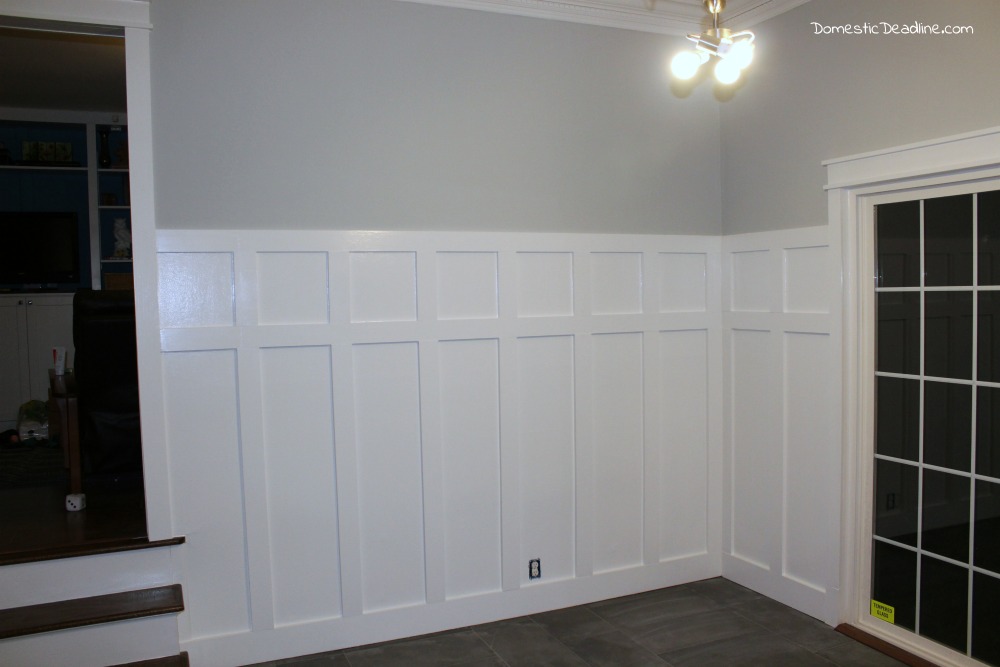
And, by the stairs.
Cost Breakdown
Obviously, the size of the room affects the cost. But, here is how it broke down to just under $100 for me.
My 1×4 pre-primed boards at 8-foot length were about $8.50. I happen to know they cost a lot less at the lumber yard than the local orange big box store, but, we started this project at night without a ton of planning. I didn’t want to wait to order from the lumber yard. We used 9 of these boards. These are the same ones we use for our door and window headers, so some of our 12″ pieces were cut from scraps. ($76.50 for 9)
Two tubes of construction adhesive held all my boards in place. About $3.50 each. ($7.00 for 2)
Two tubes of paintable silicone caulk. There are less expensive option out there but over the years, experience has proved I won’t have to recaulk and paint by using this brand. The extra cost is worth it, but at the time of writing this, the affiliate link I included is less than what I paid! ($8.00 each, $16.00 total)
$76.50 + $7.00 + $16.00 = $99.50
Tools, paint and nail filler aren’t included because I had all these on hand.
Pin and Share
As always, feel free to pin and share!




25 Comments