What is it about spring and the urge to clean and organize? Maybe because I’m itching to get my warm weather clothes out, I have the urge to clean out my closet. O-Man’s elementary school uses Schoola as a fundraiser and JuneBug’s high school is holding a clothing drive fundraiser in a few weeks. Combine that with the soon to be warmer weather and the time was just right. We have a small walk-in closet. A grand whopping total of 25 square feet. It’s important to me to utilize all closet space to maximize storage. Clutter follows me where ever I go, at least I can have organized closets. So, today I’ll be sharing my how to plan a custom DIY master closet and things you need to consider.
This post may contain affiliate links. Which means, if you click the link and buy something, I may receive a percentage of sales at no additional cost to you. Thank you for supporting Domestic Deadline.
Consider the Style
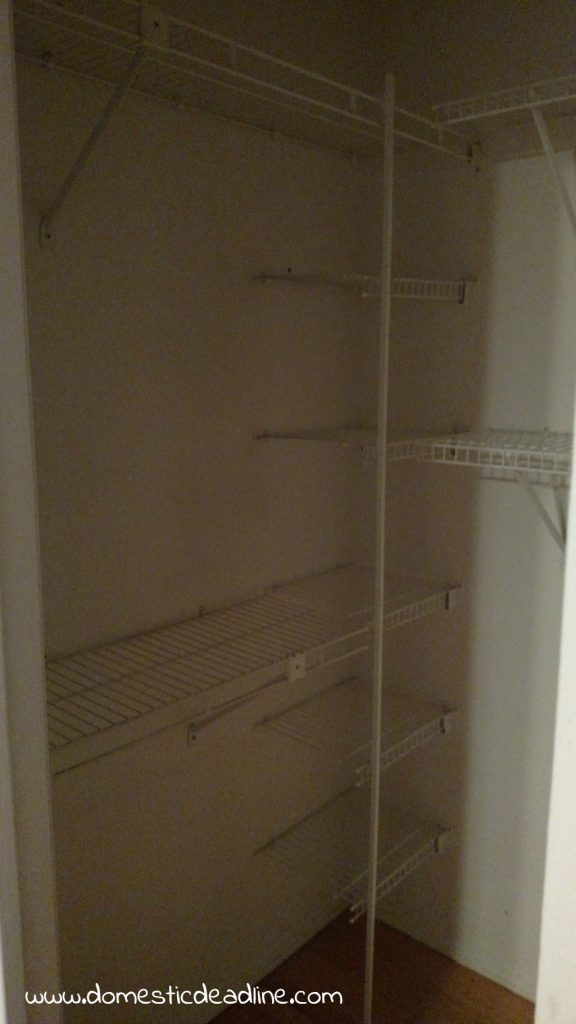
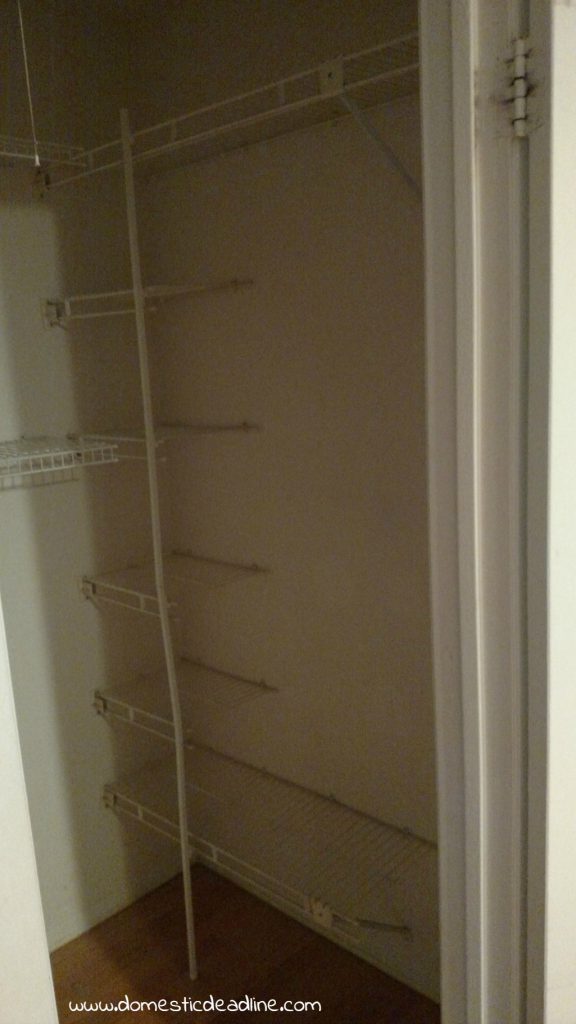
IronFish and I share this closet, it’s the only closet in our master bedroom. Our home was built in 1972 so this closet was probably considered huge at the time but is small by today’s standards. Based on the markings on the walls, I would guess the closet originally had a bar with a shelf above it on each side. The previous owners had made better use of it by installing wire closet shelving and double rows for hanging clothes.
We had used the adjustable track wire shelving in our old house. I rearranged that closet once in the 12 years we lived there only because I had less long hanging clothes than I had originally planned for. The adjustable track closet systems are fantastic for the kids. As they grow and their needs change, their closets change with them.
Spending money on a custom closet was going to happen, by doing everything ourselves I could put my money into a wooden closet system instead of the less expensive wire options.
I also considered buying paint grade wood and custom building exactly what I wanted. This had the potential to save me money. But, it wasn’t worth the time involved in painting and extra steps above pre-pack systems.
What Will It Hold?
The first thing to do is decide what you need to store in the closet. All hanging clothes or space for folded clothes also? Think about things typically stored in drawers, like socks and undergarments. Do they need a home or will they be stored in a dresser outside of the closet?
When it comes to the hanging clothes, think about the length of clothing. Dresses can be long and need more space, so can pants if you hang them by the waist or the hem. But pants can be folded over a hanger to take up less length. Sometimes women’s tops are shorter than men’s dress shirts. Speaking of dress clothes, don’t forget to think about ties, scarves, and belts.
What about seasons? Will the closet be holding all clothes year ‘round or changed out seasonally? Does the closet need to hold formal attire or can the black tie appropriate wear be housed in an overflow space?

How Much Will the Closet Hold?
Once the decisions as to what needs to go into the closet are made, we need to know how much of everything needs to fit.
The most effective way I found to determine this was to group like items together and measure.
Now, if your closet has everything just shoved in, you’ll need to do a bit of work to get more accurate information. Over time, as laundry is done, put things away grouped together.
Or, bite the bullet, pull everything out and put it back in order.
For myself I use the following categories to separate my hanging clothes:
- Long dresses
- Shorter dresses
- Long sleeved tops
- Short sleeved and sleeveless tops
IronFish separates his clothes into the following groups:
- Pants (folded in half over a hanger)
- Long sleeved button down shirts
- Shorts sleeved and polo shirts
- Suits and blazers
With the hanging clothes separated, measure to see how much linear space you need for these clothes. Get an idea of the vertical space as well. Obviously, my long dresses hang down to the floor. But, my short-sleeved and sleeveless tops take up the least amount of room in both linear width and the distance from the hanger to the bottoms of the tops.
Knowing this, I was able to determine where I could hang a second bar in my closet. Forty-two inches is actually standard, but I like to know if I’m able to adjust that in any way.
Drawers and Accessory Space
While we both have a dresser outside of the closet, we wanted everything necessary to get dressed in the morning inside the closet. Most mornings, IronFish is up well before me. The closet has a light and just enough space for one person to get dressed inside with the door closed, as to not disturb the other still sleeping.
Obviously, I’m not going to be hanging socks, bras and underwear…. Drawers needed to be worked into our closet.
IronFish isn’t required to wear a tie to work every day. However, he still has a collection of them. We both have a variety of belts as well.
My girls and I like accessory scarves. Since we tend to share these, I decided to hang them in a hall closet to make for easier access for all 3 of us.
Shoes
In our old house, we kept many of our shoes close to the front door since we don’t wear shoes in the house much. Occasional use shoes (like dress shoes) or out of season shoes were stored in bedroom closets.
Some people like to put their shoes on when they get dressed. If you’re one of them, you probably want to have space for your shoes inside your closet. I am not one of those people. As much as I like shoes, I’d actually rather wear my slippers or even be barefoot inside my house!
Because of this, shoes gather by the door in our house. When I designed my mudroom, I made sure it had more than enough space for all 5 of us to store all the shoes we own!
Well, almost, IronFish has brown and black shoes he wears to work. Those are the only two pairs of shoes in our closet. He puts them on in the morning and after work puts them away when he changes into comfortable clothes.
Plan for Change
Planning a new closet layout is the perfect time to evaluate the clothes you have. When you find things pushed so far back you forgot you still had them, maybe it’s a sign to pass them along.
But, unless you are a stickler for a hard and fast rule of removing one old item for every new item added, know that your closet may need some room for growth.
At the beginning of a season, I like to turn my hangers backward. At the end of the season (or sometimes a year later, oops) when the hanger is still turned backward, it means I never wore the item. You’ve probably heard this tip before, but have you actually tried it? If I find I haven’t worn the item, it’s much easier to let it go.

Inspirations
Blogland is full of ideas for closets, here are just a few that inspired me:
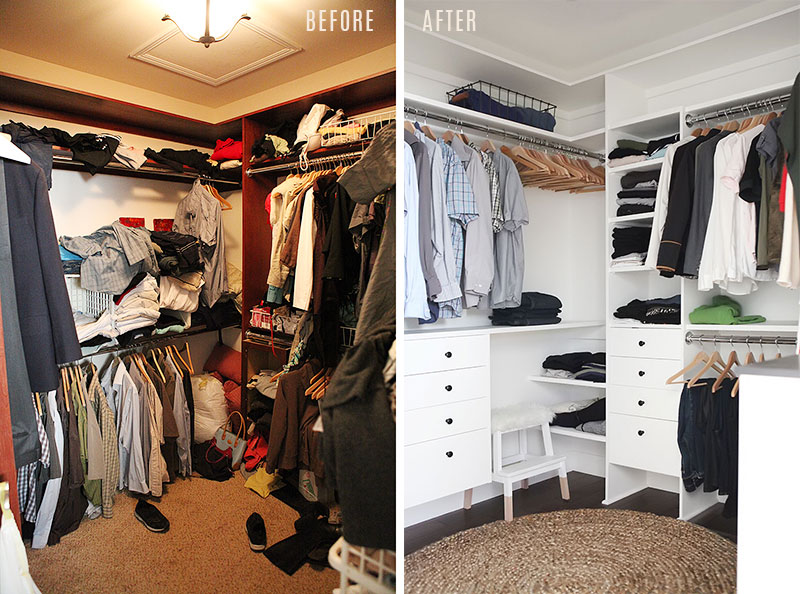
A Home for Design painted everything white and added shelves and drawers.
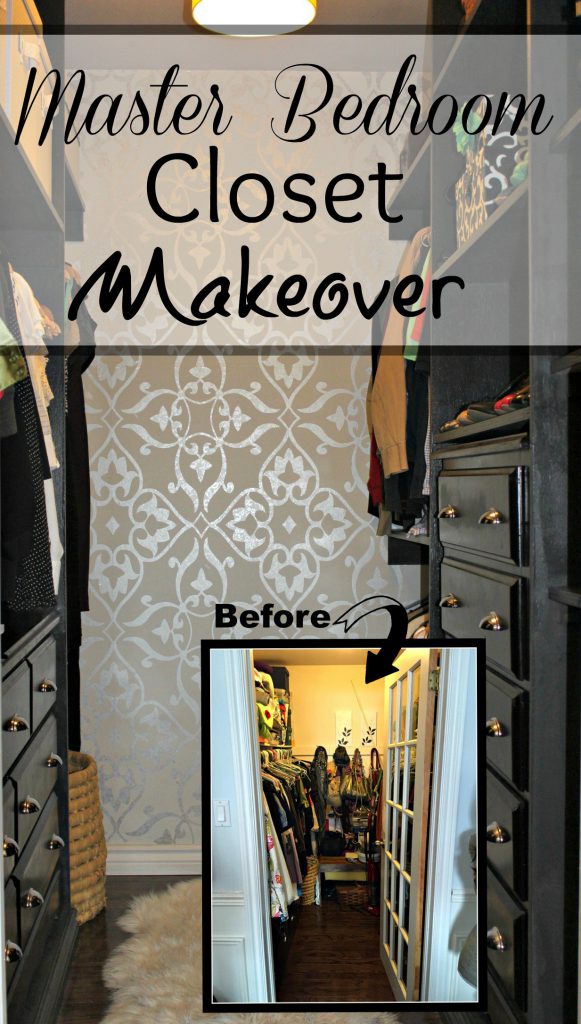
I love the black and wallpaper used in A Purdy Little House’s closet makeover:
My Thrifty House makes some great updates for a minimal budget!
How to Plan a Custom DIY Master Closet
Now that I know what needs to fit in my closet and how much space I need for everything, I played with the layout. Sketching in a notebook was the easiest way to play with my ideas until I came up with the right layout.
Stay tunned to see how it all comes together.
Feel free to pin and share!











18 Comments