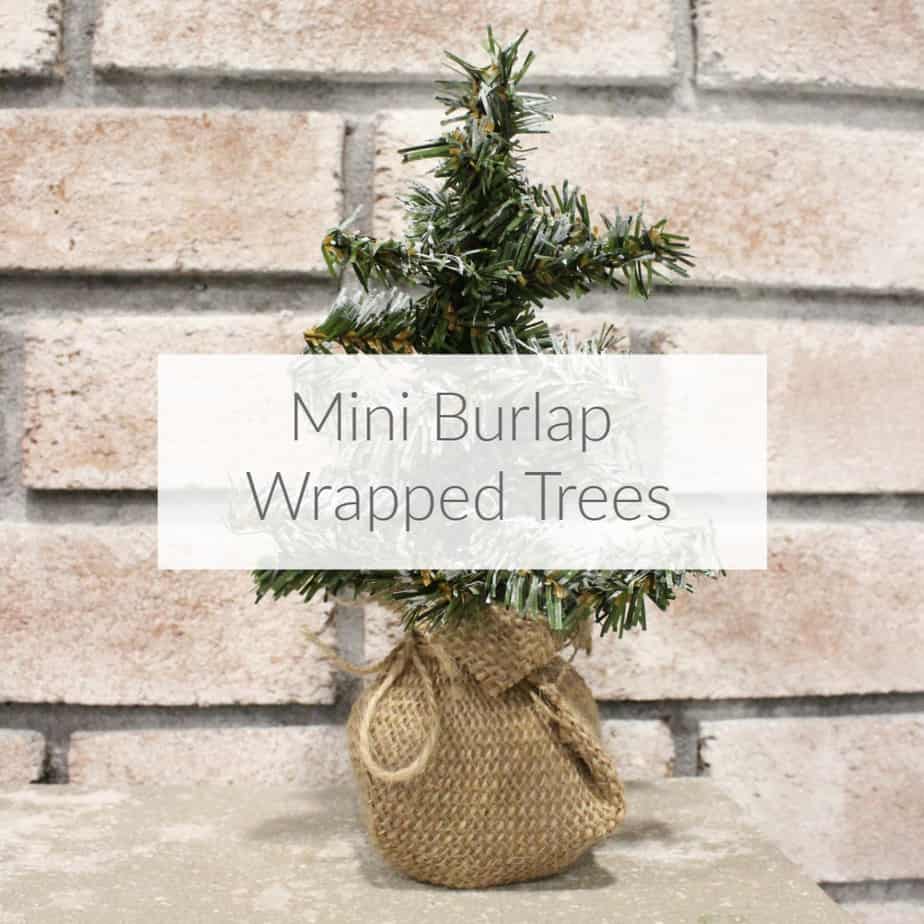
Even with everything going on with the upcoming holidays, I always enjoy participating in the Monthly Craft Room Destash Challenge. The past few years I’ve gone with a more neutral and natural holiday decor. Featuring greenery, wood, burlap, etc. Making mini burlap-wrapped trees are the perfect addition to this decor. And I enjoy leaving it up into January since it’s very wintery.
Dollar Store Overflow
Over the past few years, Dollar Tree has really upped their game. When I run in for a gift bag or something seasonal, I end up looking at so many things.
And they often give me lots of ideas…
But, sometimes, I end up getting more things than I need. The extras end up in my “stash.” Especially seasonal things, you never know when they will come in hand.
The monthly de-stash challenge is great for using up things already in my craft supplies. This challenge also makes me think outside the box, which I love. It’s like a puzzle, figuring out what to make only with things I have on hand!
These mini trees are truly puzzling things together, I was determined not to spend another penny, only use what was in my craft room!
Mini Burlap Wrapped Trees
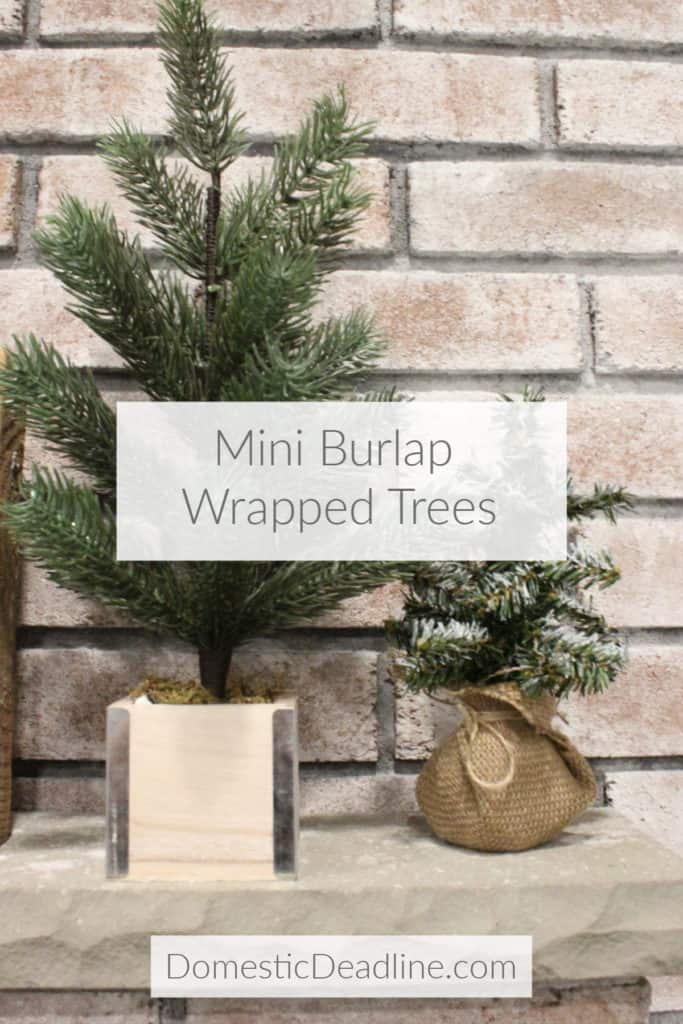
My inspiration came after scoring some cute evergreen trees for my mantel at a great price, I decided I needed a few more. But, I wasn’t finding more at such a great price.
With plenty of garland in my stash, I decided to make my own. Wire centered garland makes this a really easy project.

Cut one piece to be the center of the tree. Starting at the top, wrap and twist different lengths of the garland around the center.
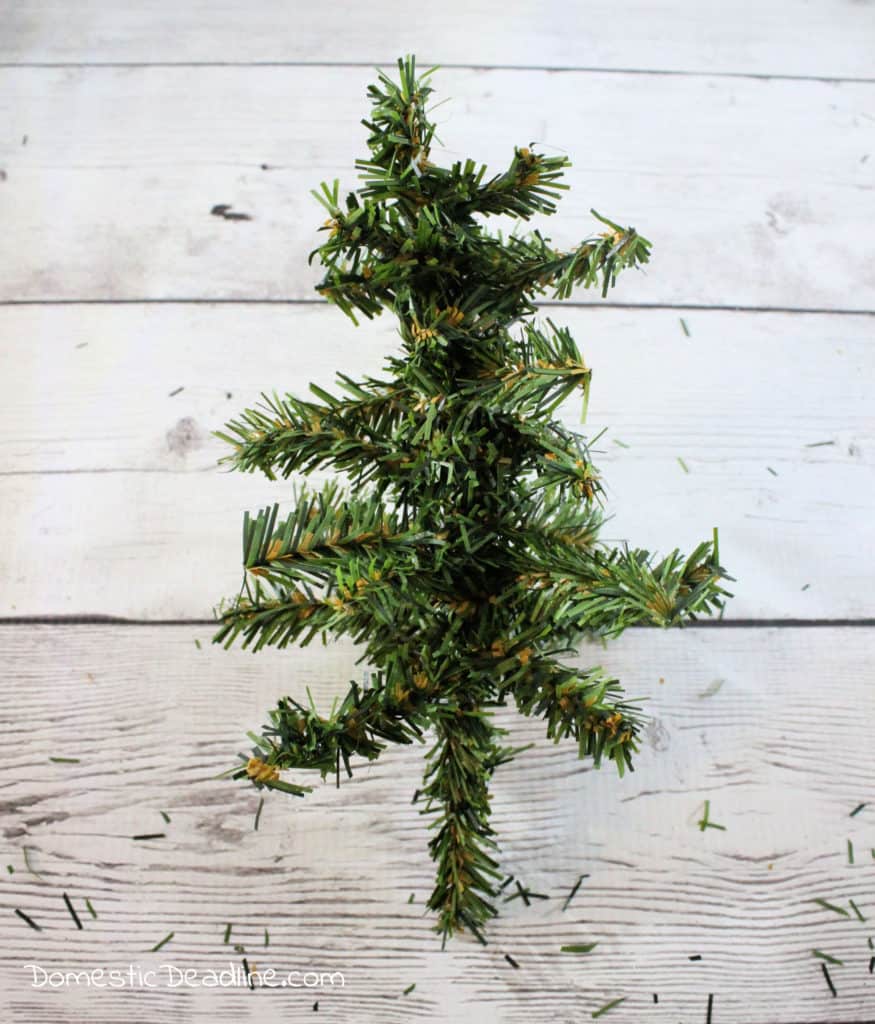
Working down the base with progressively longer pieces of garland. Adding in branches until I was happy with my mini tree.
Once I had my mini tree, I needed to create a base. But first, I added brown pipe cleaners to create the trunk of my mini tree.
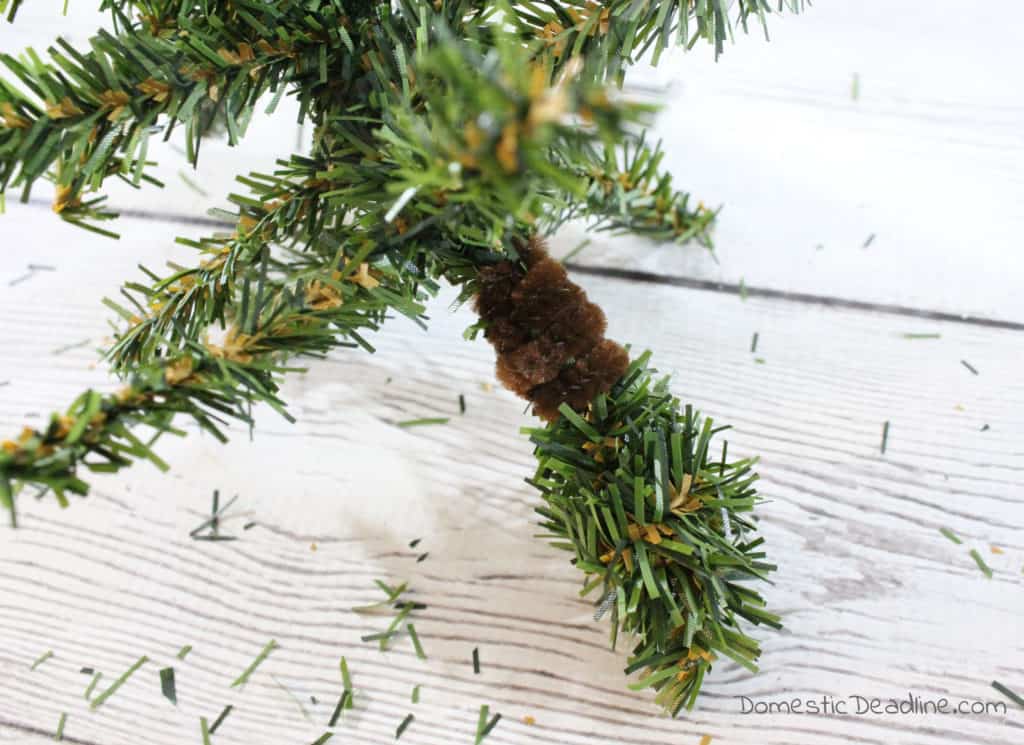
I wrapped the extra length of my initial centerpiece around itself. But, I still needed to add some weight to the base to keep it upright.
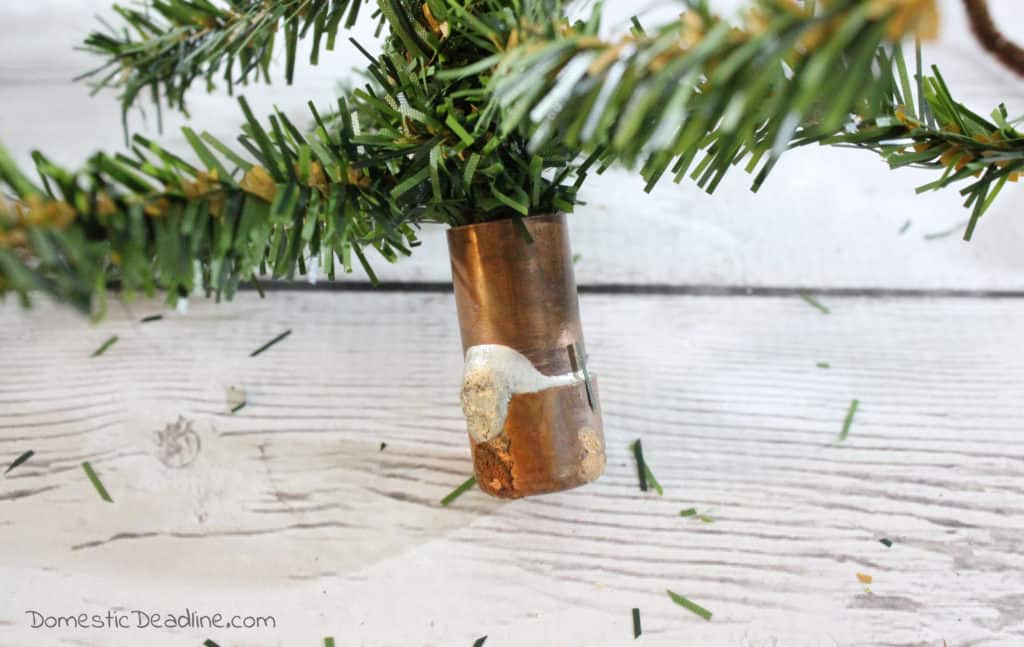
Ok, so I’m doubting many people have “pipe stubs” in their craft room stash, but I really think anything with a little weight could be used. Ultimately, it added rigidity to the base of the mini trees.
still needed more weight to balance out the mini tree. Plus, I needed to bulk up the base before wrapping it in burlap.
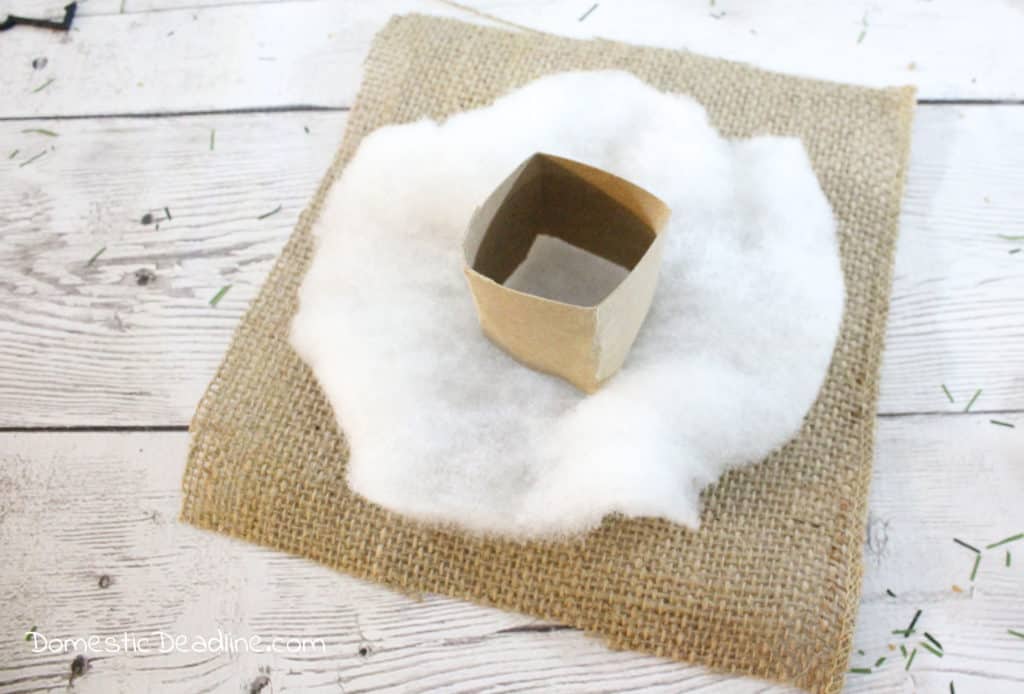
I ended up using a piece of toilet paper tube to hold a pile of polymer beads leftover from making weighted blankets. There are some in the picture, but they don’t show up. Then I “planted” the base
Quilt batting softens the edges and helps the burlap to lay better. Twine holds everything in place.
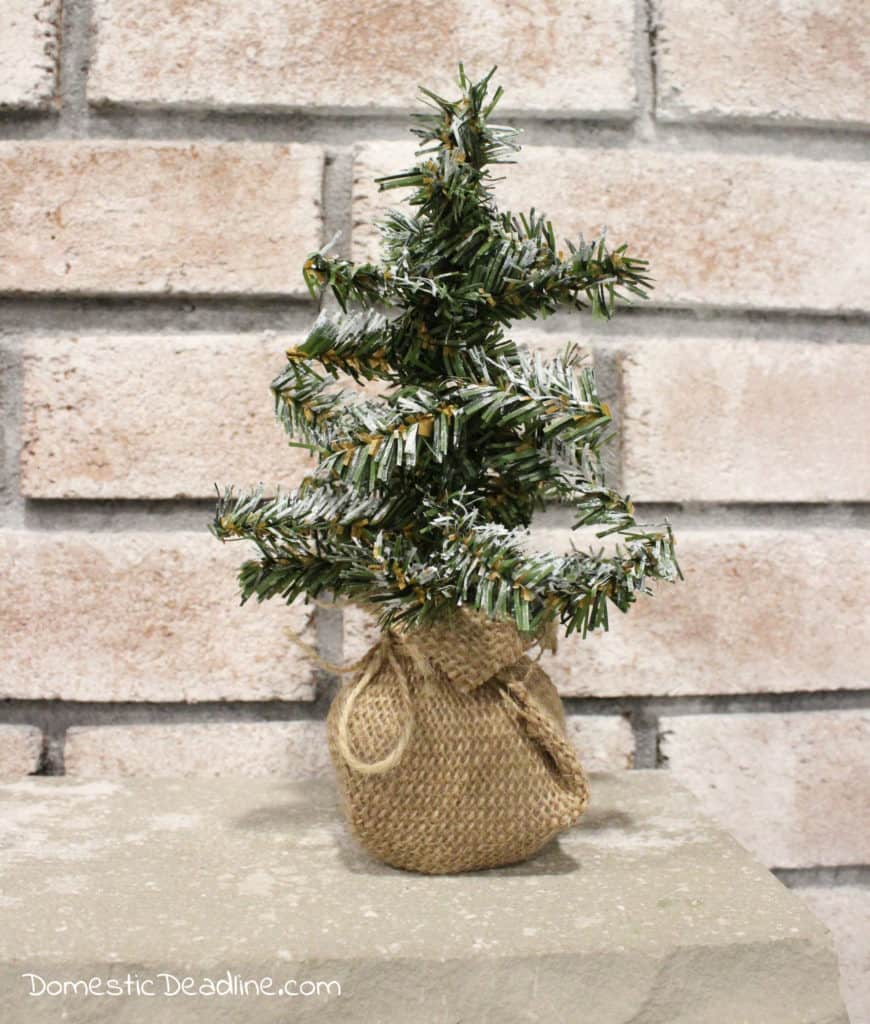
With the mini tree set with its burlap base, I used some white craft paint to give the trees a snowy or flocked look. These mini trees came together so quickly, I didn’t realize until sitting down to write this post that I didn’t actually photograph every step!
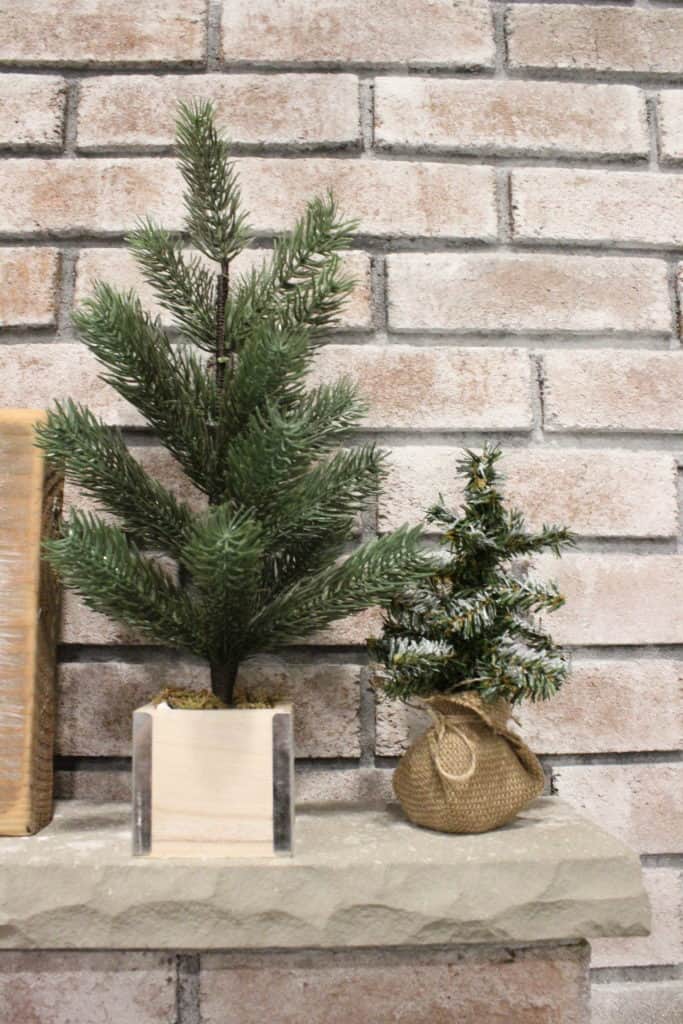
They work perfectly alongside the bargain trees. And for free!
Monthly Craft Room Destash Challenge
Every month a group of bloggers are challenged by C'mon Get Crafty to create a new craft or project from their own stash of goodies! Everyone is allowed a $10 allowance for necessities to complete their project (i.e. paint brushes, glue, etc), but the bulk of it must be created from their own stash of goodies.
Let's meet this month's bloggers!!

