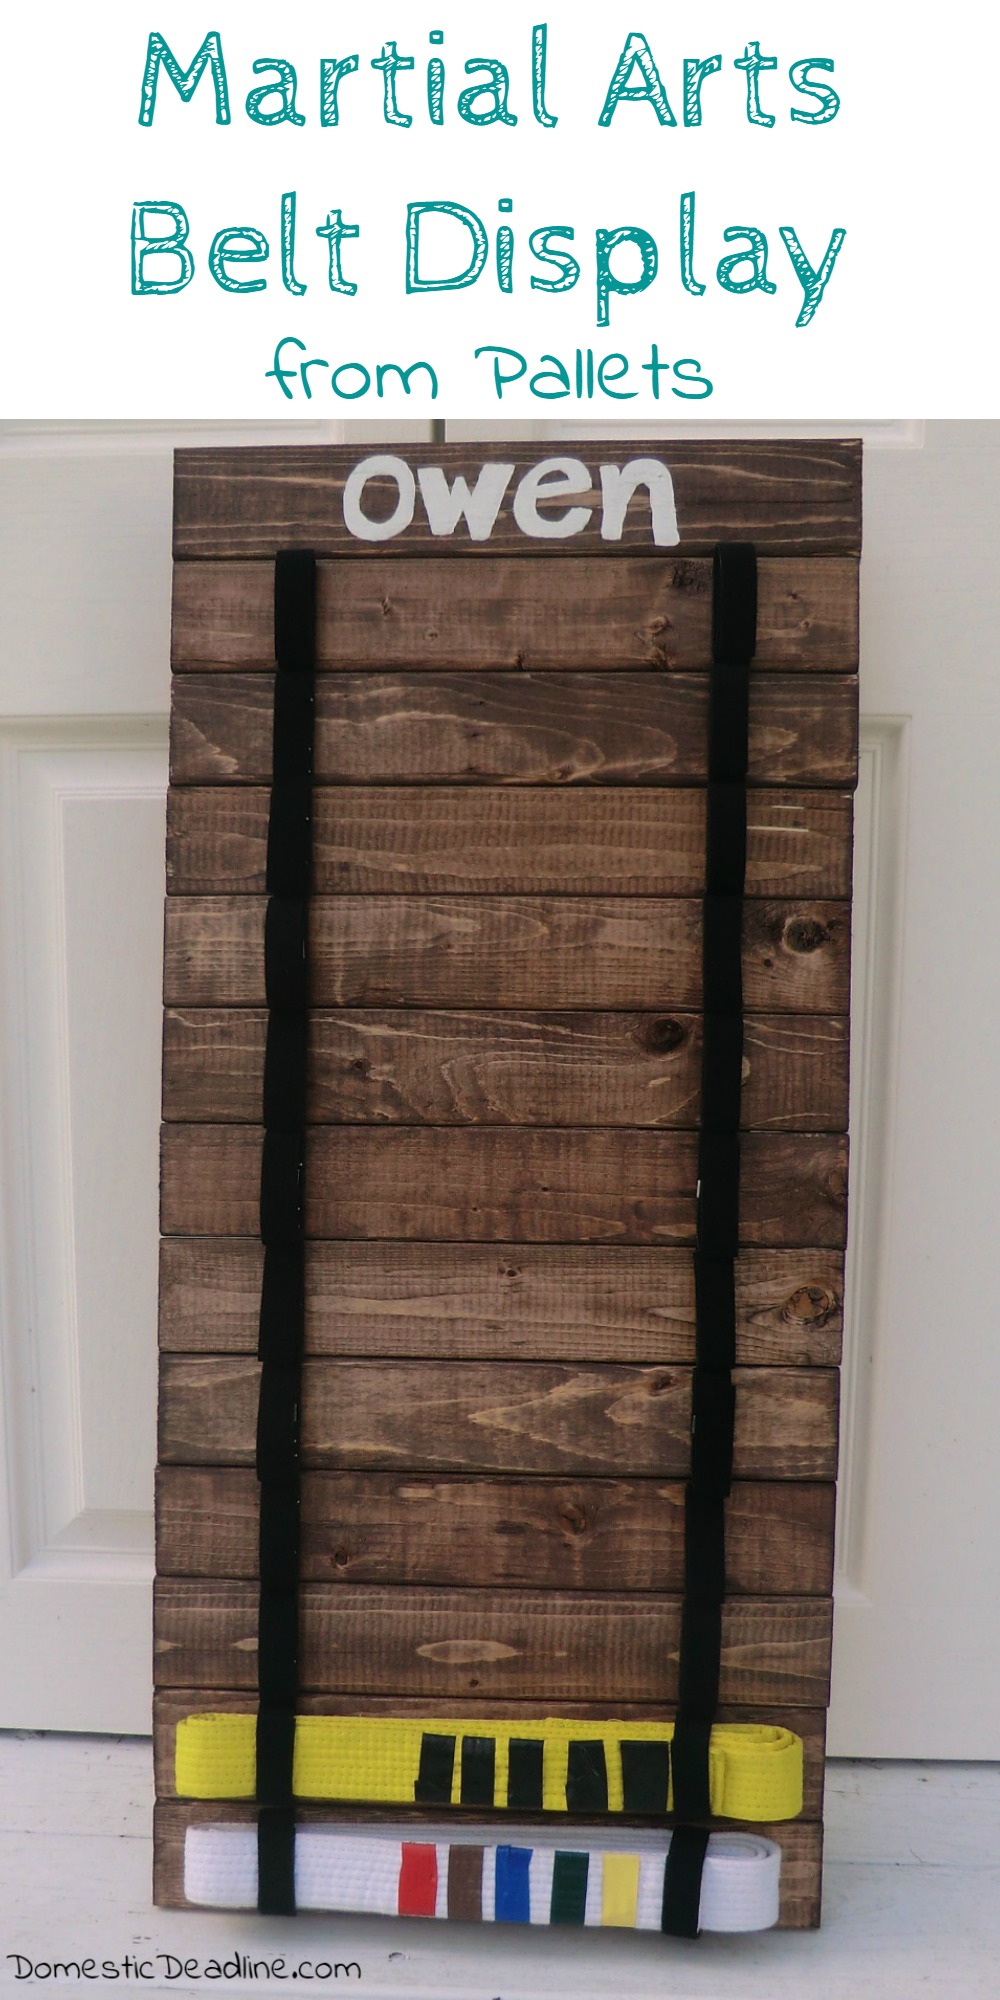
Almost a year ago, O-Man started taking Taekwondo lessons. He has already had two belt tests and is now sporting his third belt. Immediately after passing from white to yellow belt, he requested a way to display the belts in his bedroom. I had several ideas for projects for this month’s #ProjectChallenge using pallets. Some of them I want to do, but just the timing for them isn’t quite right. Making this Pallet Martial Arts Belt Display ended up being a great project for my son and me to do together.
Not only has Taekwondo been a wonderful program for my active 9-year-old, but I have found his lessons to be the perfect time for getting a little blog and Rodan+Fields work done! I bring my laptop ad phone with me. While he is in class, I have 45 minutes of uninterrupted time to write posts!
I’m writing this post from my car outside his class!
I could go in, there is a nice waiting area with tables, coffee, wifi… but I end up talking to other people. Not that this is bad, but, I don’t get nearly as much accomplished inside the studio.
From my car, I get lots done.
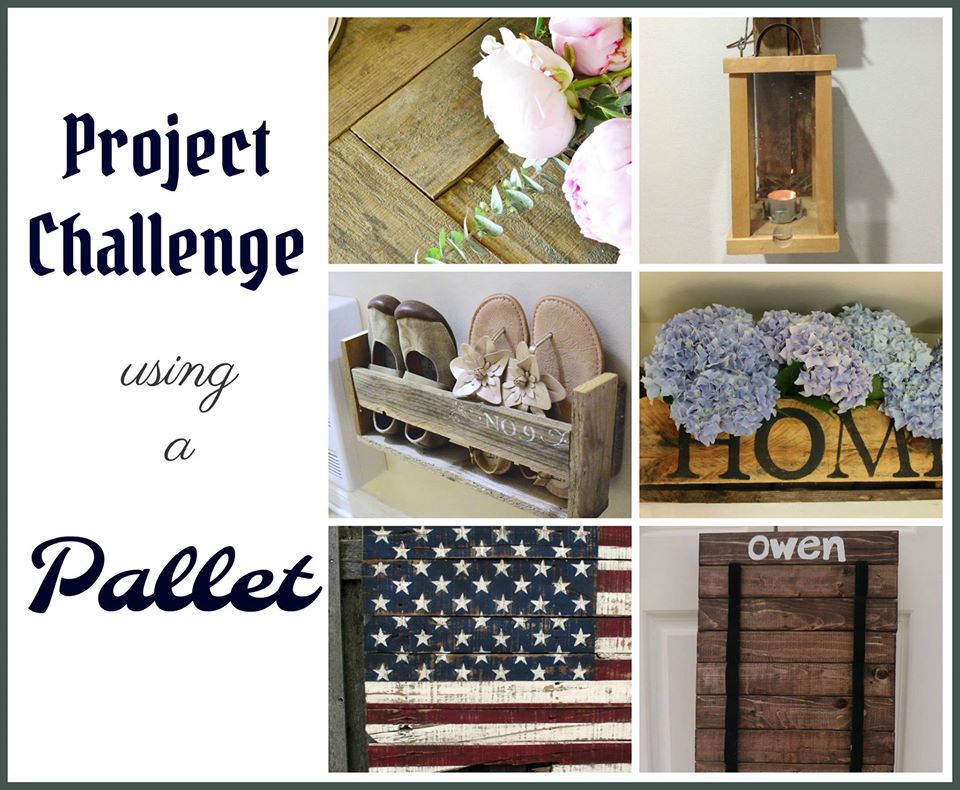
The Pallet
Until a few months ago, I hadn’t realized there were multiple styles and sizes of pallets! I assumed all pallets were created equal.
Not so.
To me, the most important difference is that some are pressure treated. Some aren’t. Obviously, you want to use pressure treated pallets for outdoor projects. Non-pressure treated pallets for indoor projects. One exception to that rule… don’t use pressure treated pallets near fruit and vegetable plants. You don’t want those chemicals leaching into your home-grown food!
And there are different size pallets too.

I have access to a variety of pallet sizes from work. This particular one was enormous. It held a shower base and panels. It had to be cut into several pieces to even get it back to my house.
Getting Started
The first thing O-Man and I did was determine the length of each board for displaying the belt. Fifteen inches seemed like a good idea. We wrapped up one of the belts and liked the way it laid on the board.
He helped me measure the first one with the measuring tape. After the first one was cut, he marked all the rest of the boards.
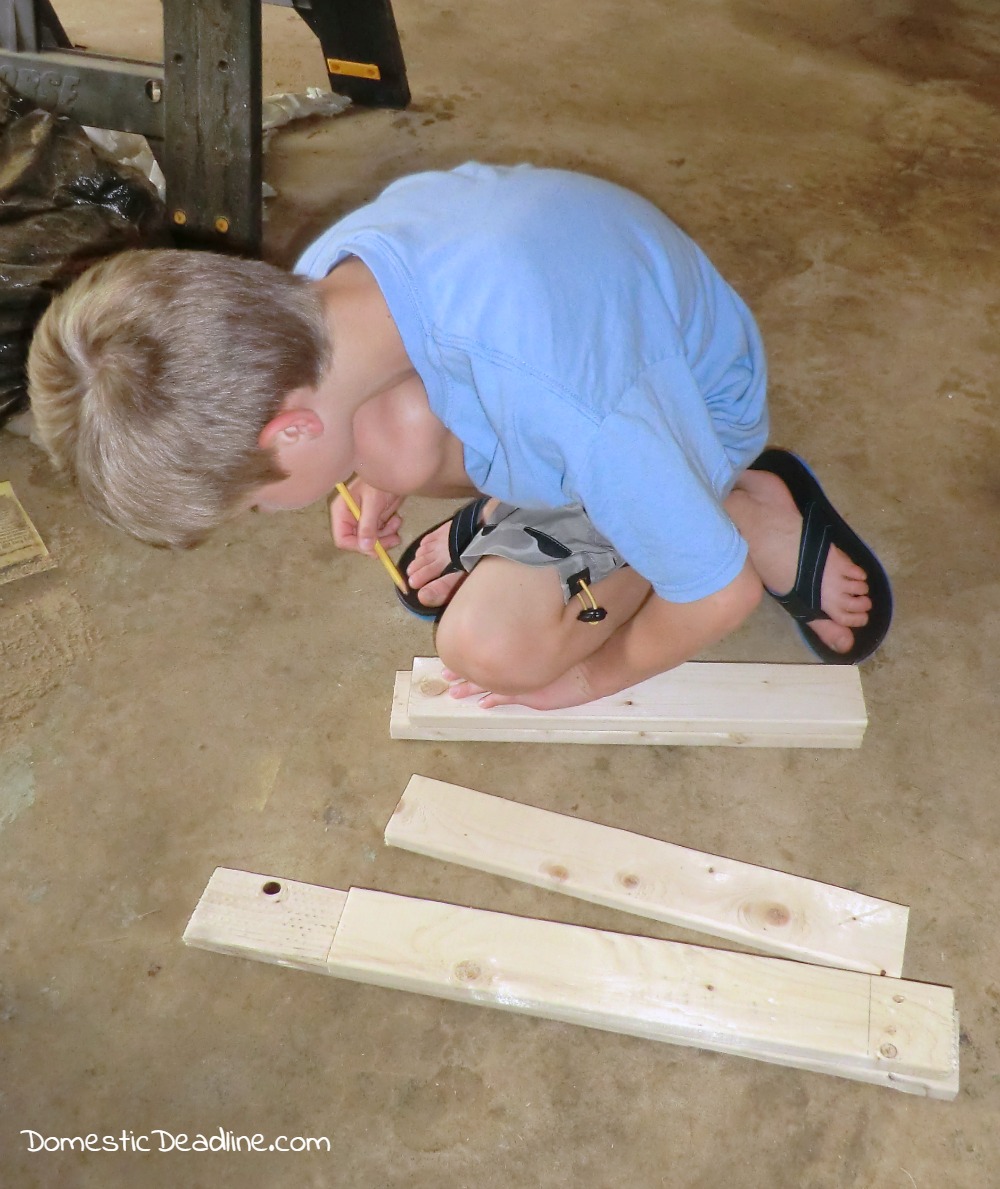
I used our chop saw to cut 15 boards to length. Twelve for the belts he will earn, one for his name at the top, and 2 extra because he just kept marking them!
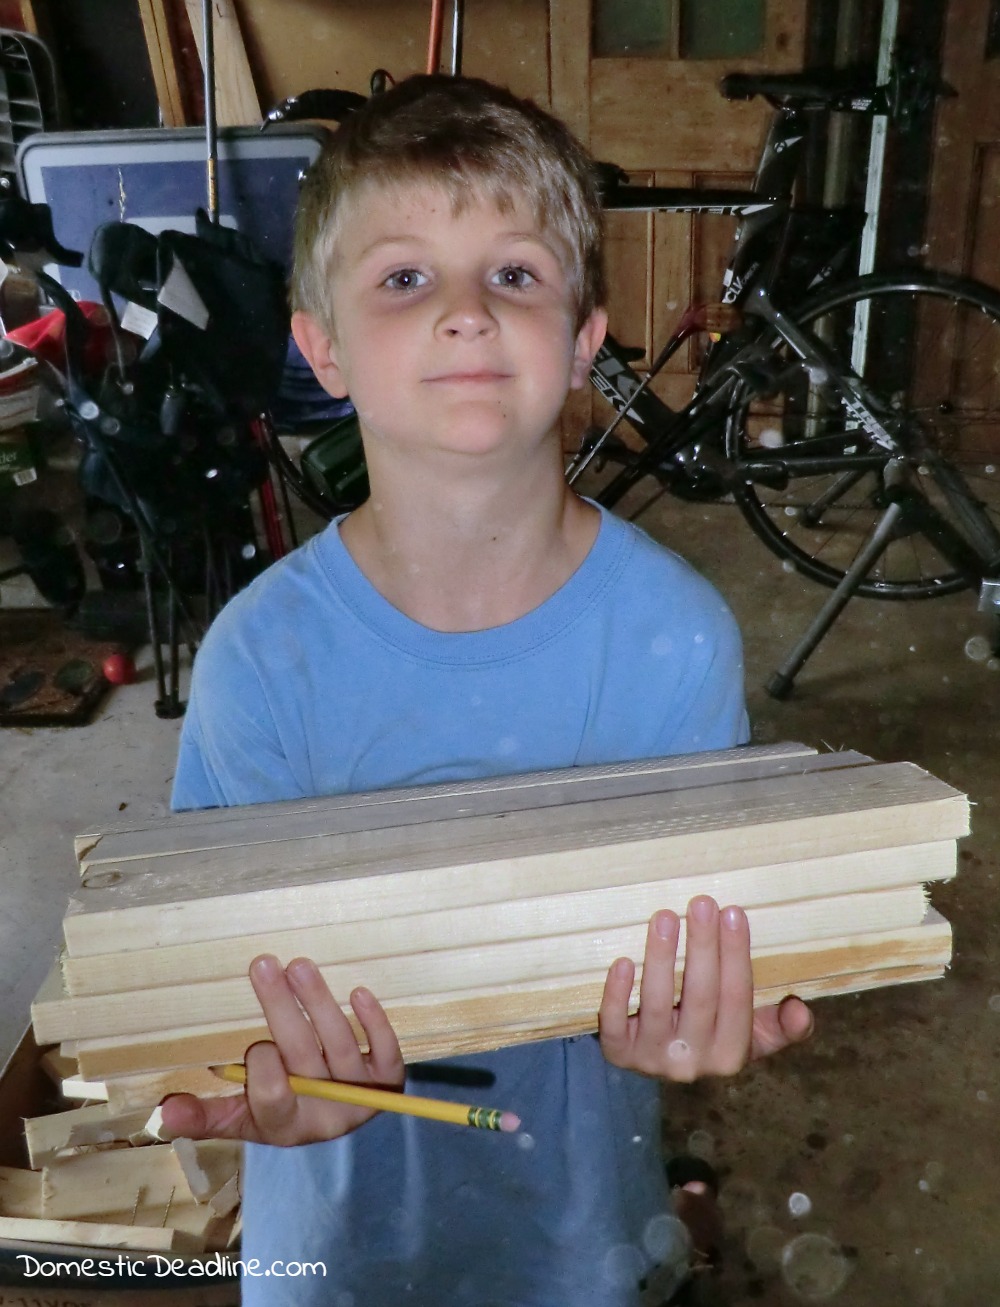
It was raining that day. And, he has a 9-year-old boy’s attention span….
Staining
A day or two later, when it wasn’t raining, O-Man helped to stain each of the boards.
He enjoys staining. I offered paint or stain and he jumped at staining!
First, he brushed the stain on.
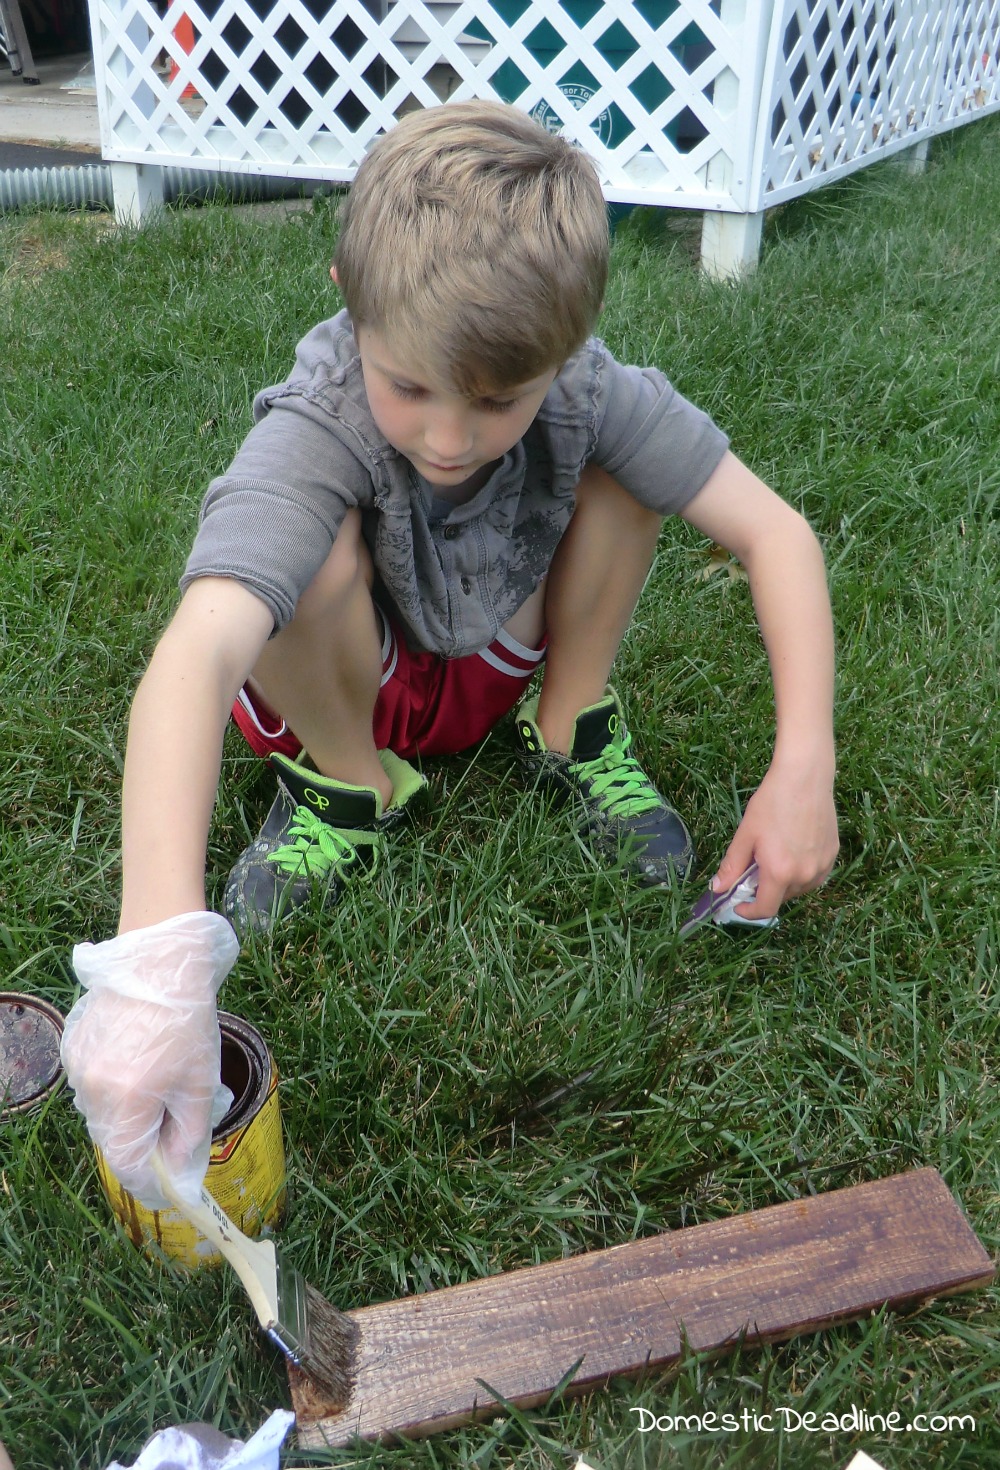
Then, he wiped off the excess. Making sure to get the top and edges of each board.
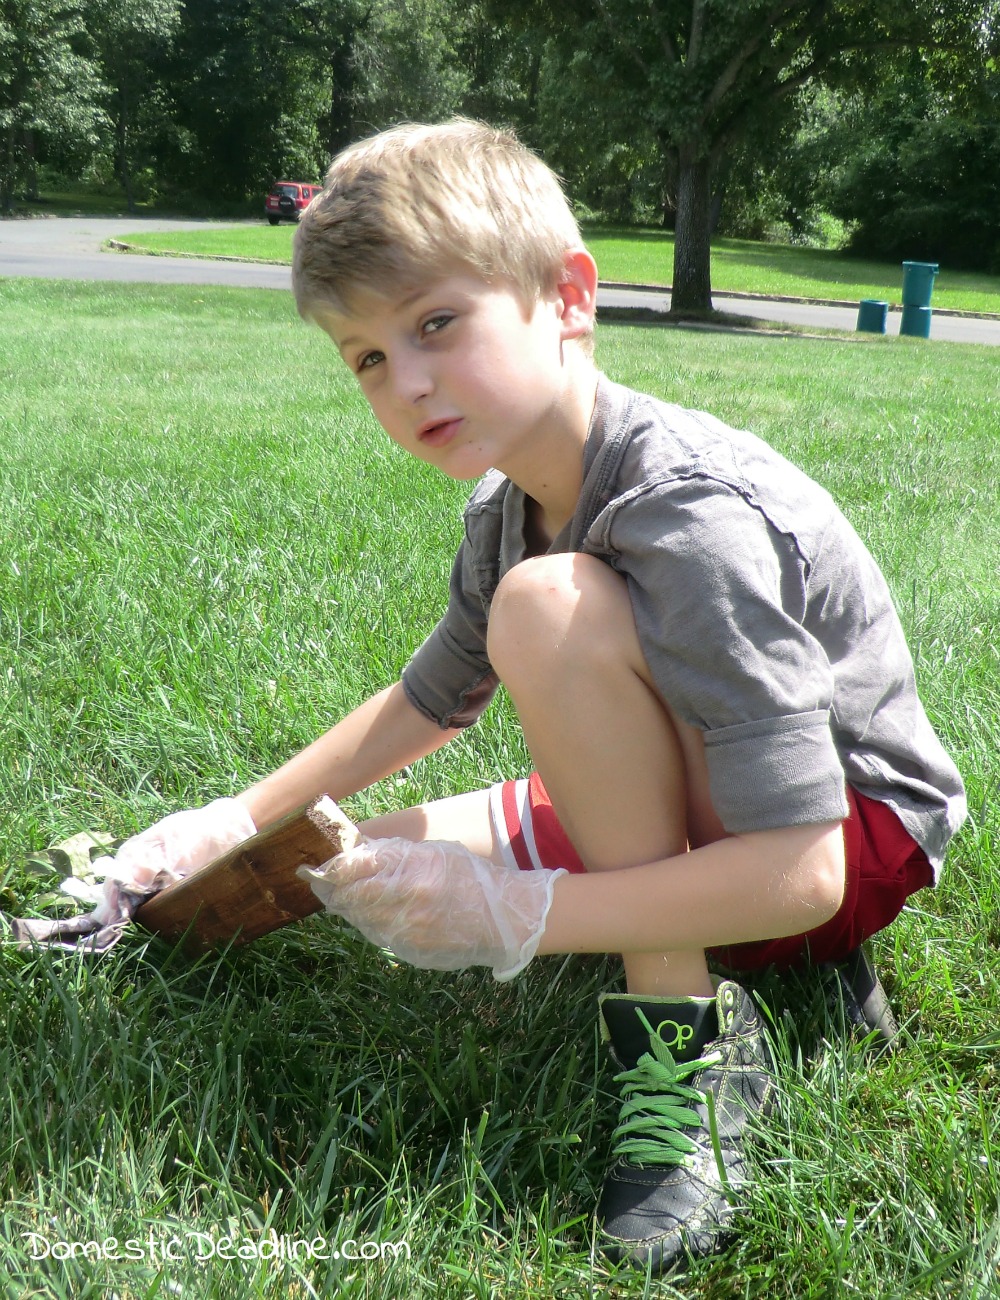
We did the staining of the boards separately so the edges would be stained. This way, if there are gaps in the boards the edges all are evenly stained.
It drives IronFish crazy when I stain and paint in the grass!
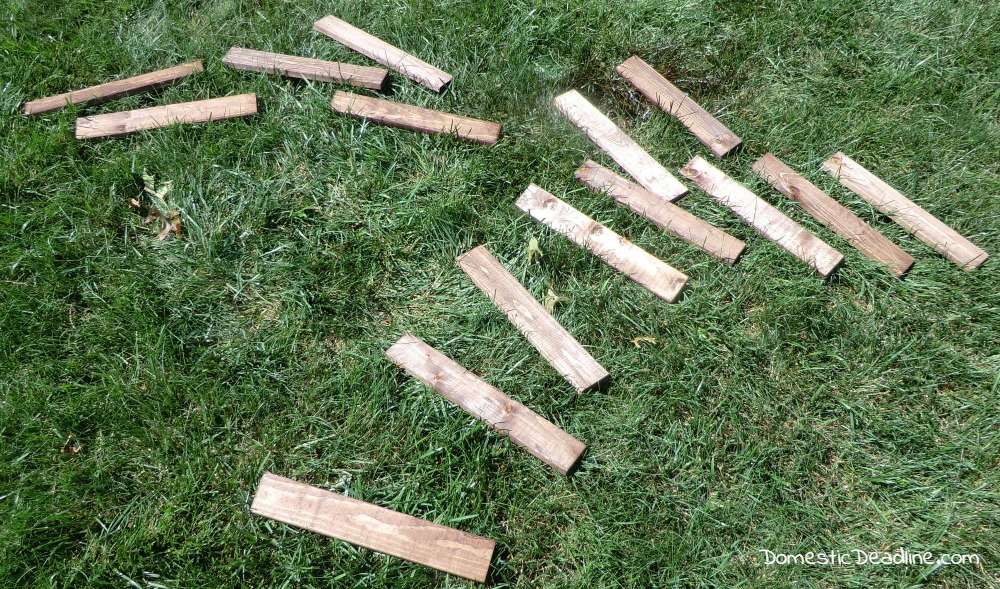
But, it grows out!
Assemble the Boards
O-Man selected the board he wanted his name to be on as the top board. Since each one has various knots and marks on it, he wanted to pick his favorite for the top.
Then we flipped each board over and lined them up.
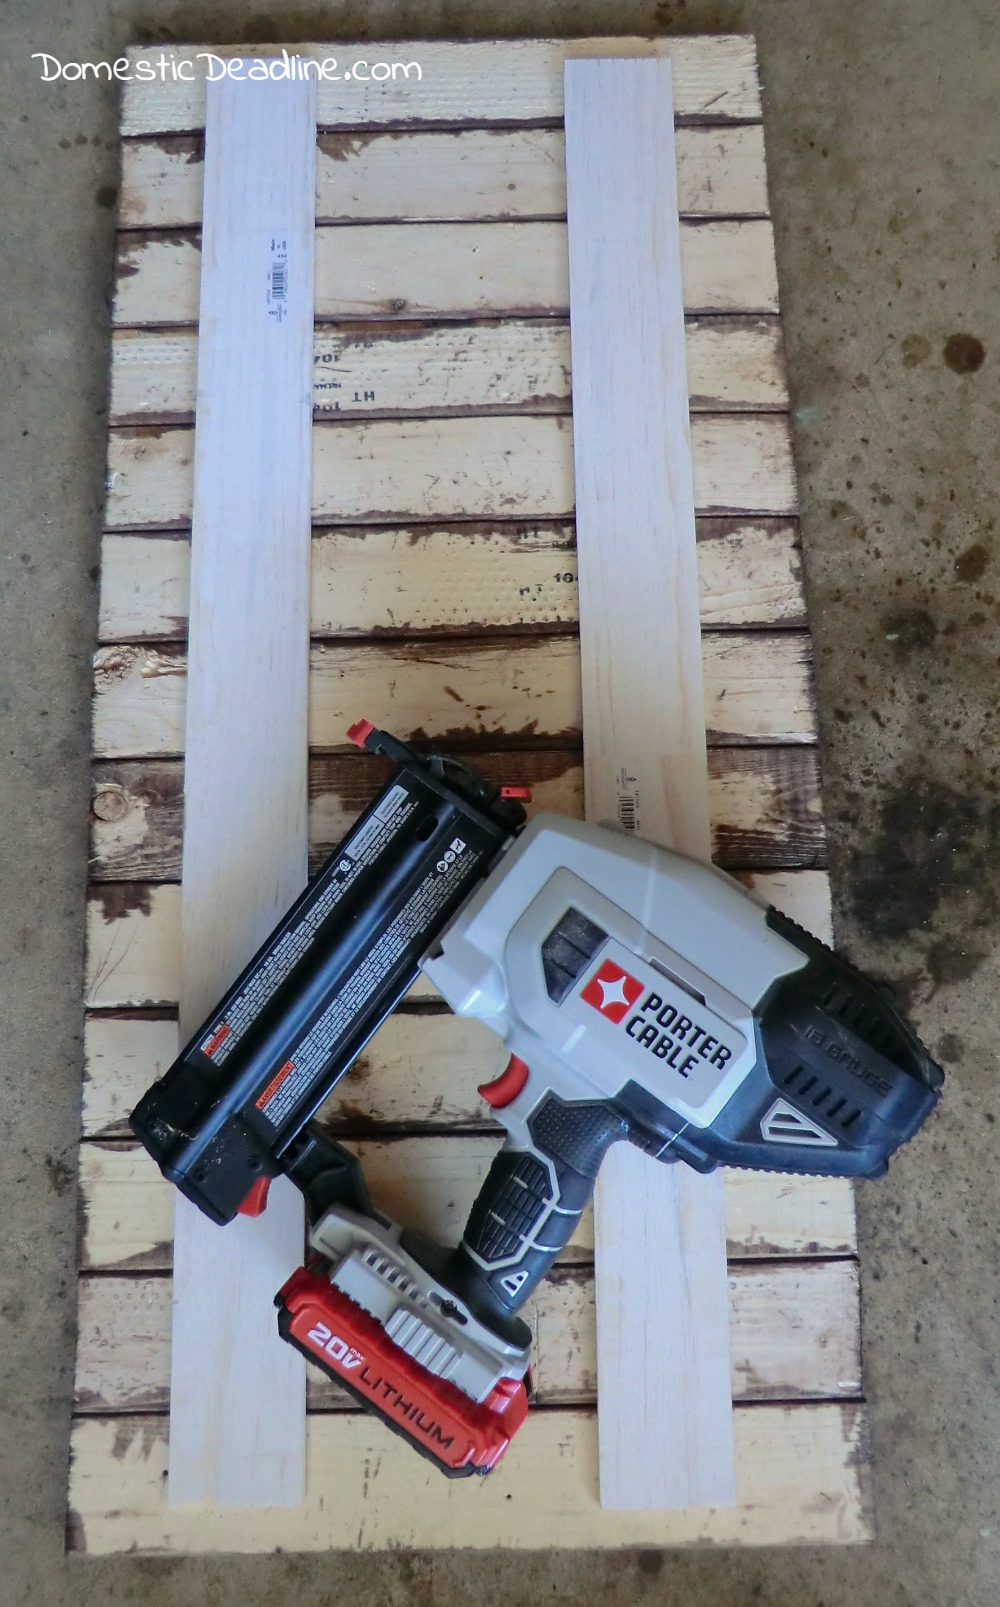
Using a nail gun and half inch brad nails, we attached lattice strips to the back. I could have used more pallet wood and longer nails, but we wanted it to lay more flush against the wall.
Because the nails are short, I make sure I use at least 5 where each board and lattice intersect.
I explained the safety and how the nail gun worked to O-Man. I was going to show him how to use the nail gun.
He decided I’d do the nailing and he would be the photographer.
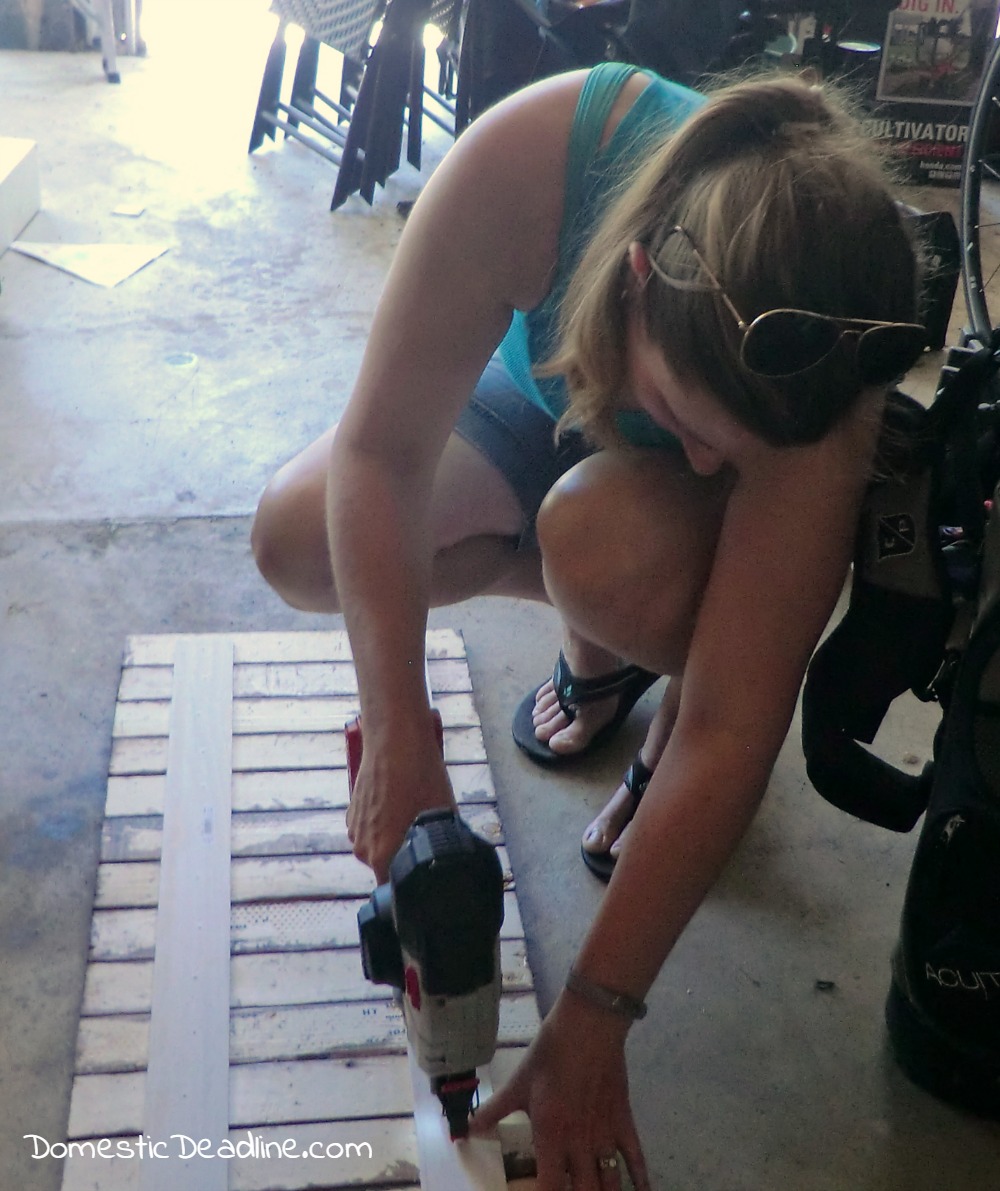
102 pictures later….
Most of them incredibly unflattering pictures of me (not sure why I’m actually including one!)
One of IronFish sanding our antique doors (or taking a break).
Several selfies of my little guy, like this:

Proof that it was a beautiful day.

And that no cars were harmed in the making of this Martial Arts belt rack.

We were ready for Velcro.
At least he tried to help…
Holding the Belts
Again, using a wrapped belt, we determined 8 inches to be a good length for our Velcro.
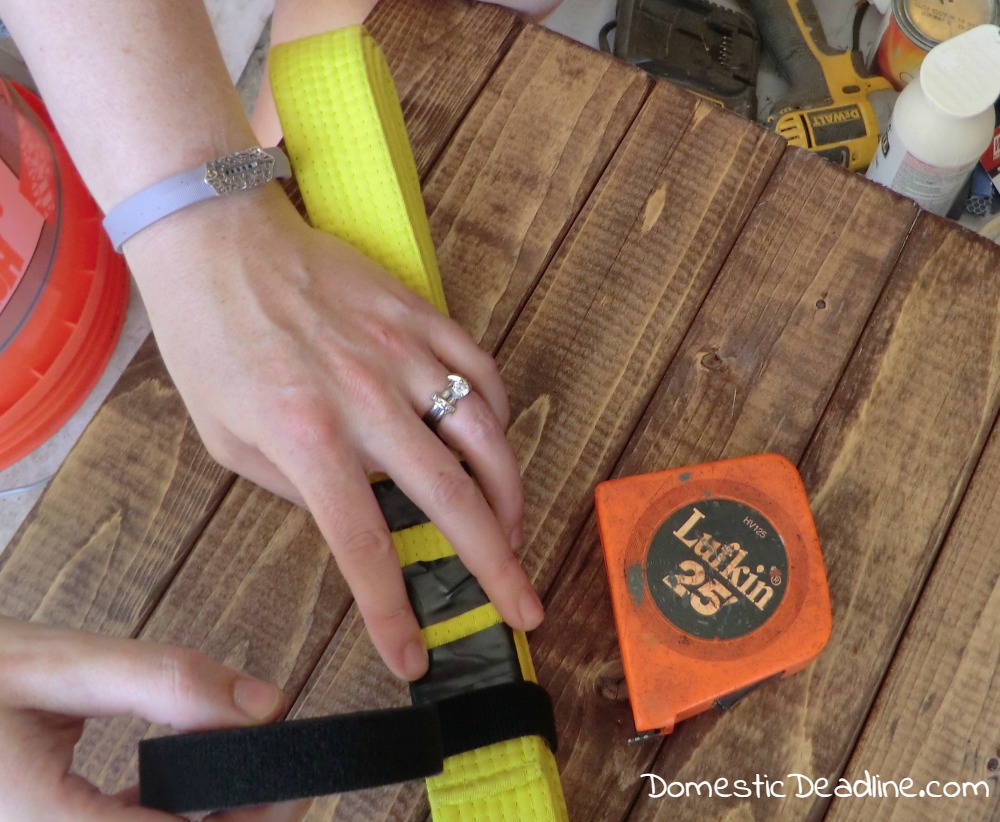
I marked 2.5 inches in from each side of the boards. Then I marked the center from top to bottom of each board.
This is where the center of my Velcro gets stapled.
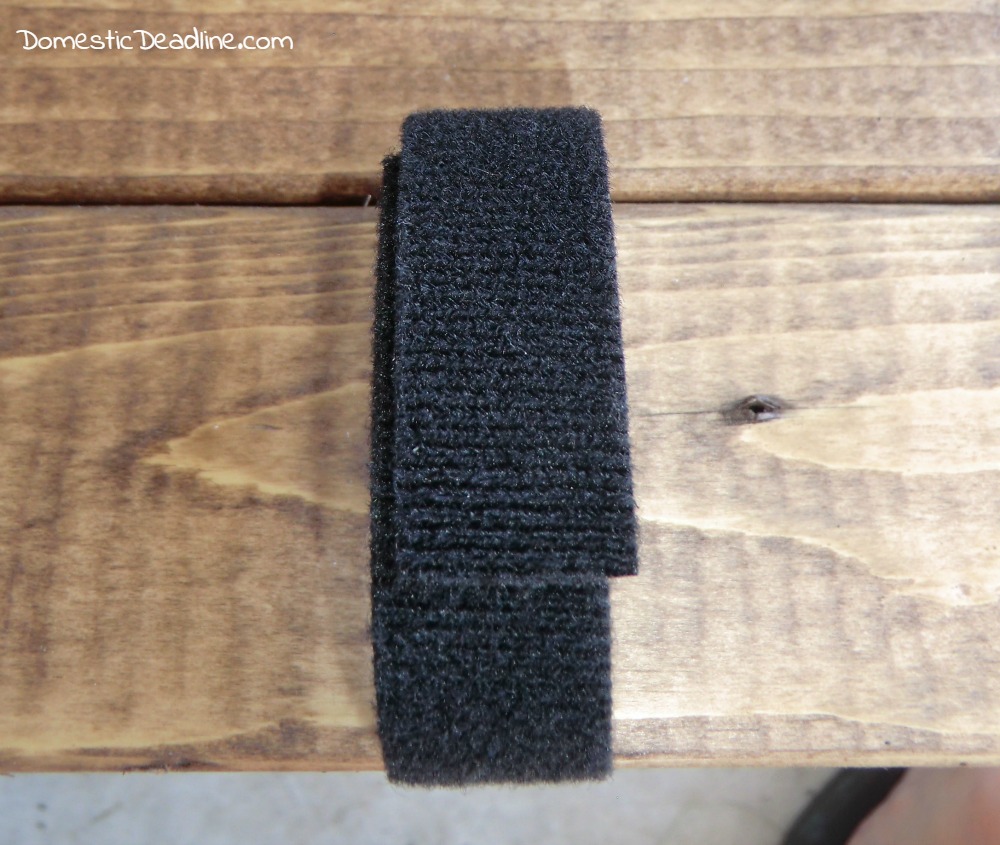
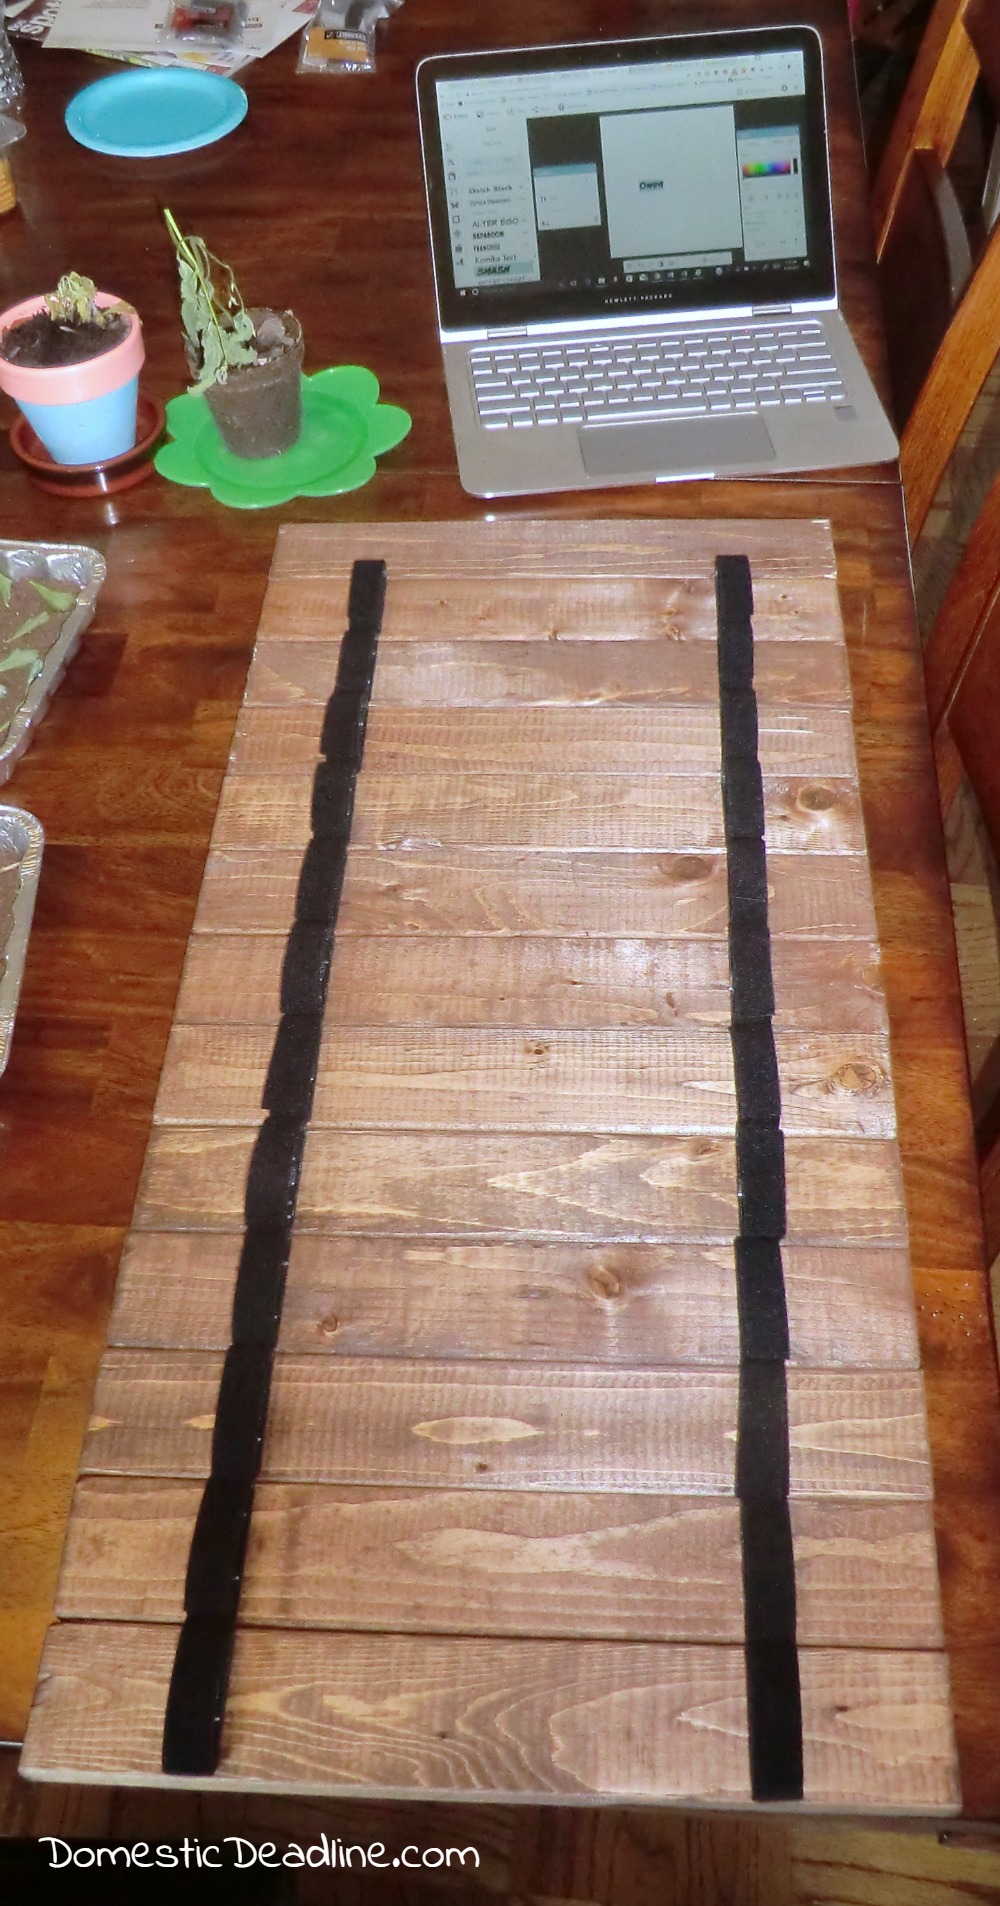
Using a staple gun, I tacked a piece of Velcro to each end of each board. Then I shot several more staples in to make sure it was firmly attached.
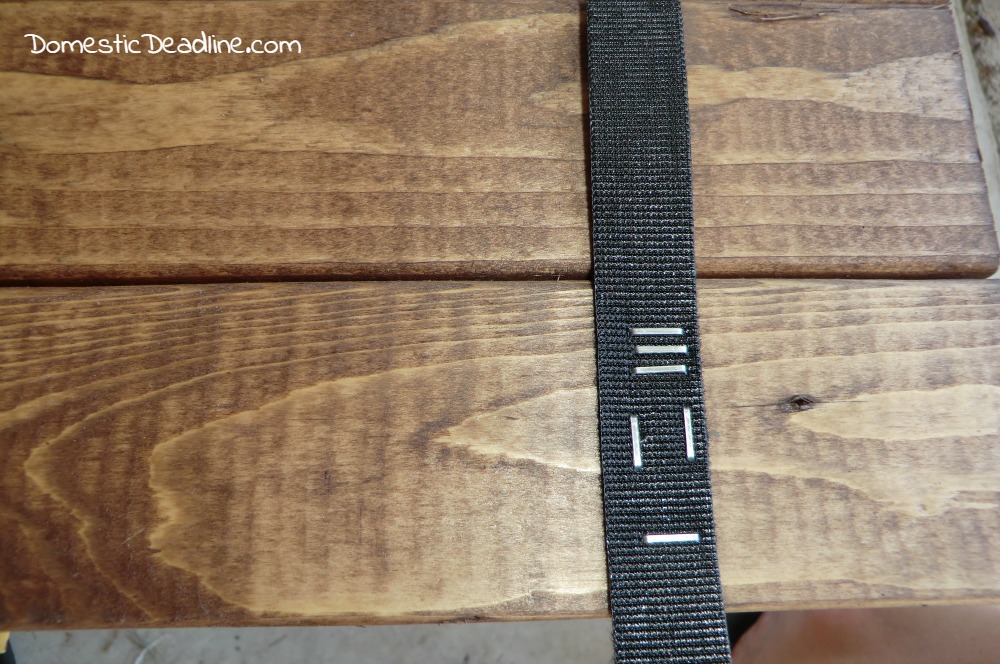
The Velcro we used is the kind that sticks to itself. Not the two-part kind.
Personalizing
Once all the Velcro was in place, it was time to paint his name at the top.
He wanted to select the font. I pulled up PicMonkey and let him select his favorite. After some negotiation (because I refused to use Wingdings!), I typed his name out in “Smash.”
I had every intention of showing him how to transfer his name on and let him help.
But, the neighbor came knocking, looking for someone to play with.
So I just wrote it and hand painted it myself.
We all love how it turned out!
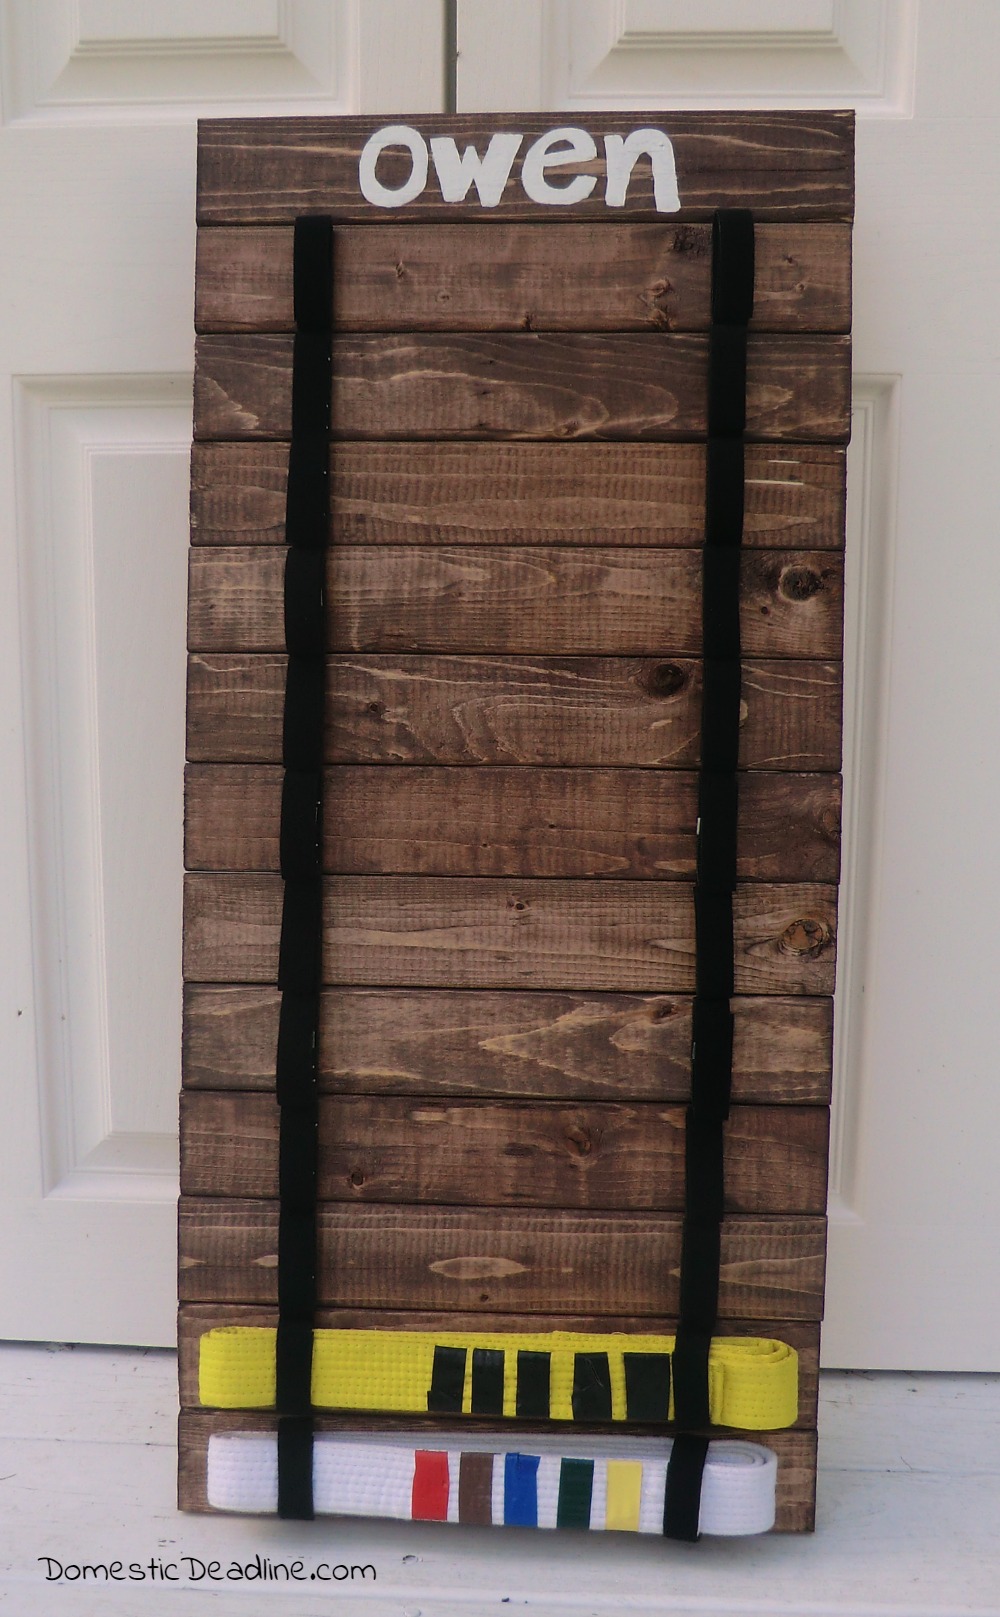
Now as he moves up the ranks, he’ll be able to display each belt.
Project Challenge
It’s time to see what my fellow bloggers have been up to!
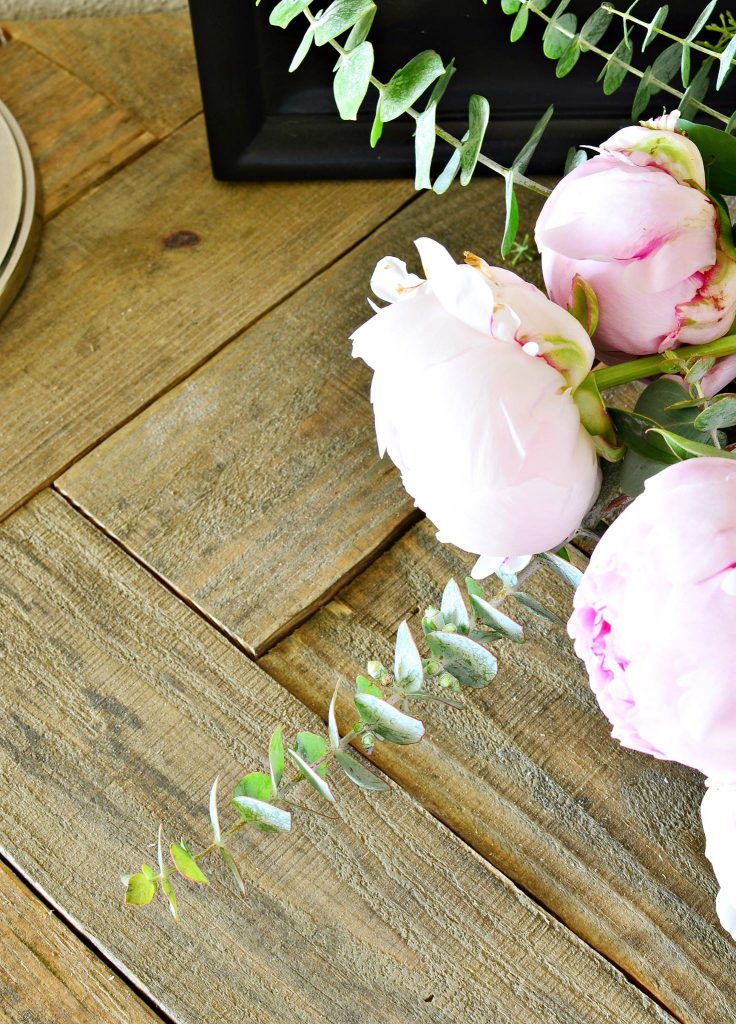
From Nancy at Slightly Coastal:
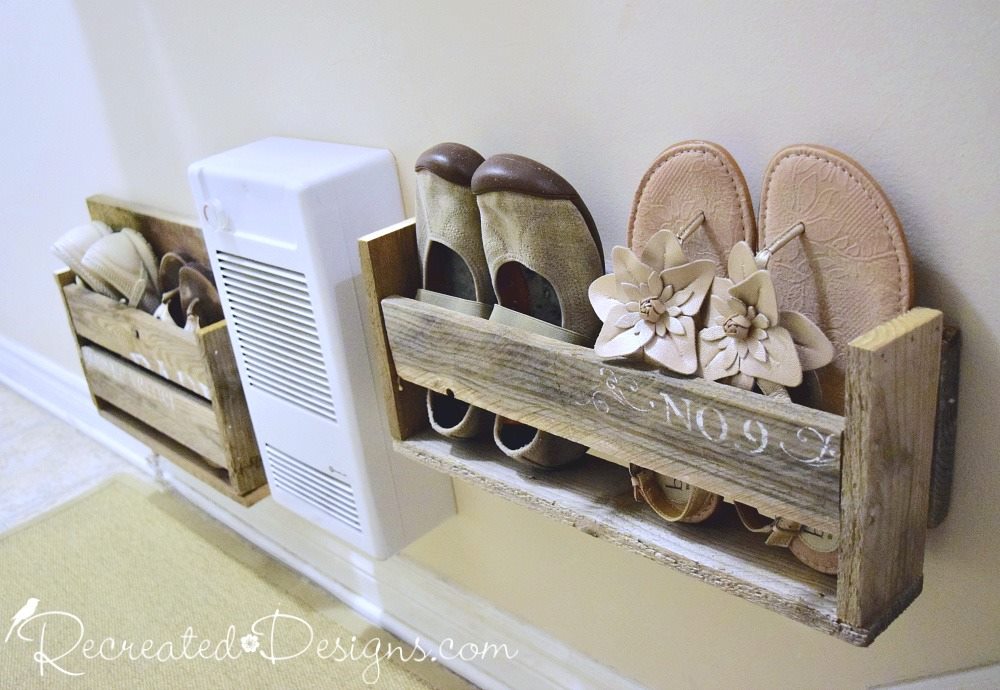
Lisa at Recreated Designs:
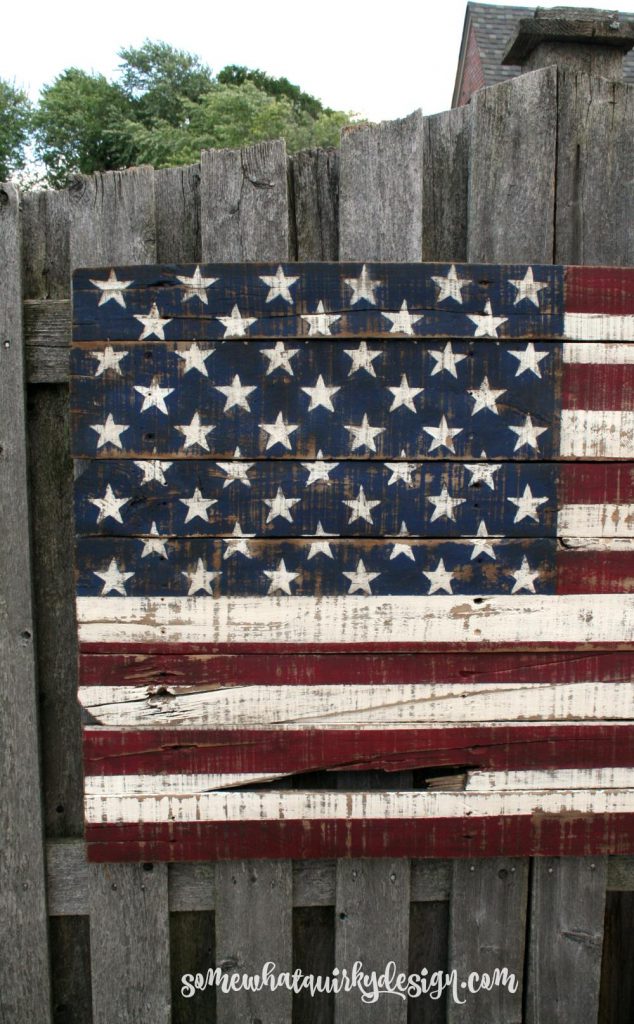
Karen at Somewhat Quirky Designs:
Judith from Curvy and Content:
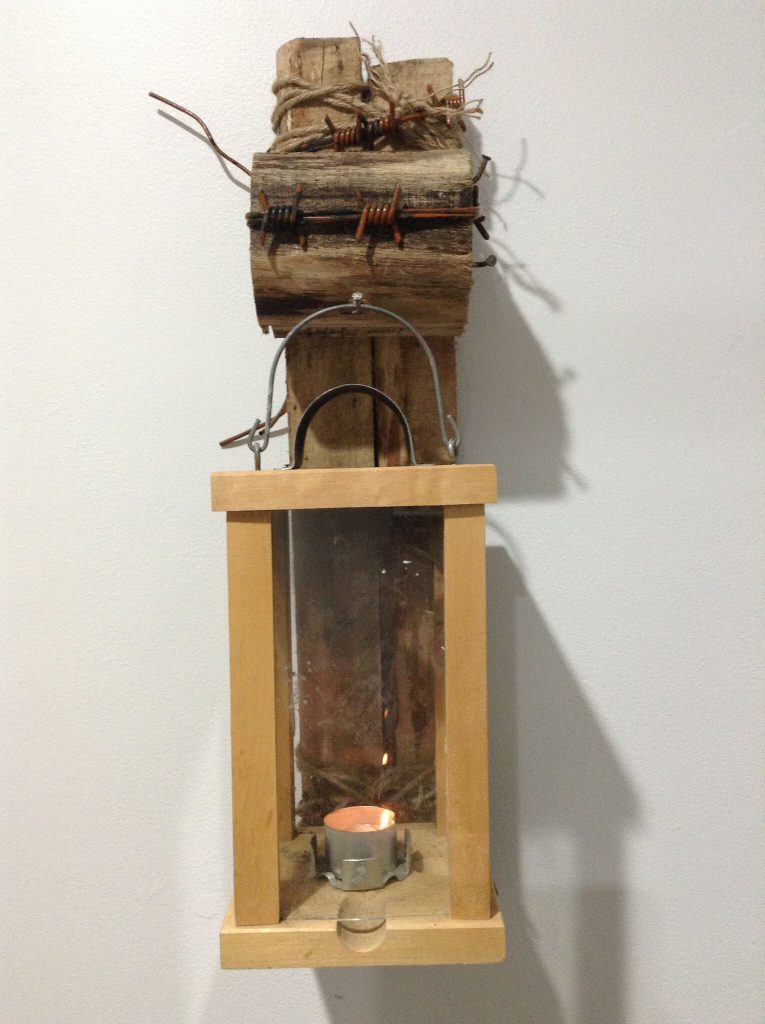
Michele from Shelstring
As always, feel free to pin and share (but please pin the other projects directly from their site)!





7 Comments