In planning my kitchen design, I found myself drawn to range hoods that highlighted the stove area. There are so many options out there now, there was no way I was putting a microwave above the cooktop! I struggled for what I liked the most, but I knew I needed to keep my budget in mind. It didn’t take long to realize this was an area I could customize myself, and save money. Some of the beautiful range hoods I looked at were several hundred to even several thousand dollars! By doing it myself, I spent under $250 total.
Foundation
This project has been done in little bits through the rest of the kitchen. In the end, it was the last project to be finished. I didn’t have a finalized plan for what I wanted it to look like. But, I knew it would come together as the kitchen evolved.
I did plan on using a particular range hood. The model I wanted had lights and all the controls on the underside, meaning the exposed hood could be covered without affecting the function. Plus, it had the noise control features I was looking for. The price was between $350-400, which was still a lot less than some of the ones I was considering.
Then, I happened to find the hood, in white, on sale for $189!!! As of publishing this, it’s back up, but you never know, so here’s the link to the hood. Since I planned on covering the whole thing, it didn’t matter what color it was, so I snatched it up!
The hood is designed to be attached to the bottom side of a cabinet. Which, I didn’t have! At one point I wanted to have tile all the way up the wall and create a “chimney” as a part of the overall look. But, the space where the cooktop landed spanned the drop in the ceiling, so that wouldn’t have looked right.
So, IronFish used some 2x4s to build a box to mount to the wall and attach the hood too.
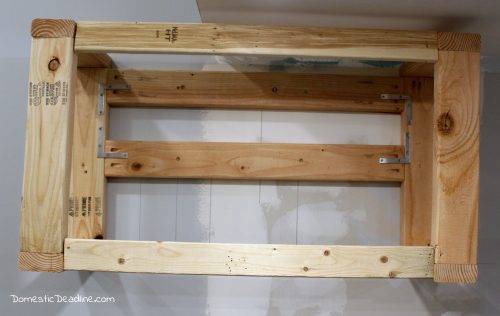
No, the box isn’t crooked, my photography is! It’s strong enough to hang on. Don’t ask, it just is…
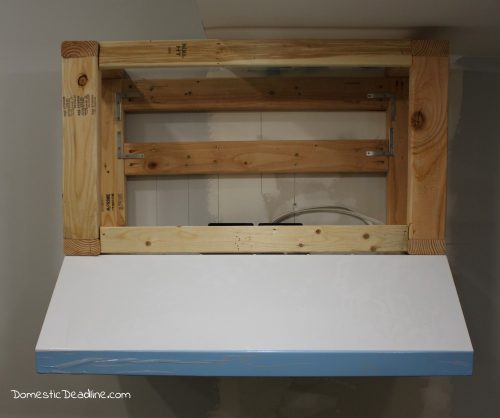
When I first designed the kitchen there weren’t going to be any cabinets on either side of the range hood. Just the hood. But this was an area I compromised with IronFish. He wanted cabinets on either side, so I added them to the design.
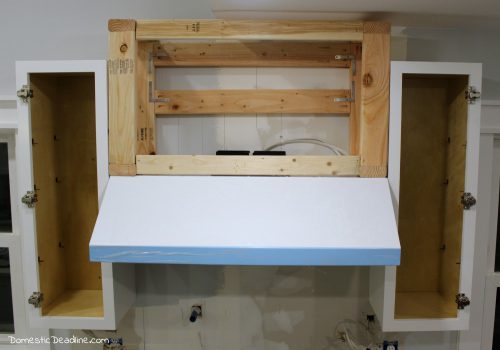
And I’m glad I did. The right one holds all of our spices, oils, and marinades. The left one is above the coffee pot. Packed full of coffee, tea, and hot cocoa supplies!
Progress Around the Range Hood
With the foundation of the range hood in place, we moved on to other parts of the kitchen. IronFish didn’t want to cut into the siding of our house to vent the hood, so we waited for my boss, Dave, to help us with that.
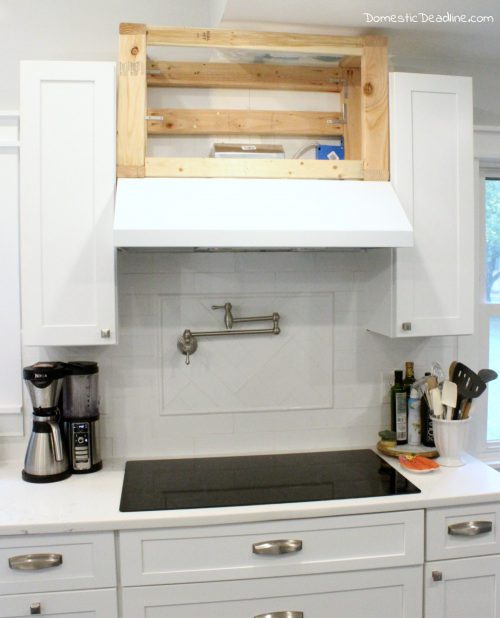
The backsplash tile went in (I’m just realizing now I never did a post on that!). The pot filler was installed… I use it every morning to fill the coffee maker!
The current standing of the hood even made an appearance behind the light fixtures.
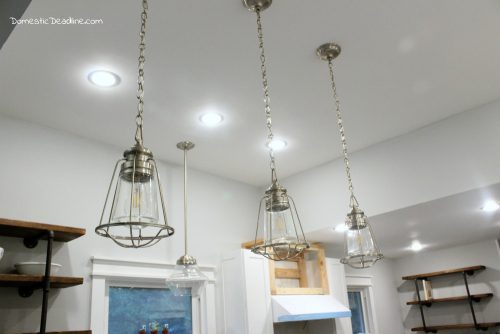
But, eventually, we got to the point where this was one of the last projects. The hood was vented and connected.
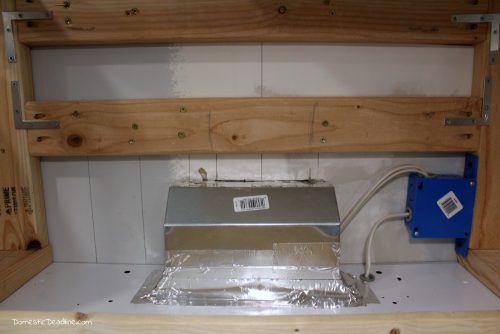
Sorry, but this post will not include how this was done. Dave and I have done other range hoods for work, IronFish left this part to the professionals! If you already have a range hood or venting for it, then this isn’t too hard. We didn’t have a hood or proper venting in the old kitchen.
Boxing It In
To move closer to finishing the hood, I needed to close up the exposed portion of the box. None of this would be visible once I was finished, but I wanted to be able to keep dust out of the cabinet since this will be an occasional use cabinet.
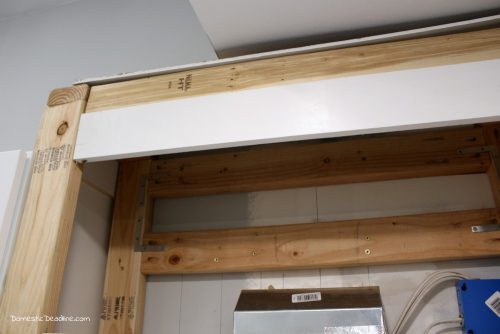
Scraps were cut and screwed or nail-gunned to the frame.
Crown Molding
In order to know exactly what size to make the door, it was time to install the crown molding on the cabinets.
Here’s the other side of the kitchen:
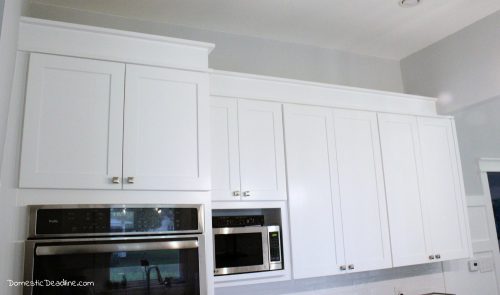
And from the other angle:
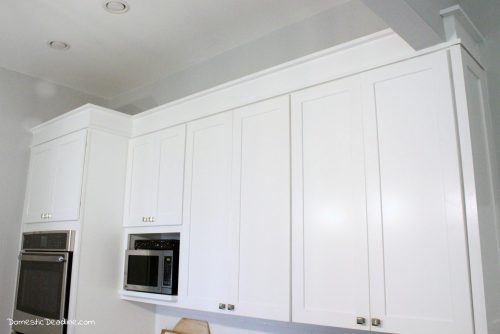
We built it the same way as all of the Craftsman headers in the house, just a bit larger. I love how finished the cabinets now look!
Cabinet Door
With my dimensions calculated, I cut a piece of 1/4″ plywood.
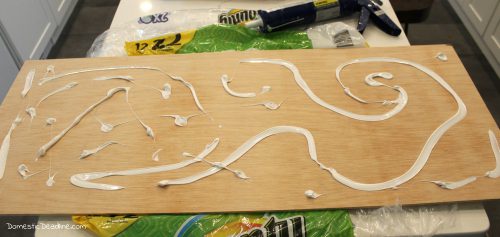
Using leftover silicone caulk (and a fancy Bounty wrapper as a drop cloth), “shiplap” was applied to the plywood.
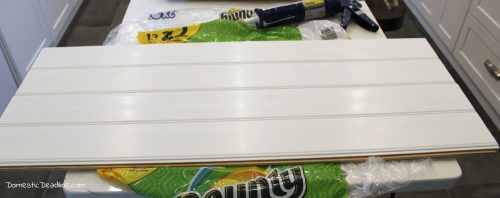
This is the same PVC product I used for my microwave cabinet, island, and a few other places in my house.
Finally, I laid it out to dry. Placing a scrap board on top and weighing it down with some extra tiles. I wanted to make sure it stayed flat.
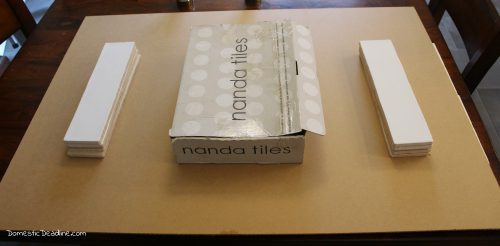
Next, I used lattice to trim the edges of the door.
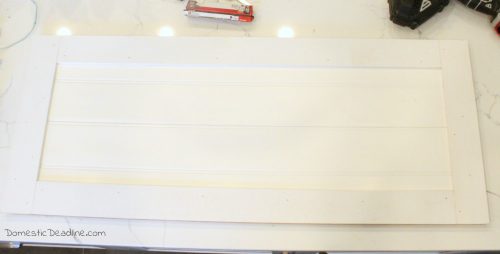
I repeated the same procedure I used for applying this to the end of my cabinets to finish them off. Caulked and painted.
Final Results
The hinges are at the top of the door, so it lifts up to expose the storage space.
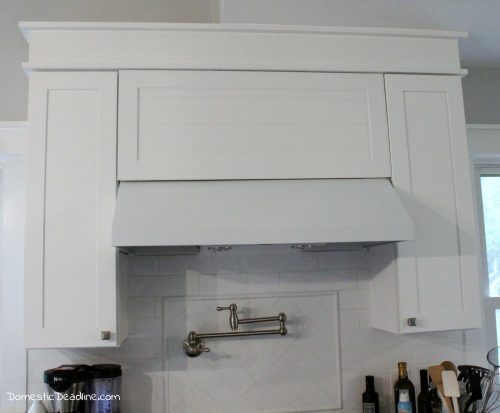
I had originally thought I would cover the hood itself. Eventually, I may still do that. But, for now, I’m quite pleased with the look!
Pin and Share
As always, feel free to show some love!








10 Comments