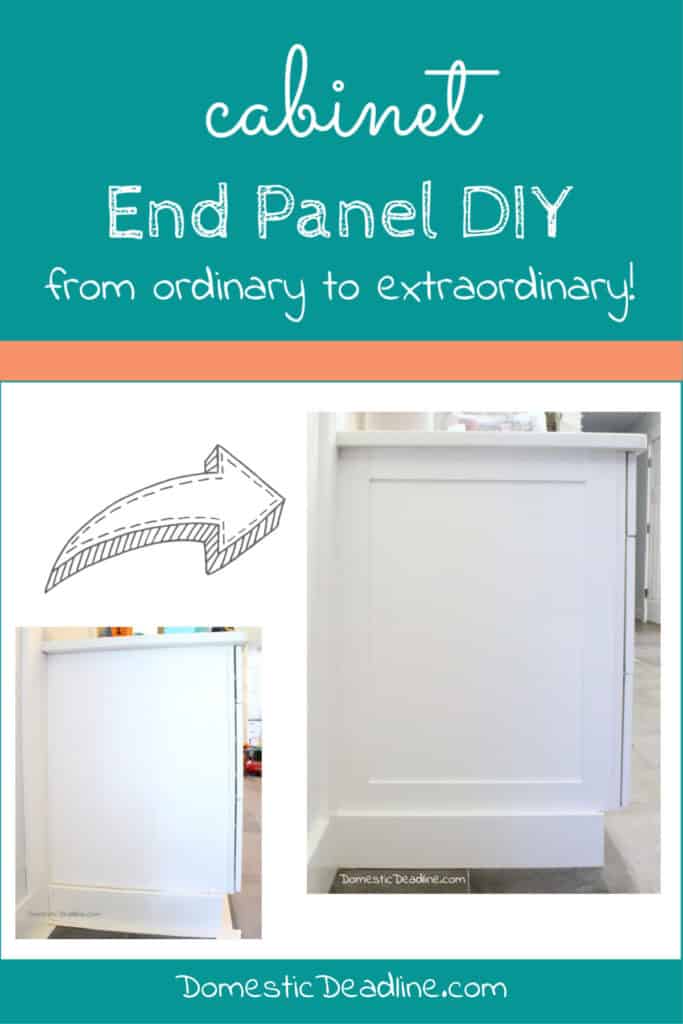
This kitchen really is a labor of love. I’m getting such a kick out of seeing my dream kitchen come together. Especially knowing how much my hard work makes it happen. From the beginning, I knew my dream was more than just new cabinets and countertops. My dream kitchen was the beautiful custom kitchen that makes jaws drop. A kitchen where all the little details come together for the big impact. It may sound silly, but finishing the end panels of the cabinets is one of those little details. Of course, I needed to keep the budget in check, so I came up with a cost-effective solution to customize the cabinet end panels.
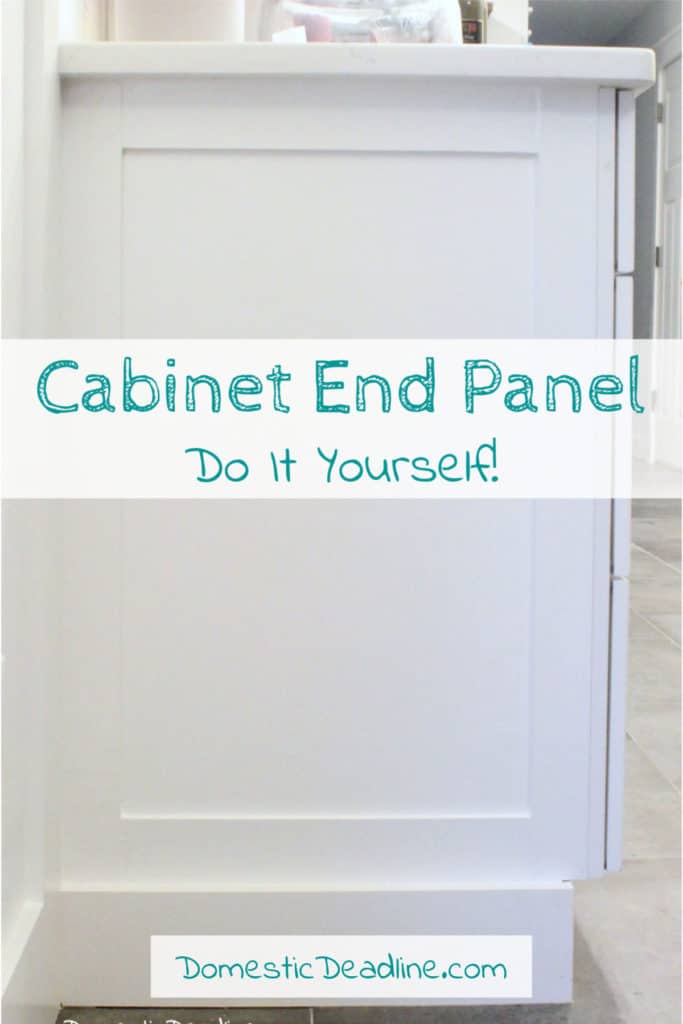
Starting Point
With the cabinets in place, the countertops installed, and the kitchen basically fully functional, I could focus on some of the details. My cabinets all had plain white sides. Which, could have been left alone, but I just felt like they needed to be dressed up a bit.
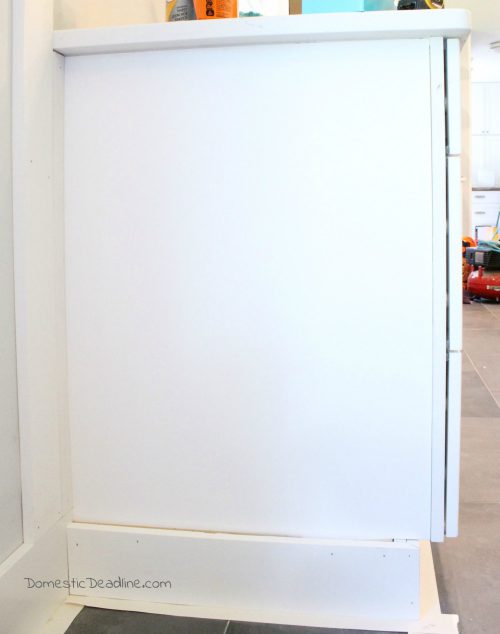
In my old kitchen and in a kitchen we did for a client, we added end panels to the exposed sides of the cabinets. This was definitely an option and something I considered adding later if there was money left in my budget.
But, when we decided to do the board and batten in the dining room (which is no longer a separate room but open to the kitchen), I knew I wanted this part finished as well.
After numerous trips to and from the local home improvement store and the lumber yard, I knew the inventory pretty well. My cabinet doors are all white shaker style. Nice and simple; clean lines. It didn’t take me long to realize 2 1/2″ wide lattice was the same size as the raised door panel… At $1.75 a linear foot and pre-primed this was in my price range.
Installing
As you can see from the first picture, my toe-kick, base molding, and the board and batten on the adjacent wall are all already in place. To complete the end panel, I measured the verticals first.
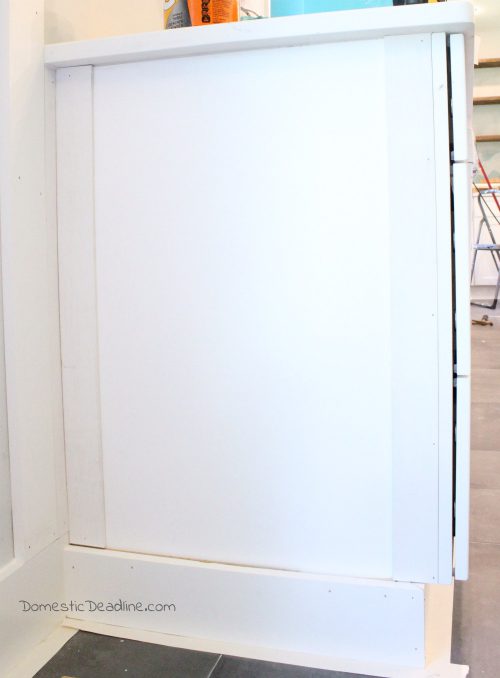
Using brad nails and my cordless nail gun, I tacked each piece of lattice in place. Next, I measured each horizontal.
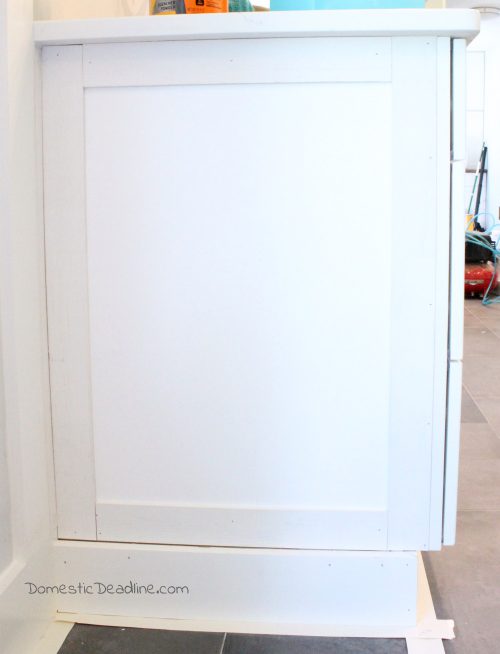
And tacked each one of those in place, as well.
Fill, Caulk, and Paint
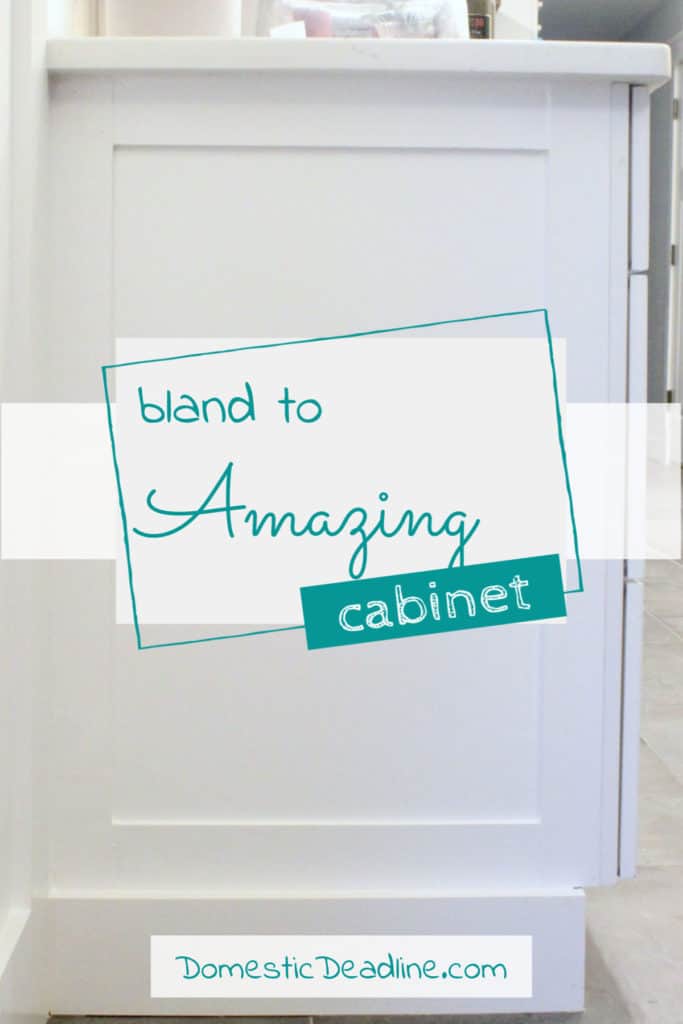
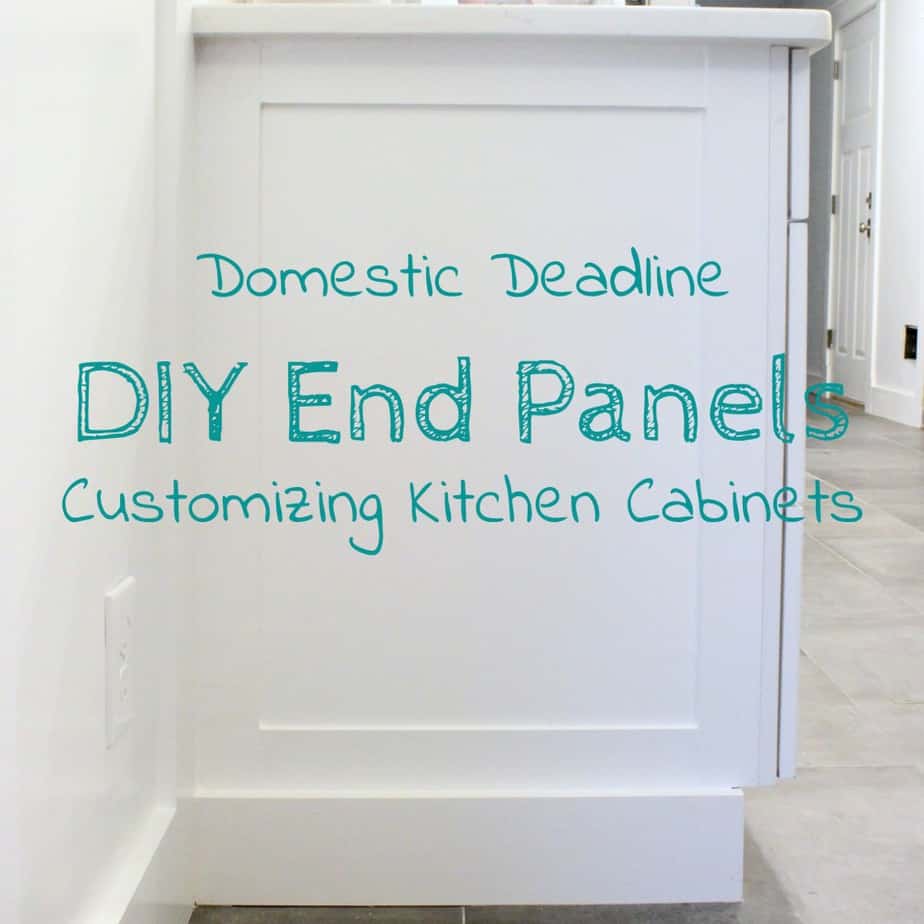
Once I finished all the exposed upper and lower cabinets, I filled the nail holes with wood filler. Every edge was caulked with paintable silicone. Once dry, I painted the entire end panel with white paint. The same Benjamin Moore paint we used in the whole house on all the trim.
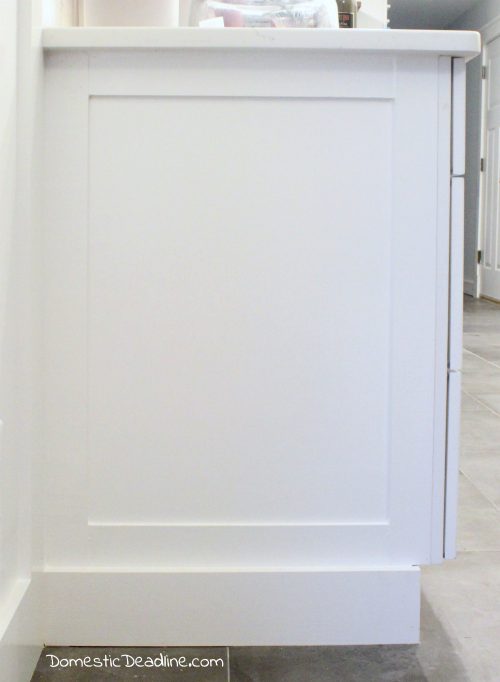
I tried to take the picture a bit darker too, to show the lines of the panel better:
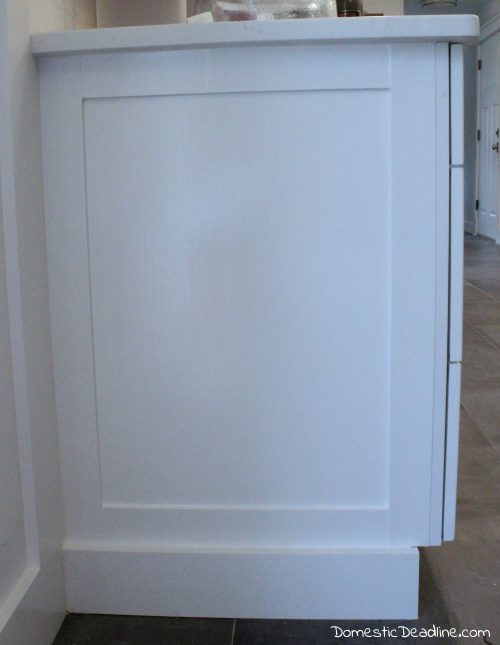
Of course, this way, it looks gray and a bit fuzzy, but you can see the lines a bit better.
Cover Gaps
Ok, I’m sharing a bit of a secret here… but the other reason why I didn’t want to wait on finishing the end panels…
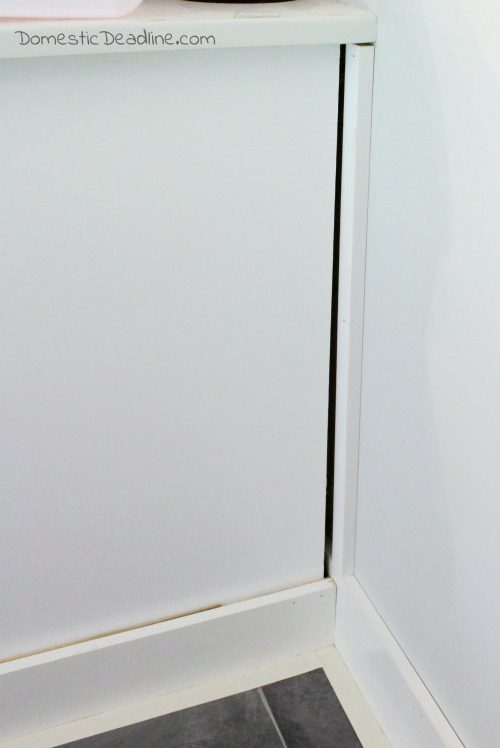
Yep, there was a bit of a dive in the wall. In order to keep the front of the cabinet in line, we ended up with a gap between the back of the cabinet and the wall. That doesn’t look very nice, so finishing the end panel enabled me to conceal this little problem.
Customizing Cabinets
While my cabinets are simple and clean lines, this treatment is a perfect match. I think it would also be a nice clean way to finish off old cabinets you wanted to paint and give a fresher look. And there are tons of molding options out there for more ornate cabinets.
Doing finishing work like this is a great way to save money and give a kitchen a more finished look.
By customizing my microwave cabinet and my island, I was able to stay on budget and still get my dream kitchen. These little details are really fun weekend projects too.
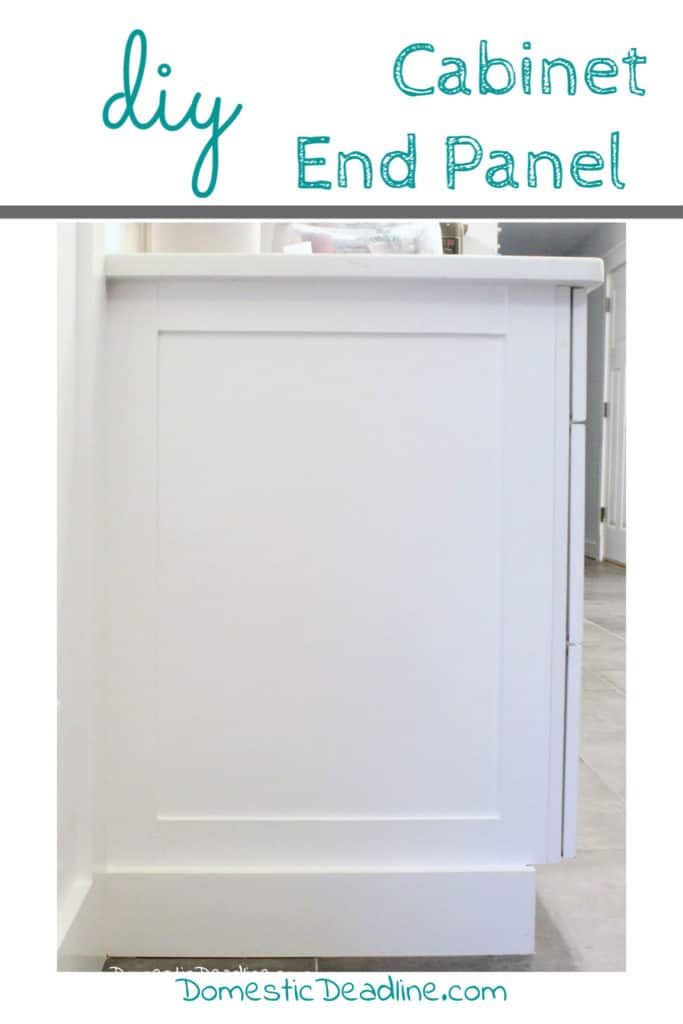
WANT TO REMEMBER THIS? SAVE THE DIY CABINET END PANEL TUTORIAL TO YOUR FAVORITE DIY PINTEREST BOARD!
As always, feel free to pin and share!








19 Comments