 Blogging again is not only a creative outlet for me, but it pushes me to do the projects on my to-do list. We knew our new house had a pretty lengthy to-do list when we bought it. Lots of little things need to be done and a few big things… the kitchen being #1 on my list! I avoid the kitchen currently, but I still end up spending a lot of time in there. Freezer cooking traps me in there when I do all my prep work, but at least reduces the length of time on a daily basis.
So far, we have painted the walls and cabinets as the only band-aid. With the help of my sister and mom, I did apply for an HGTV show, but it seems as bad as the kitchen is to me, it’s not bad enough to win a makeover. But, HGTV, do feel free to come help me out for another make-over show… hint, hint…
This winter I hope to have a better idea of how far in the future the kitchen of my dreams is. Once I know how far away that is, I’ll decide if I’m going to apply anymore band-aids. In the mean time, I still get to work on other people’s kitchens at work and this summer I got to work on our cottage. It’s a family home that’s been passed down from generation to generation and is rented out when family isn’t using it. So the tricky part is working between renters; 4-6 hours on Saturday to get in, get something done, clean up and get out before the next renter arrives.
But, I like a challenge!
Here’s the back story of the project… A few years ago, my uncle updated the kitchen. He moved a wall, re-positioned the fridge and removed the original dishwasher…. original as in, one of the first ever dishwashers! It was actually pretty cool and was in working order for many years, but alas, it was time for it to go. Next, I came along to replace the floors with a floating vinyl wood look floor. The idea being this would be good for the sand and water. Other things have happened in the cottage, but the kitchen has pretty much been the same since these last two changes.
The Solution:
Several of the jobs I’ve done have included installing a beadboard wainscotting in a bathroom. Beadboard is great! It gives a classic cottage look. Painted white, it’s crisp and clean looking, I love it! But…. (you knew there was a but, didn’t you?), wood or the paneling version of beadboard isn’t great for a wet environment.
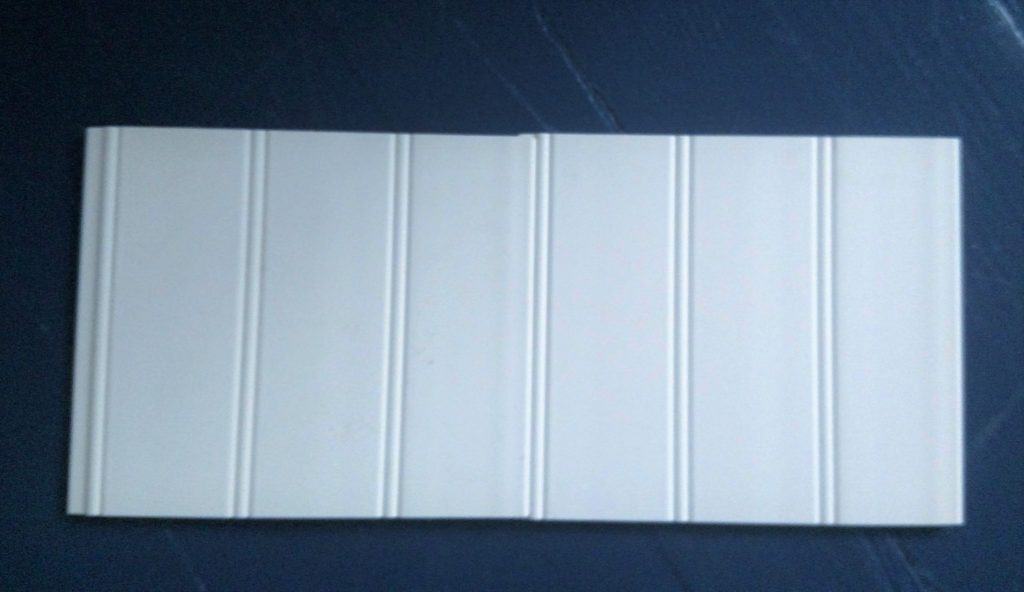
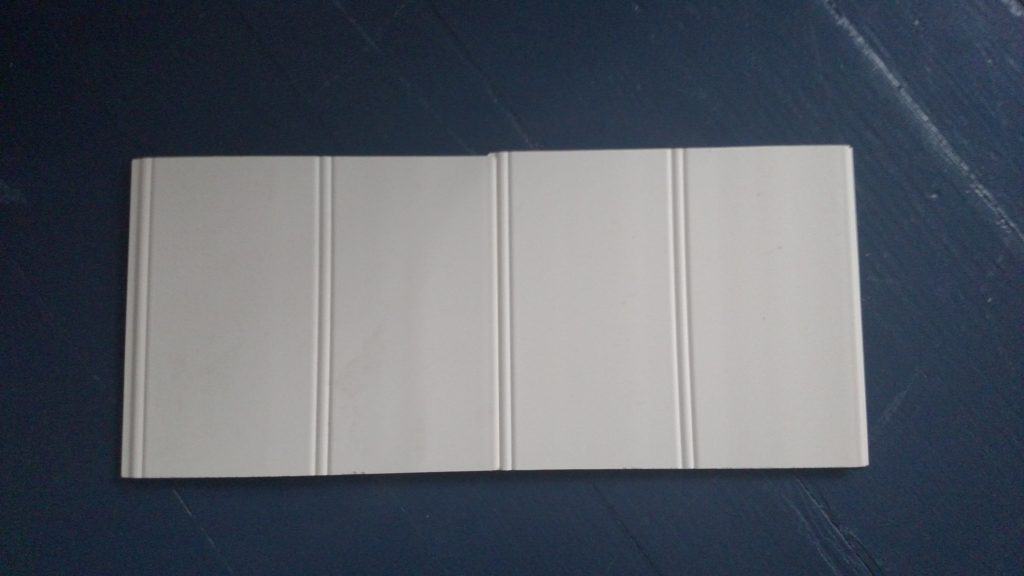
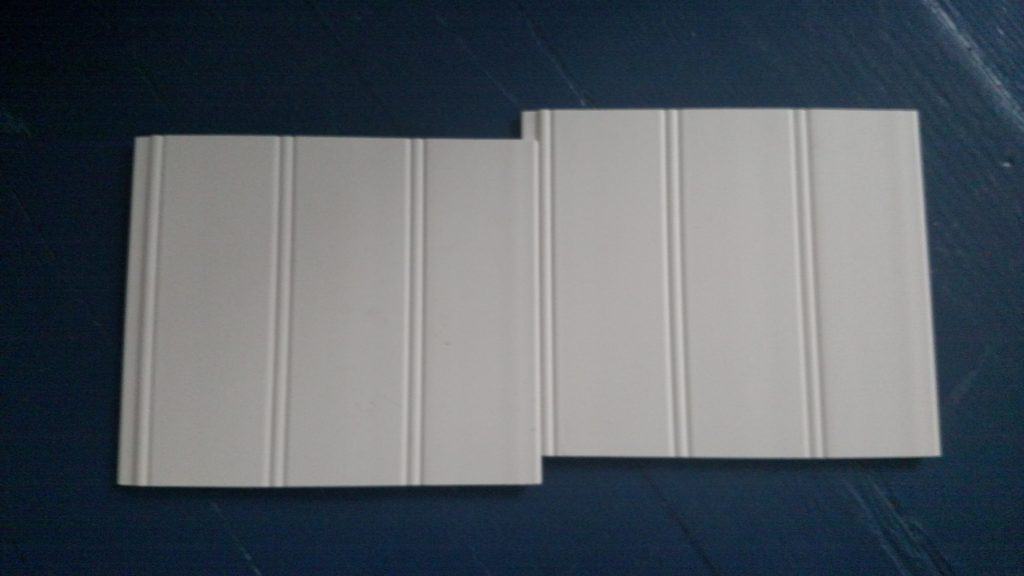
Luckily, there are some awesome PVC versions on the market. I usually pick them up at my local home improvement superstore, but this is a comparable product. Once it’s painted, it’s hard to tell it’s plastic. It’s available in 4 foot lengths and 8 foot lengths. My favorite part is, it’s reversible! You actually two options instead of one! One side is the traditional thin bead board look, and the flip side is a wider plank look. I used the wider plank look in my powder room, but horizontally so it has the look of shiplap.
Here’s the traditional sized side:
And the flip side:
The Before:
This kitchen is a little funky, and even though it has changed so much in the past few years, it still brings memories of my grandma flooding back every time I step inside; the whole cottage does. We had this tiny little stove and she would cook these huge meals for the whole family, and we’d crowd into the kitchen and dining room, often in bathing suits to get huge helpings! And she would bake all of our favorites in that tiny oven too. The fridge blocked the cabinet where the dishes were kept. My cousin and I would often be told to help Grandma clean up after dinner. We never complained… probably because she would close the door, make us a sundae and we’d sit between the fridge and the cabinet eating it while she cleaned up! But that before is before this. For this project, here is my starting point:
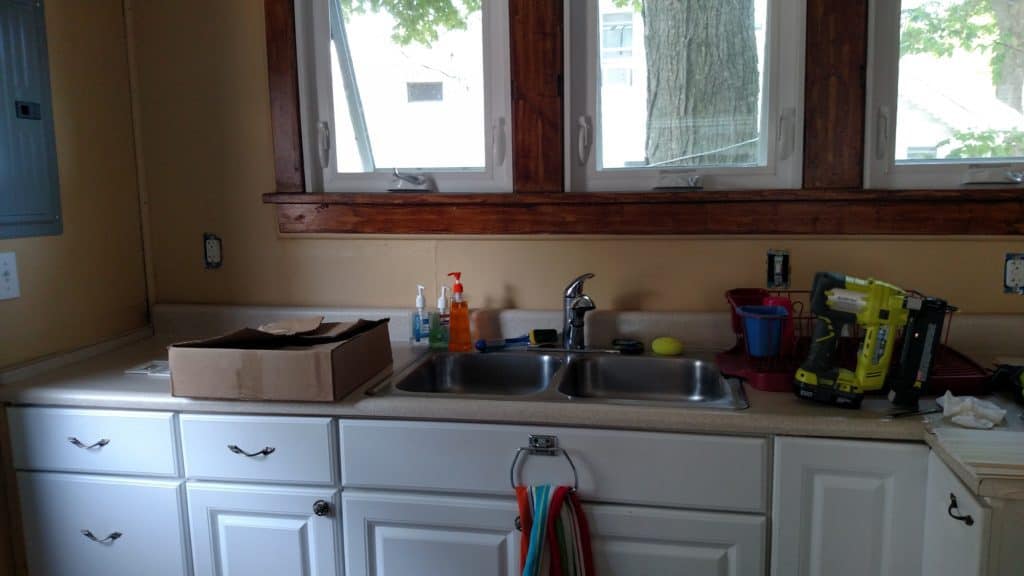
Doesn’t everyone keep their tools on the kitchen counter? No? Oh, ok, well, not bad, but not great either. Since the aforementioned beadboard projects I’ve done, often resulted in some left over pieces, of all sizes, it seems I’d found a use for them!
The Plan:
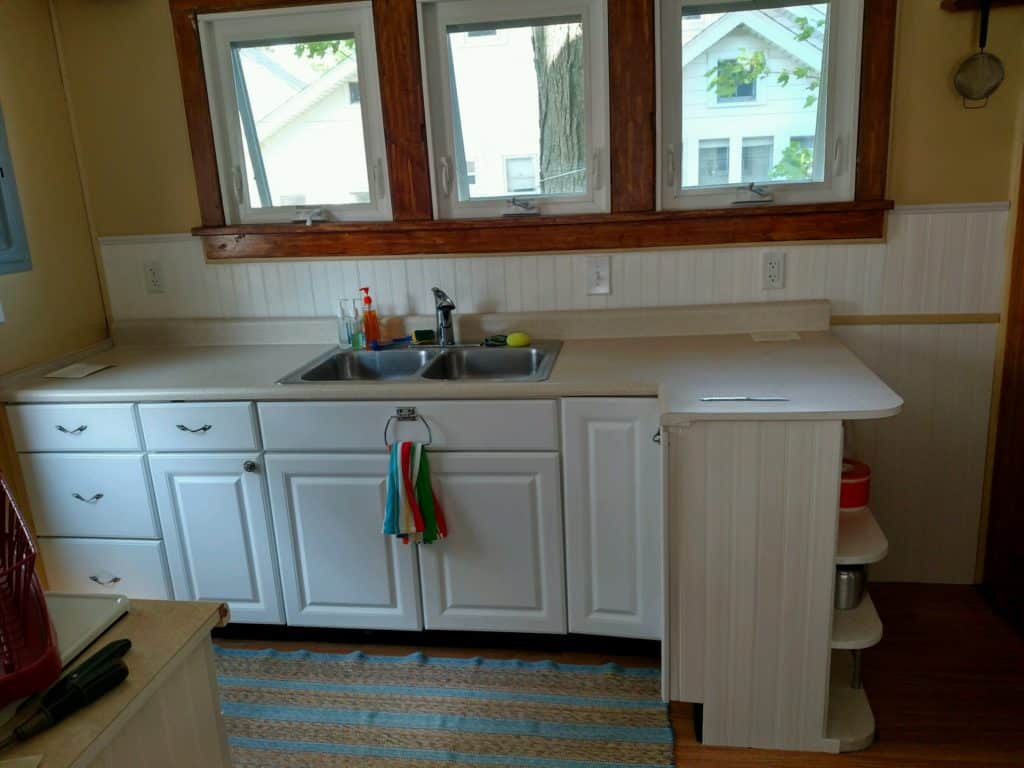
The back wall under the windows needs some work. There is a gap between the counter top backsplash and the wall because the new electric runs through there (you can still see the old knob and tube! This house originally didn’t have electricity and was added later!). It’s a cottage and beadboard is pretty prevalent around here, I knew we needed to add some. We’ve already been doing the whole “Rock what ya got” thing in the house, so left over from other jobs makes it even more fitting.
I decided to make the whole wall look like it was beadboard to about the window height. My leftovers often range from lots of small to a few large pieces. Since there is a channel along the wall where the new electrical runs, my leftovers were all usable.
With a little help from my friend, Amy, we got to work cutting and fitting the pieces together. It cuts like butter with a chop saw but cuts pretty easily with a utility knife and since I am borrowing tools here, using the utility knife is easier than setting up a saw.
Installing the beadboard:
The pieces all have a tongue side and a groove side.
They simply slide together!
Using a caulk gun and construction adhesive, glue them to the wall. I pop a few brad nails in to keep the pieces in place while they dry.
Once everything was installed, we capped the top that didn’t fit snuggly under the window with cap molding. We then added a piece of quarter round to fully close off the gap between the wall and the counter top. The beadboard will all get painted white, and the walls will either be white or another color, but that is for another day!
While I was working on the walls, I noticed the gap between the cabinet and the counter top. We decided to put some of the longer pieces on the ends of each of the exposed cabinet ends. It really cleaned it up and pulled the look together.
After:
I’m really pleased with how great it looks. I can’t wait to paint it, but I’m not sure when that will actually happen. Painting may get done over the winter by my mom, or when I next visit in the off season.
What color do you suggest I paint the walls?







2 Comments