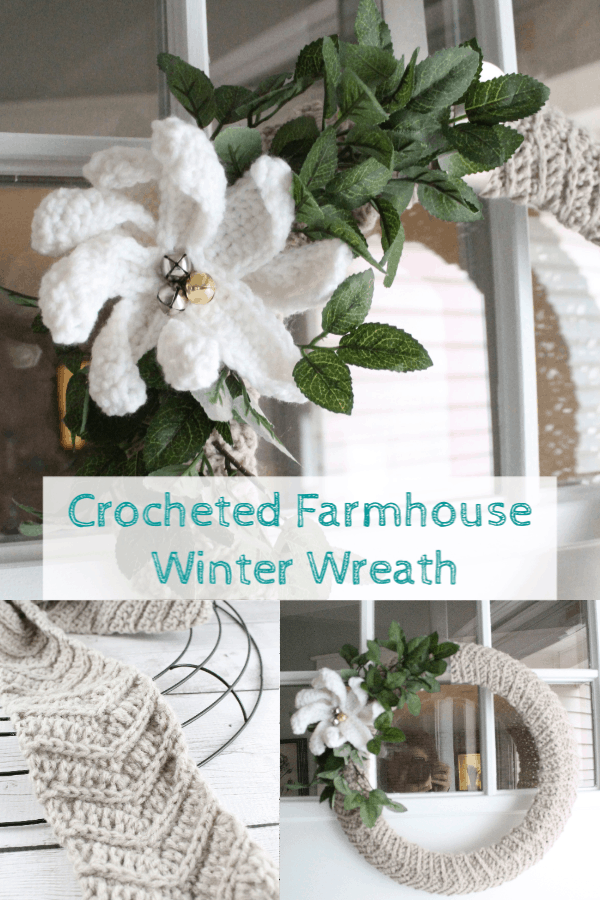
This time last year I was lamenting on how I’m not very good at making wreaths. I’m pleased to say, I’ve put some work into it this past year and I’ve actually made 4 wreaths that I’m quite proud of! Make that 5! I wasn’t dreading the wreath portion of the 12 Days of Christmas series. For fall, I streamlined and went with a fall overall theme instead of Halloween and Thanksgiving separately. I’d like to incorporate more “winter” decor this year and not all Christmasy. That’s how my Crocheted Farmhouse Winter Wreath came to be, simple and wintery.
Welcome to Day 1 of the Fourth Annual 12 Days of Christmas Series!

We have teamed up with 50 plus bloggers to bring you a oodles of DIY Ideas and Recipes to make your holiday season merrier. There are 12 different posts in the series and we have spread them out over a four week period with three posts per week. Now is the time to subscribe!
GO HERE for the complete list of Dates and Topics plus a collection of most popular holiday ideas including ornaments, games, recipes and more from all 50 plus talented bloggers!
It’s Day 1 and we are sharing DIY Wreath Ideas!
Crocheted Chevron
Whenever I start a craft project, I try to create from supplies I already have on hand. When I envisioned my winter wreath, it was with a calm textural or chevron pattern as the base. Not having what met my vision in fabric or ribbon, I went to my go-to… yarn!
I crocheted one long strip in a greige color left over from another project (yeah for free!)
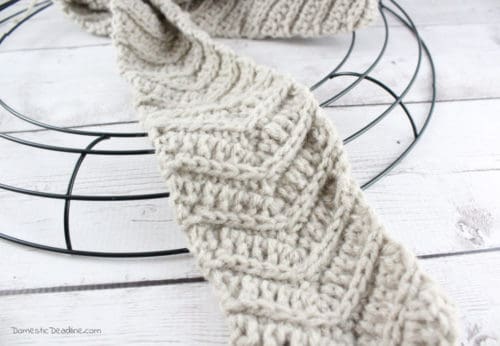
Using the metal wreath frame I also had on hand (from Dollar Tree) as a guide for the width, slightly wider than the frame.
Chain 17 (using worsted weight yarn and appropriate hook).
Row 1: Turn and in 3rd stitch from the hook, double crochet 2 stitches together. Double crochet in the next 4 stitches. Double crochet 3 times in the next stitch. Double crochet in each of the next 4 stitches. Double crochet the last 2 stitches together. Chain 1 and turn.
Row 2: For this row, all stitches are done in the third loop (this pushes the top of the previous stitch forward). Single chain 2 stitches together. Single crochet in the next 4 stitches. Three single crochet stitches in the next stitch (top of the point). Single crochet in each of the next 4 stitches. Single crochet the last 2 stitches together. Chain 2 and turn.
Rows 3-4 and beyond: Repeat row 1 and 2 until the piece is longer than the circumference of your frame, ending on row 2.
Tip: When I thought I had enough rows, I still did a few more. Then, I didn’t tie off the piece. It was easier to pull out a few rows if it was too long than to stitch more when attached to the frame (yes, I learned from experience).
Attach to the Wreath Frame
Using pieces of extra yarn, I simply stitched the crocheted piece to the frame. Zigzagging back and forth across the back. Stretching and smoothing the front of the wreath as I went.
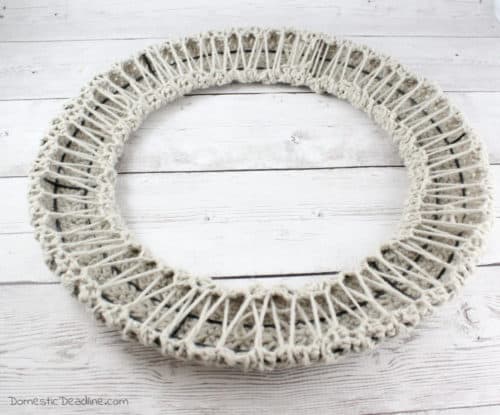
Where the two ends meet, stitch them together. Because of the ridge formed from stitching in the 3rd loop, I couldn’t easily find where the ends joined.
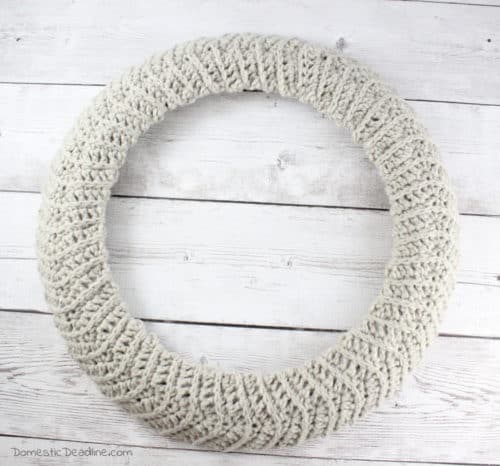
Decorate the Wreath
At this point, I had actually been to a few stores but didn’t find what I wanted to accent the wreath with. Back in my disaster craft room, I dug through my supplies again.
And, did a little Pinterest searching. I’m not sure what possessed me to keep the stems of flowers from a previous wreath, but they really came in handy. A little white yarn and a few bells and I crocheted a poinsettia to go with the leaves.
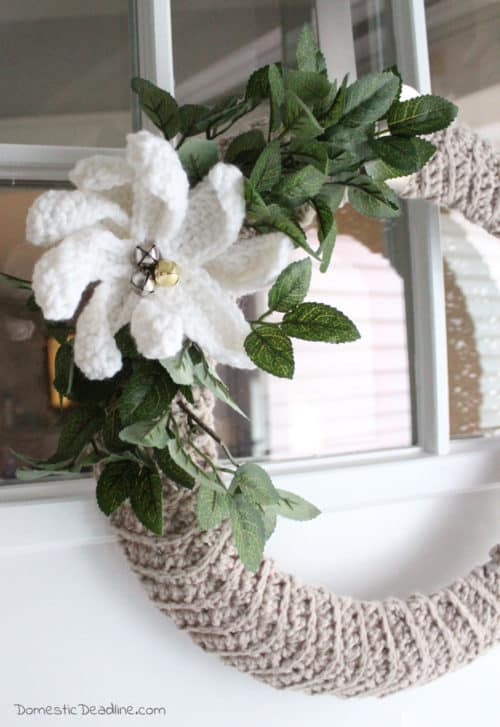
JuneBug had been out with a friend and shouted how beautiful it looked when she got home! When the kids notice and like something I make, it’s a gold star in my book.
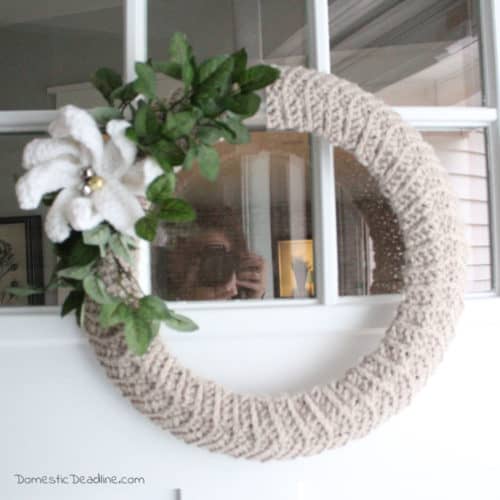
I have a beautiful wreath hanger with our last name etched in it from my mother-in-law a few years ago (closest I could find). But, I couldn’t pass up this pretty and simple “joy” wreath holder to change things up this season.
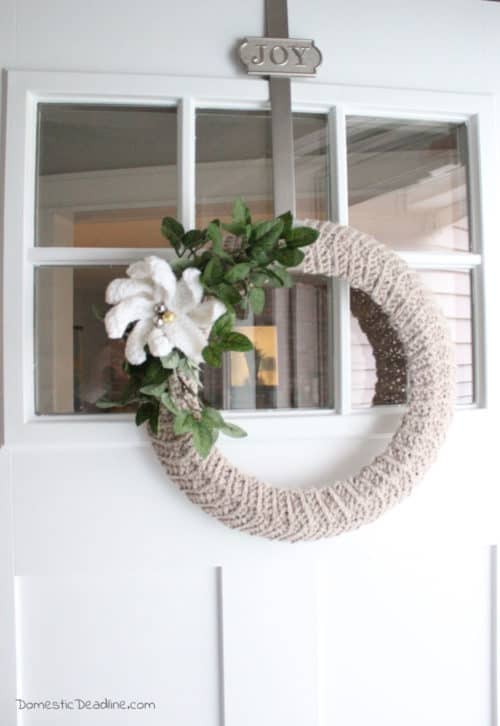
I love the simplicity of the winter wreath, but I could easily change up the flower and use it in other seasons!
Scroll down for many more DIY Wreath Ideas for your holiday season!
Pin and Share
Are you ready for Christmas? Make personalized hand knit stockings a part of your family tradition.



15 Comments