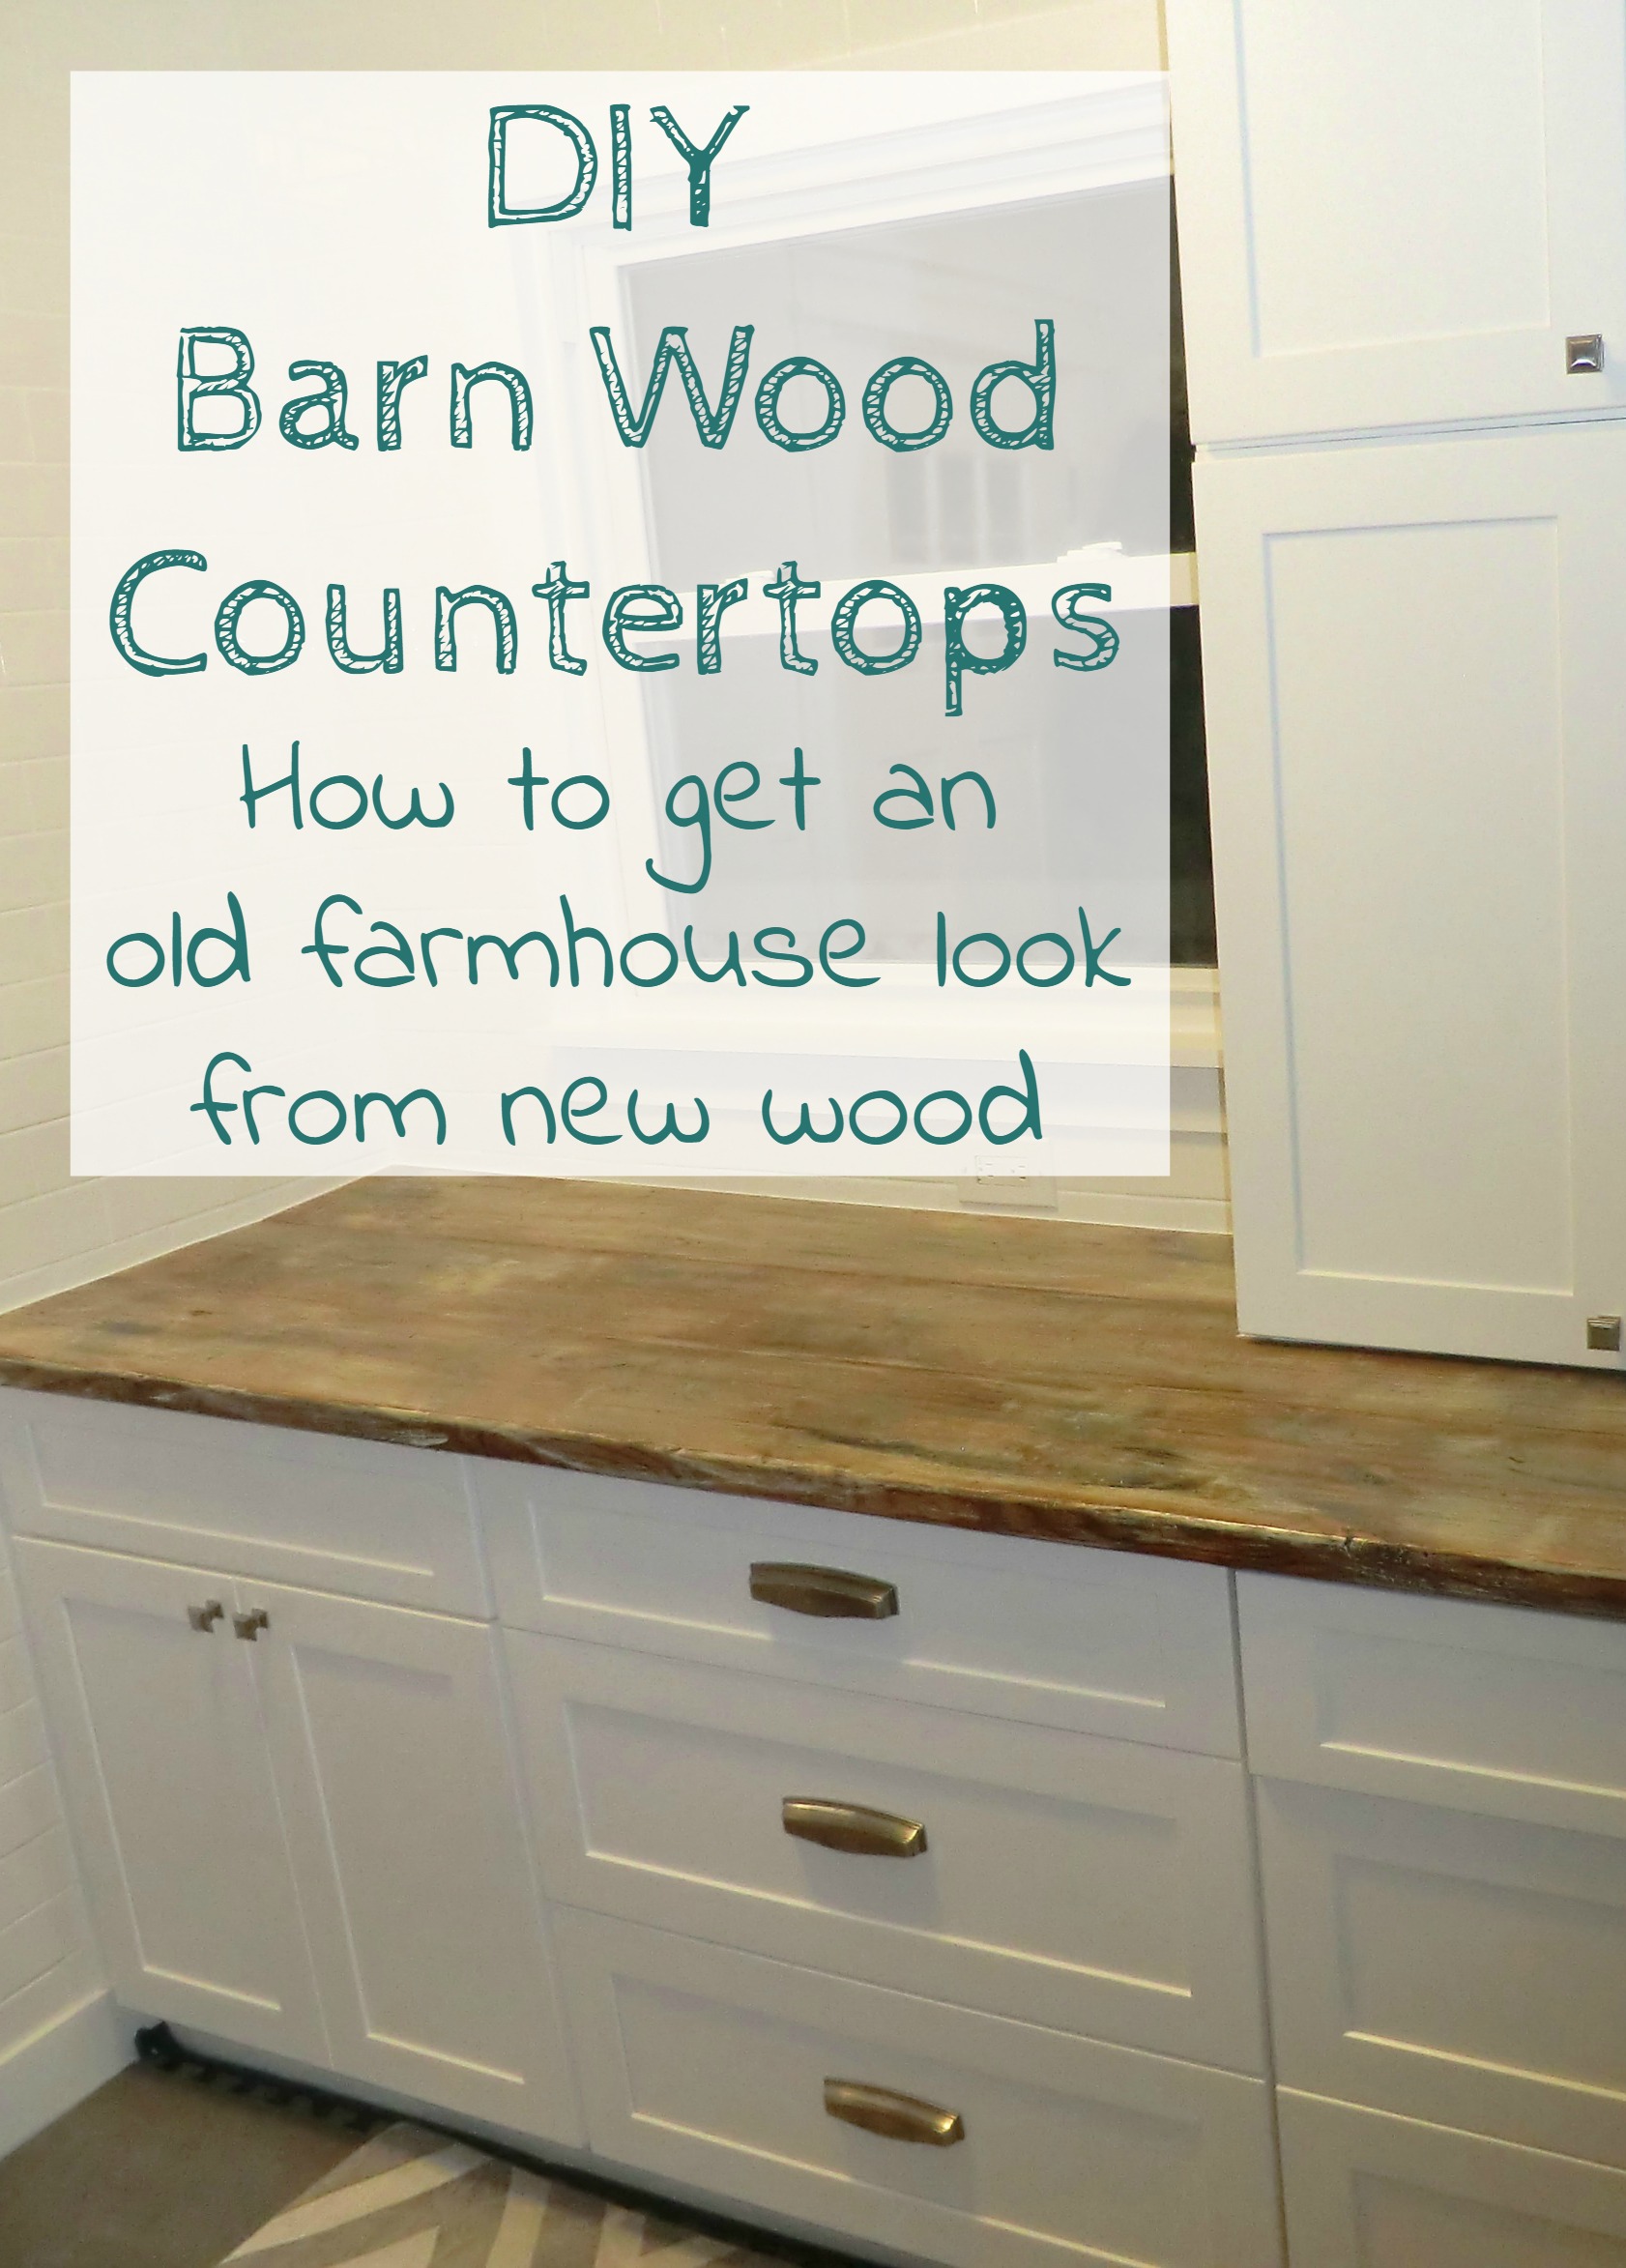
My Farmhouse Mudroom is coming along nicely. I knew I wanted a rustic feel and as much of my personal touch as possible. The DIY barn wood countertops really brought the look I was going for together. As much as I would have loved to have actual barn wood, the salvage yards around here can’t keep it in stock. Which also means, it probably would end up being out of my price range. Once the cabinets were installed, I knew my previous DIY table top fail would be the perfect barn wood countertops.
Family Affair
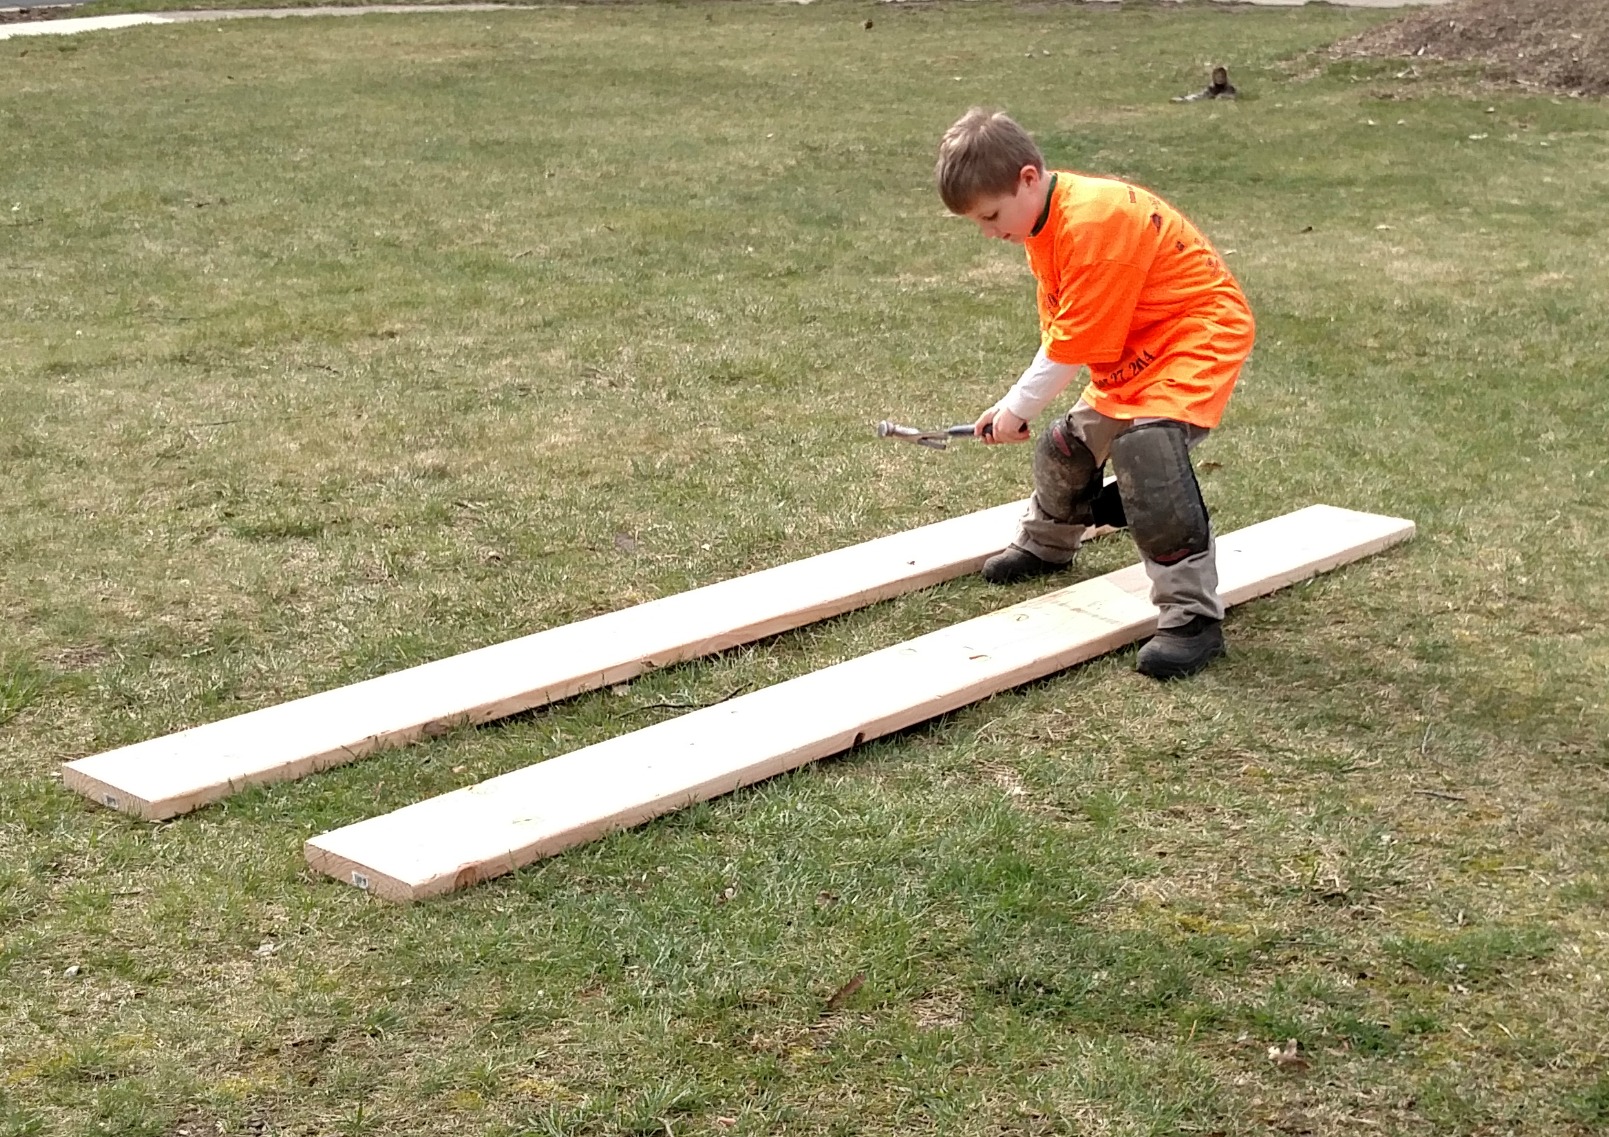
Almost a year ago now, I wanted to make my own barn wood for a table top project. I considered getting fresh 2x10s and leaving them outside to weather for a few months. Of course, I didn’t want to wait that long. So I enlisted the help of my kids.
They thought I was slightly crazy when I told them to bundle up and come outside. Emerging and grumbling from the house, they stood in amazement as I “tossed” 8-foot boards out into the lawn.
Then I handed them a hammer, garden tool, and some large screws.
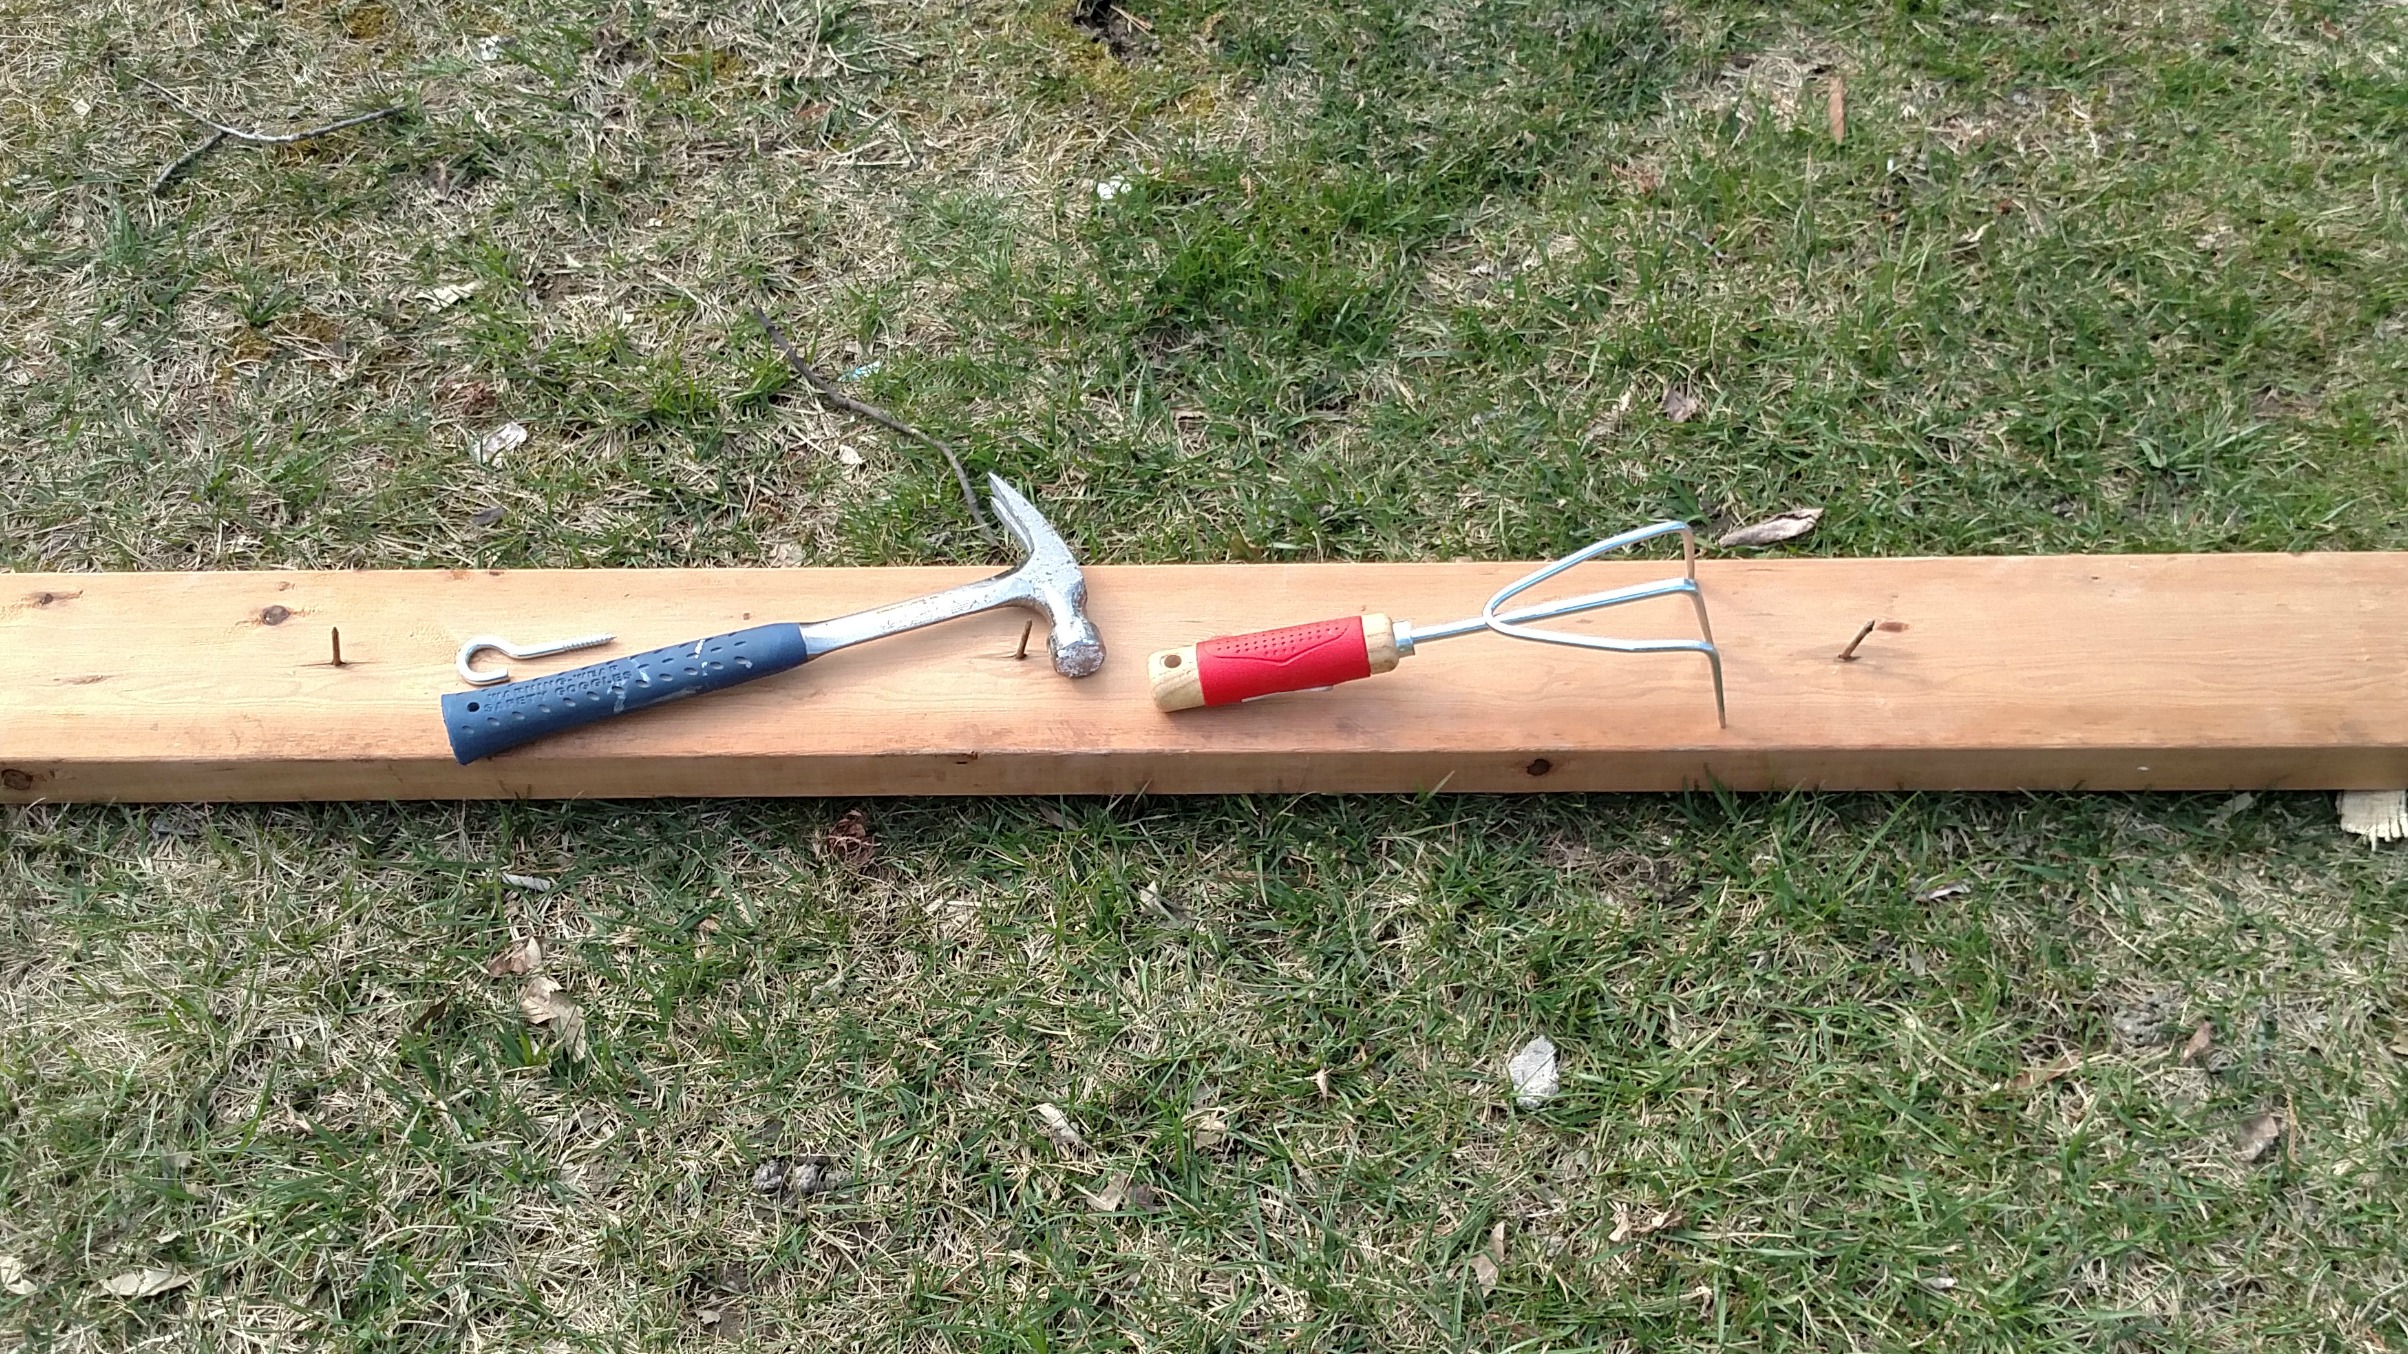
And told them not to cry if they hurt themselves and not to hurt each other.
“Have at it kids!”
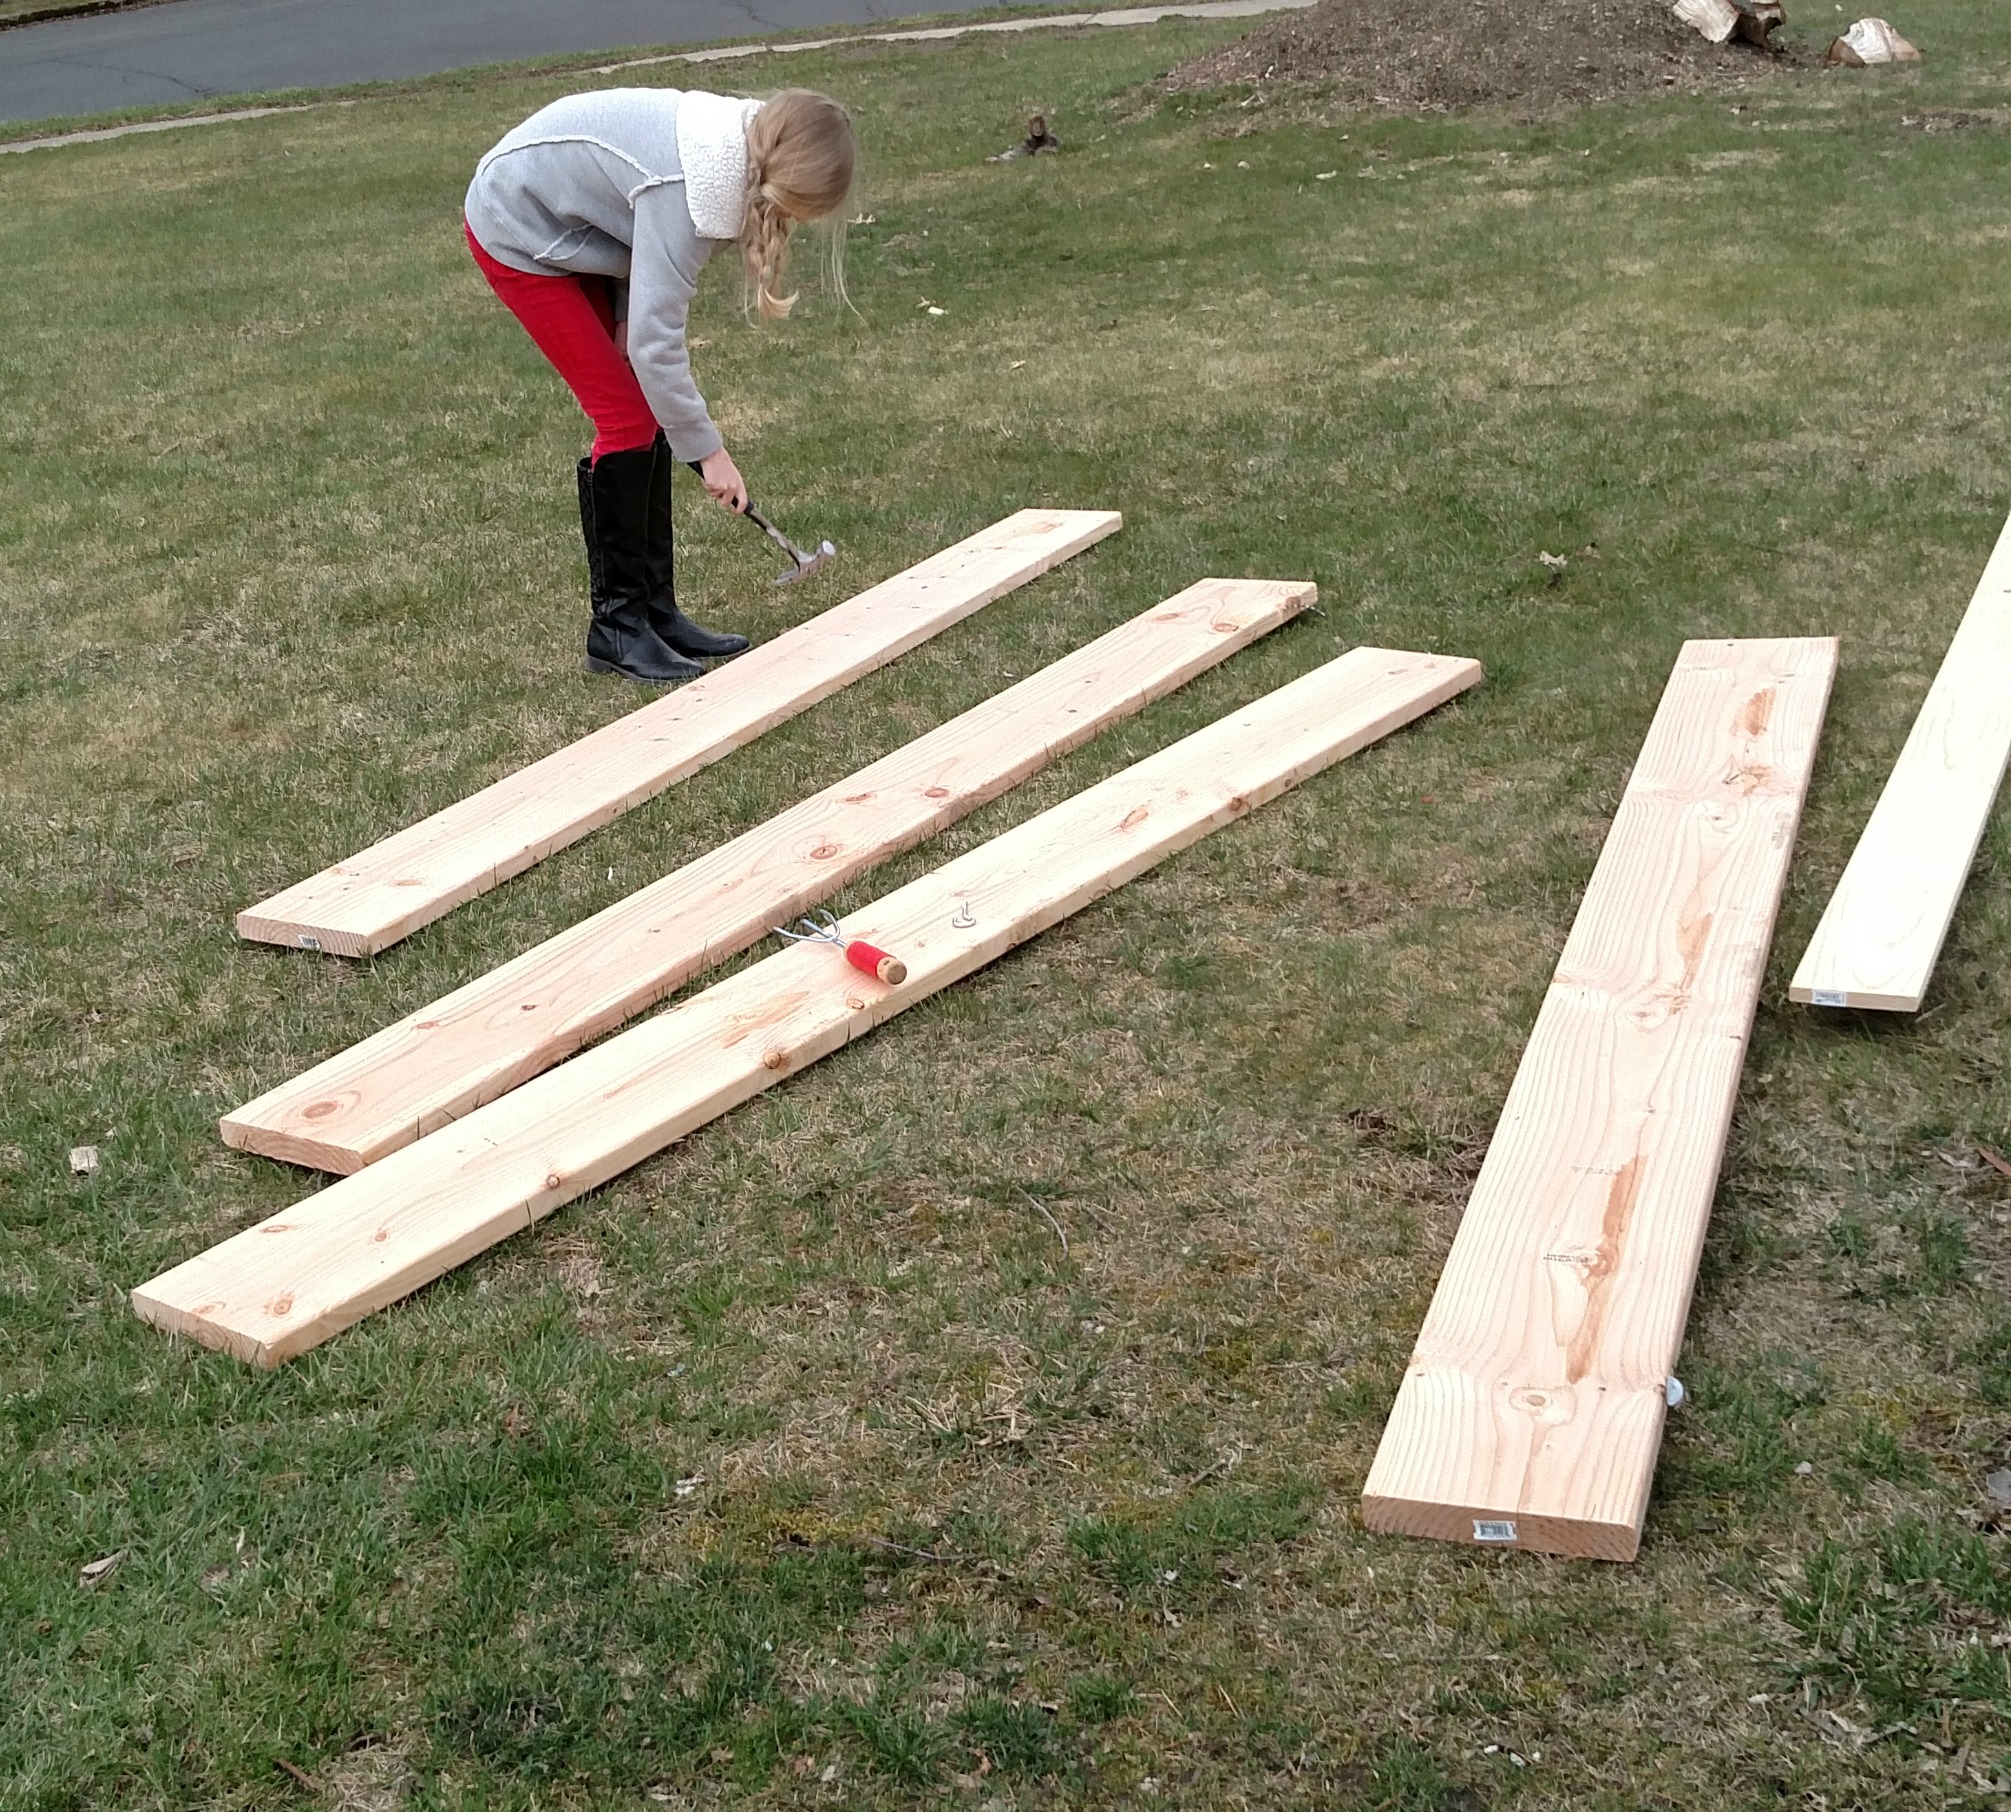
Teenage Angst
Seriously, give a hammer and a board of wood to an angry teenage girl. Then stand back. About halfway through, she broke one of the boards. And became hysterical with laughter.

We have made a few barn wood projects now. It’s much cheaper than therapy!

Once Beaten
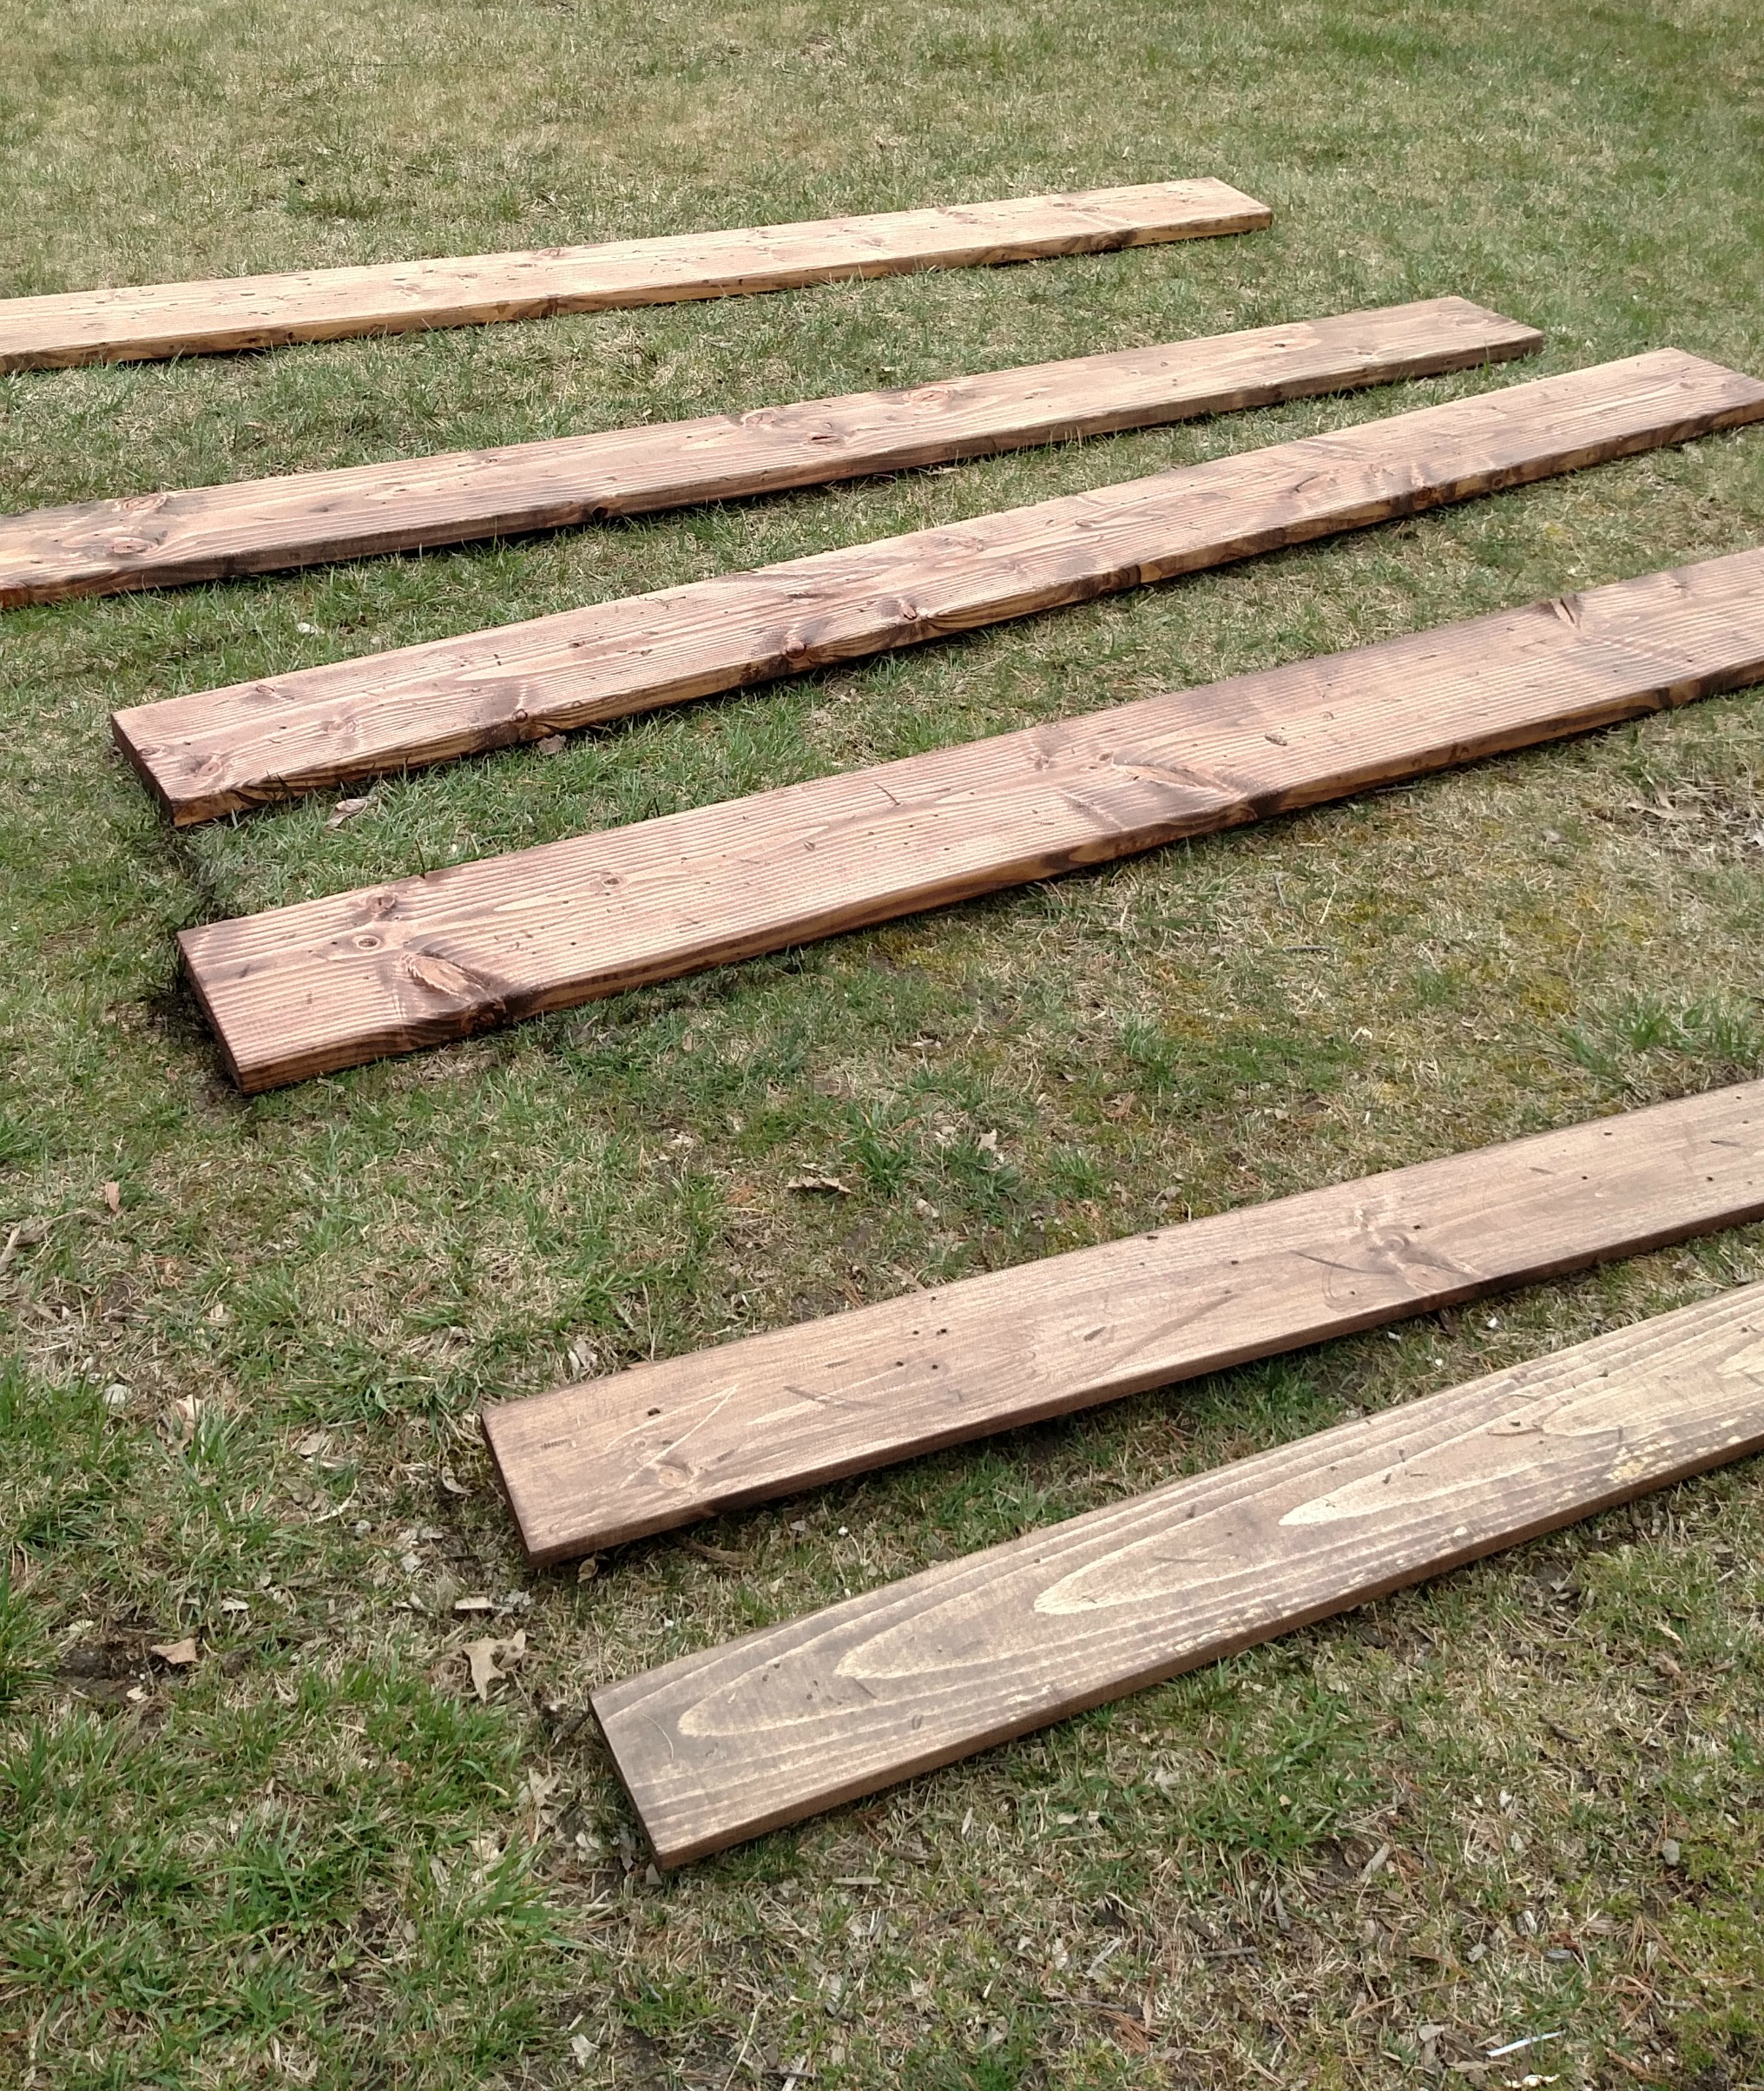
O-Man became my apprentice. He loves to stain wood and we work well together. O paints on the stain and I wipe away the excess. We stained both sides and all the edges. I wasn’t sure what would be visible so I just had him keep going until we were out of raw wood.
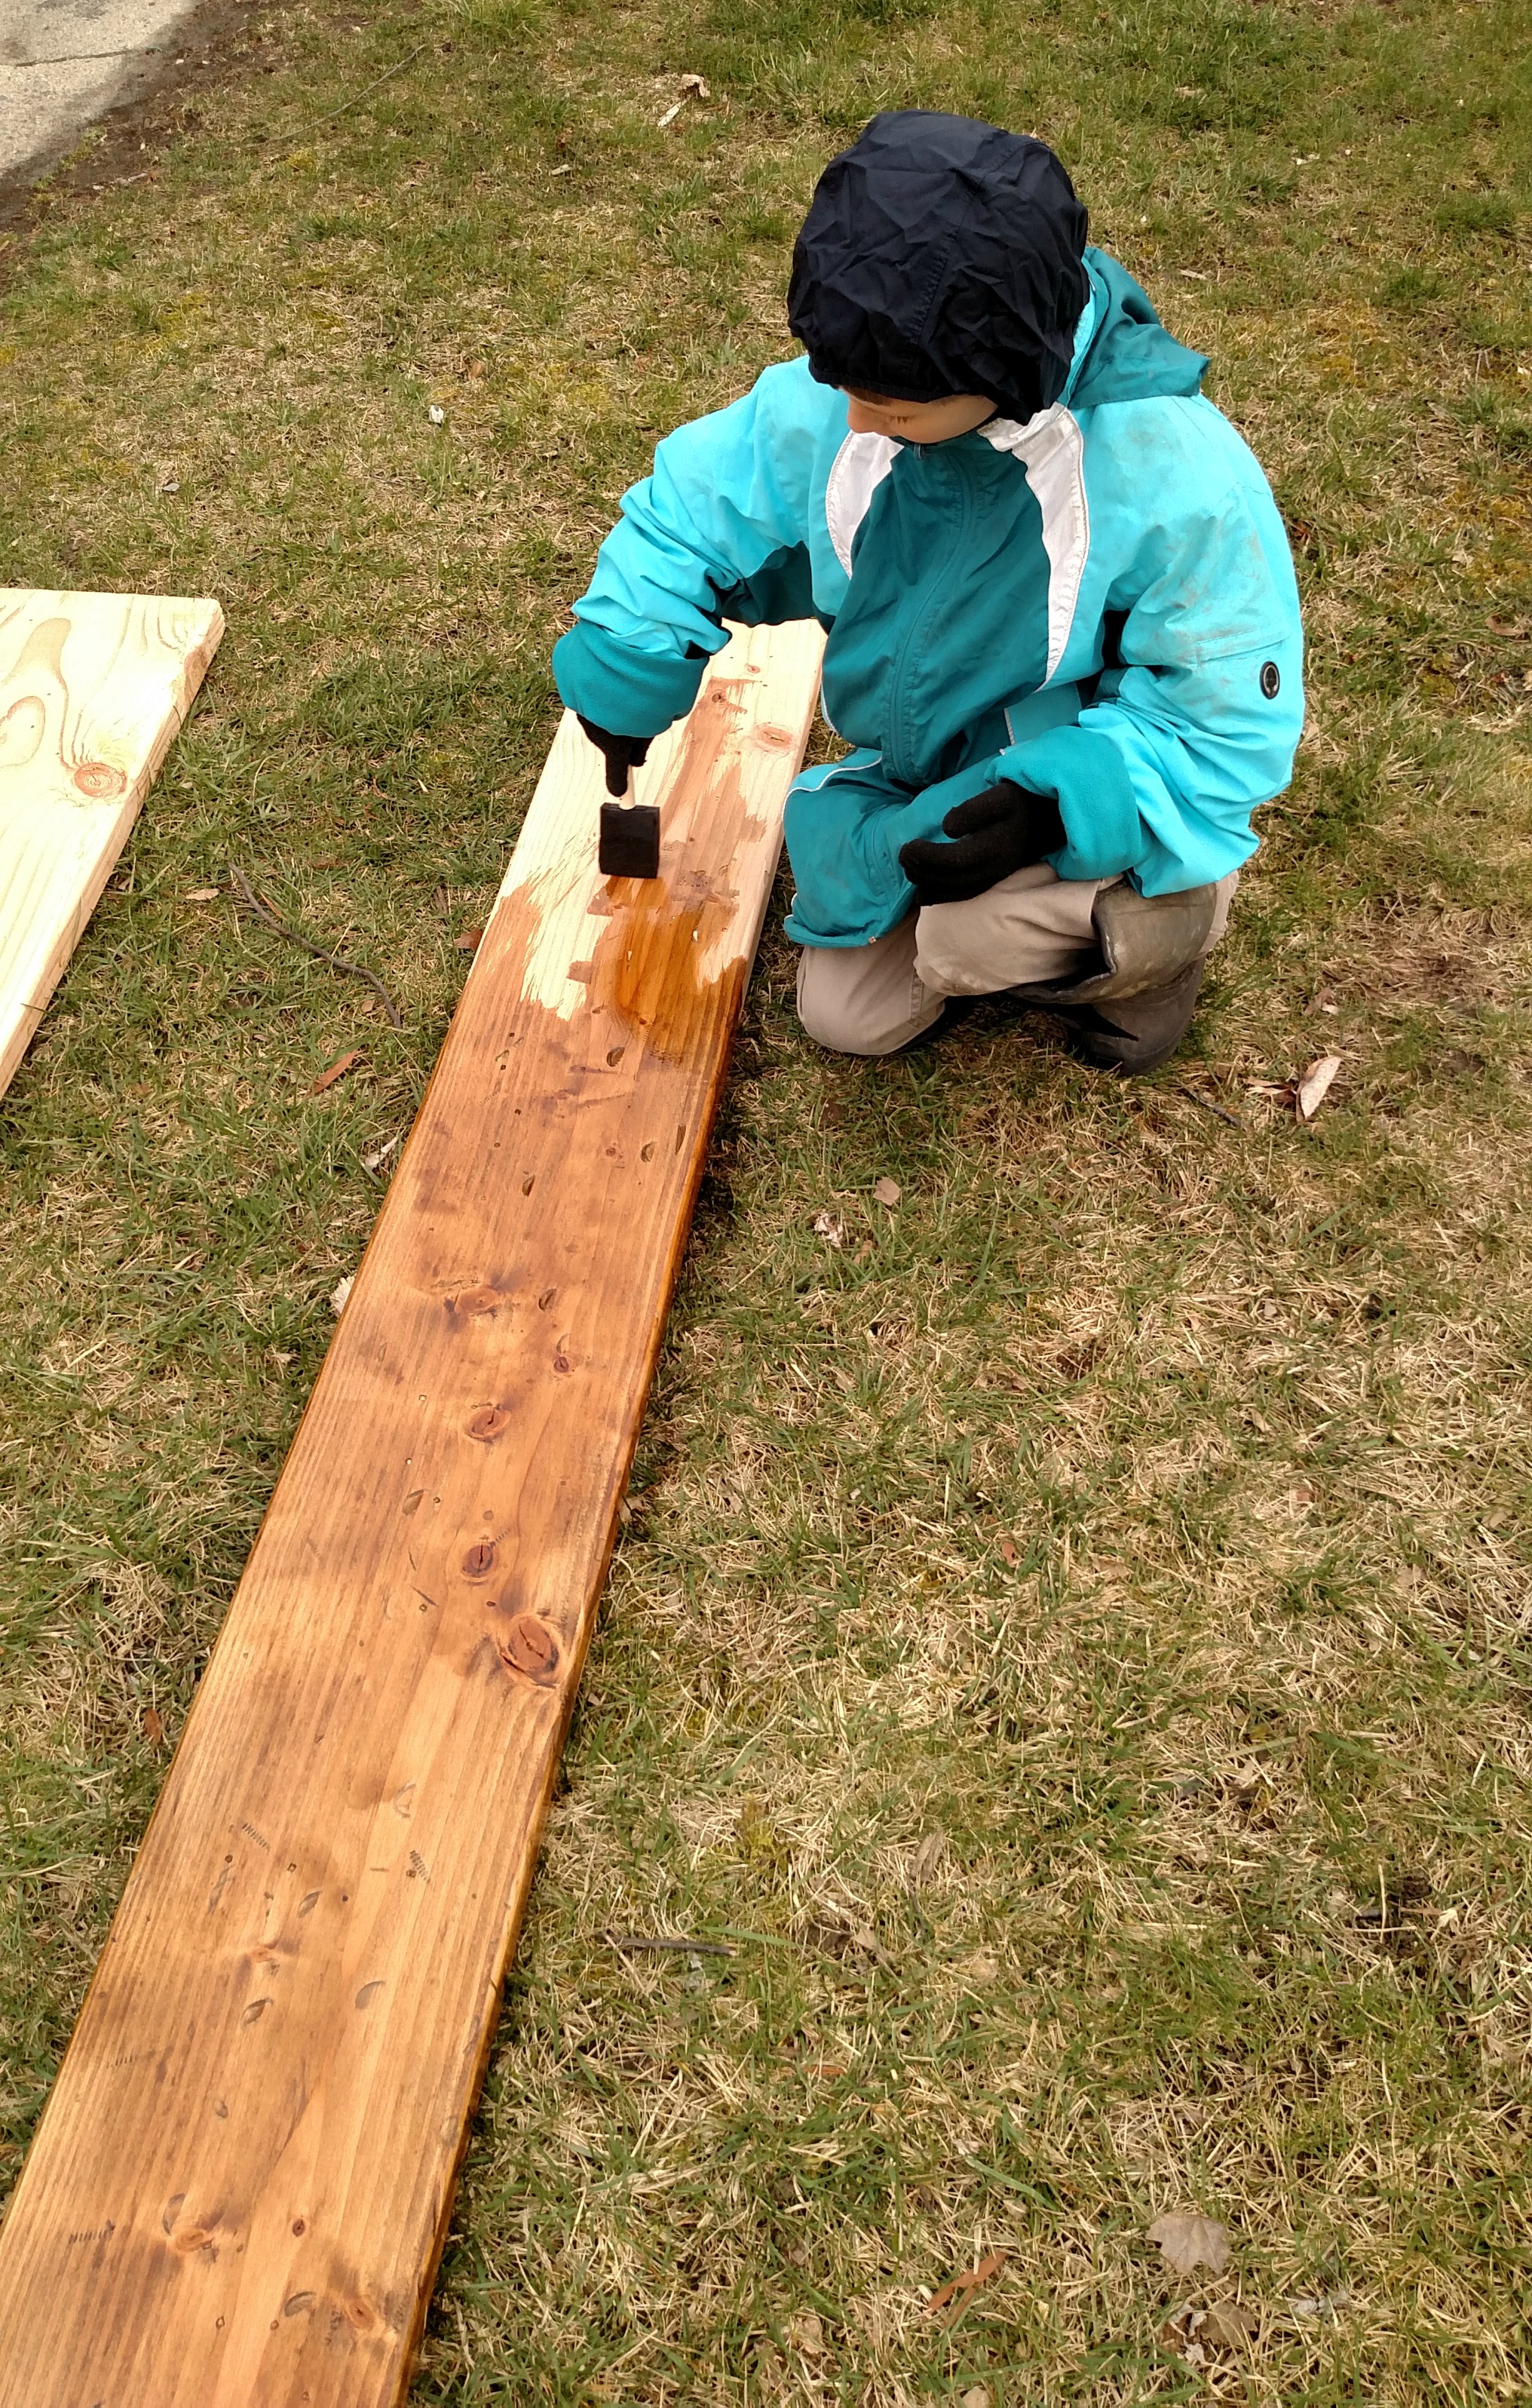
After it dried, we repeated the process. Special Walnut stain is a pretty dark to begin with, but I wanted it even darker.
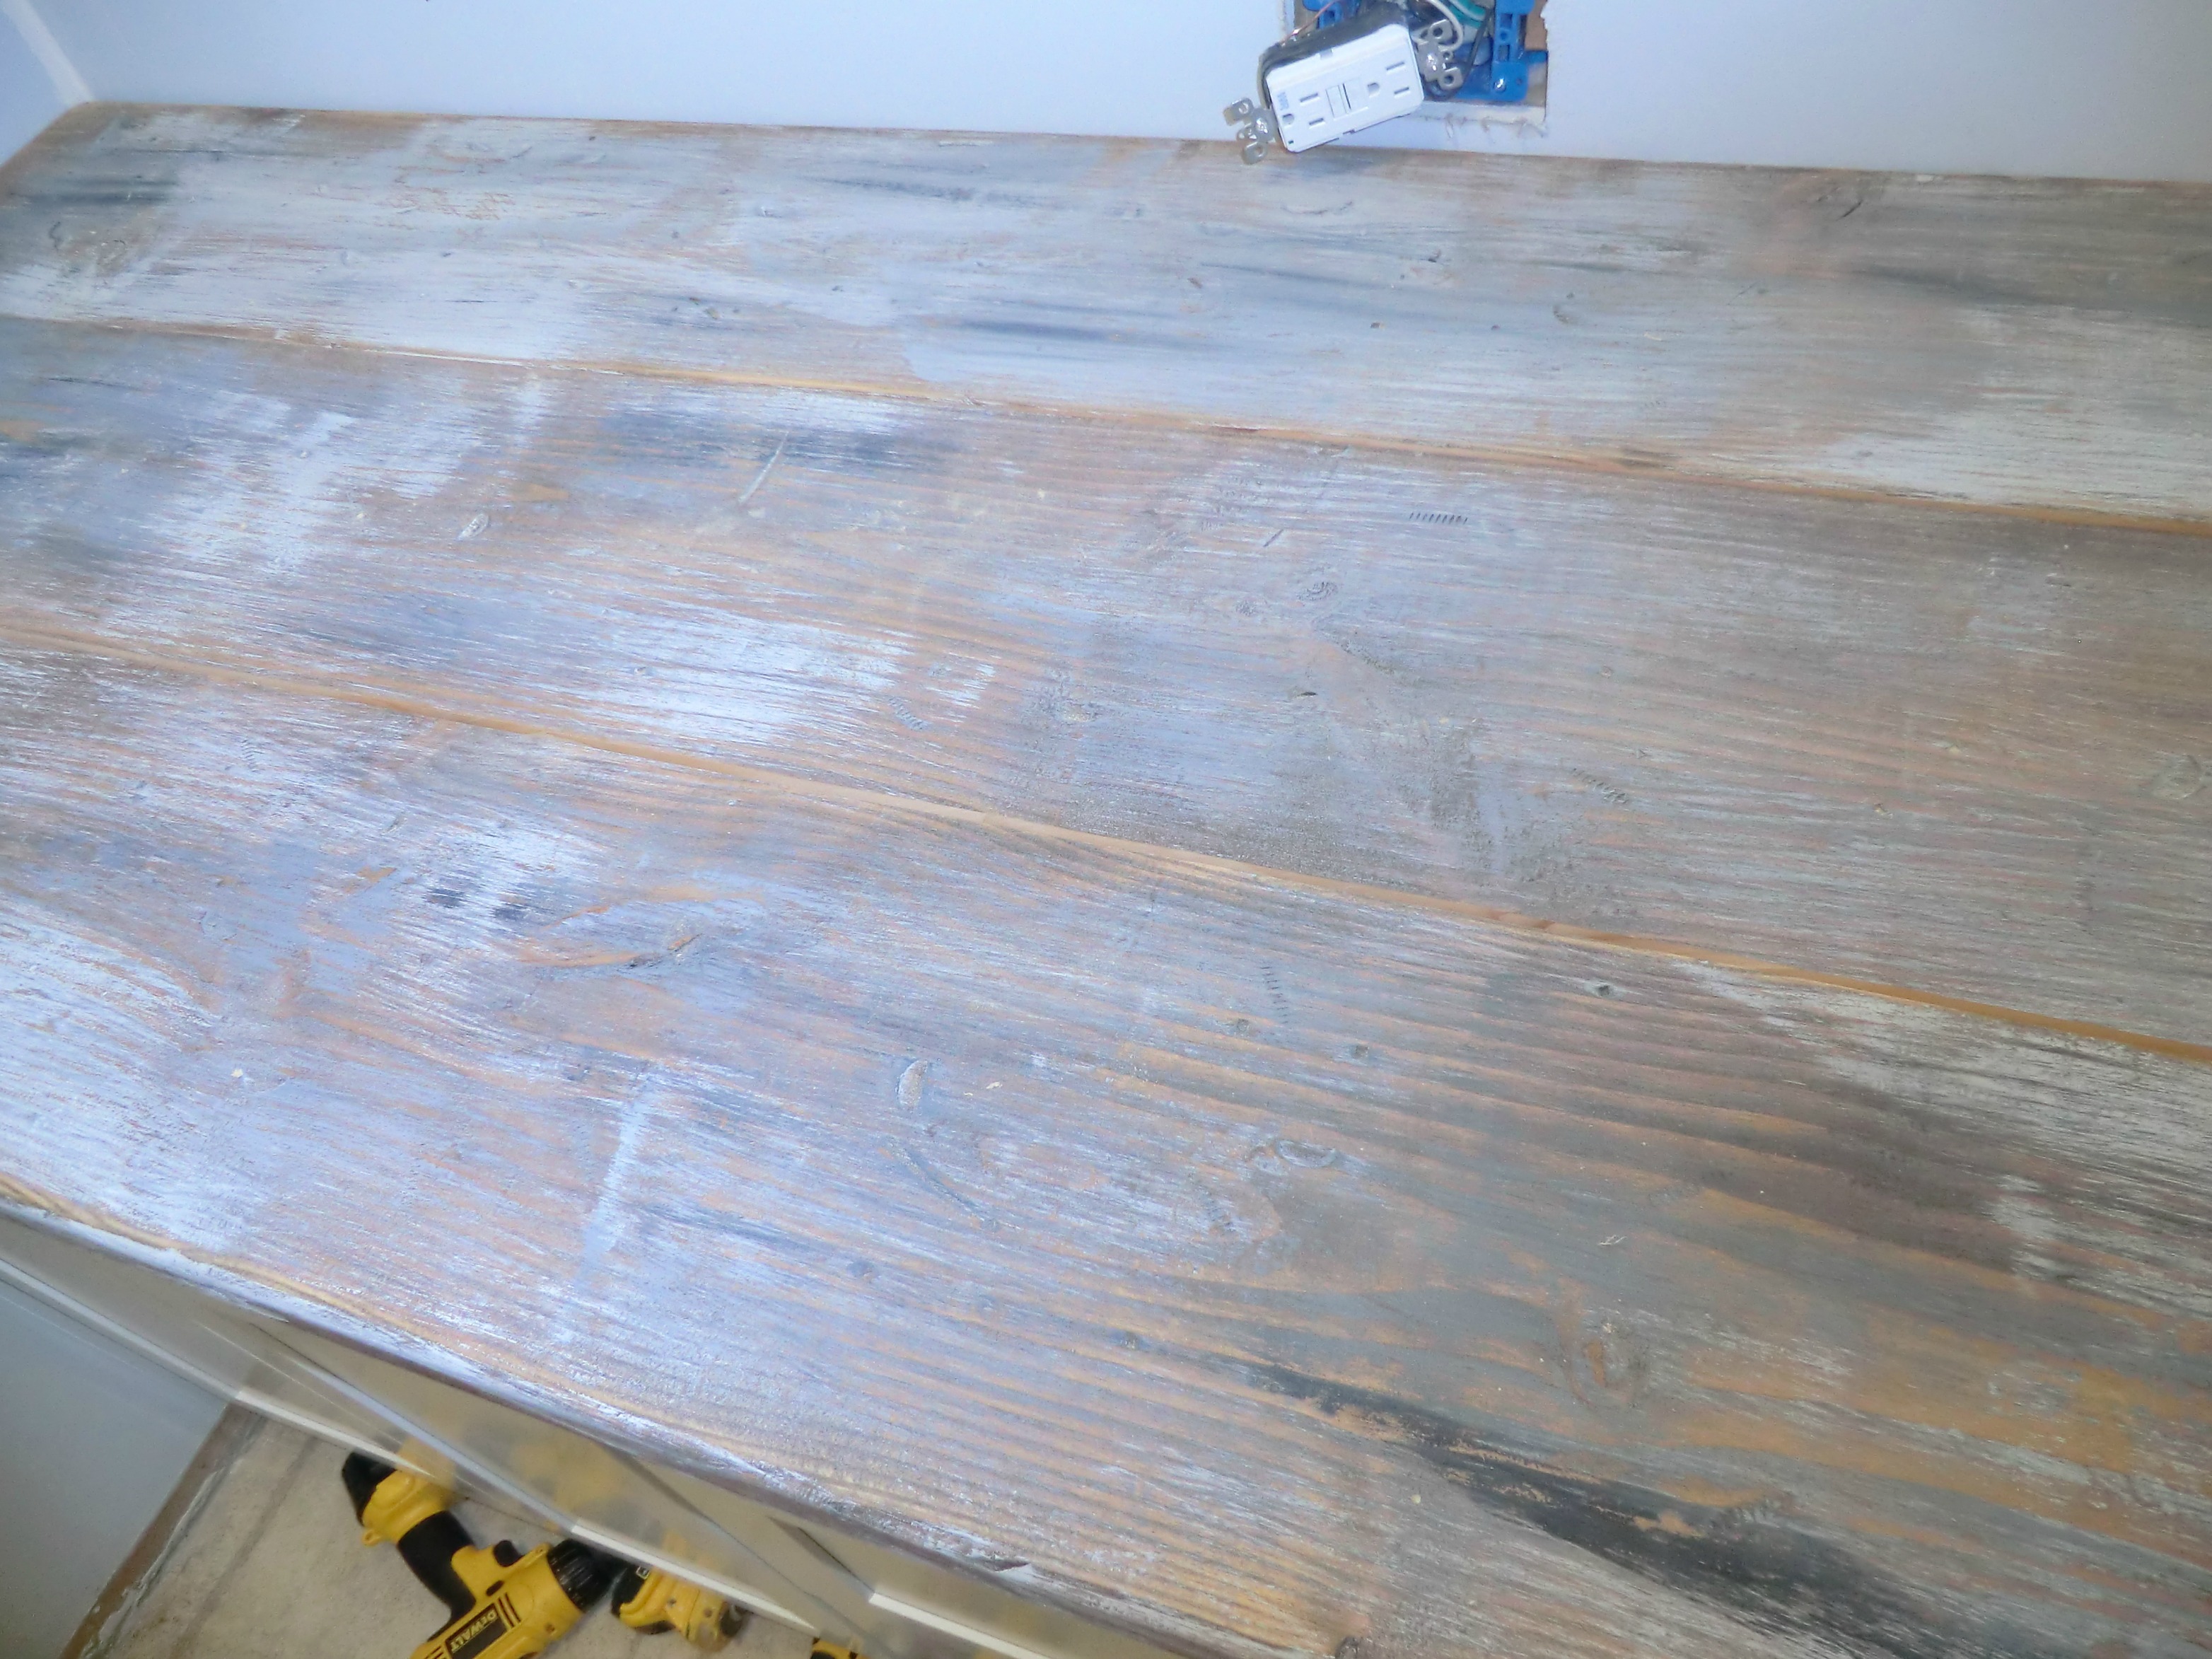
Dry Brush
Once the wood was dry and the shade I wanted, I opened a few different cans of paint. My main house color is a pale gray and I had a few other leftovers from other rooms. Plus some white and black acrylic paint.
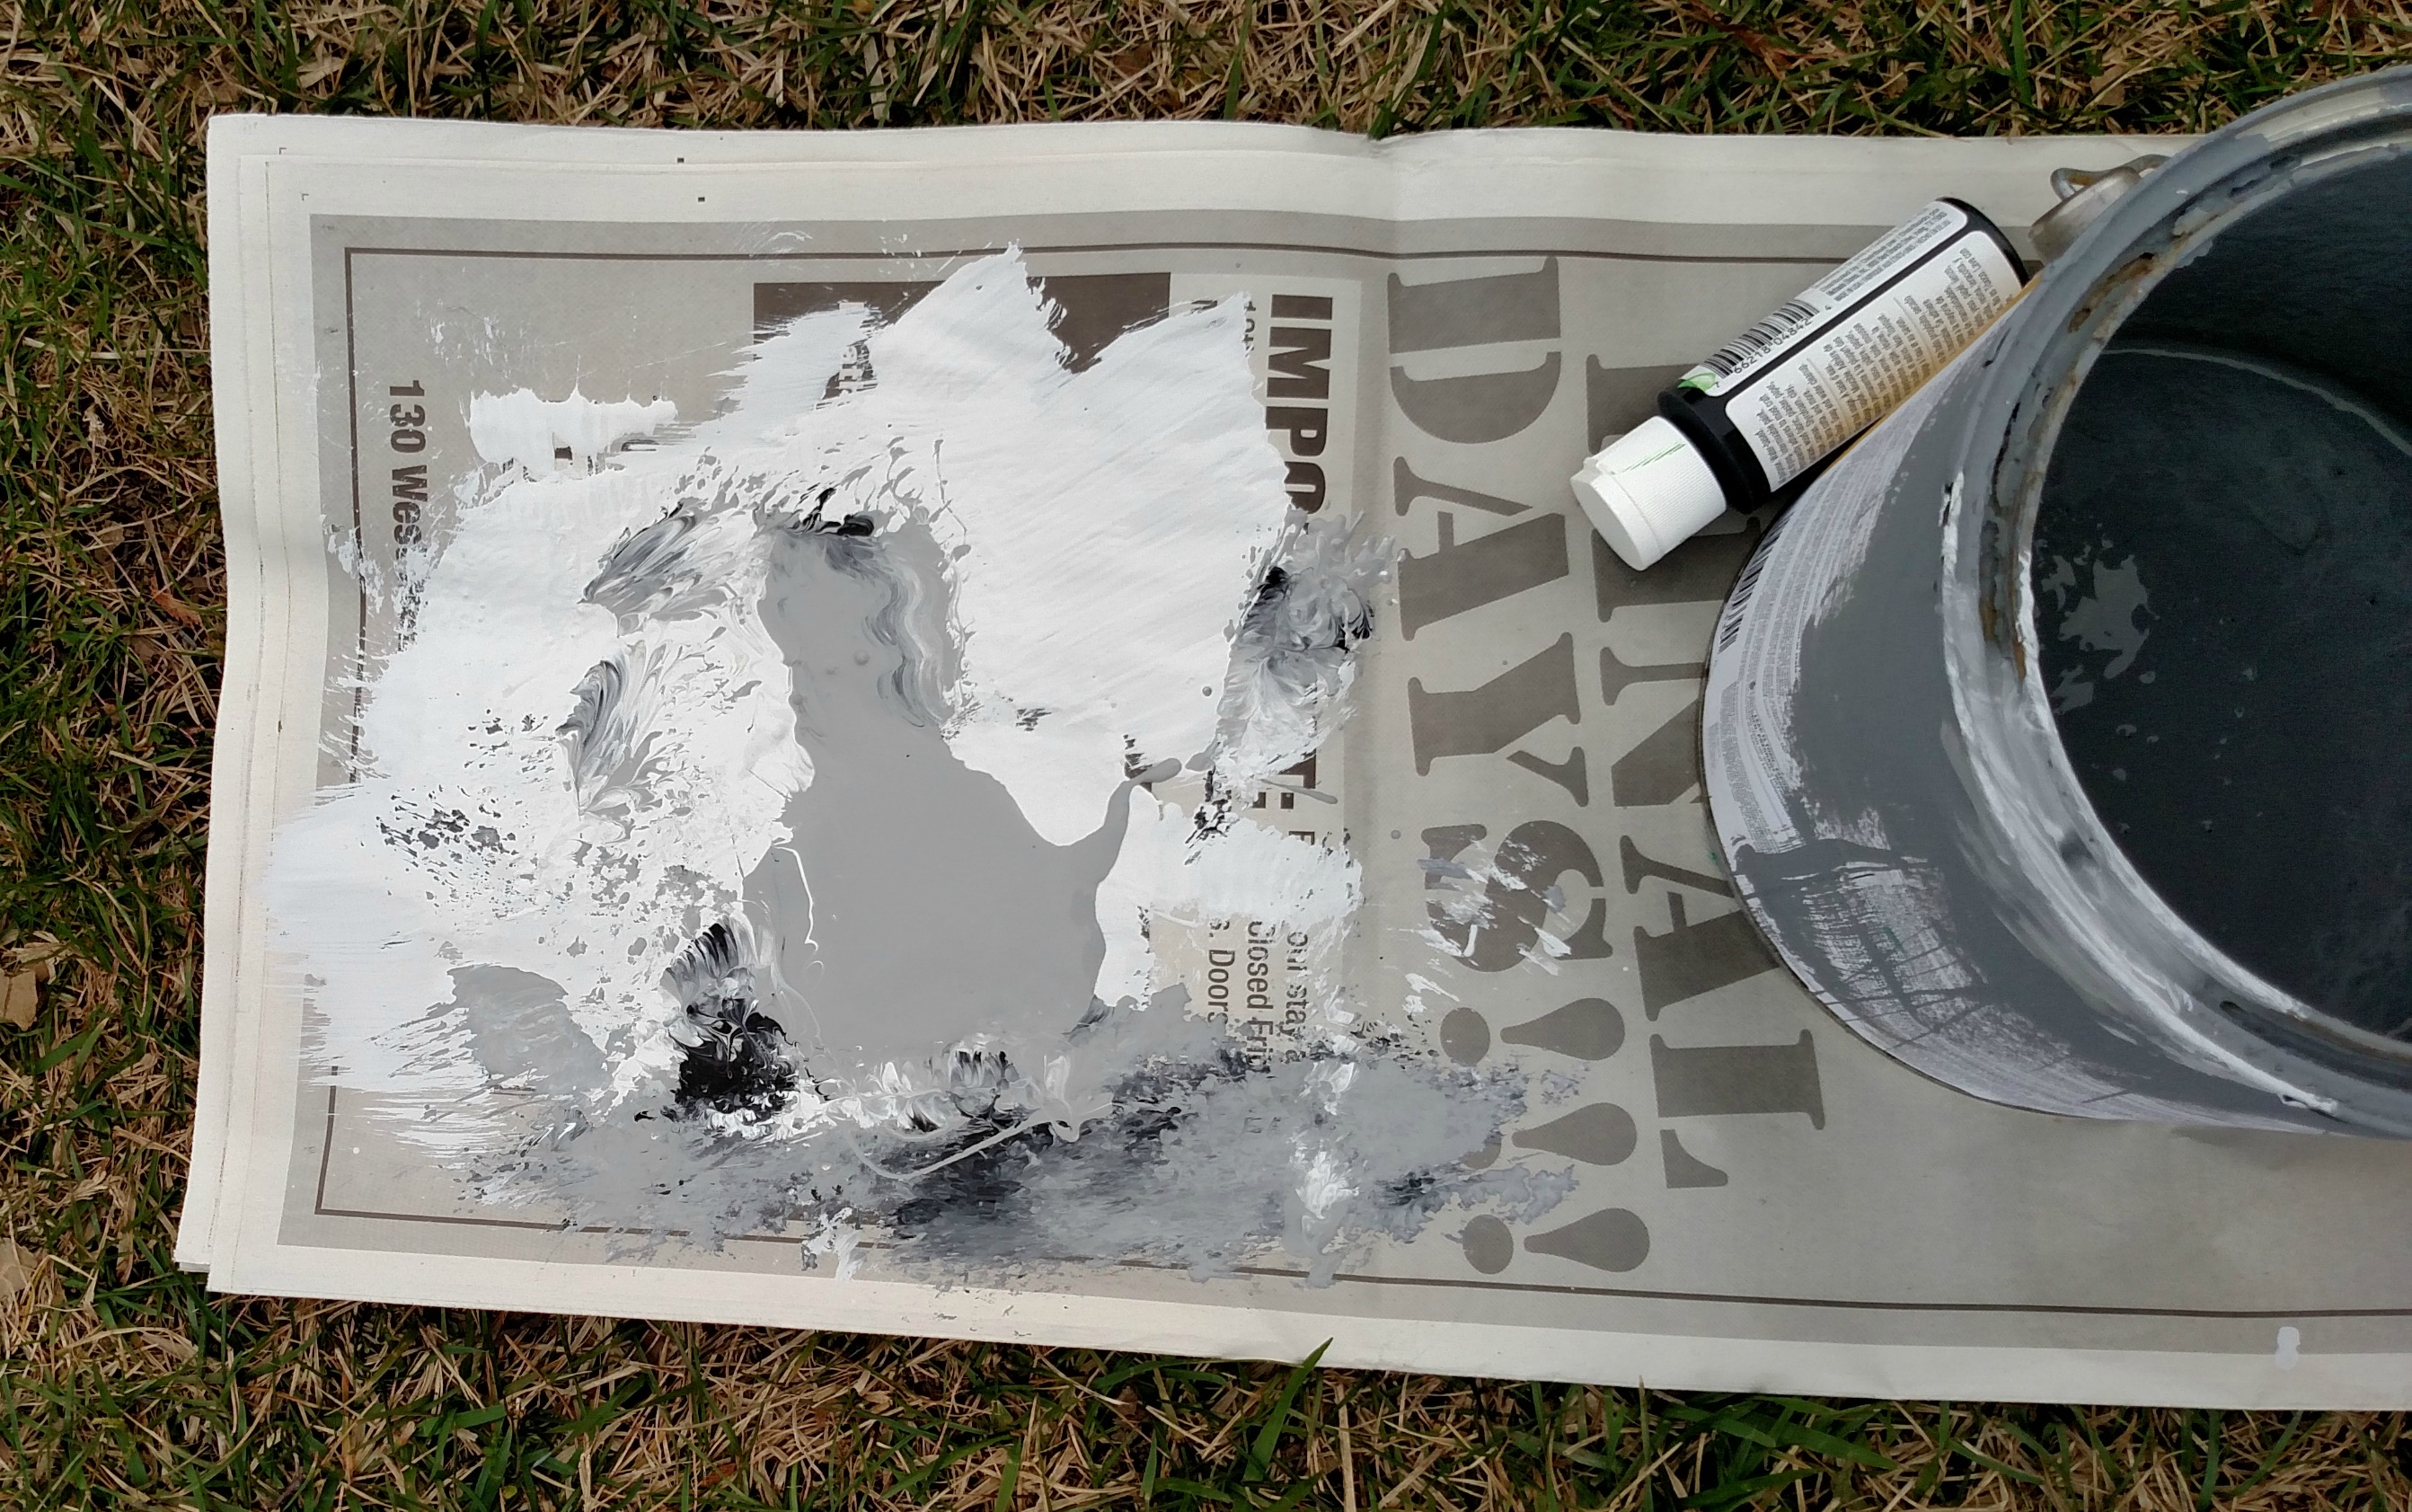
Using a large brush, about 4 inches, I dipped different parts into different colors of paint. Before moving to the wood, I brushed some off on a piece of newspaper.
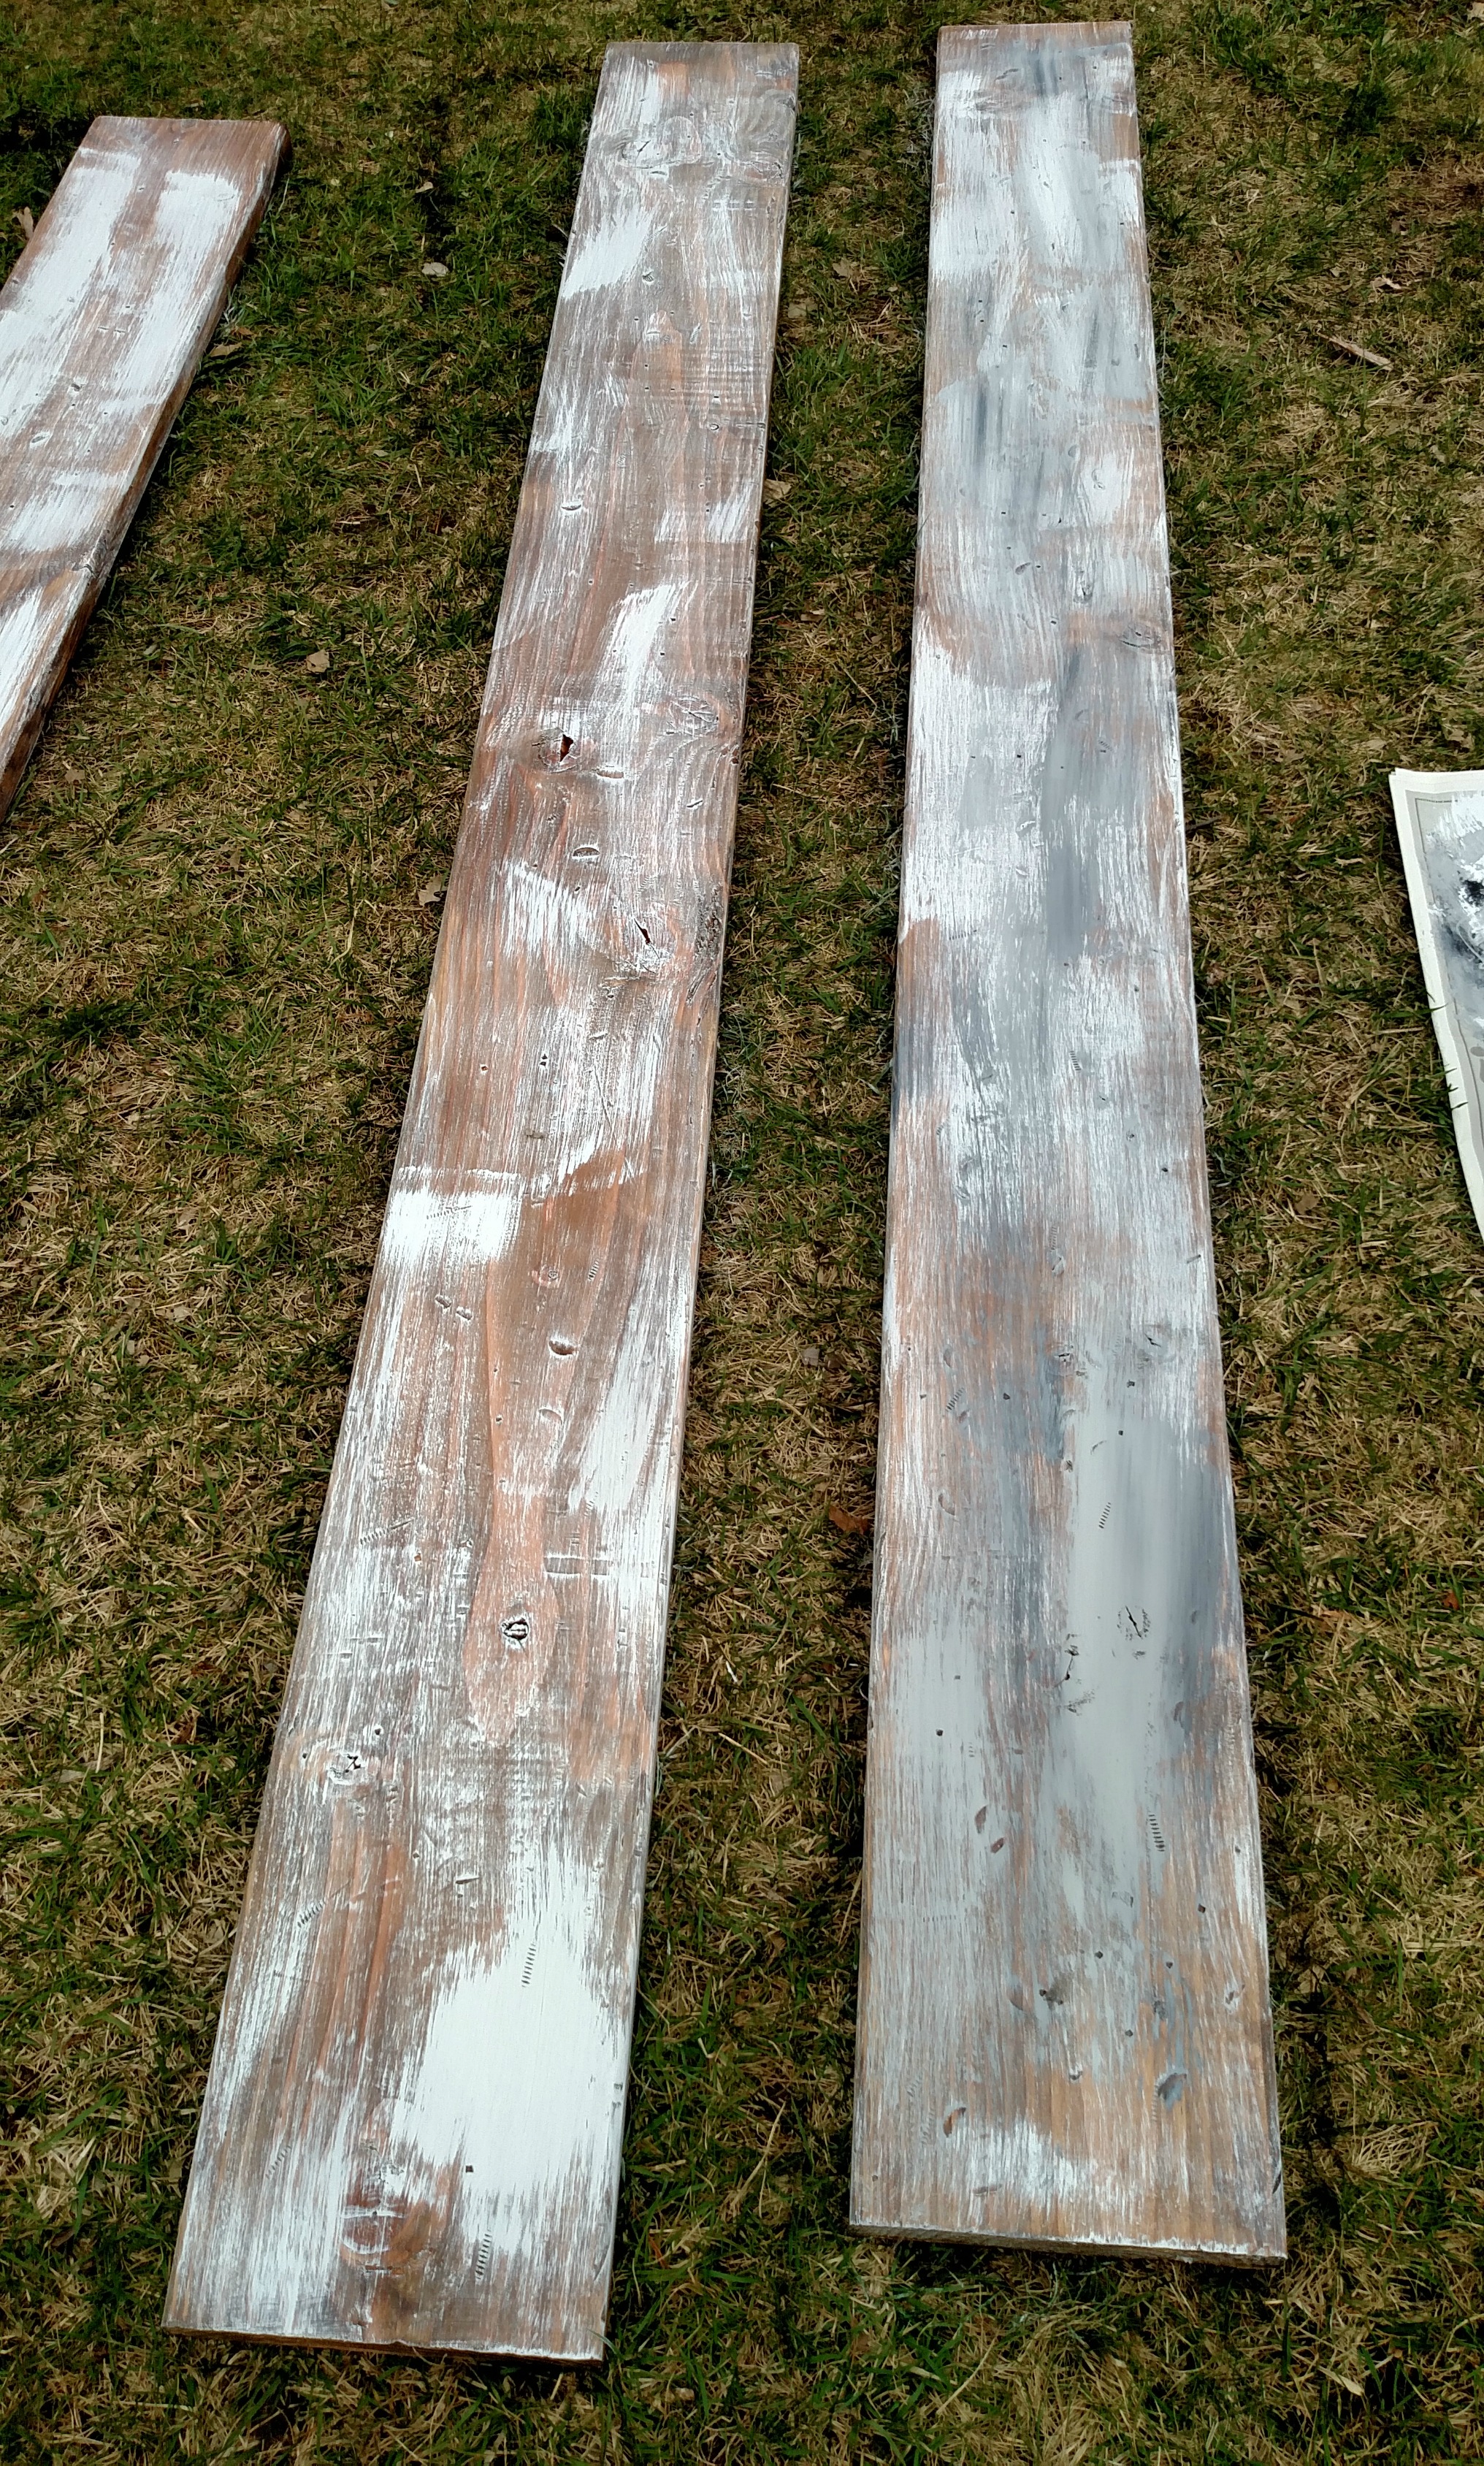
Working in the direction of the grain, I brushed different shades anywhere I wanted.
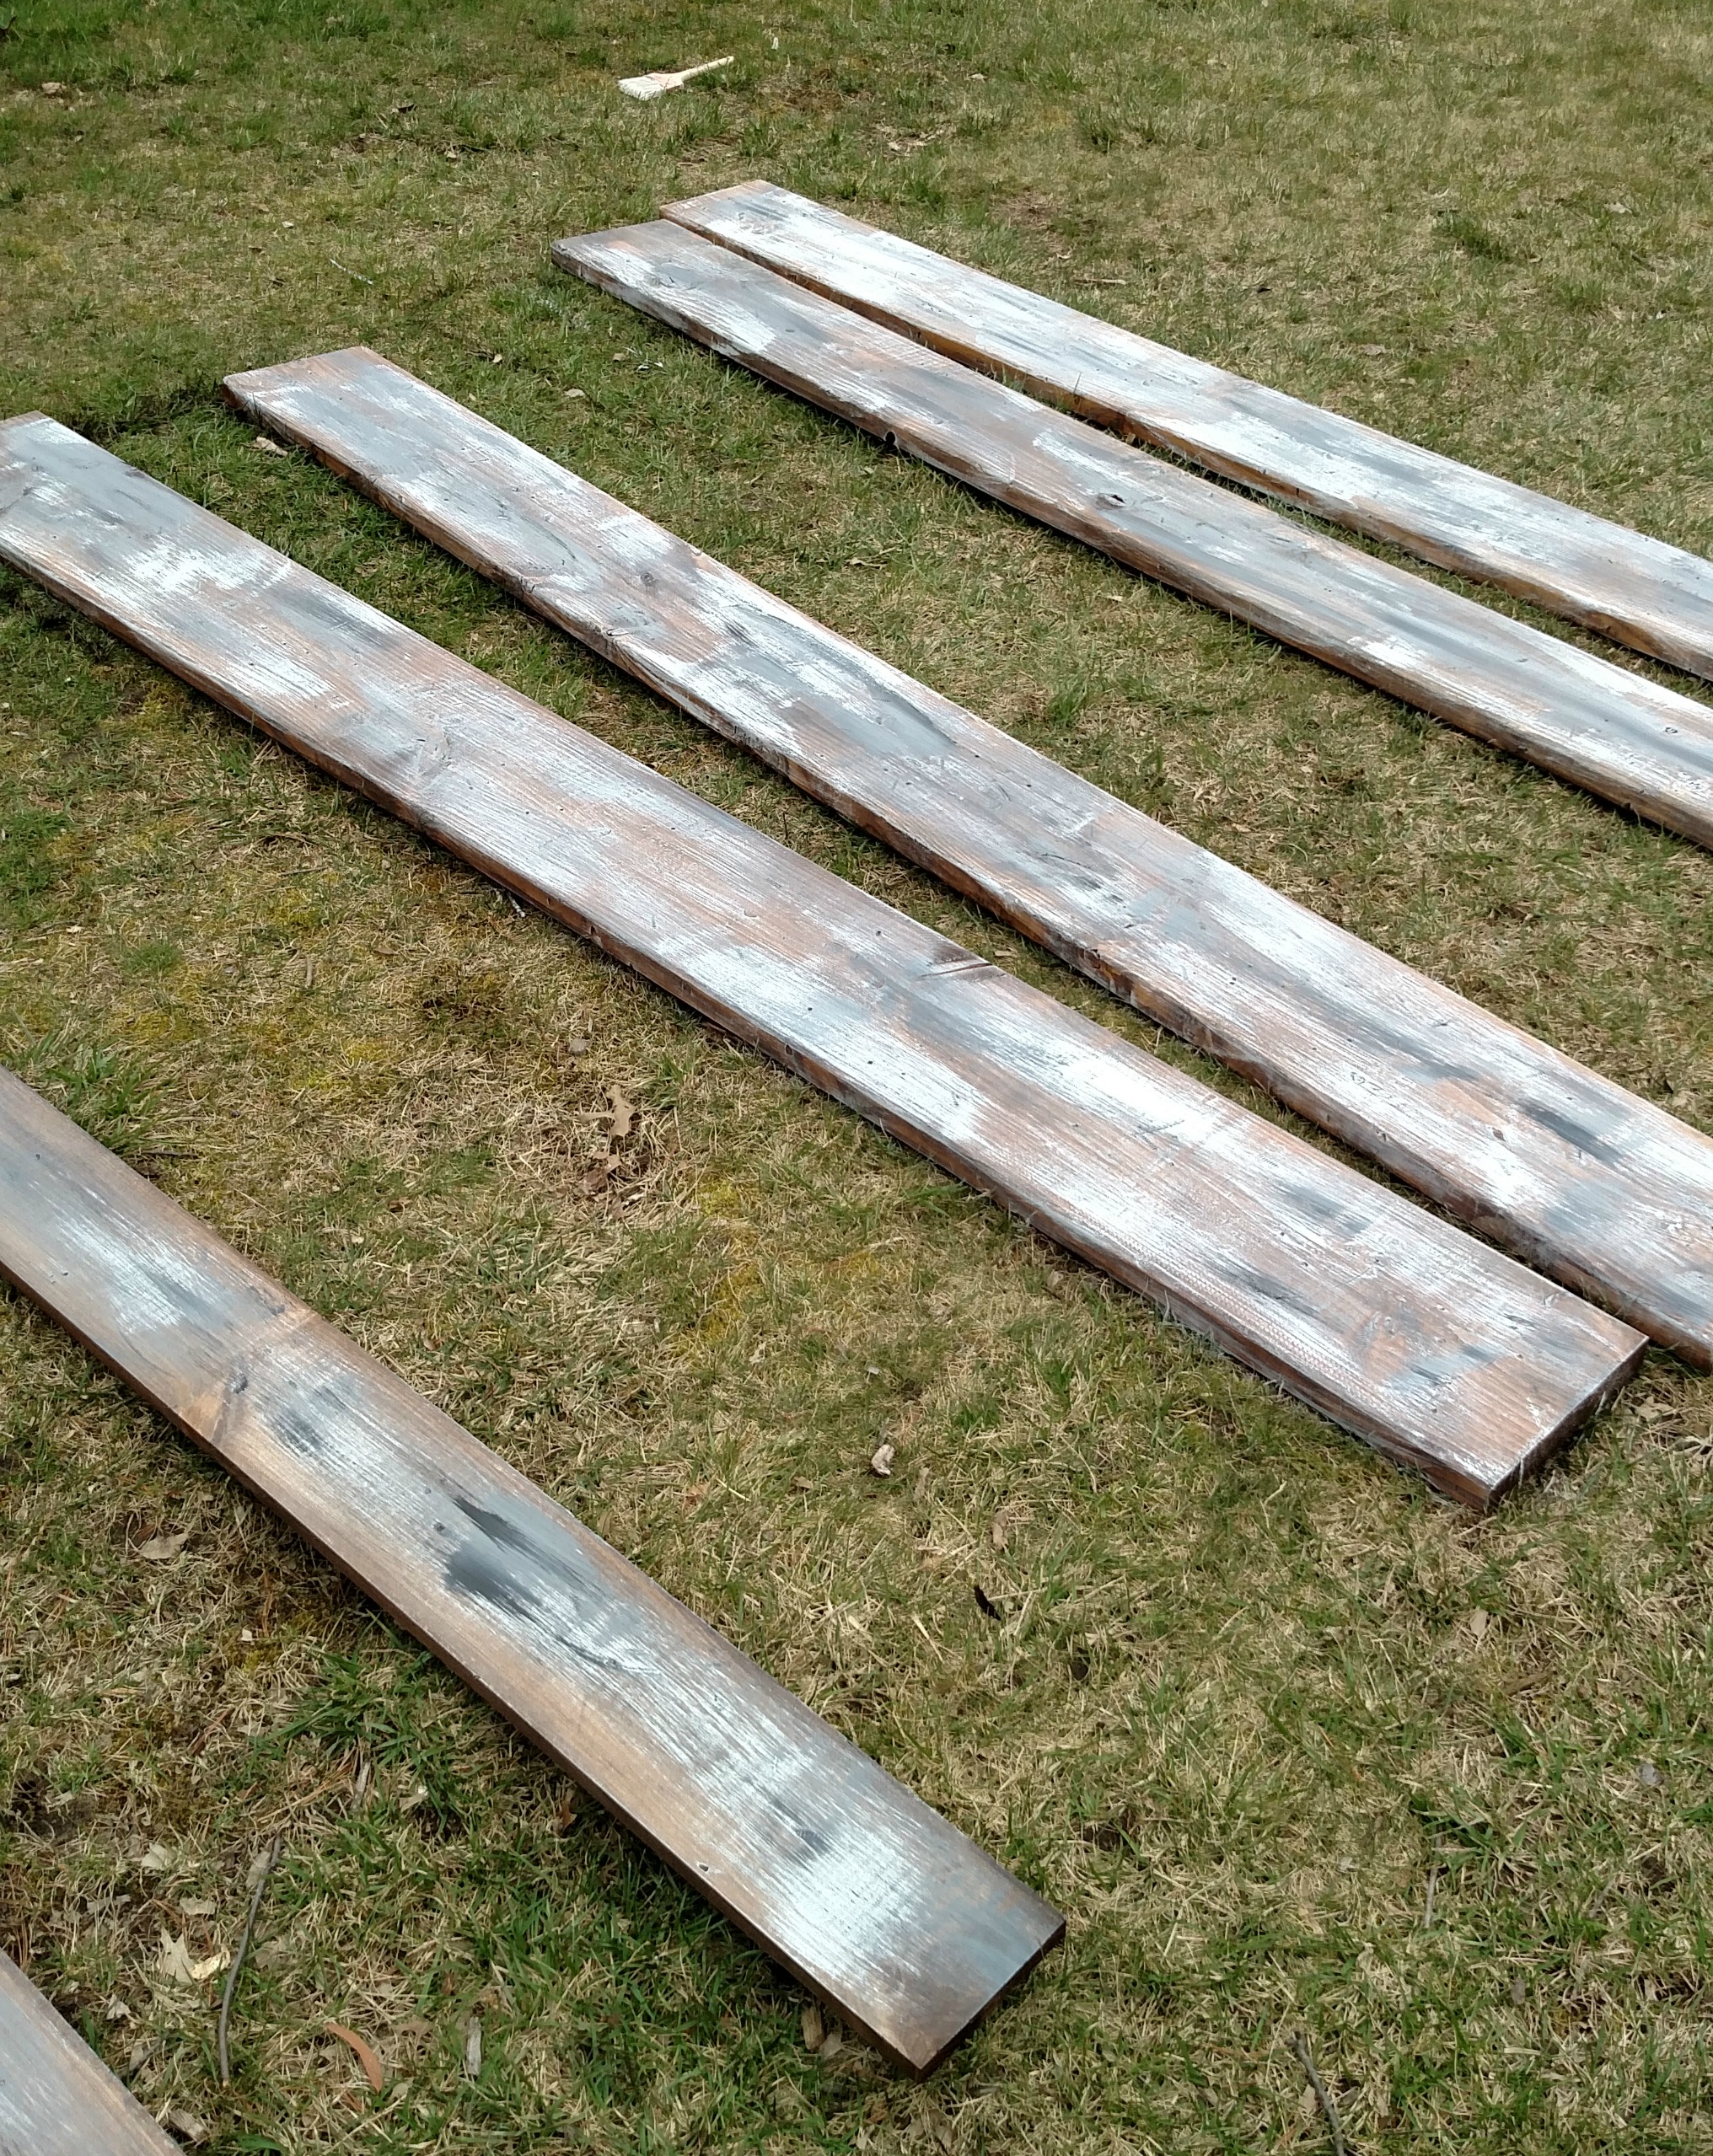
After letting the paint dry, I sanded. Anything that had too much paint. Using a palm sander and working in the direction of the grain, I sanded edges in particular. A “worn down over the years” look was my goal. Pressing the sander down more to one side, or even almost on the edge, helped to distress the wood. Uniform and even is NOT the goal but the exact opposite.
If I thought a spot needed more, I just added more paint and repeated the process.
Then Came The Fail
The larger boards were supposed to be my new table top. We had a hand me down table for many years. The legs were a style I could work with. The tiled top, however, wasn’t.
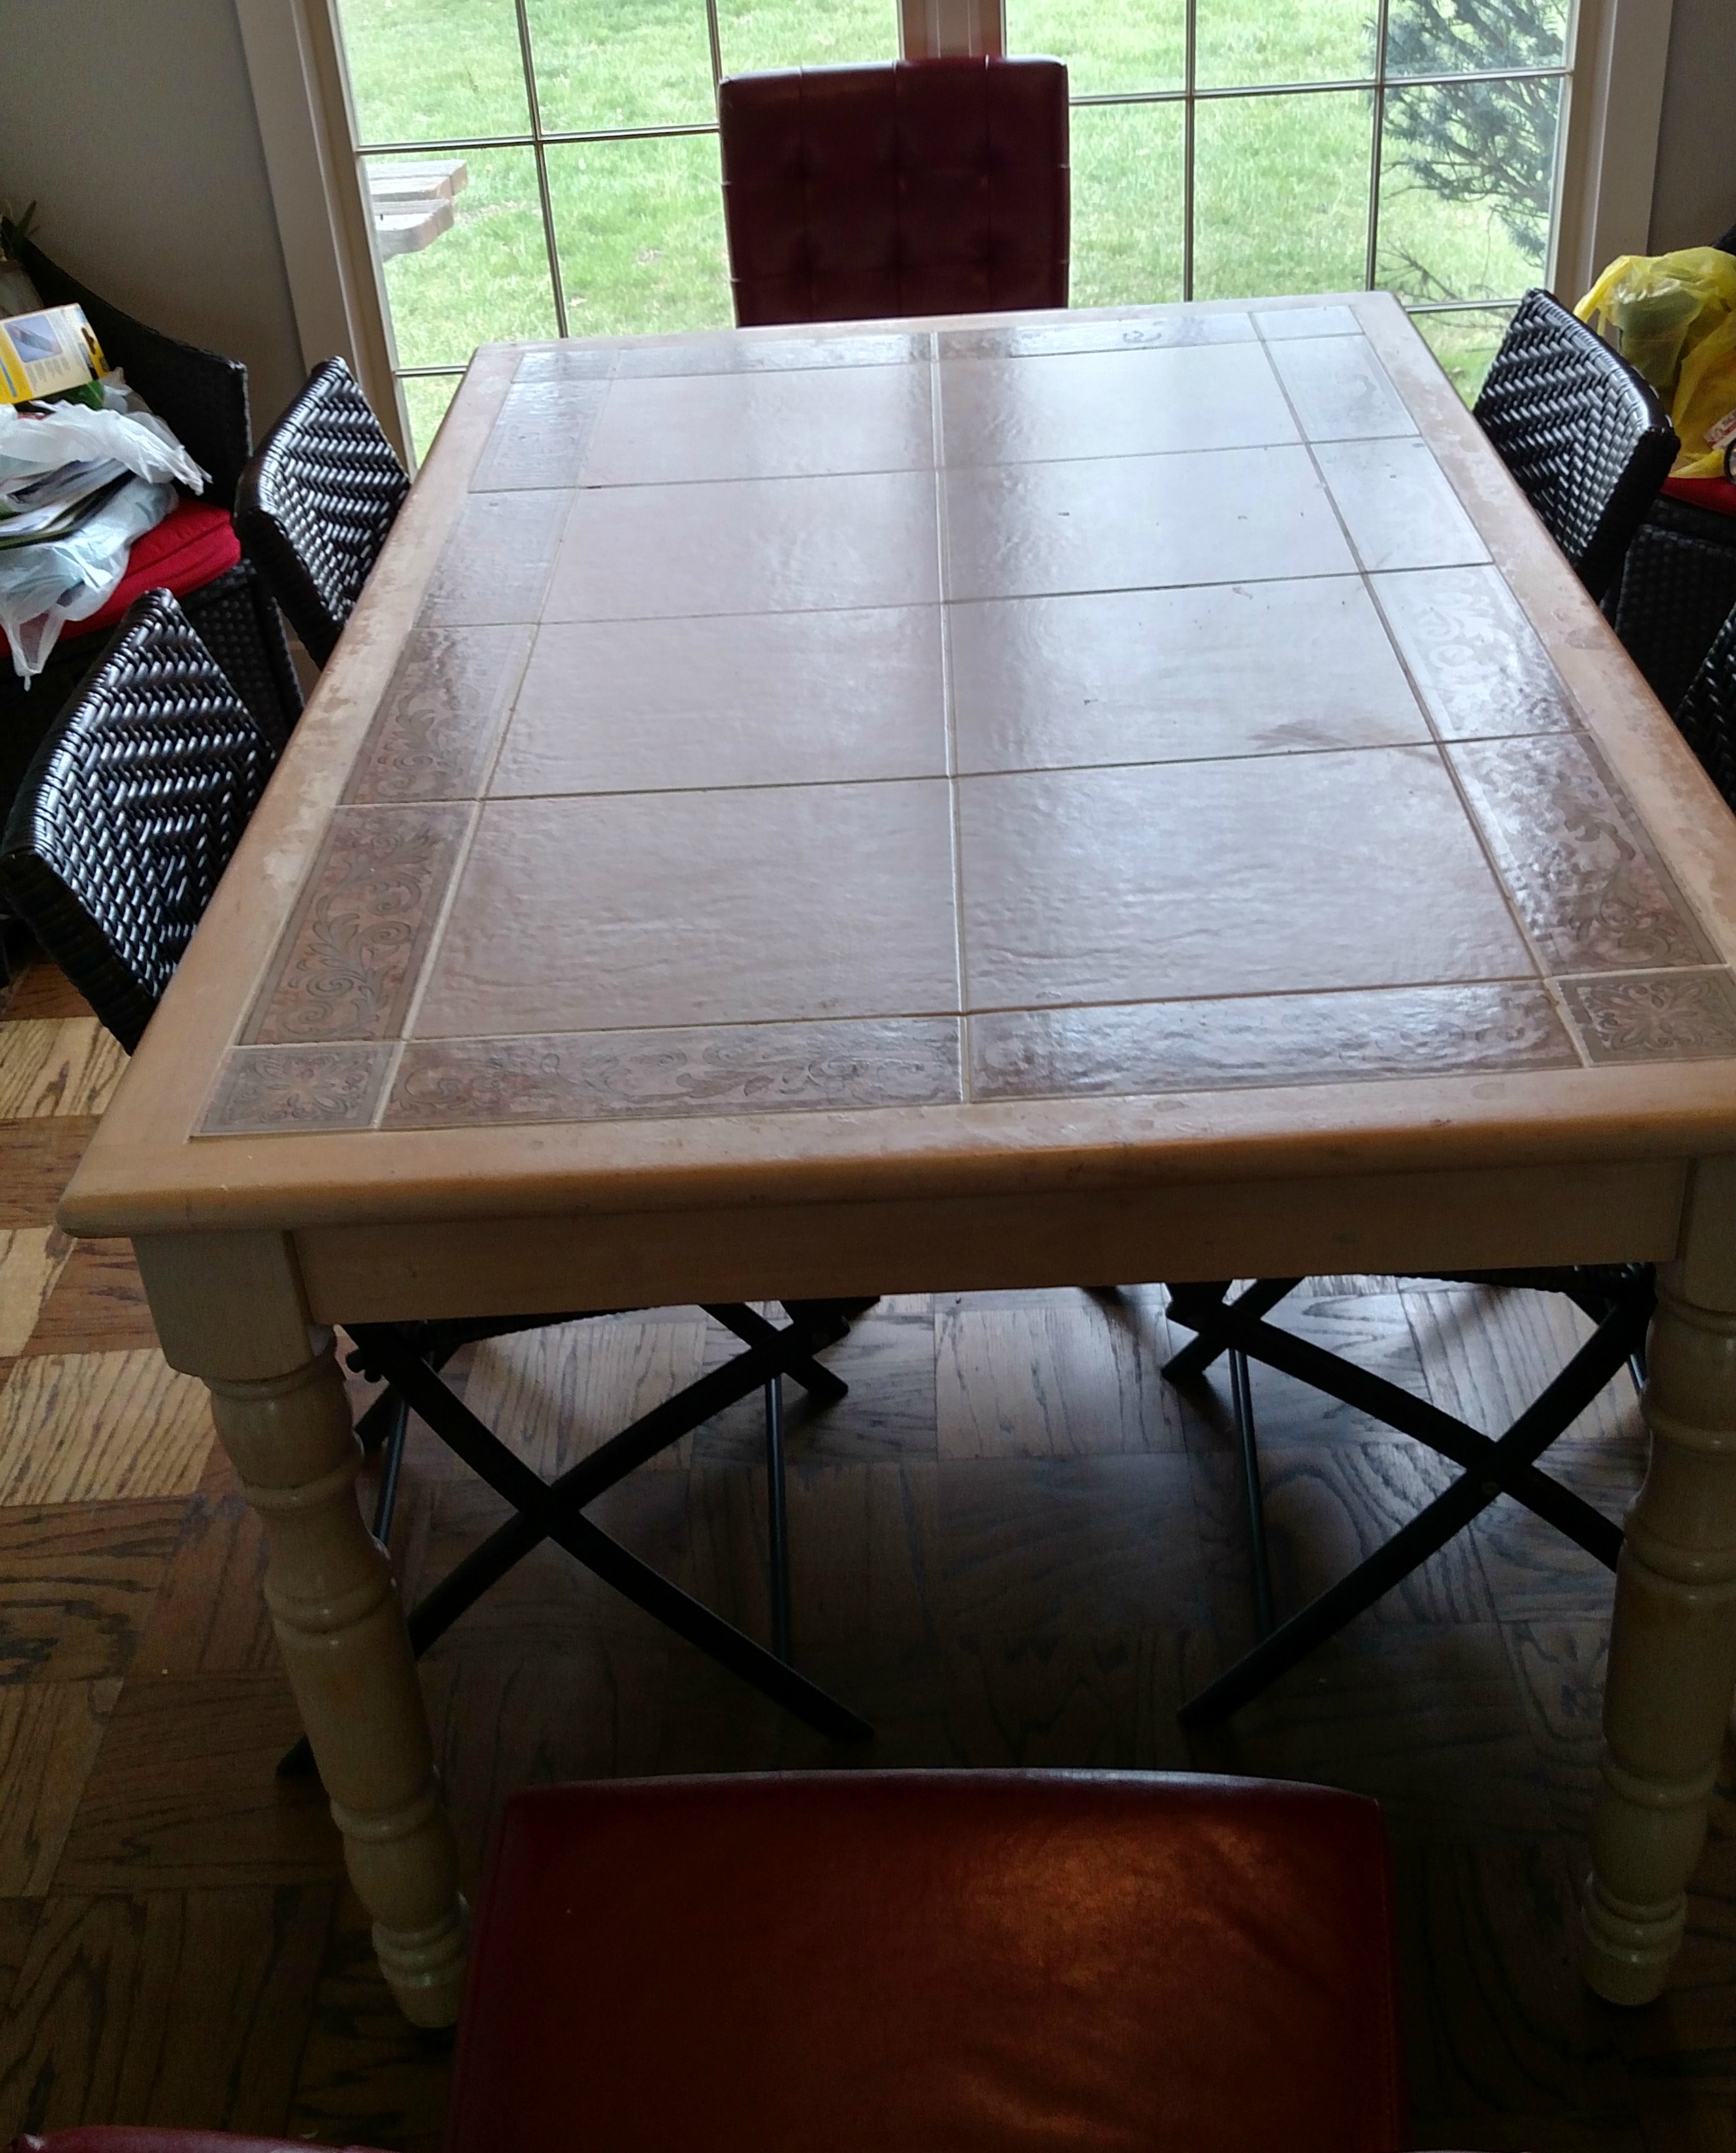
Once removing the old top, we started to put the new boards on. In my excitement, I drilled through in the wrong area. Then while trying to accommodate for the error, we split the side of the table apron.
We bought a new table that week.
The boards went into storage.
Until
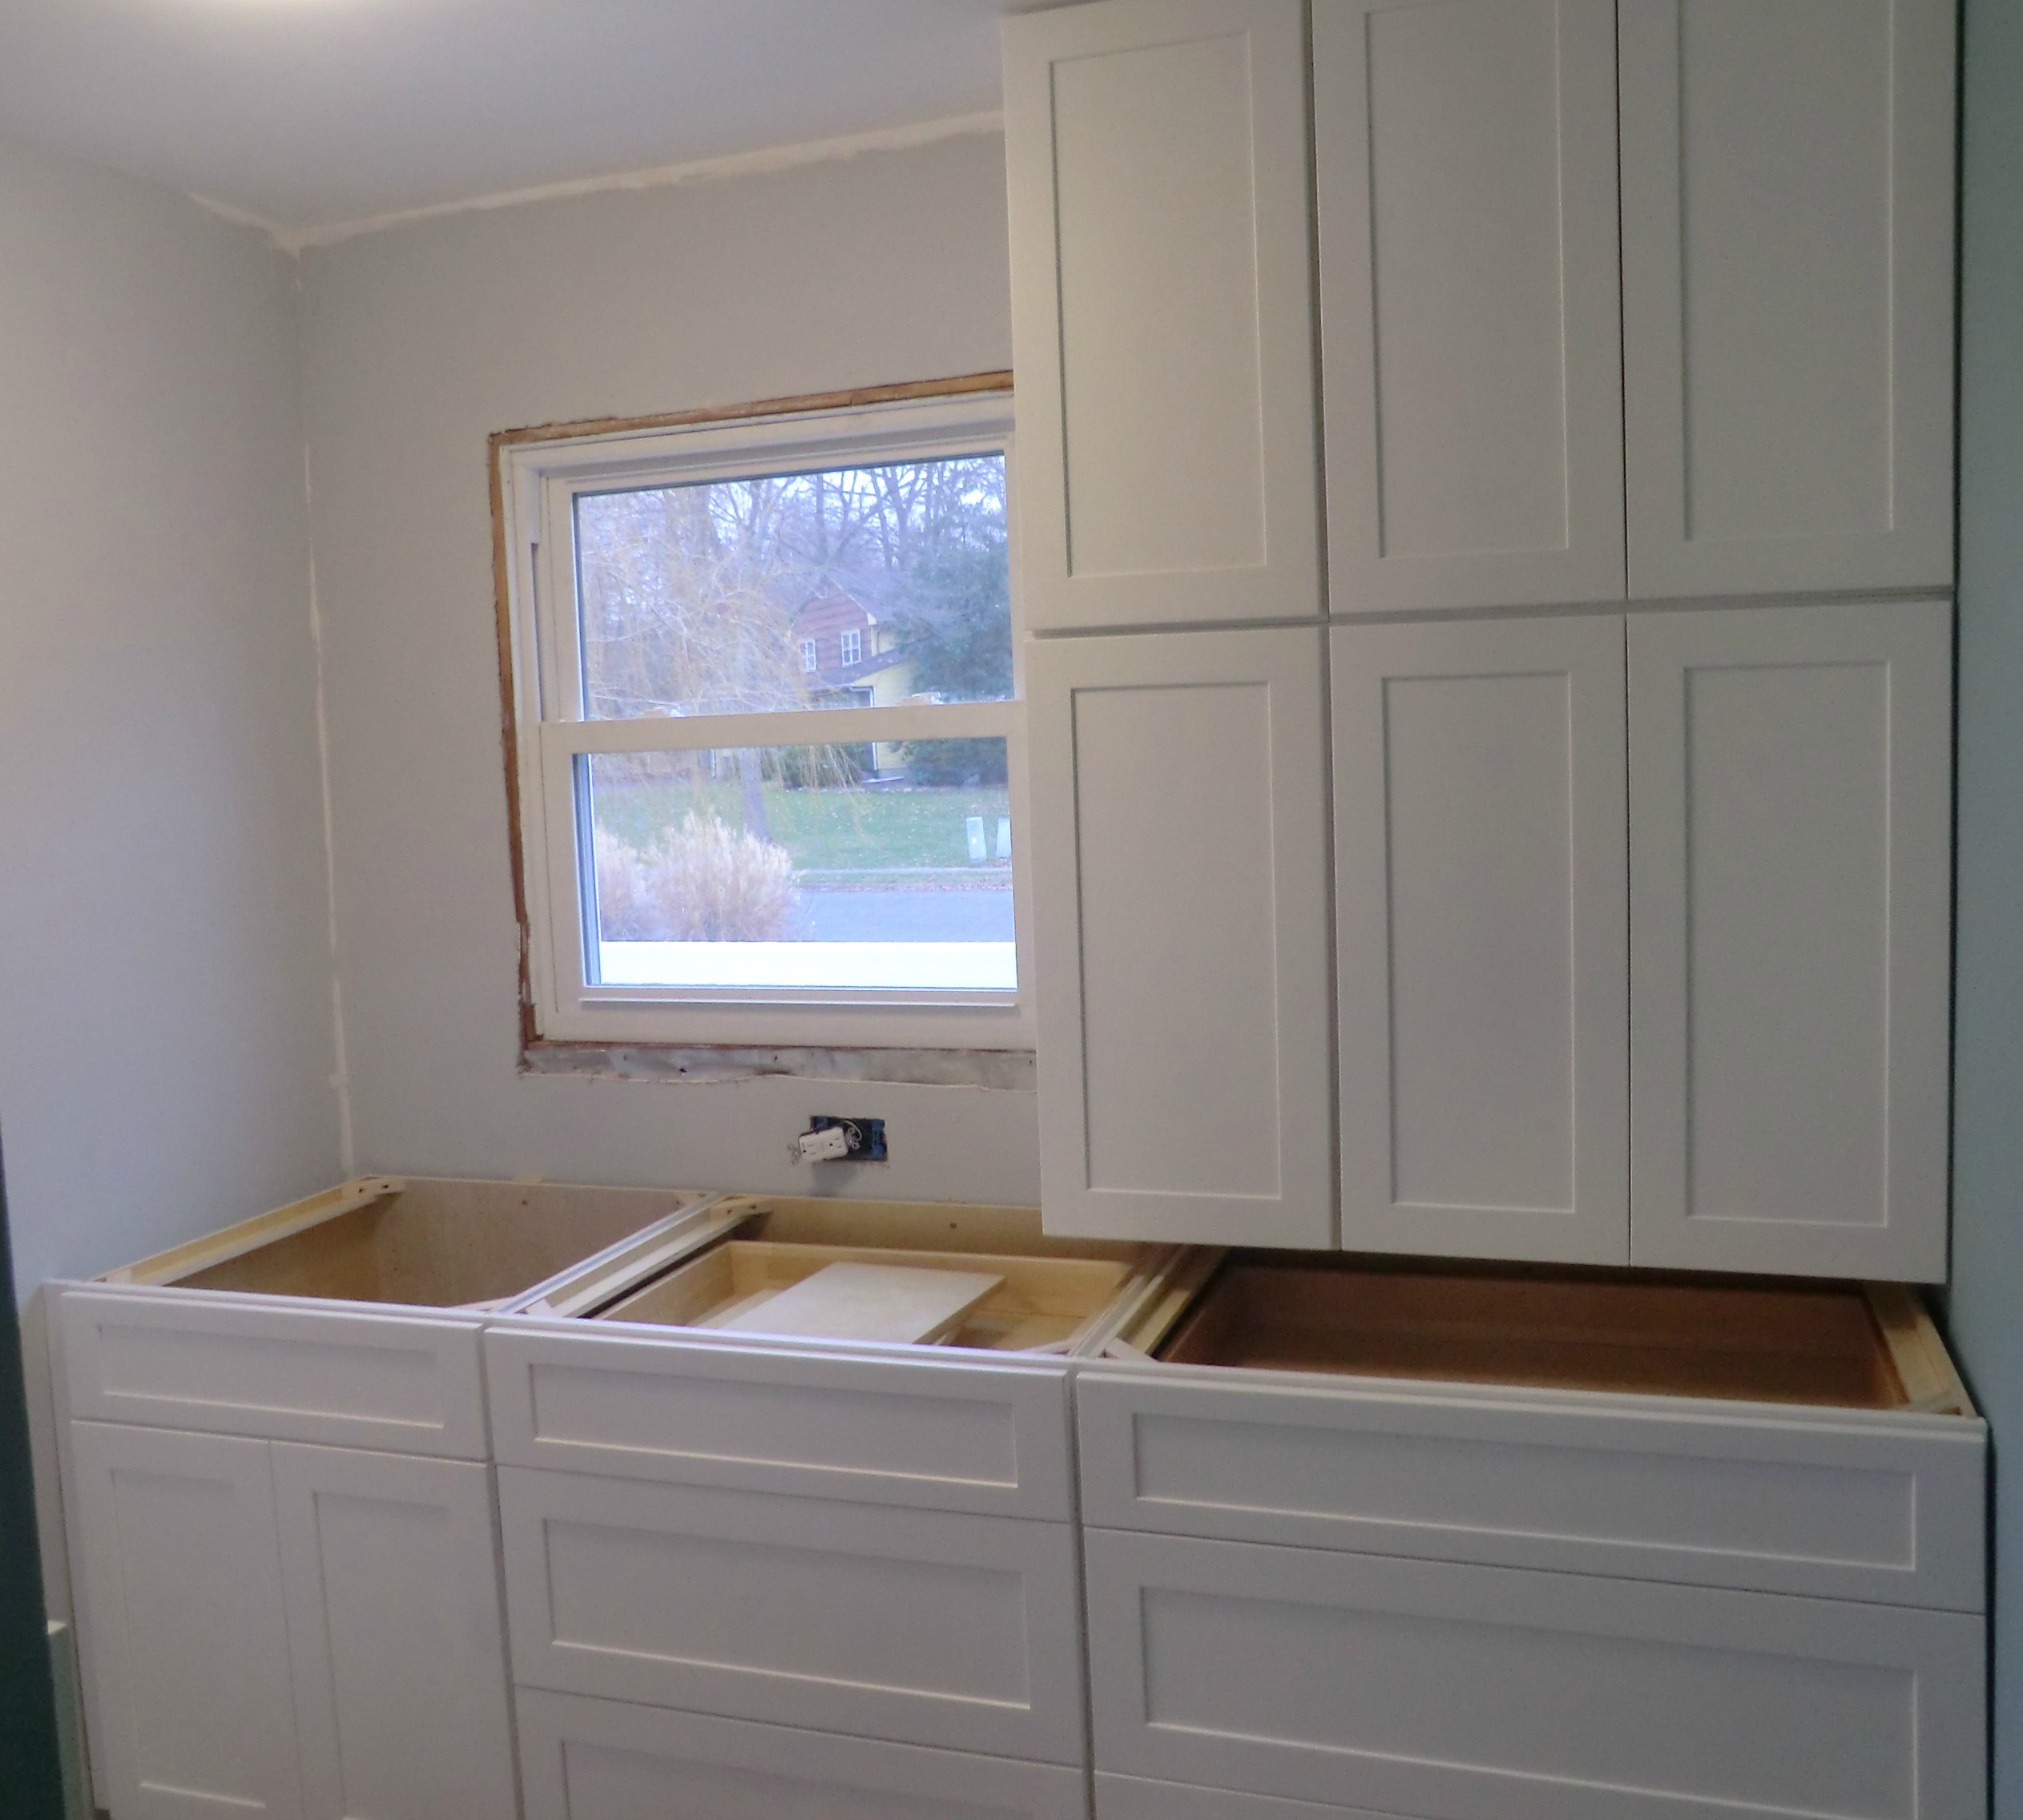
As the mudroom came together, I still wasn’t positive what my countertop would be. I wasn’t even sure how much space was going to be between the upper and lower cabinets.
Plan A had been marble, but not very realistic. Pennies saved on this project go into the kitchen fund.
Plan A-1 can’t really be called plan B. As the first realistic countertop, the barn wood qualified as my first plan. I figured if I needed a plan B, I’d worry about it then!
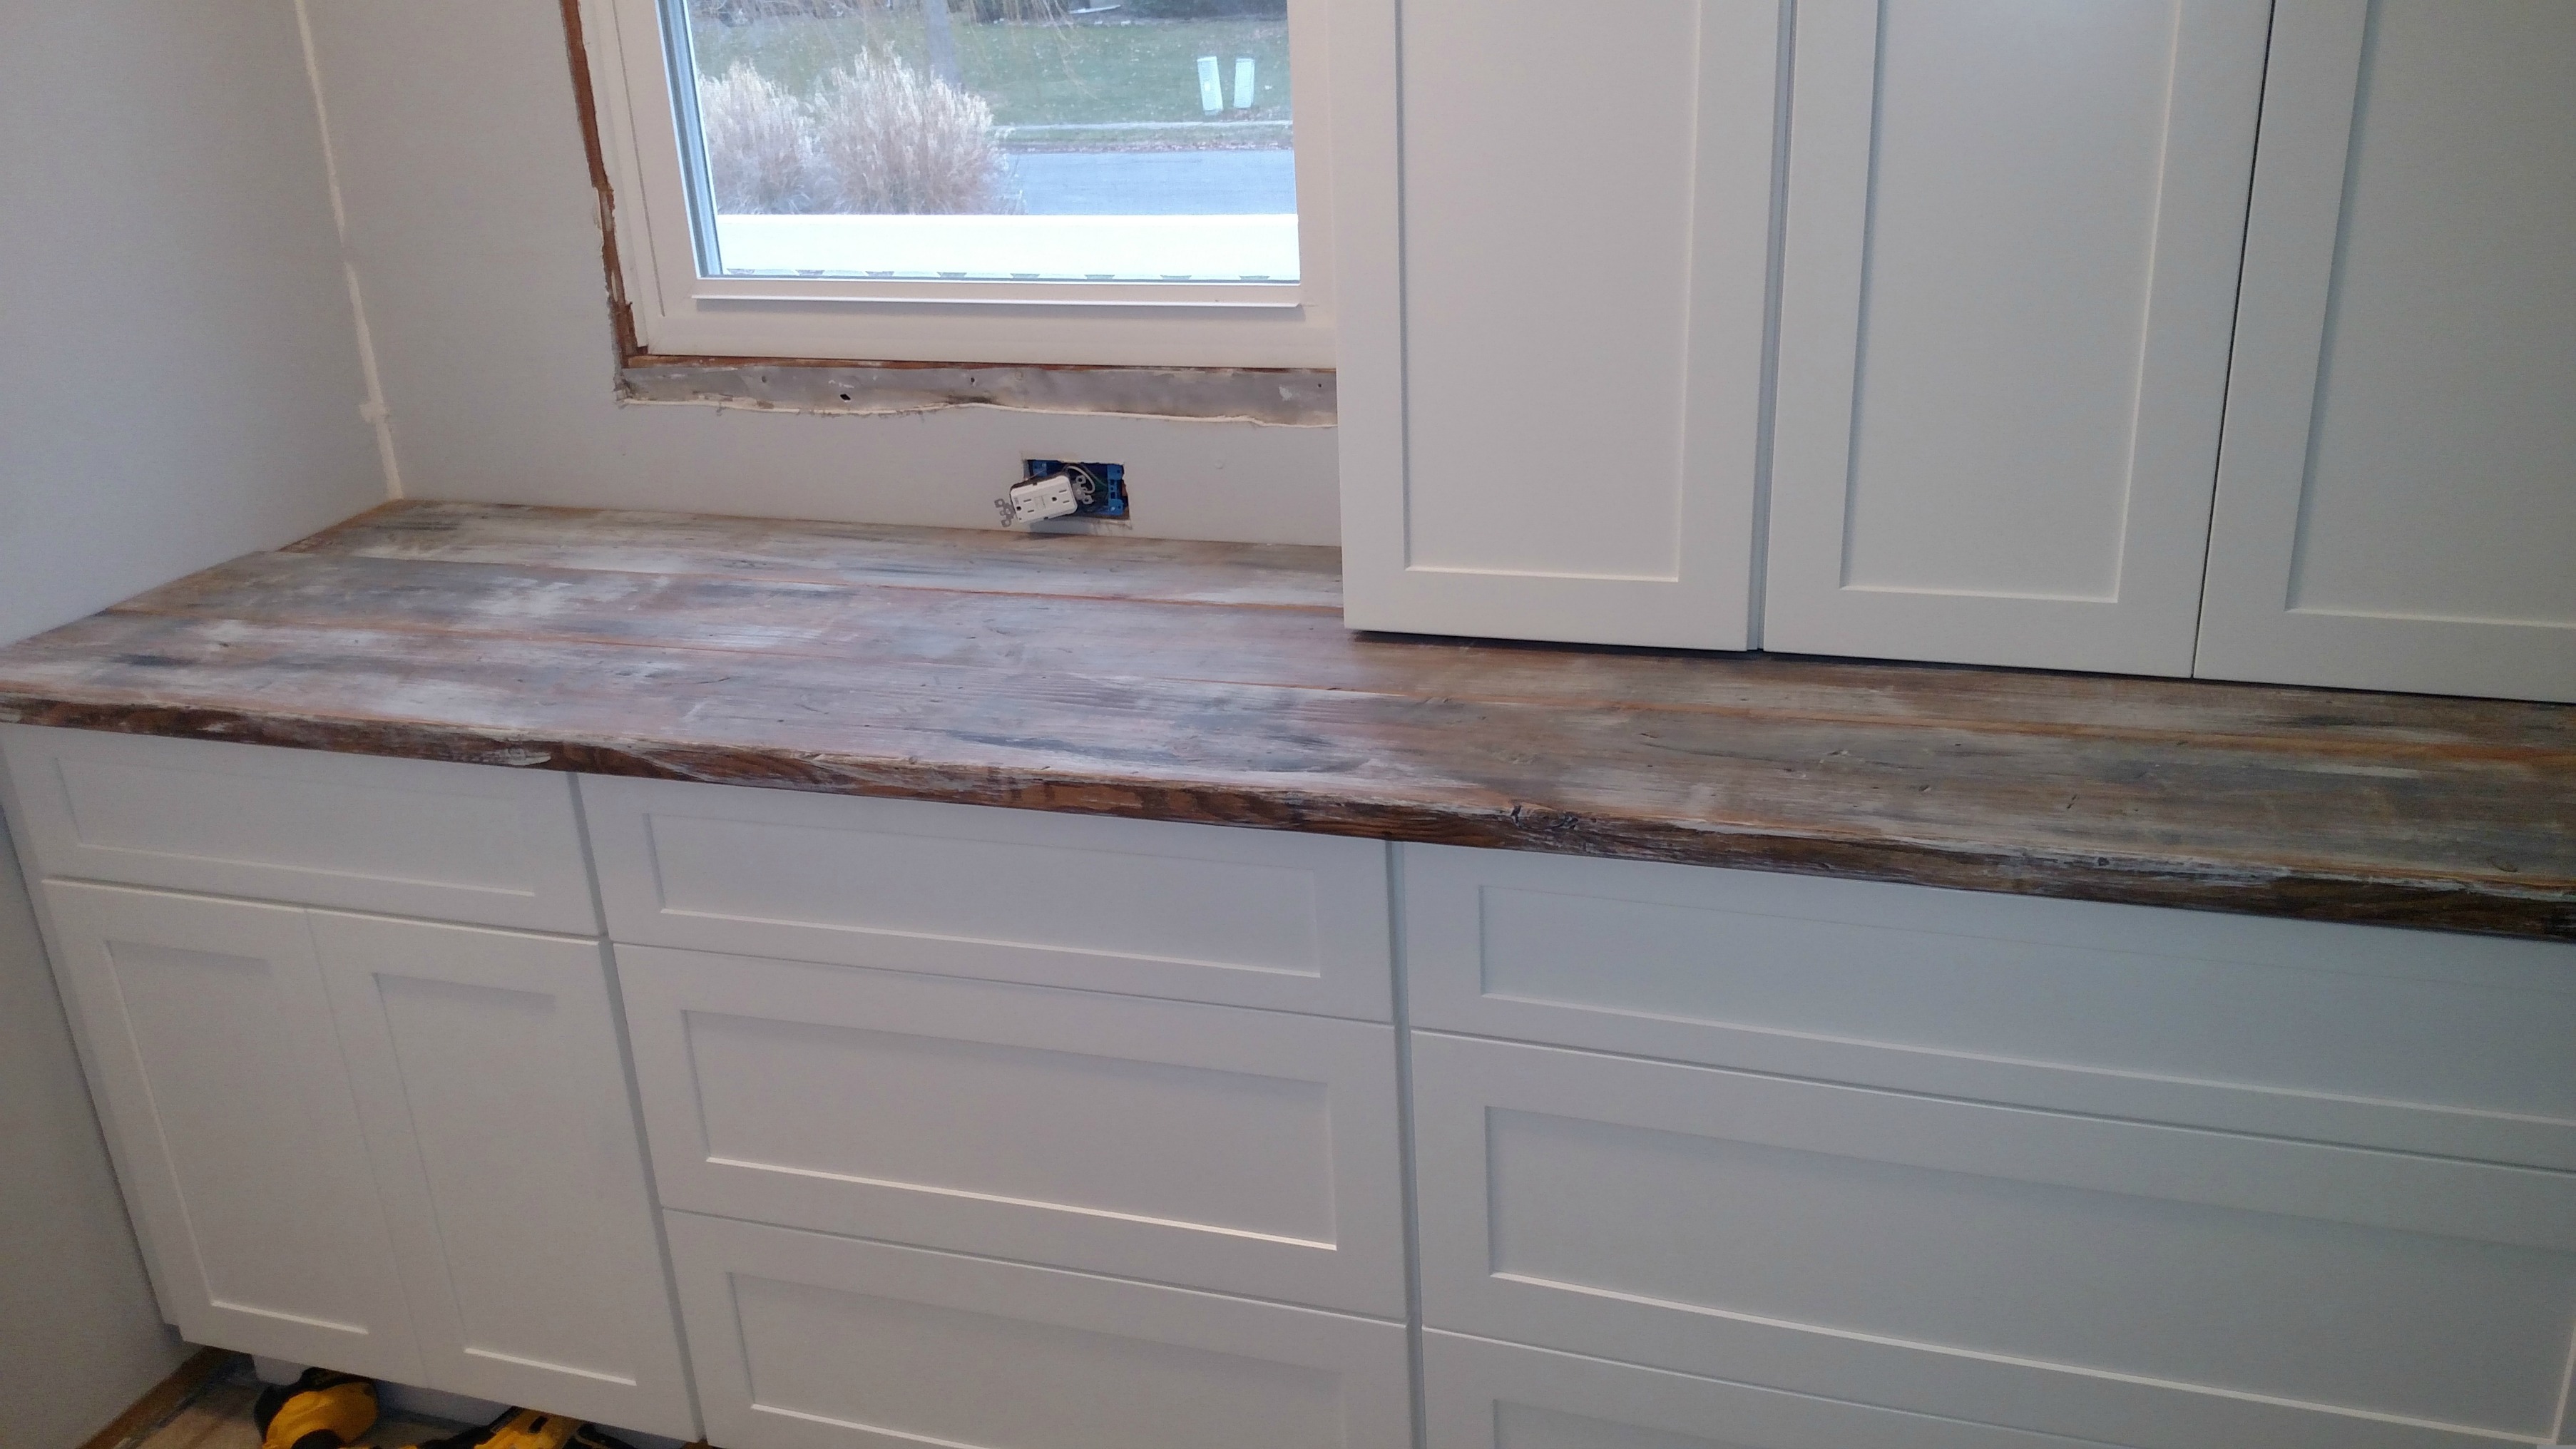
We secured the base cabinets in place and IronFish suggested using the barn wood. A few minutes later we knew it was going to be a perfect fit.
From Planks to Counter Tops
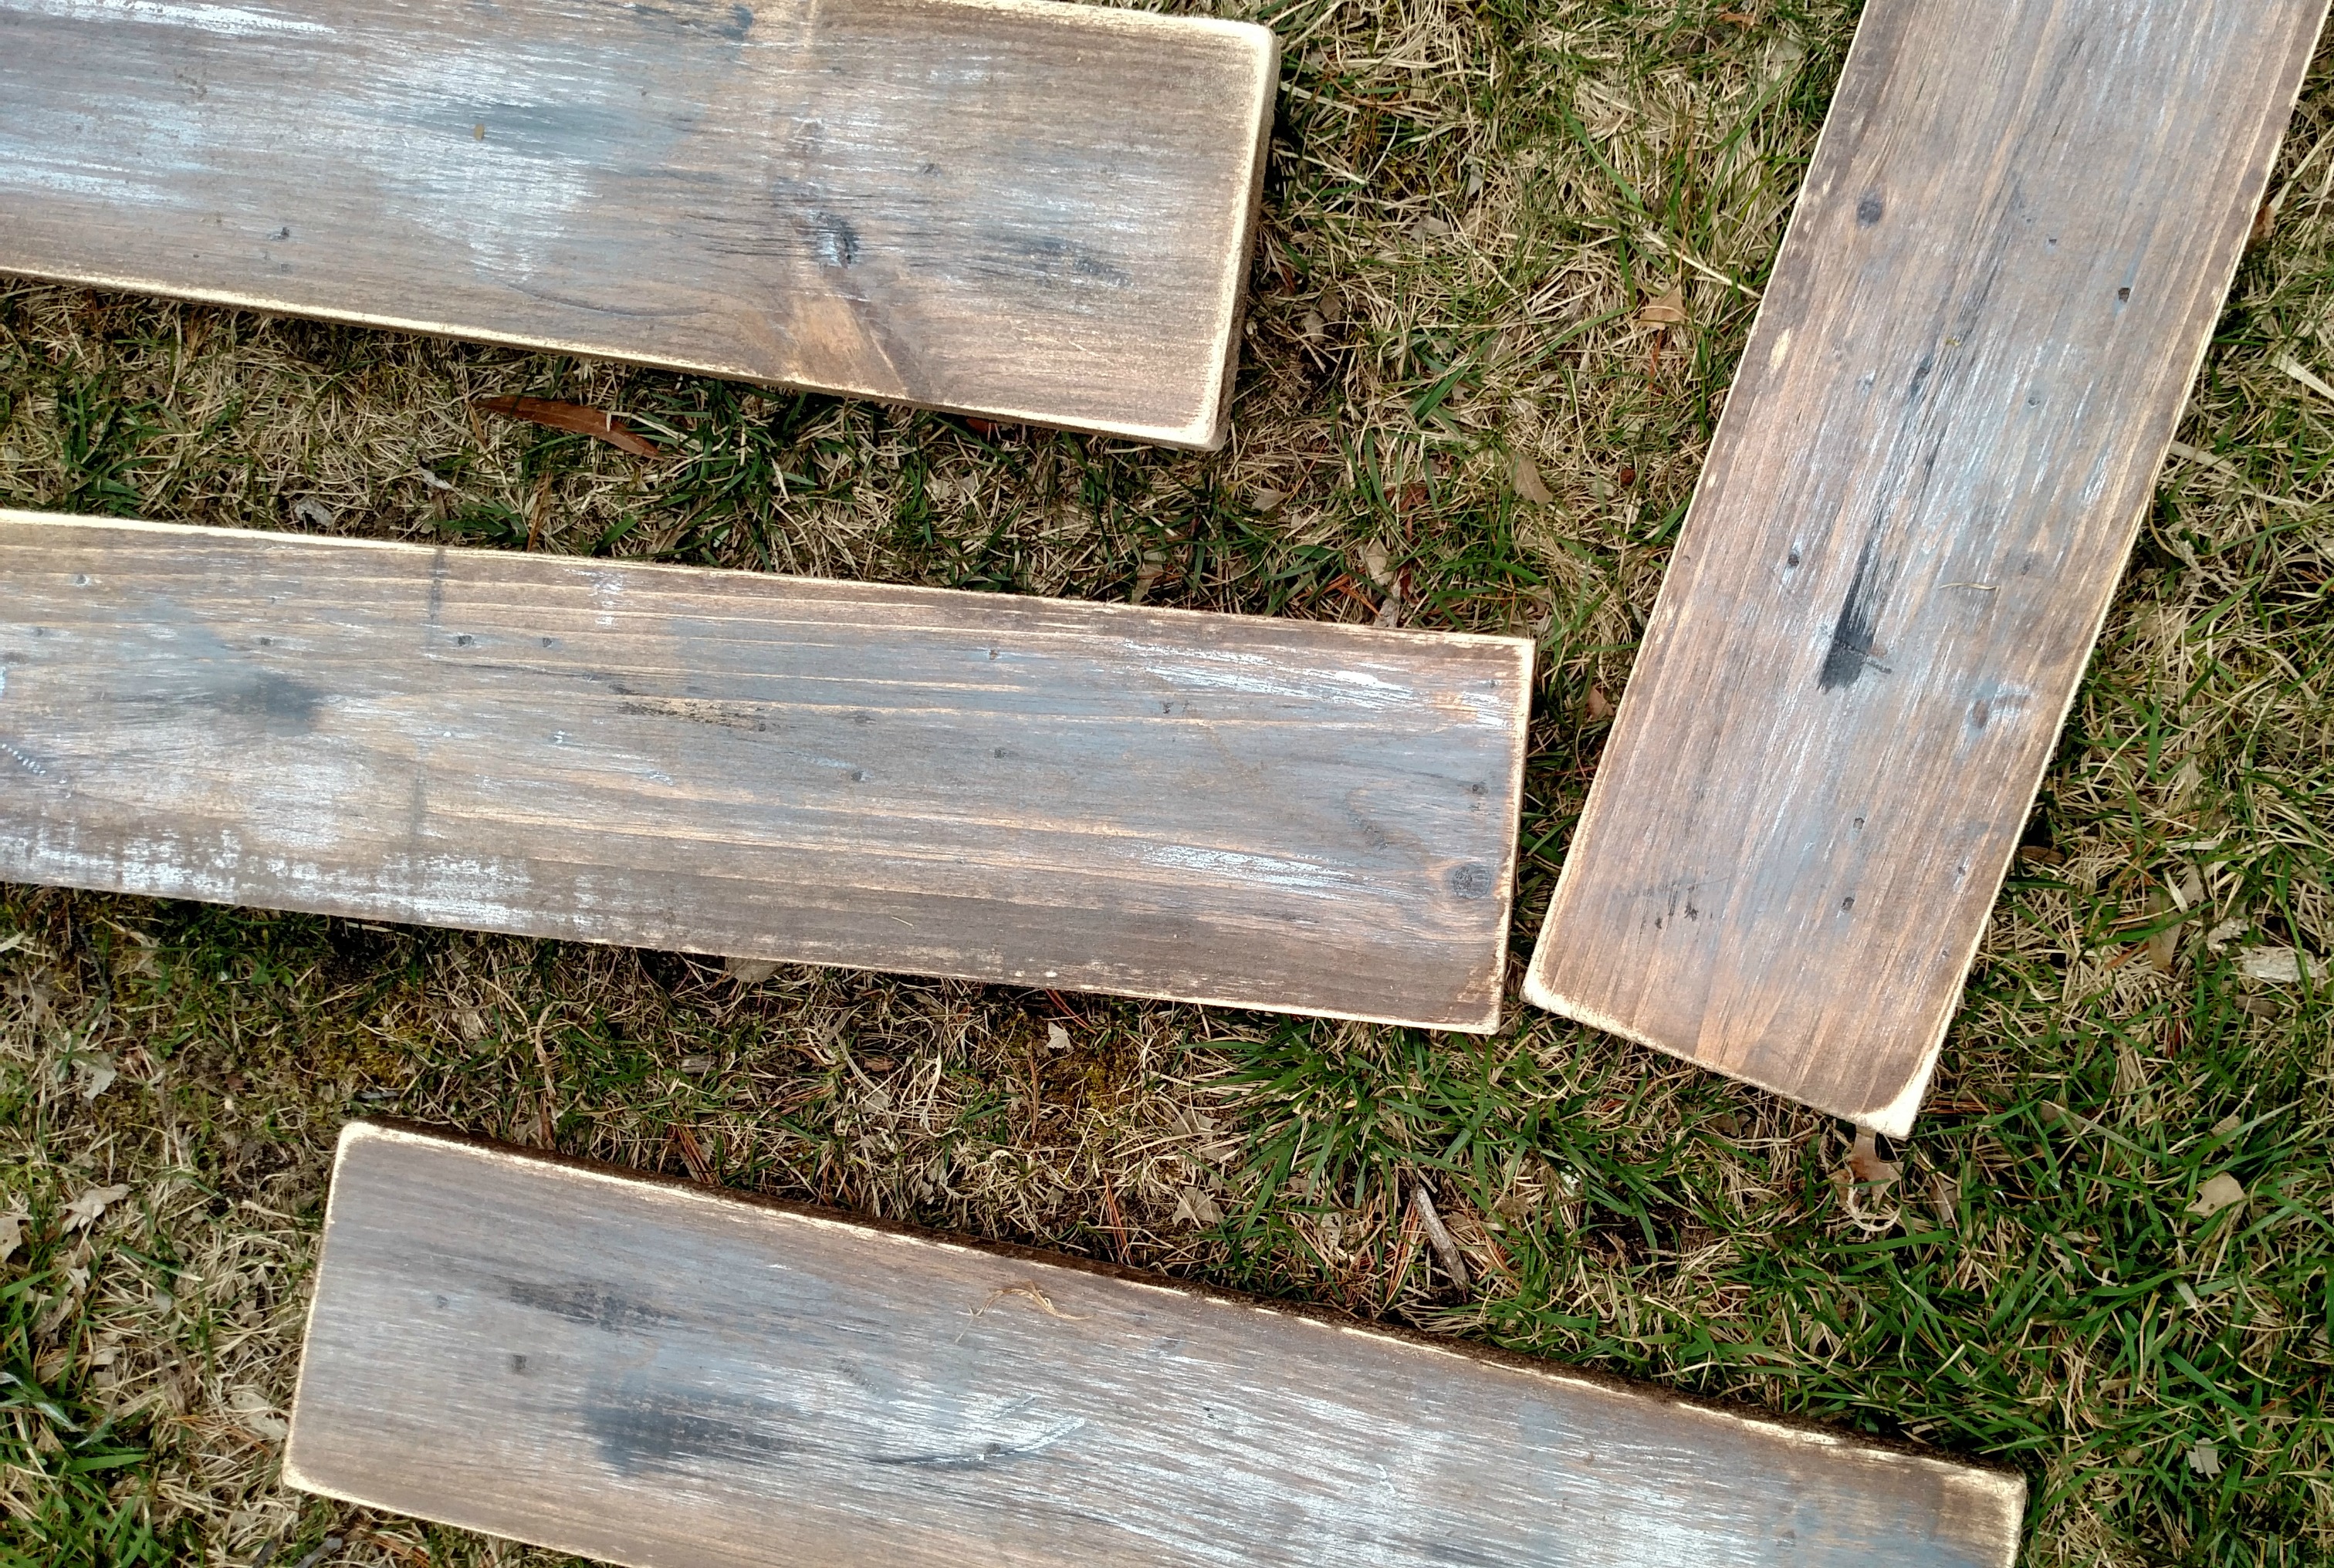
As a table top, I had wanted the planks to look like planks. The dips of the rounded edges where the boards would come together would have added to the character.
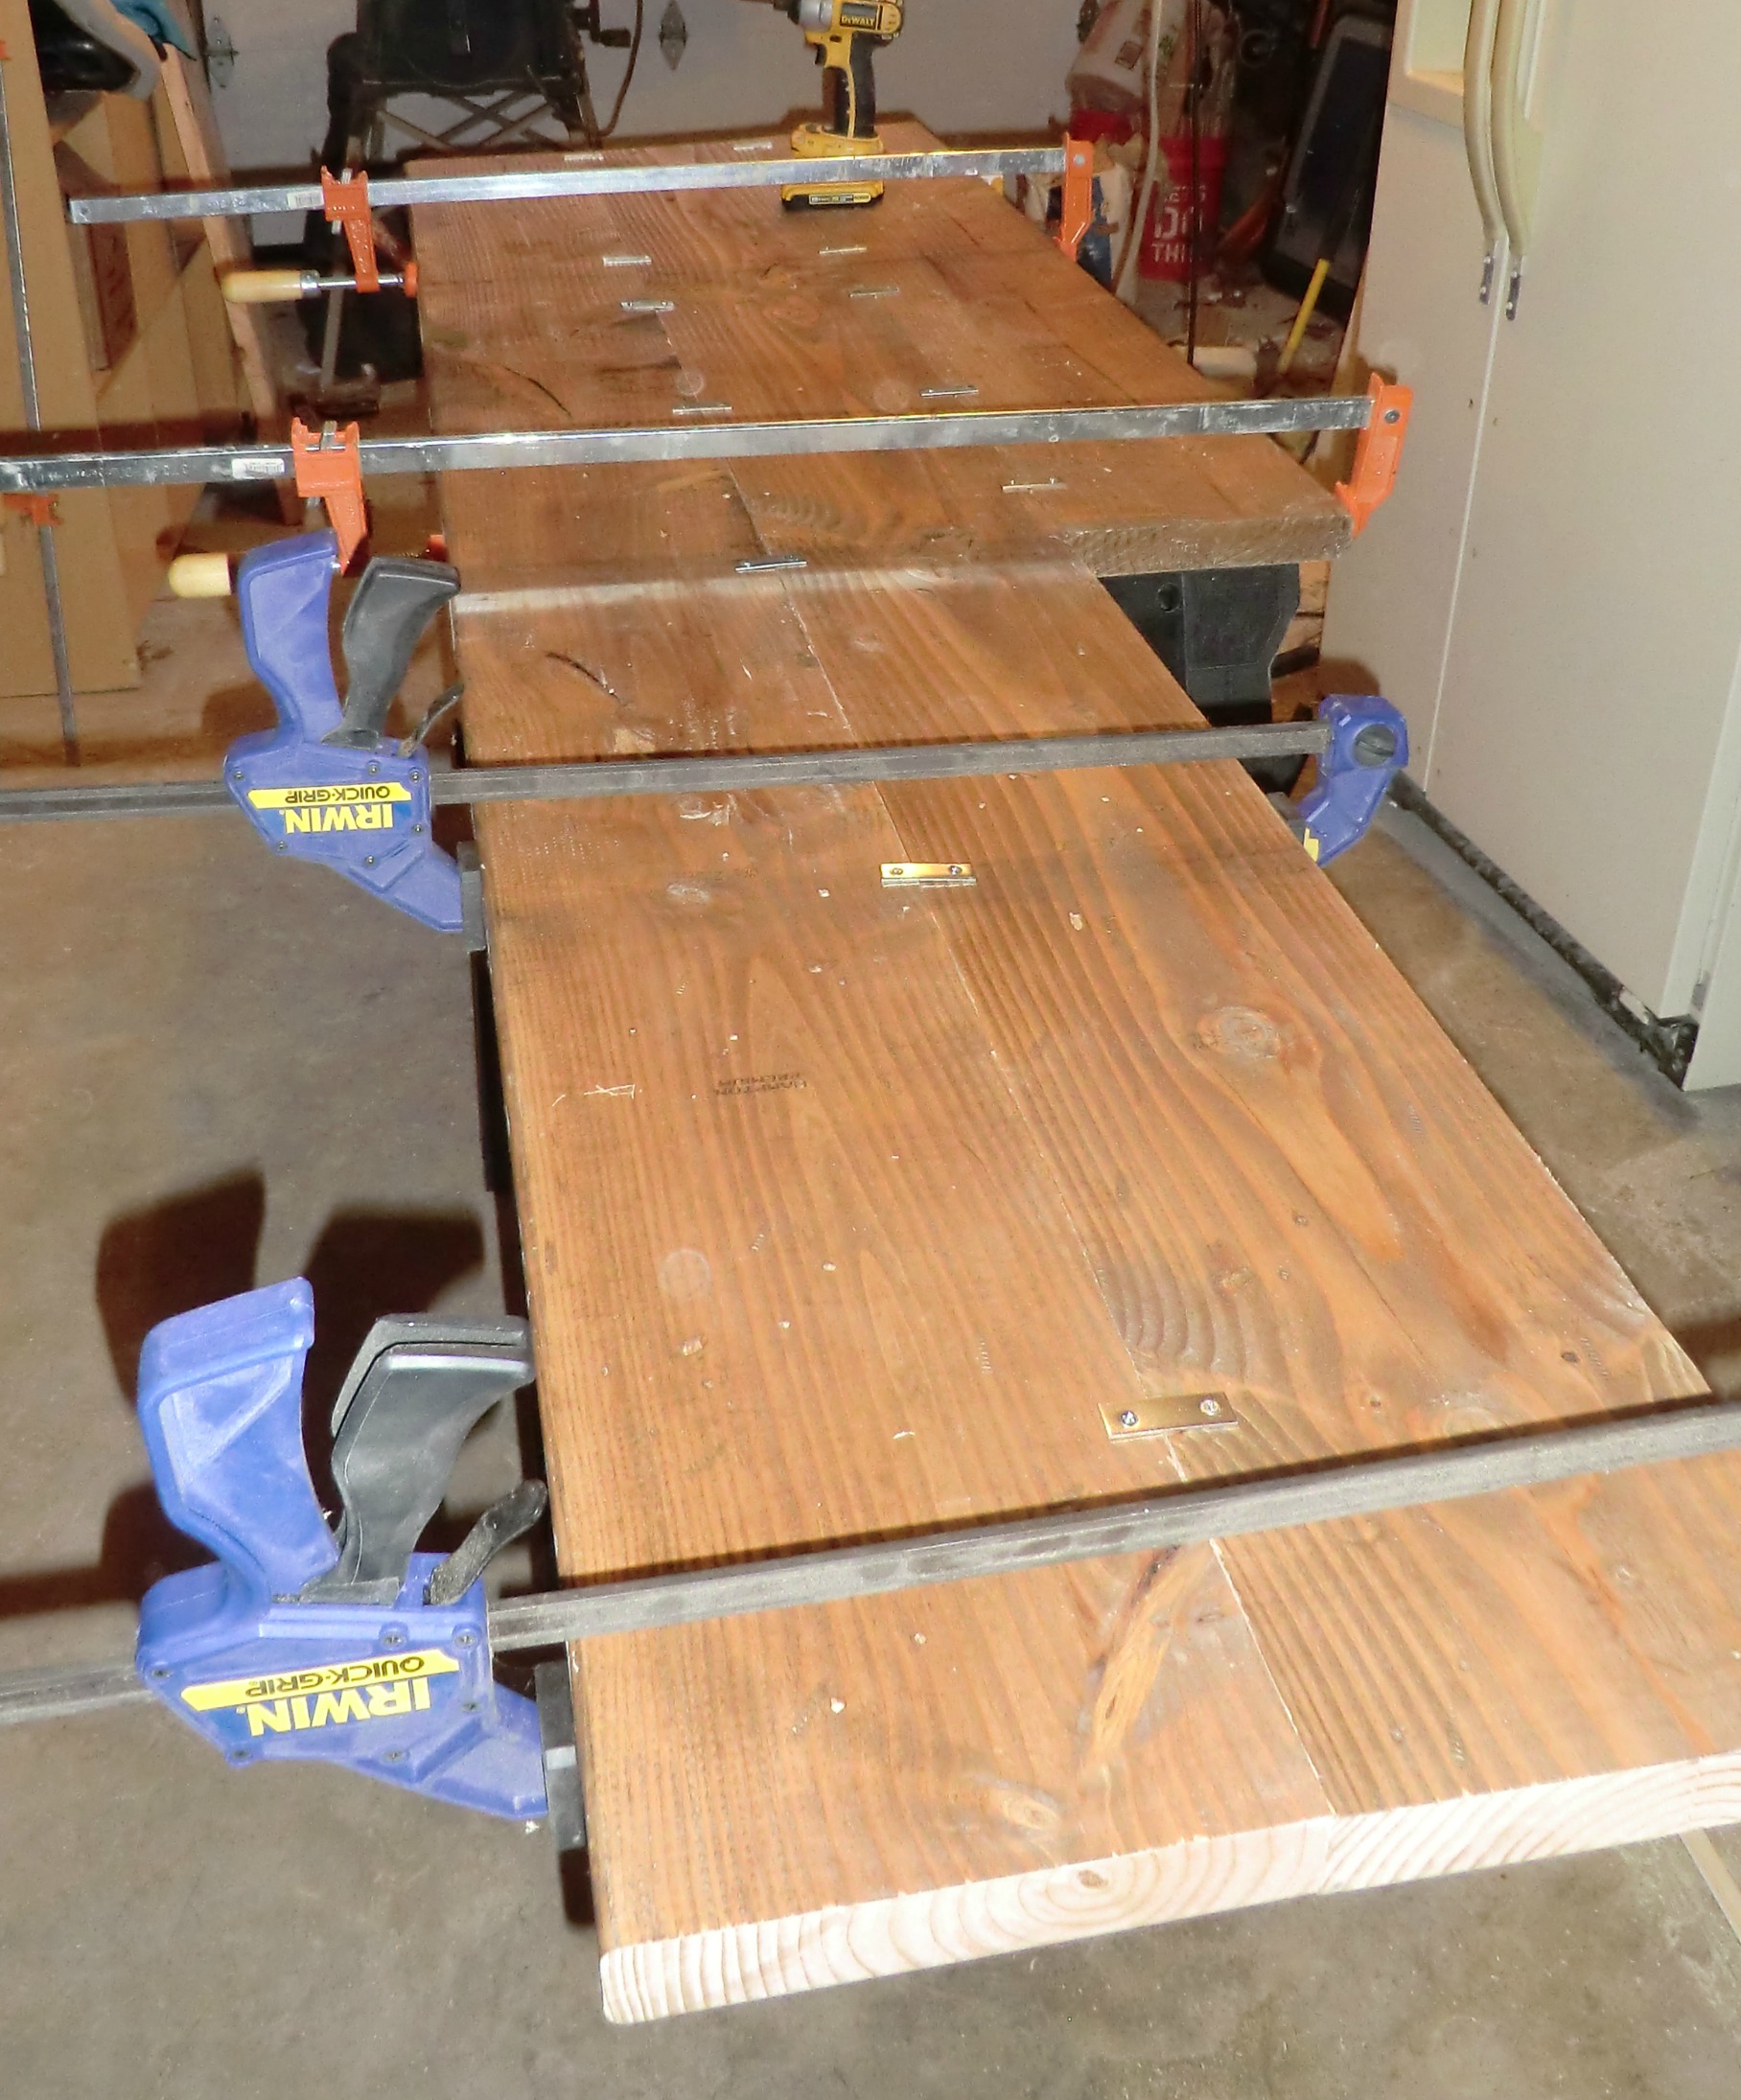
Quickly measuring, we were able to determine by running the boards through the table saw and eliminating the rounded edges of 2 boards and one side of the 3rd gave us the exact dimensions we needed.
The pieces were joined on the back with extra brackets we had laying around. This kept the boards together to get them into place. Each board was also secured to the cabinets from the underside.
Finishing Touches
Minor joint gaps were visible.
By mixing some wood glue and sawdust,

I was able to fill the joints with a spackling knife.
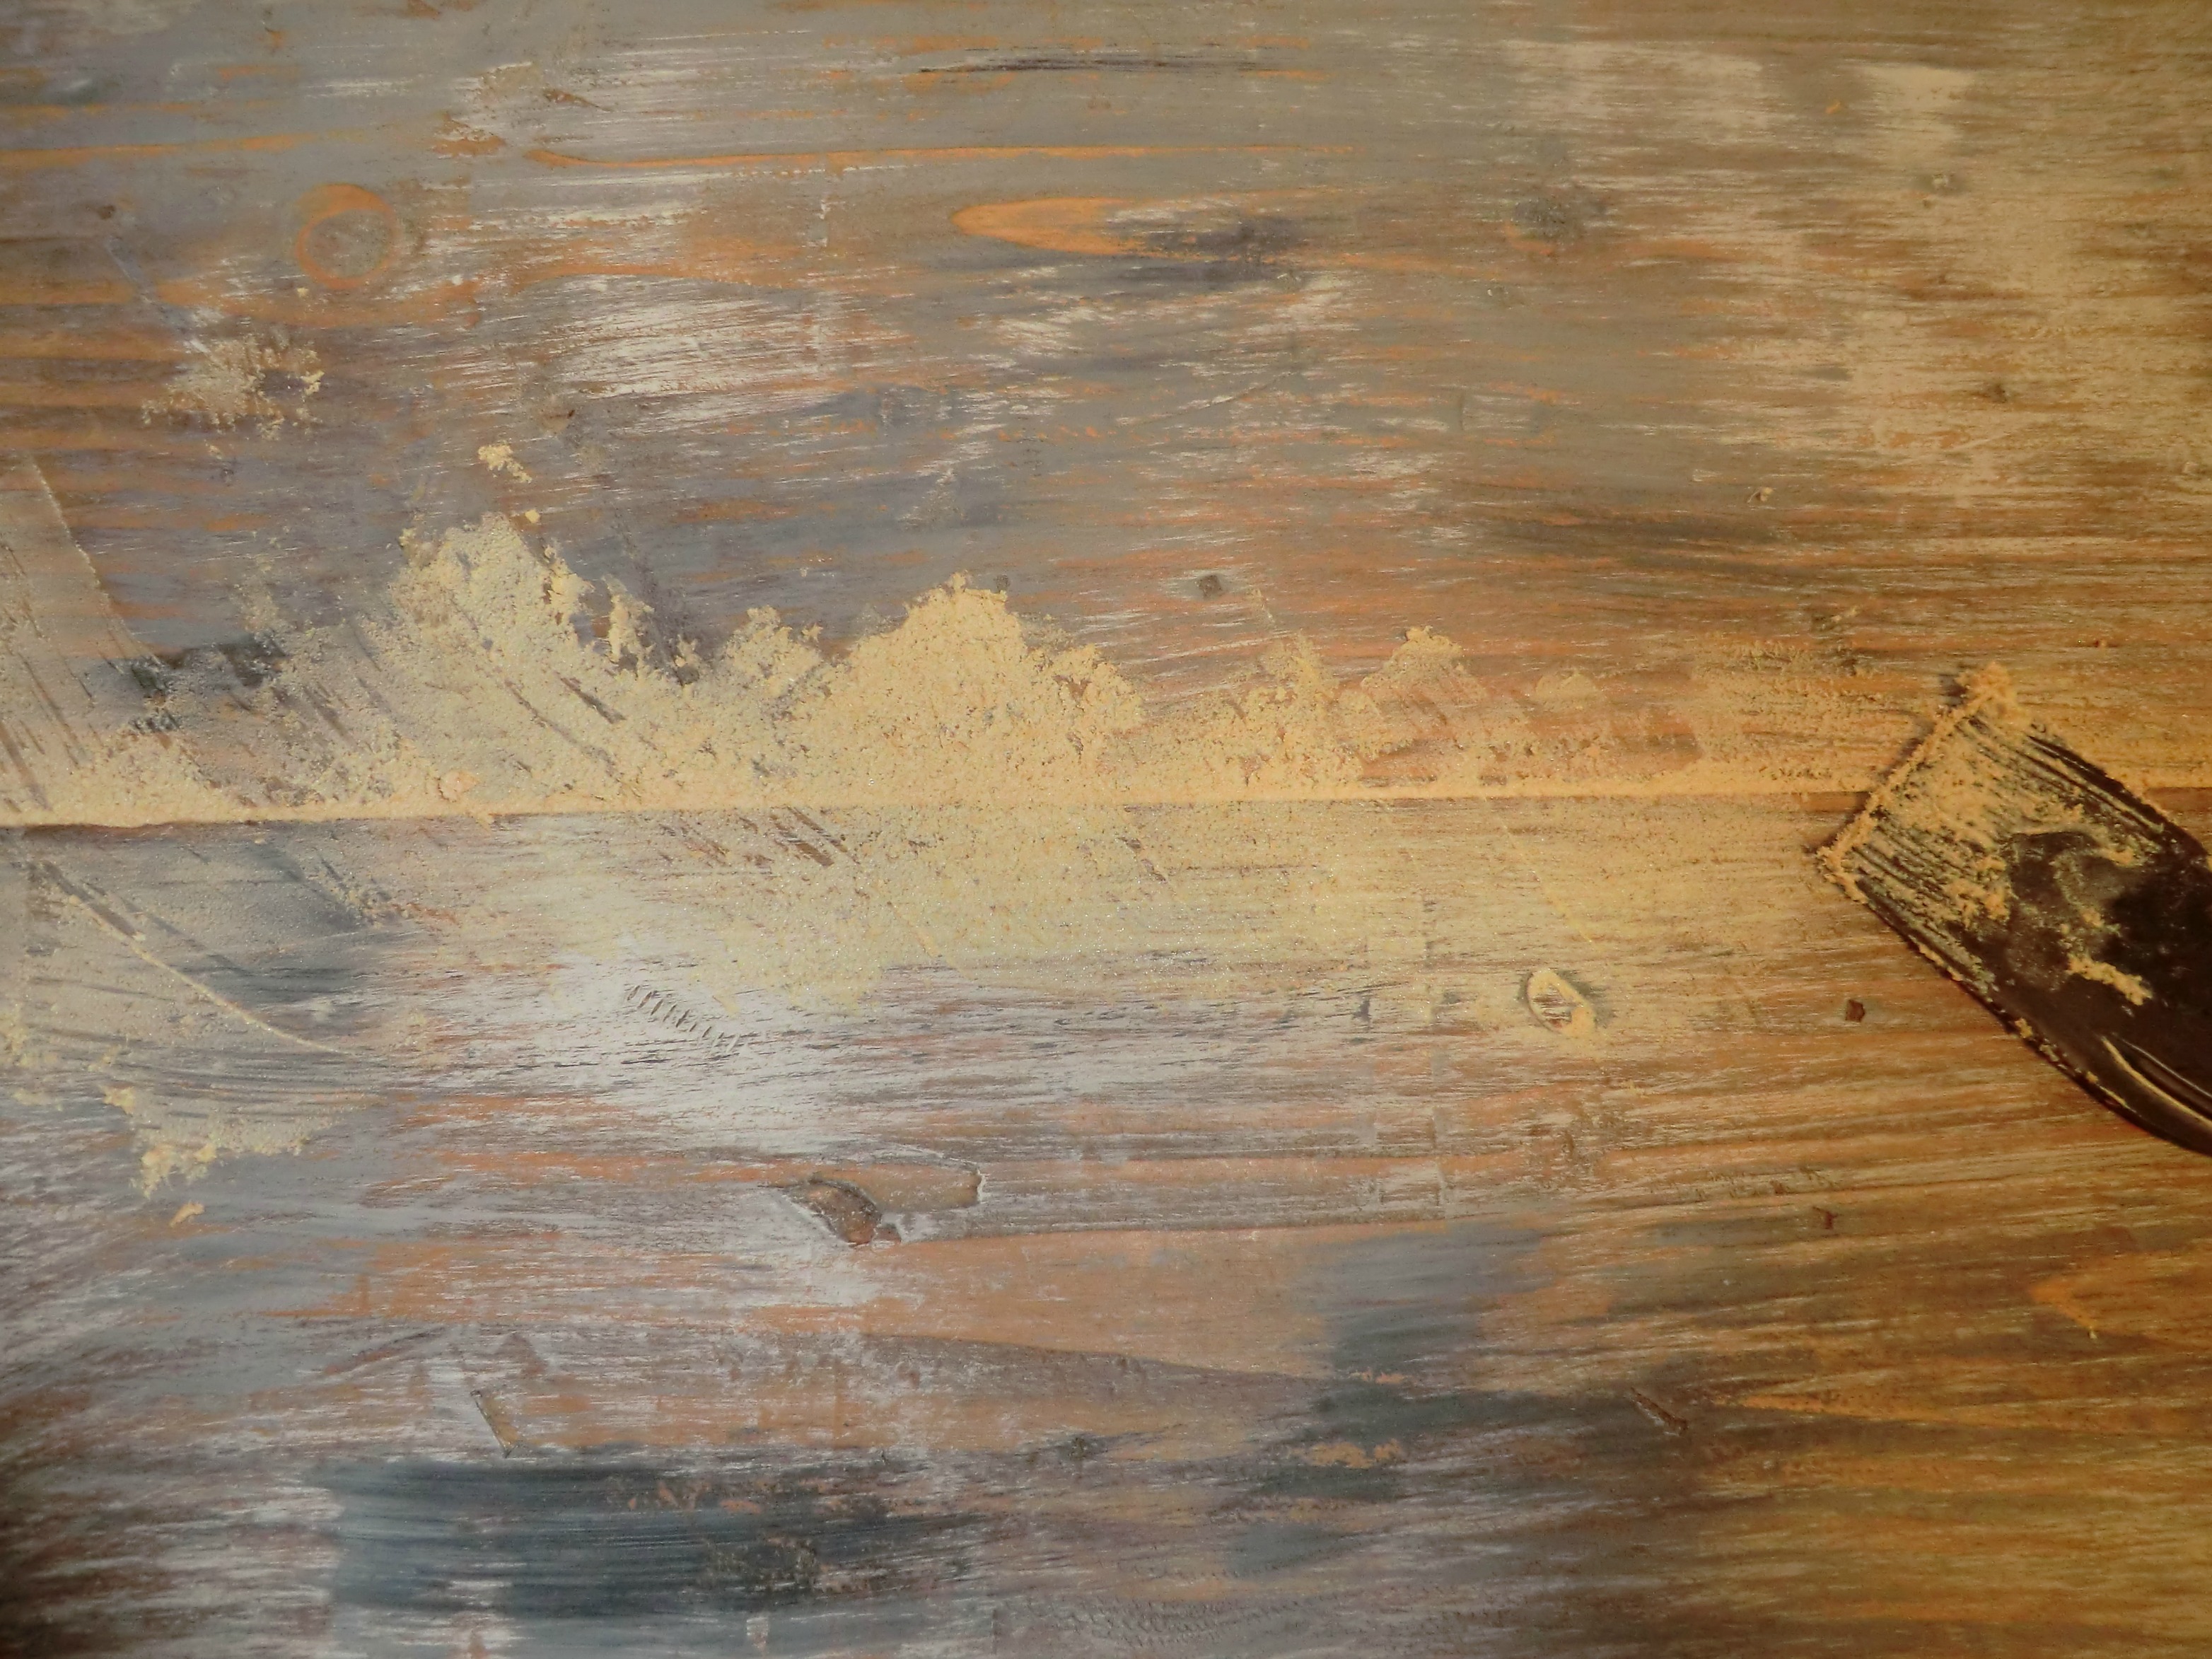
Minor sanding and paint touch ups made the boards perfectly distressed.
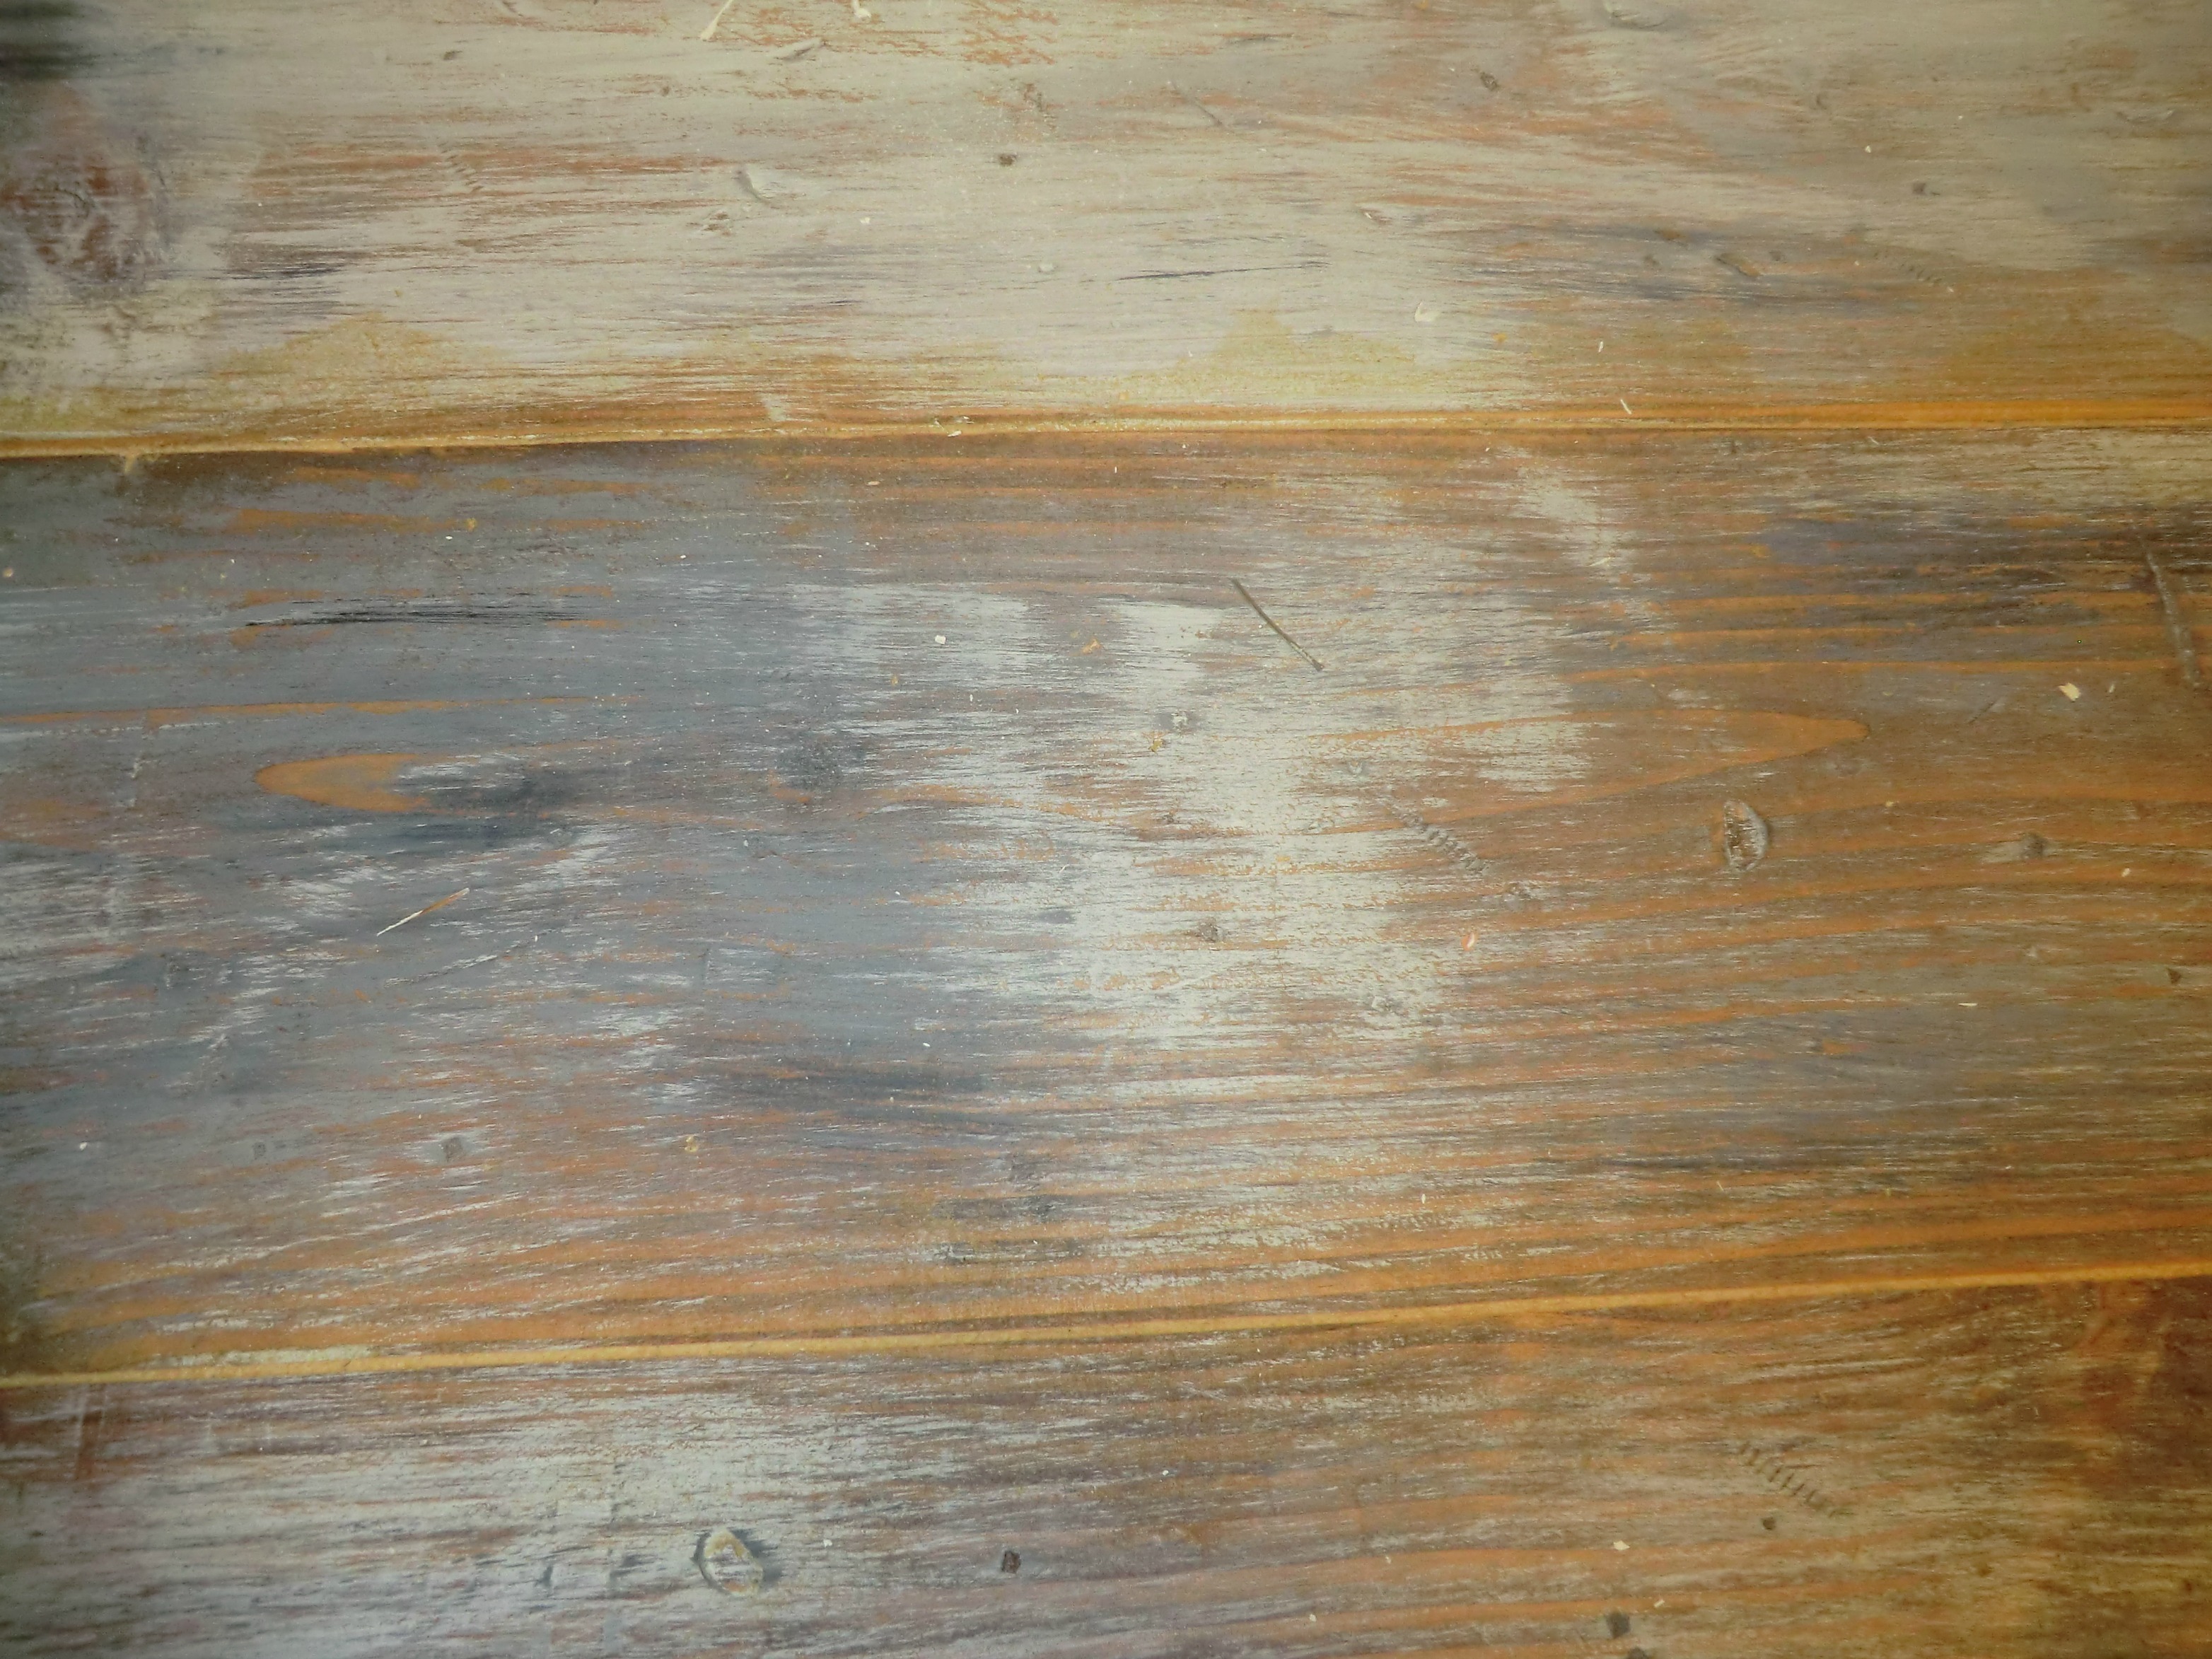
Countertop plus sink equals a need for a waterproof barrier. Researching options lead me to using spar urethane in a satin finish. Three coats. The colors did yellow a bit.
If I had real barn wood, I would want to protect it, so I still would finish it the same way.
Next up… Tile!
So, what do you think? Love them or hate them? I want to know!
Other mudroom related posts you might like:
- Farmhouse Mudroom Makeover: Cabinets and Storage
- Organized Mudroom Inspiration
- Custom Entryway Cubbies – DIY Mudroom
And, my friends over at Top Reveal have a great list of DIY woodworking projects anyone can do if you’re now inspired to grab your tools!
Love this project! I love a good DIY project. and making it a family event- priceless
Thank you! I do try to involve the kids when I can, especially since the hubby and I seem to be always working on a project
It’s looks gorgeous. Are you going to do the same to the dining table? I can’t wait
No, because we damaged the base too much, and hubby wasn’t willing to have a folding table for a few weeks, we bought one. The advantage of the new one is it expands to seat 12!
Wow those countertops turned out great! It seems that it was meant to be for the table not to work out 🙂
Thanks, it really was!
Wow I love how it turned out. It is always fun to include family in the making of the project. #HomeMattersParty
Your DIY barn wood countertops are so pretty! I love the look. I bet the kids were excited to help out with this project – they got the fun part. 🙂 #HomeMattersParty
Yep, great stress relief!
This is such an awesome project & I love how you included your kids!! #homemattersparty
Thanks! I love trying to incorporate the kids when I can
We bought a house I promised not to remodel. That lasted a month. The counters in this house are arborite and should be replaced. This is a feasible option.
Its wonderful how you include the kids, they look like they are having a blast.
Its nice to be co-hosting the #HomeMattersParty with you. Have a great week.
It really was a great project and I’m loving the results
What a big project & you made Look so easy. I love how the kids helped out !!! Fun, thanks for sharing! #HomeMattersParty
I was literally just abusing wood just a couple of days ago..lol Love it! #homemattersparty
It’s therapeutic!
Wow!! Your counter tops turned out awesome! Love the dry brushing that you added for the authentic look! Great idea!
Hey Emily! I love this so much, I featured it today on my round-up of farmhouse style DIY projects at http://www.PopItUpGirl.com
Come take a look!
Thank you so much, heading there to check it out now!
Definitely LOVE! Thank you.
Showed my husband this project as i have rust, black and cream granite that went really well with my tuscan style. 20 years later i’m trying to change over to more of a farmhouse look and i would love to put these planks down as my new countertops. The hubby is reminding me of the wonkiness and unevenness of the planks themselves and he would rather i use “butcherblock” panels that are planed. YUCK i hate the idea of something so uniform when i want the distressed aged look. Did you have trouble with your wood being crooked or uneven?
I looked for even boards to begin with. I do have one part that is a little wonky and I do wish I had fixed that but it’s a mudroom so I don’t think it’s that big of a deal. I do also think for my kitchen countertops where there is a lot of food, spillage, etc I am happier with smoother countertops that I can clean up easily (I have quartz in the kitchen) but I still love the look of the distressed counters for this room, so it’s kind of hard to really pick. I guess I’m really lucky that I was able to have both options and it all works together well.