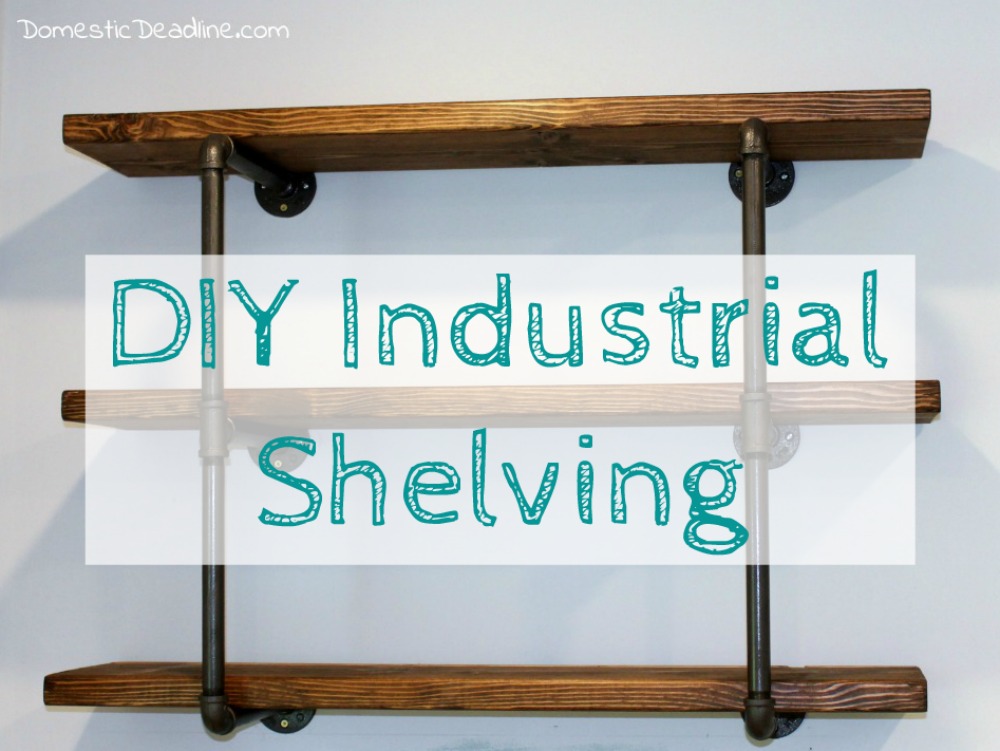
Despite the lack of posts on the blog lately, the kitchen is moving along nicely. We are using the kitchen every single day, even though I still have a few little projects to finish up in order to share a final reveal. Today I wanted to share my DIY Industrial Shelving even though I don’t have a beautifully staged picture to complete the post. That’s pretty much how I roll here at Domestic Deadline. Always trying to finish something up, but I’m only human and this is my real life.
Why Open Shelving
When I was planning the kitchen, I knew I wanted lots of storage space. The more the better, I mean, is there ever truly enough storage in any kitchen?
But, I didn’t want to see nothing but cabinets. I wanted to give the space character and not a cookie cutter look. The difference between, “nice kitchen” and “OMG, I love your kitchen!”
I have to admit, I’m not the neatest person. IronFish often says I have the wrong kind of OCD because I don’t obsess over cleaning and neatness. Sometimes I wish I could, but it’s just not me. In our old house, I had some open shelves that stored my baking supplies. What I found was I baked tons then AND I kept it looking really nice.
The goal is to achieve the same results in this kitchen.
Plus, I wanted some space to be able to display things seasonally which I plan on using the top shelves for.
Besides, if in a few years I decide I really need closed cabinets, it’s not the end of the world install them (but I doubt that will happen now that they are done and I love them!).
Pipes
If you’re an HGTV fan, then you’ve seen plenty of ideas for open shelving with an industrial look on shows like Fixer Upper, Property Brothers, Good Bones and more. Pinterest is full of additional ideas as well.
The great thing about this project is you can make these shelves to fit any space you want! Two areas in my kitchen will be open shelving. To the left of the sink, where we will keep our dishes and glasses. And, above what we call “the baking center.” This is the space where we will be keeping flours, sugars, my Kitchen-Aid mixer and everything necessary to make tasty treats. Tasha has been anxiously awaiting the use of the baking center (check out the Pumpkin Pasties she and I recently made).
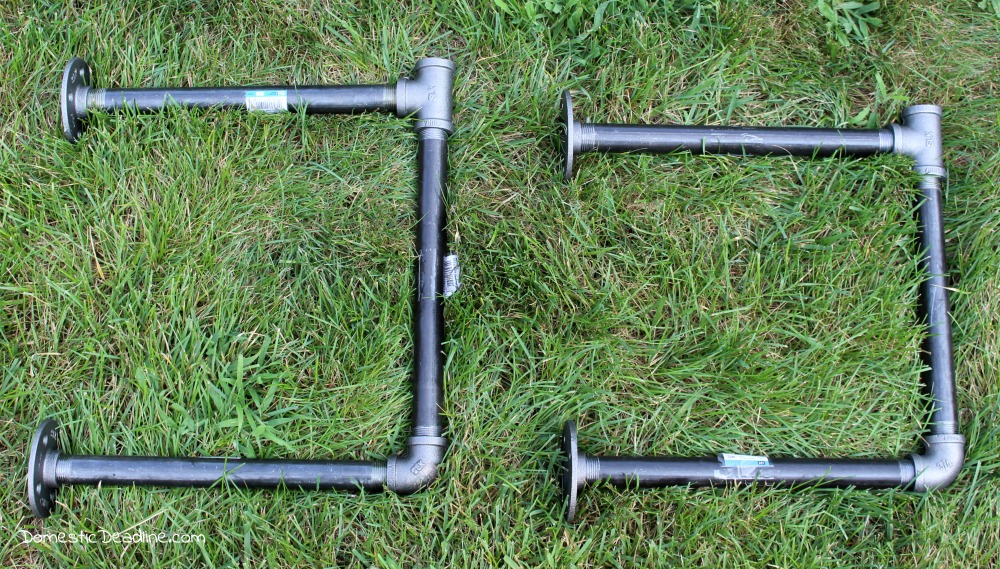
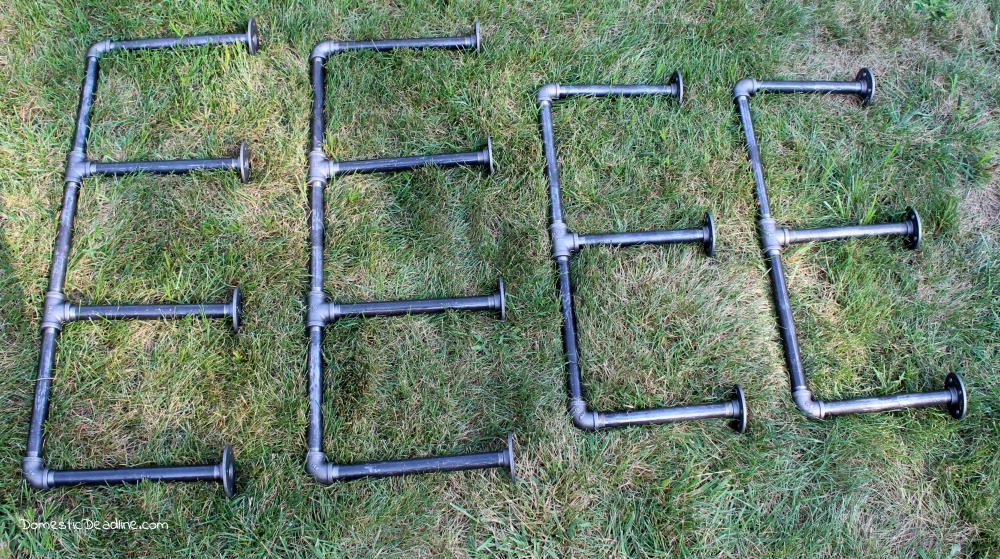
For the dishes and glasses, I wanted my shelves to be 12 inches deep with 10 inches of space between each row. The tall ceiling height there allows for 4 shelves.
Above the baking area, I wanted the shelves to be 10 inches deep with 12 inches of space between each row. The lower ceiling means I only get 3 shelves here.
Knowing each shelf could potentially hold a lot of weight, I wanted the flanges of the shelves to be mounted into as many studs as possible.
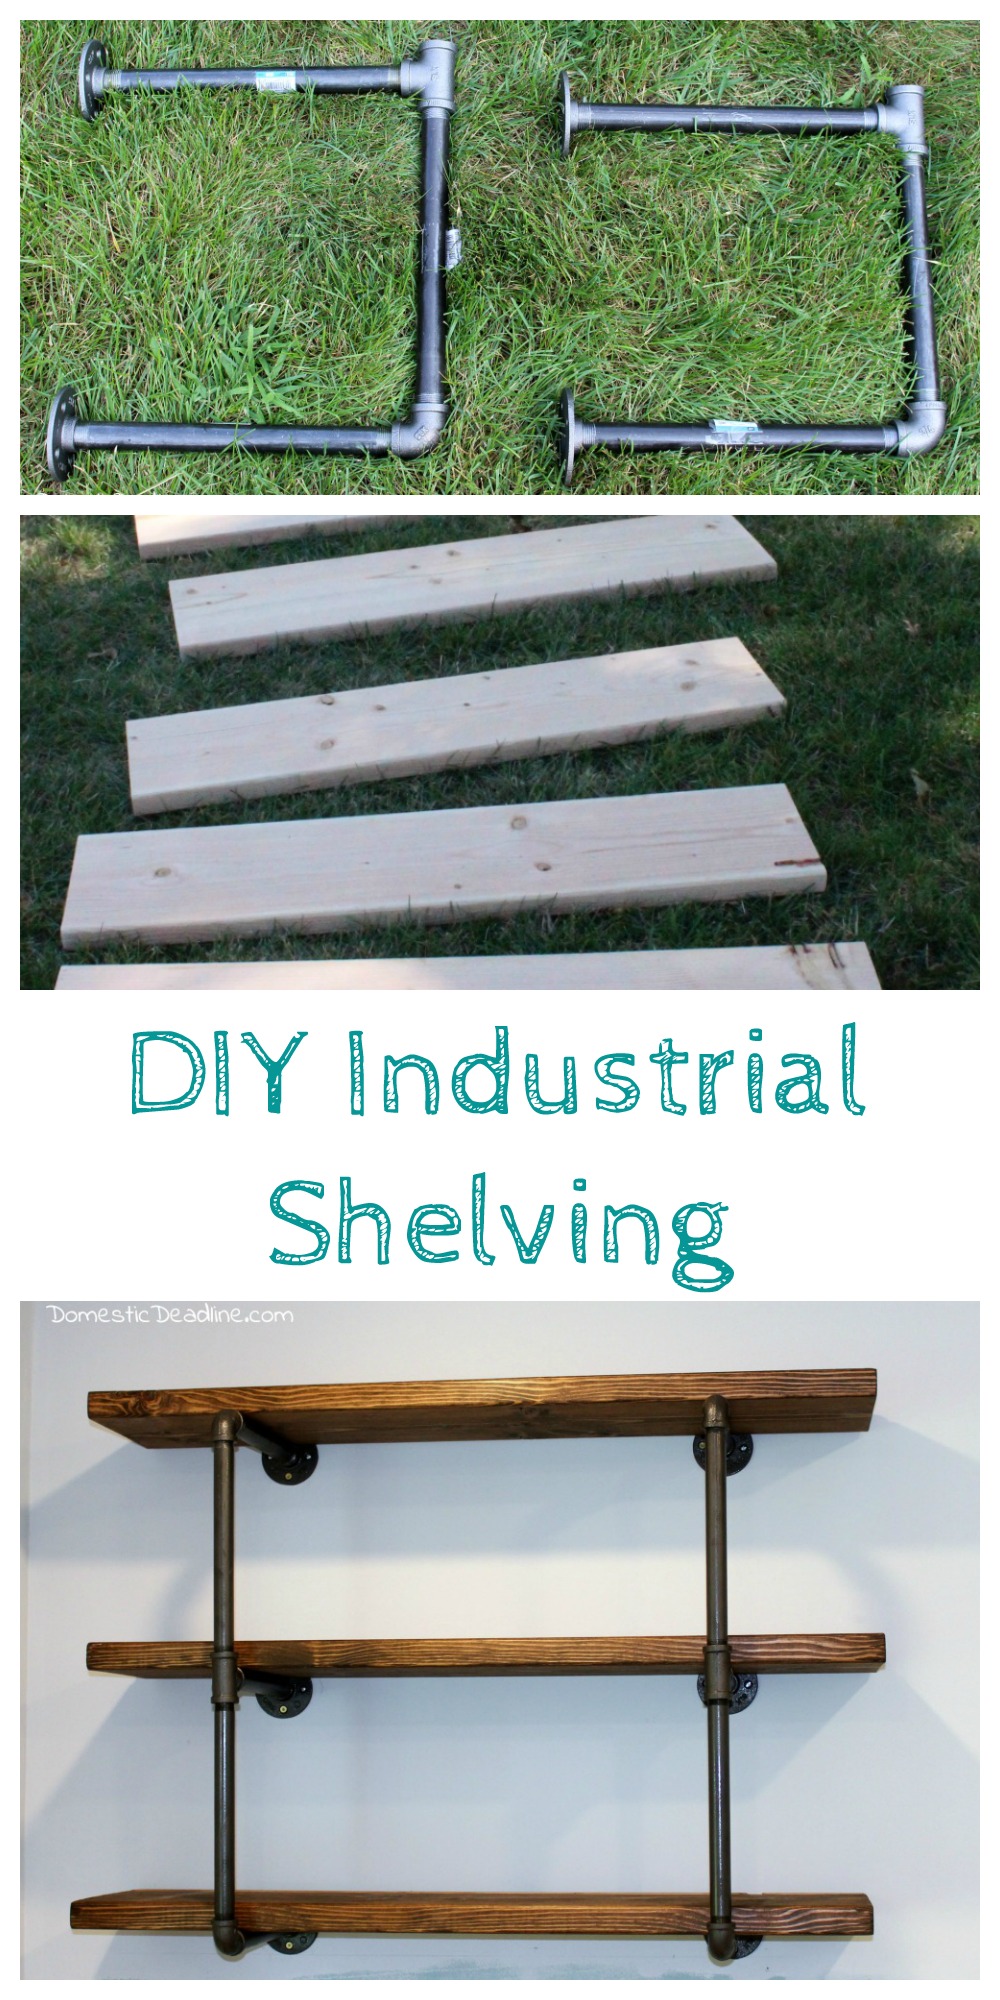
Obviously, you can customize to your space. Using a combination of ¾” black iron gas pipe flanges, elbows, t’s and 10” or 12” length, I assembled 2 brackets for each wall.
Spray Paint
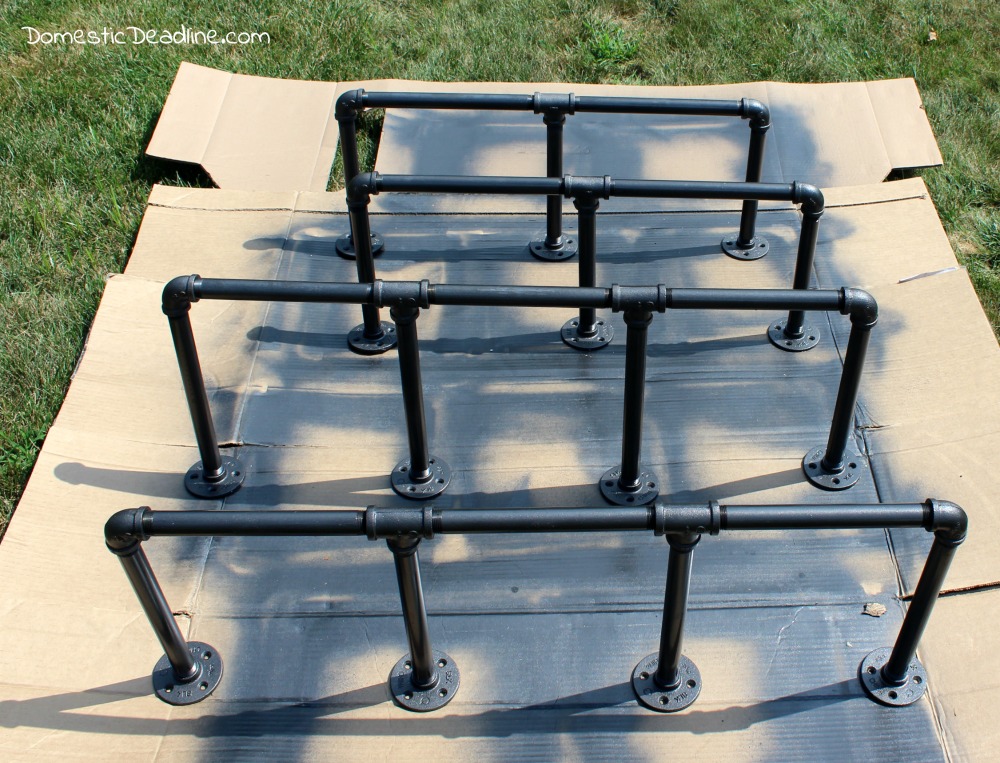
Be sure to remove all the labels. Once I peeled them off, rubbing alcohol helped clean up the pipes. I wanted all my pipes to be black. The straight iron gas pipes are black but have some greasy residue on them. Flanges and connector pieces are more of a charcoal gray.
A few coats of spray paint in a black hammered finished brought a cohesive look to the pipes. Be sure to move the pipes around so they get coated from all angles.
Installation
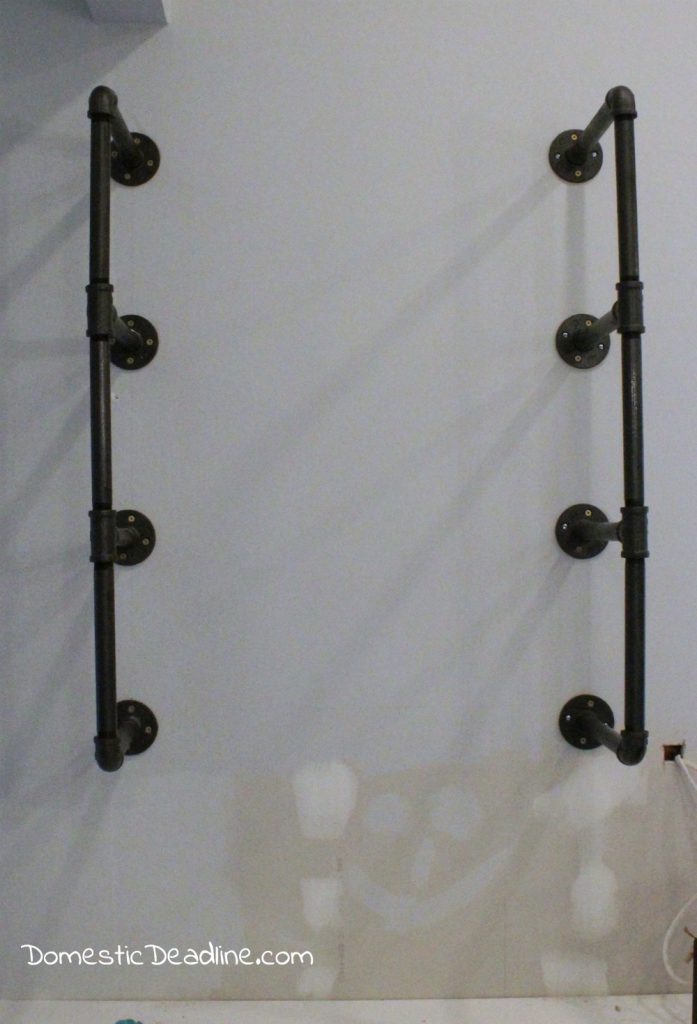
Once my pipes were assembled, painted, and dried, IronFish and I were able to mount them in the kitchen. By the sink, the bottom shelf is the same distance from the countertop as the upper kitchen cabinets. About 18 inches.
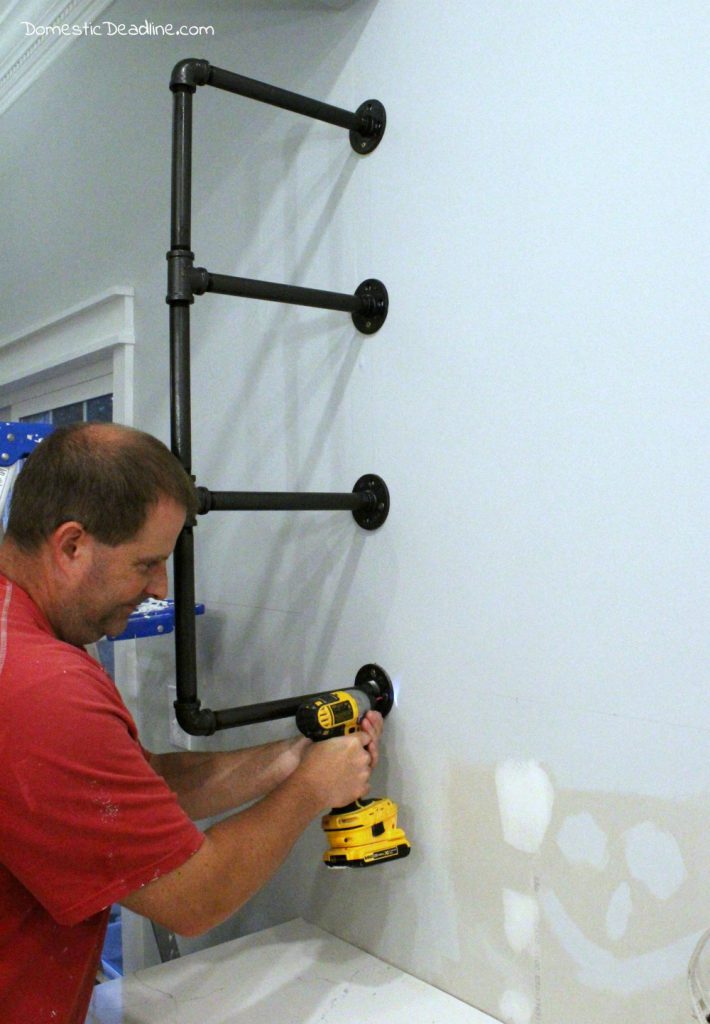
Each flange has 4 screws. Two are into a stud and 2 use wall anchors. These shelves are heavy and adding plates, glasses, and décor only makes them heavier. It’s very important to make these shelves as secure as possible.
The spacing between brackets was determined by the location of the studs.
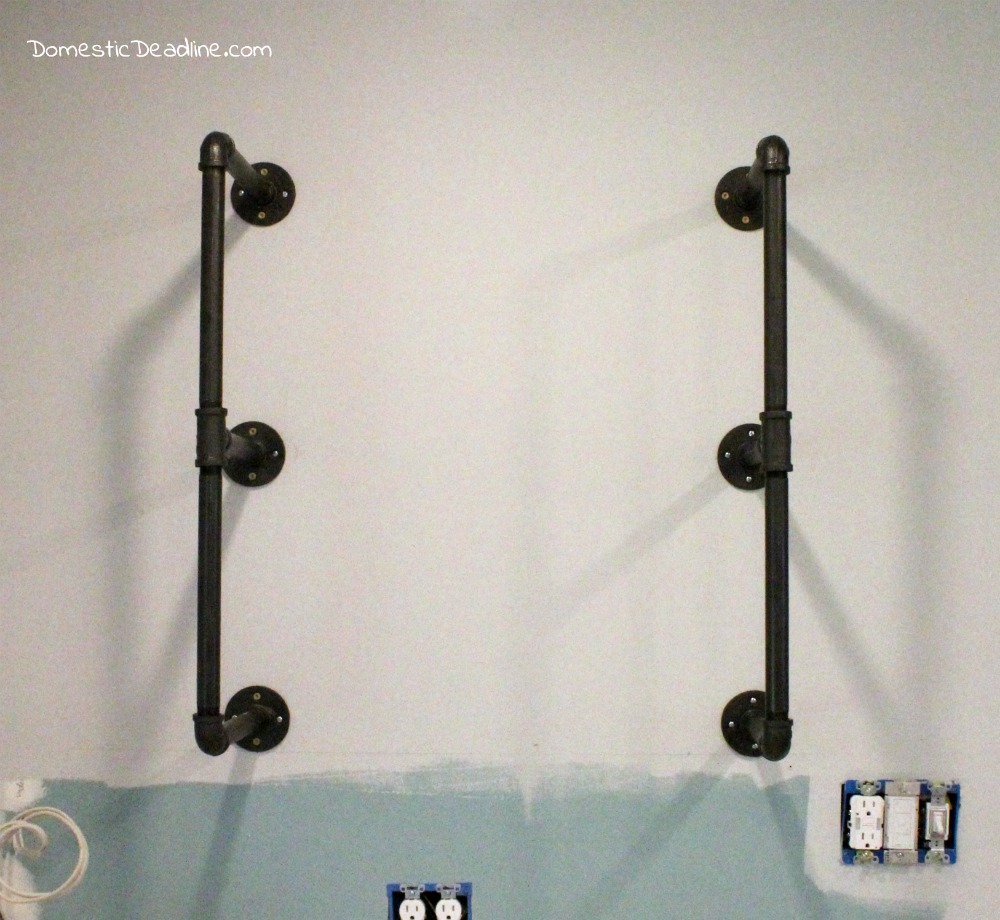
As for the shelves above the baking area, I knew my Kitchen Aid mixer would always have to be pulled away from the wall with the traditional height. So, I raised my bottom shelf slightly. It sits about 21” above the countertop. I know my backsplash tiles are 3 inches tall, the extra 3” means one more row of tiles, which works perfectly in my plans.
Wood Shelves
The countertops in my mudroom are made from 2×10” Douglas Fir boards. We gave them a distressed barn wood finish that I love. I considered the same treatment for these shelves. Ultimately, I decided just staining the boards an ebony color was the best for the look I was going for.
I’d planned on bringing a few 8-foot lengths of 2×10” and 2×12” home and using my own saw to cut the shelves to length.
Thankfully, I had taken my measures with me. My local home improvement store had 12 and 16-foot lengths! Since I needed them to be cut to fit into my car anyways, I requested the shelves be cut to the length I needed.
A word of warning, however, while places will cut, make sure the person doing the cutting knows how to measure! I’ve had store employees not measure correctly, part of why I often don’t ask them to cut. This time I had the lumber yard manager and he suggested I check each measurement before he cut.
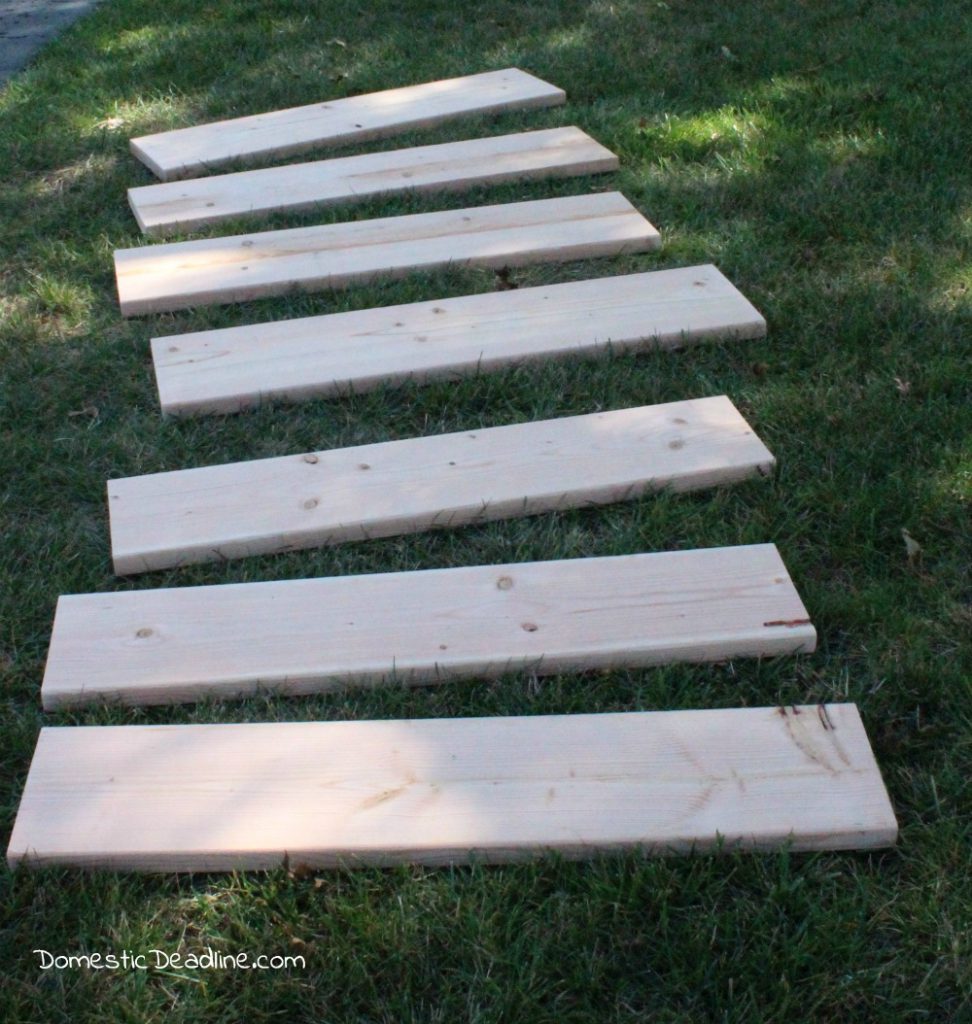
Since it was a beautiful day, I tossed the shelves into my lawn and got to work staining right on the grass. Two coats gave me the color I was going for.

The next step is optional and unfortunately, I forgot to take a picture! IronFish routed a channel about one inch from the back on the top of each board. This gives me a plate groove on each shelf! I’m not 100% positive yet what will be on each shelf, but this way I can always stand a plate up for display.
DIY Industrial Shelving
I love the final results! The boards slide into place easily.
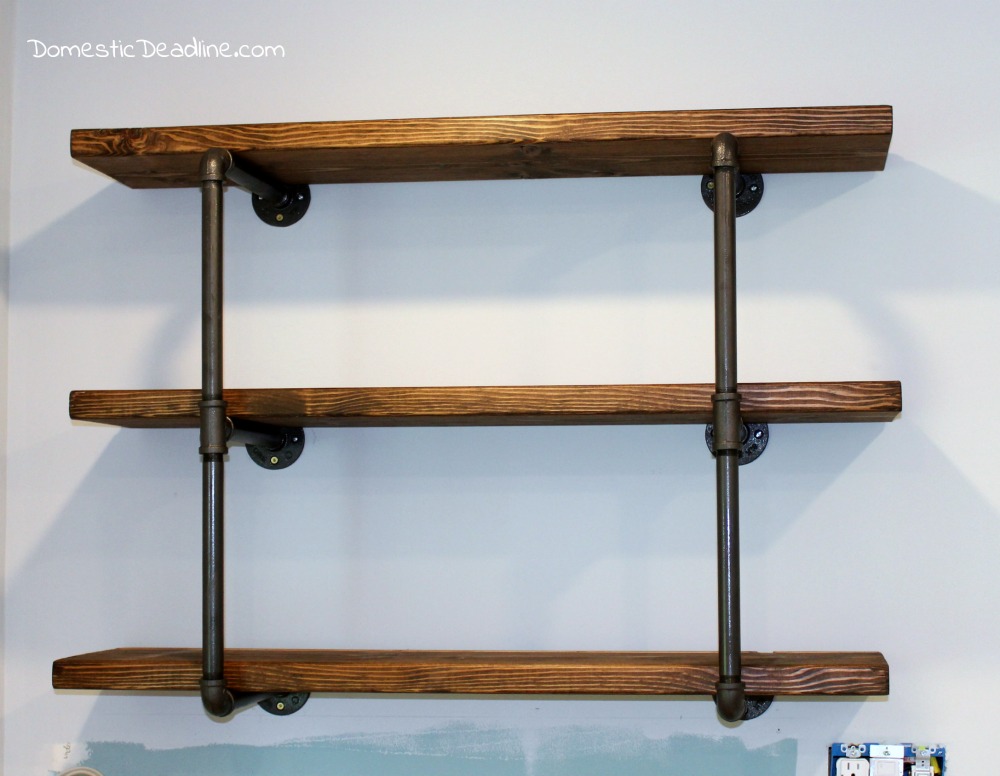
Now I am ready to tile the backsplash and turn these shelves into functional and beautiful storage.
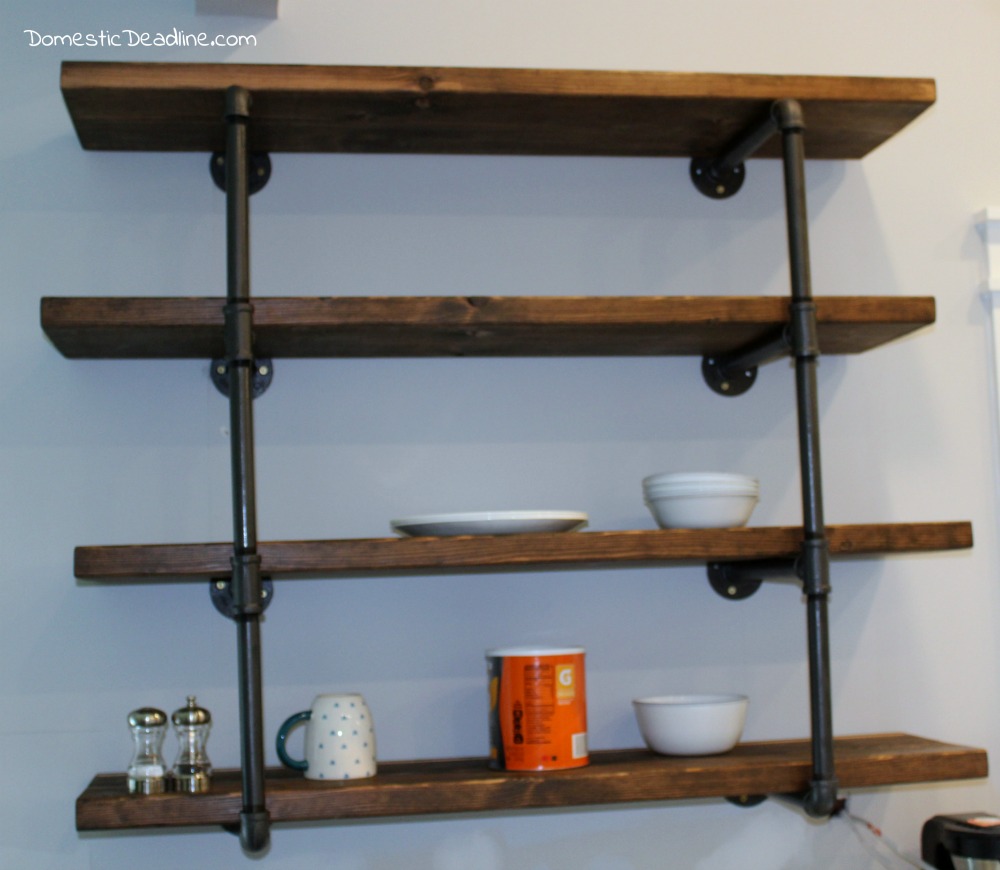
Doesn’t everyone want to proudly display their giant can of Gatorade powder?
Pin and Share
As always, I’d love for you to pin and share!





6 Comments