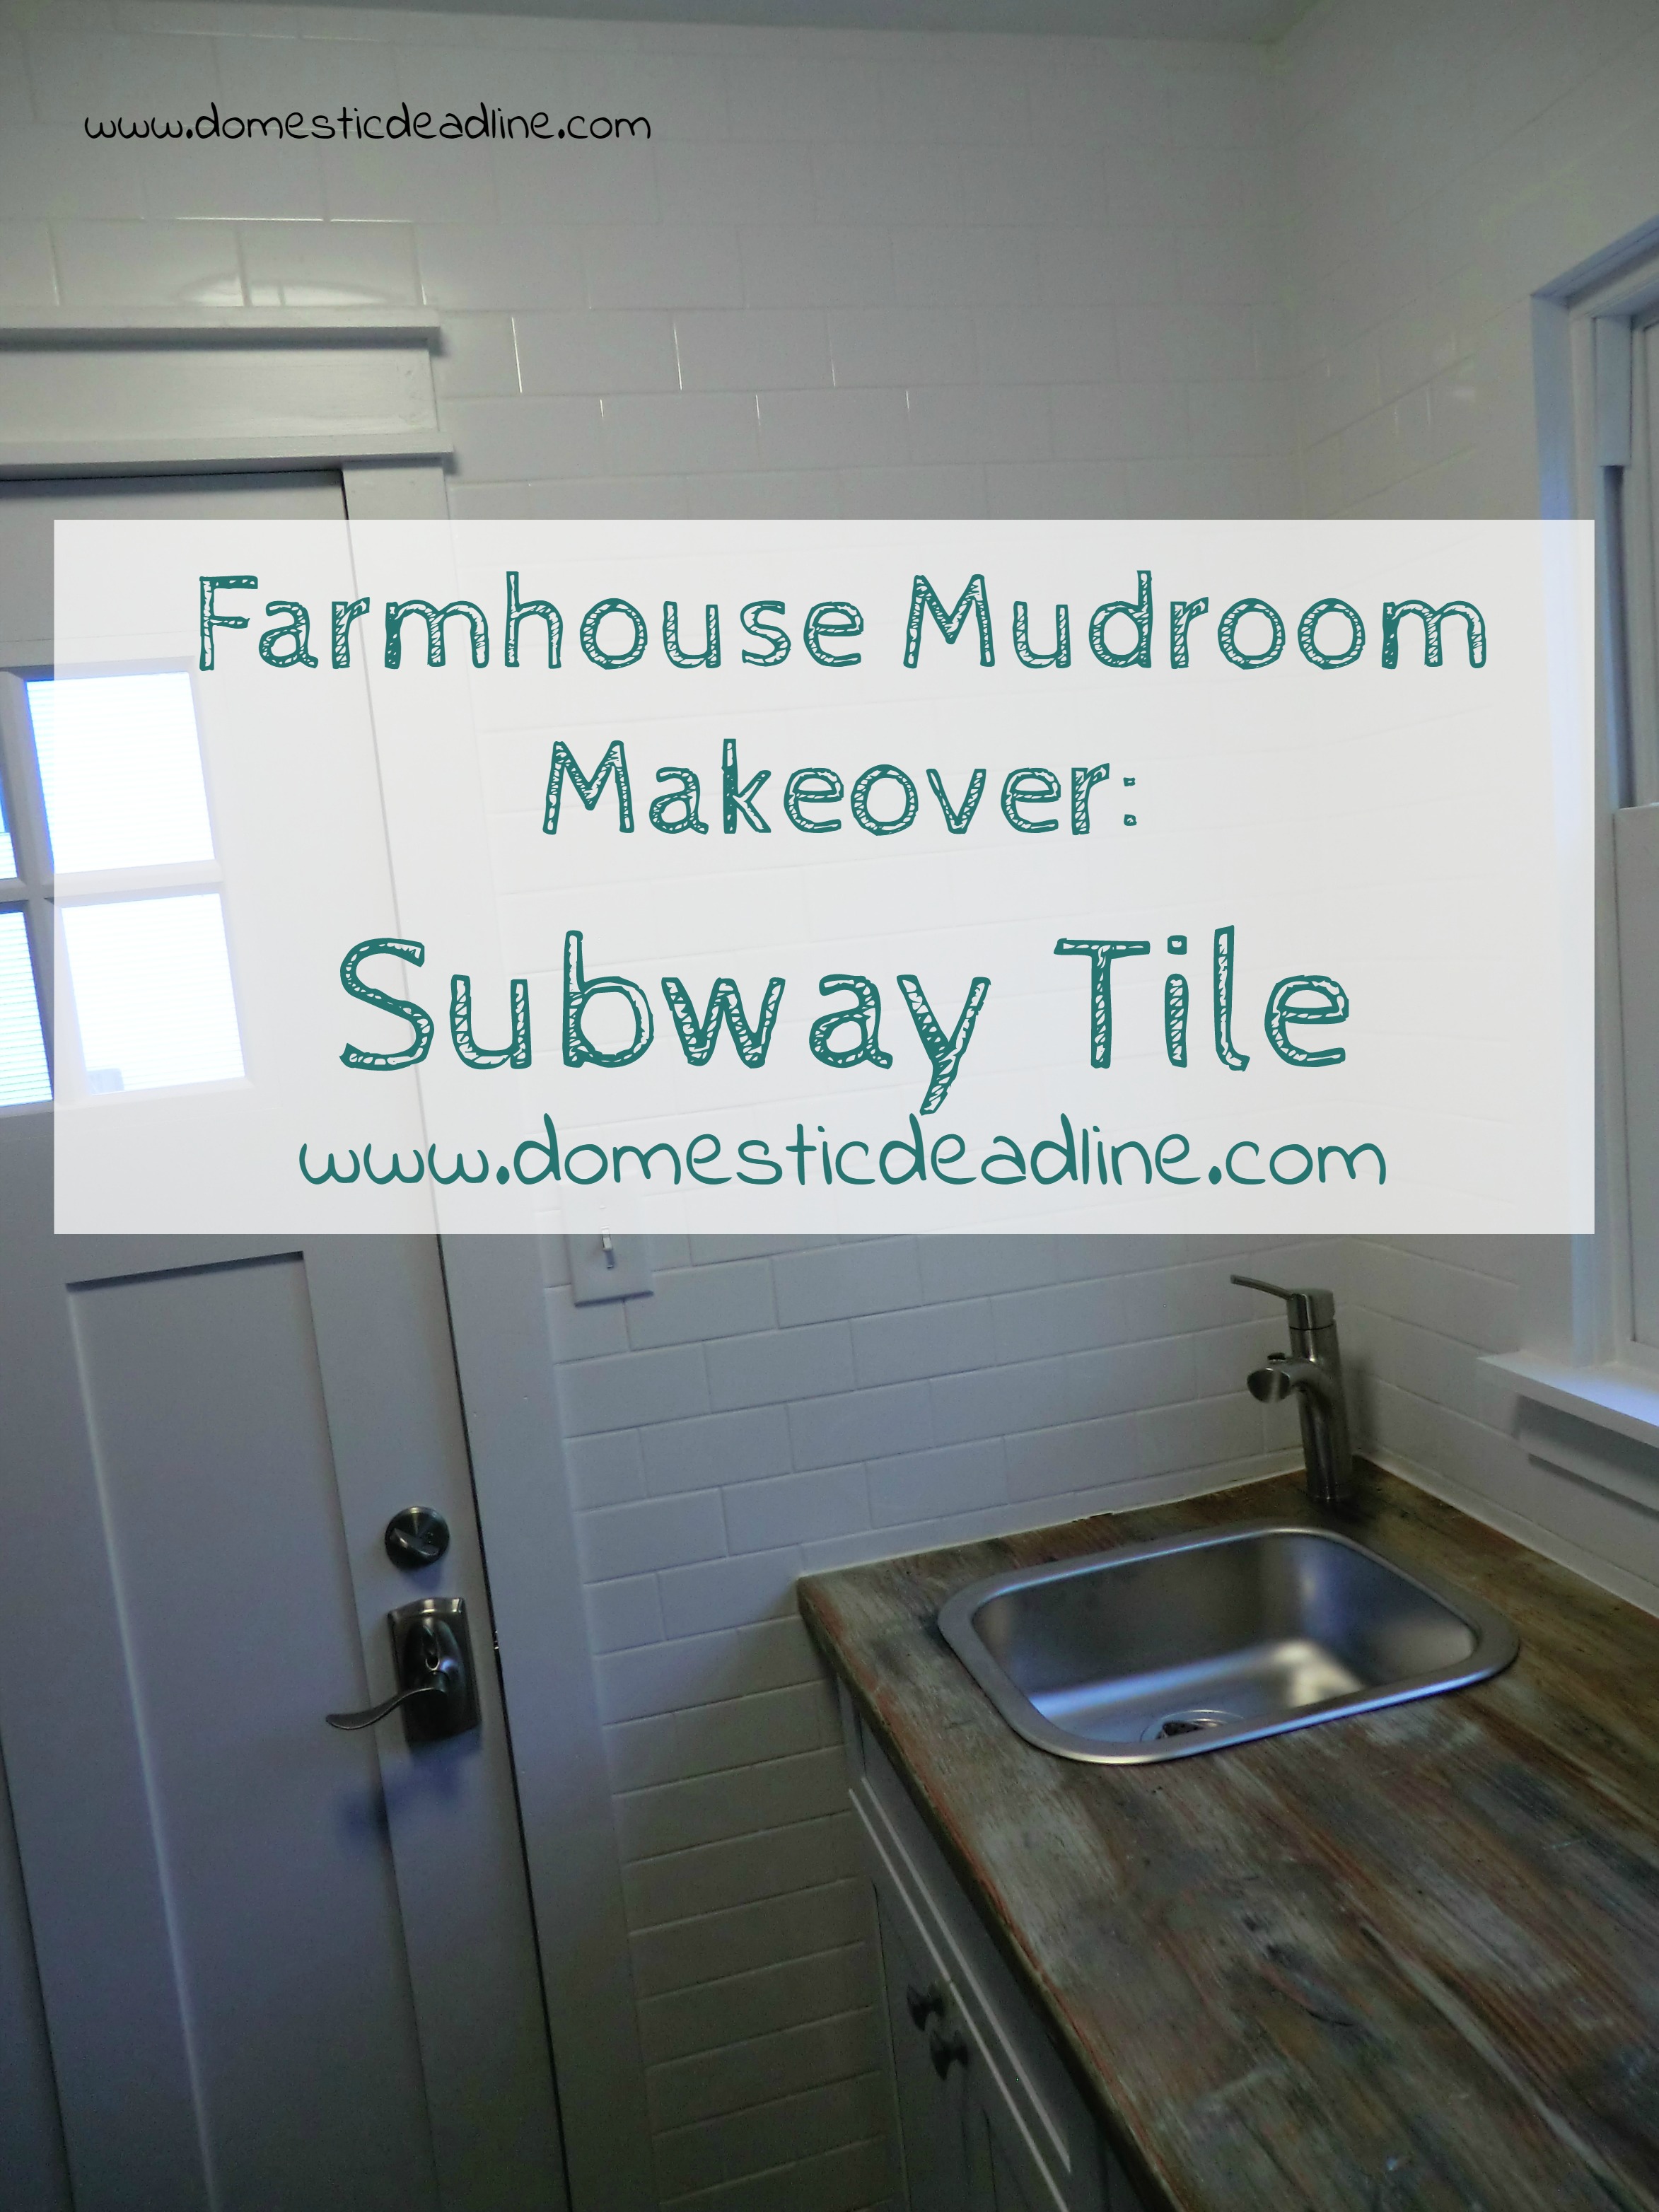
If you have been following along, I’ve been making over my mudroom; giving it a farmhouse style and packed with storage. With the cabinets and countertops installed, it was time to shift focus on my farmhouse mudroom makeover – Subway Tile!
Memory Lane
If you need to catch up, here’s what you missed:
- Organized mudroom inspiration
- Farmhouse mudroom makeover cabinets and storage
- DIY barn wood countertops
This post may contain affiliate links. Which means, if you click the link and buy something, I may receive a percentage of sales at no additional cost to you. Thank you for supporting Domestic Deadline.
Preparation
We trimmed the exterior door the same as the rest of the house. With as many of these headers we made for all the windows and doors in the whole house, IronFish has got this down. His system is running so smoothly now he has begun enlisting JuneBug to assist him so I can focus on other tasks.
Because we plan on eventually adding a few shelves to the wall over the sink, we opted not to make a header for the window. With the door and window trimmed out, it was time for me to start tackling the tile.
For the tile, I knew I wanted a white subway tile. I didn’t know if I wanted super basic or if I wanted to find something a little different. I did my mother’s kitchen backsplash in a traditional 3×6 size white tile, but with a crackle finish. They are beautiful but I didn’t feel the extra expense was worth it for a mudroom.
That’s when I remembered I had half a box of basic white subway tile in my shed from another project and the decision was made for me. Another box was purchased, but my motto is “rock what you’ve got” so starting with leftover was totally up my alley.
Tiling
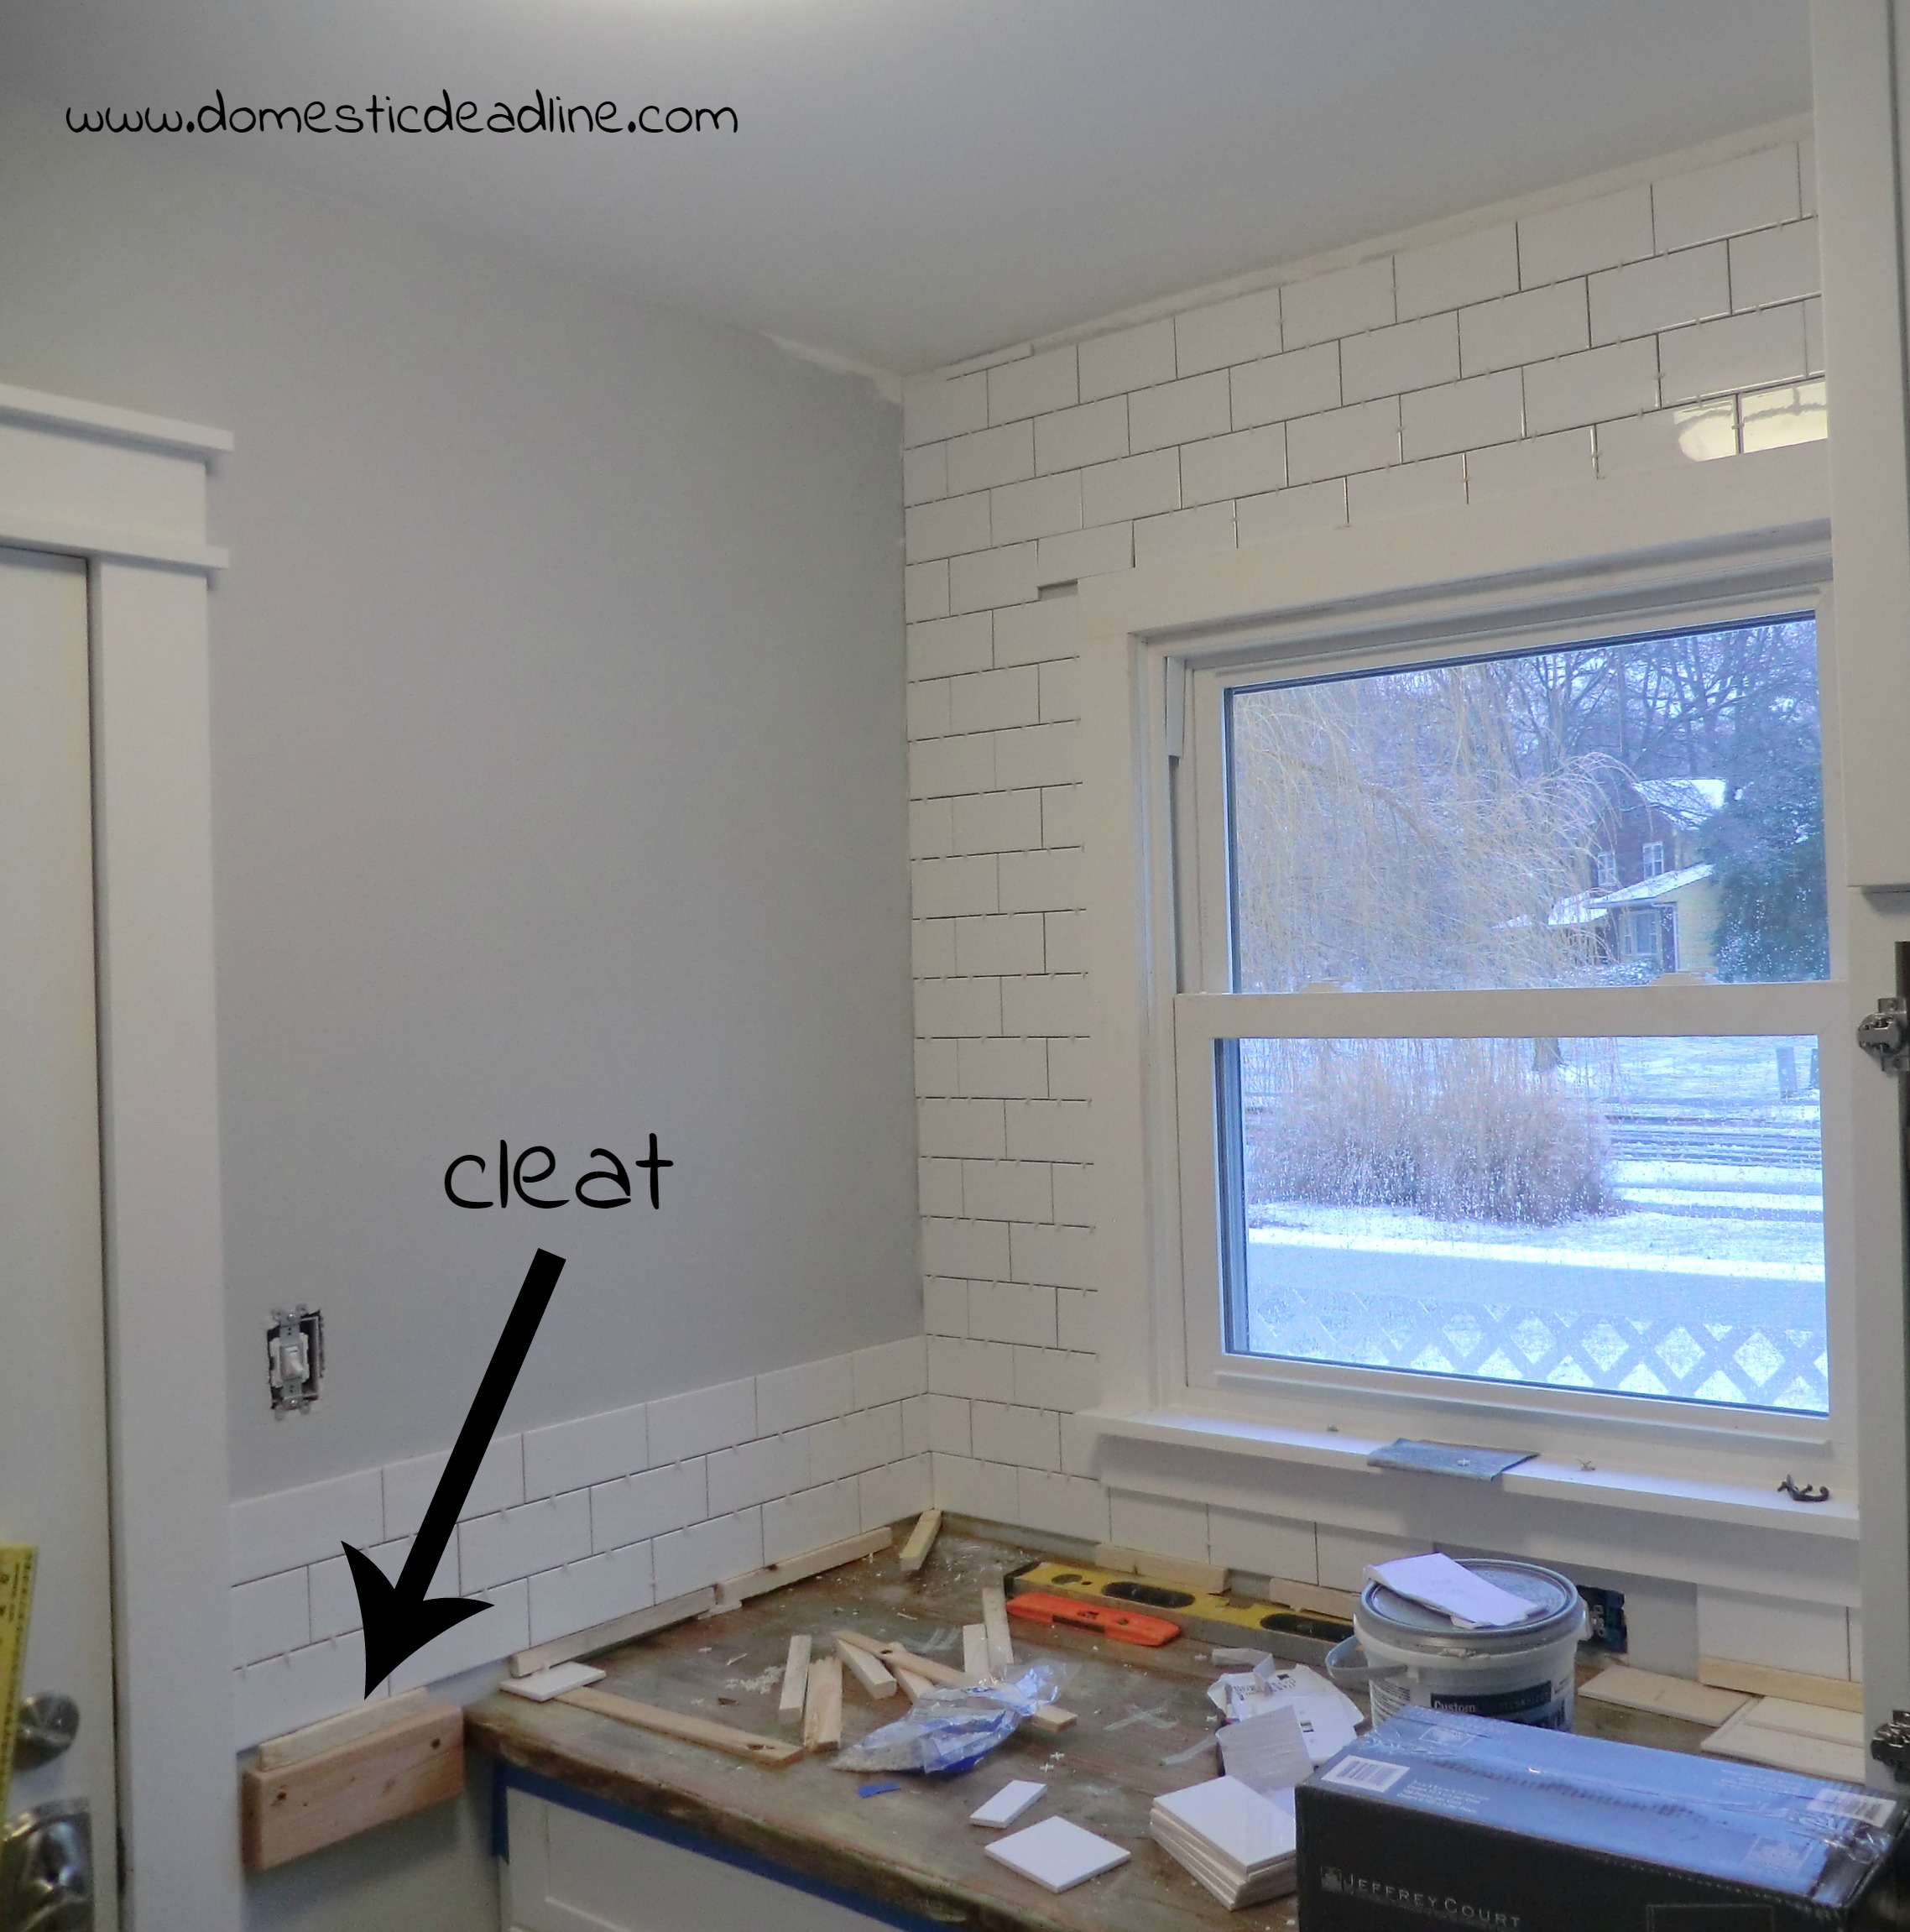
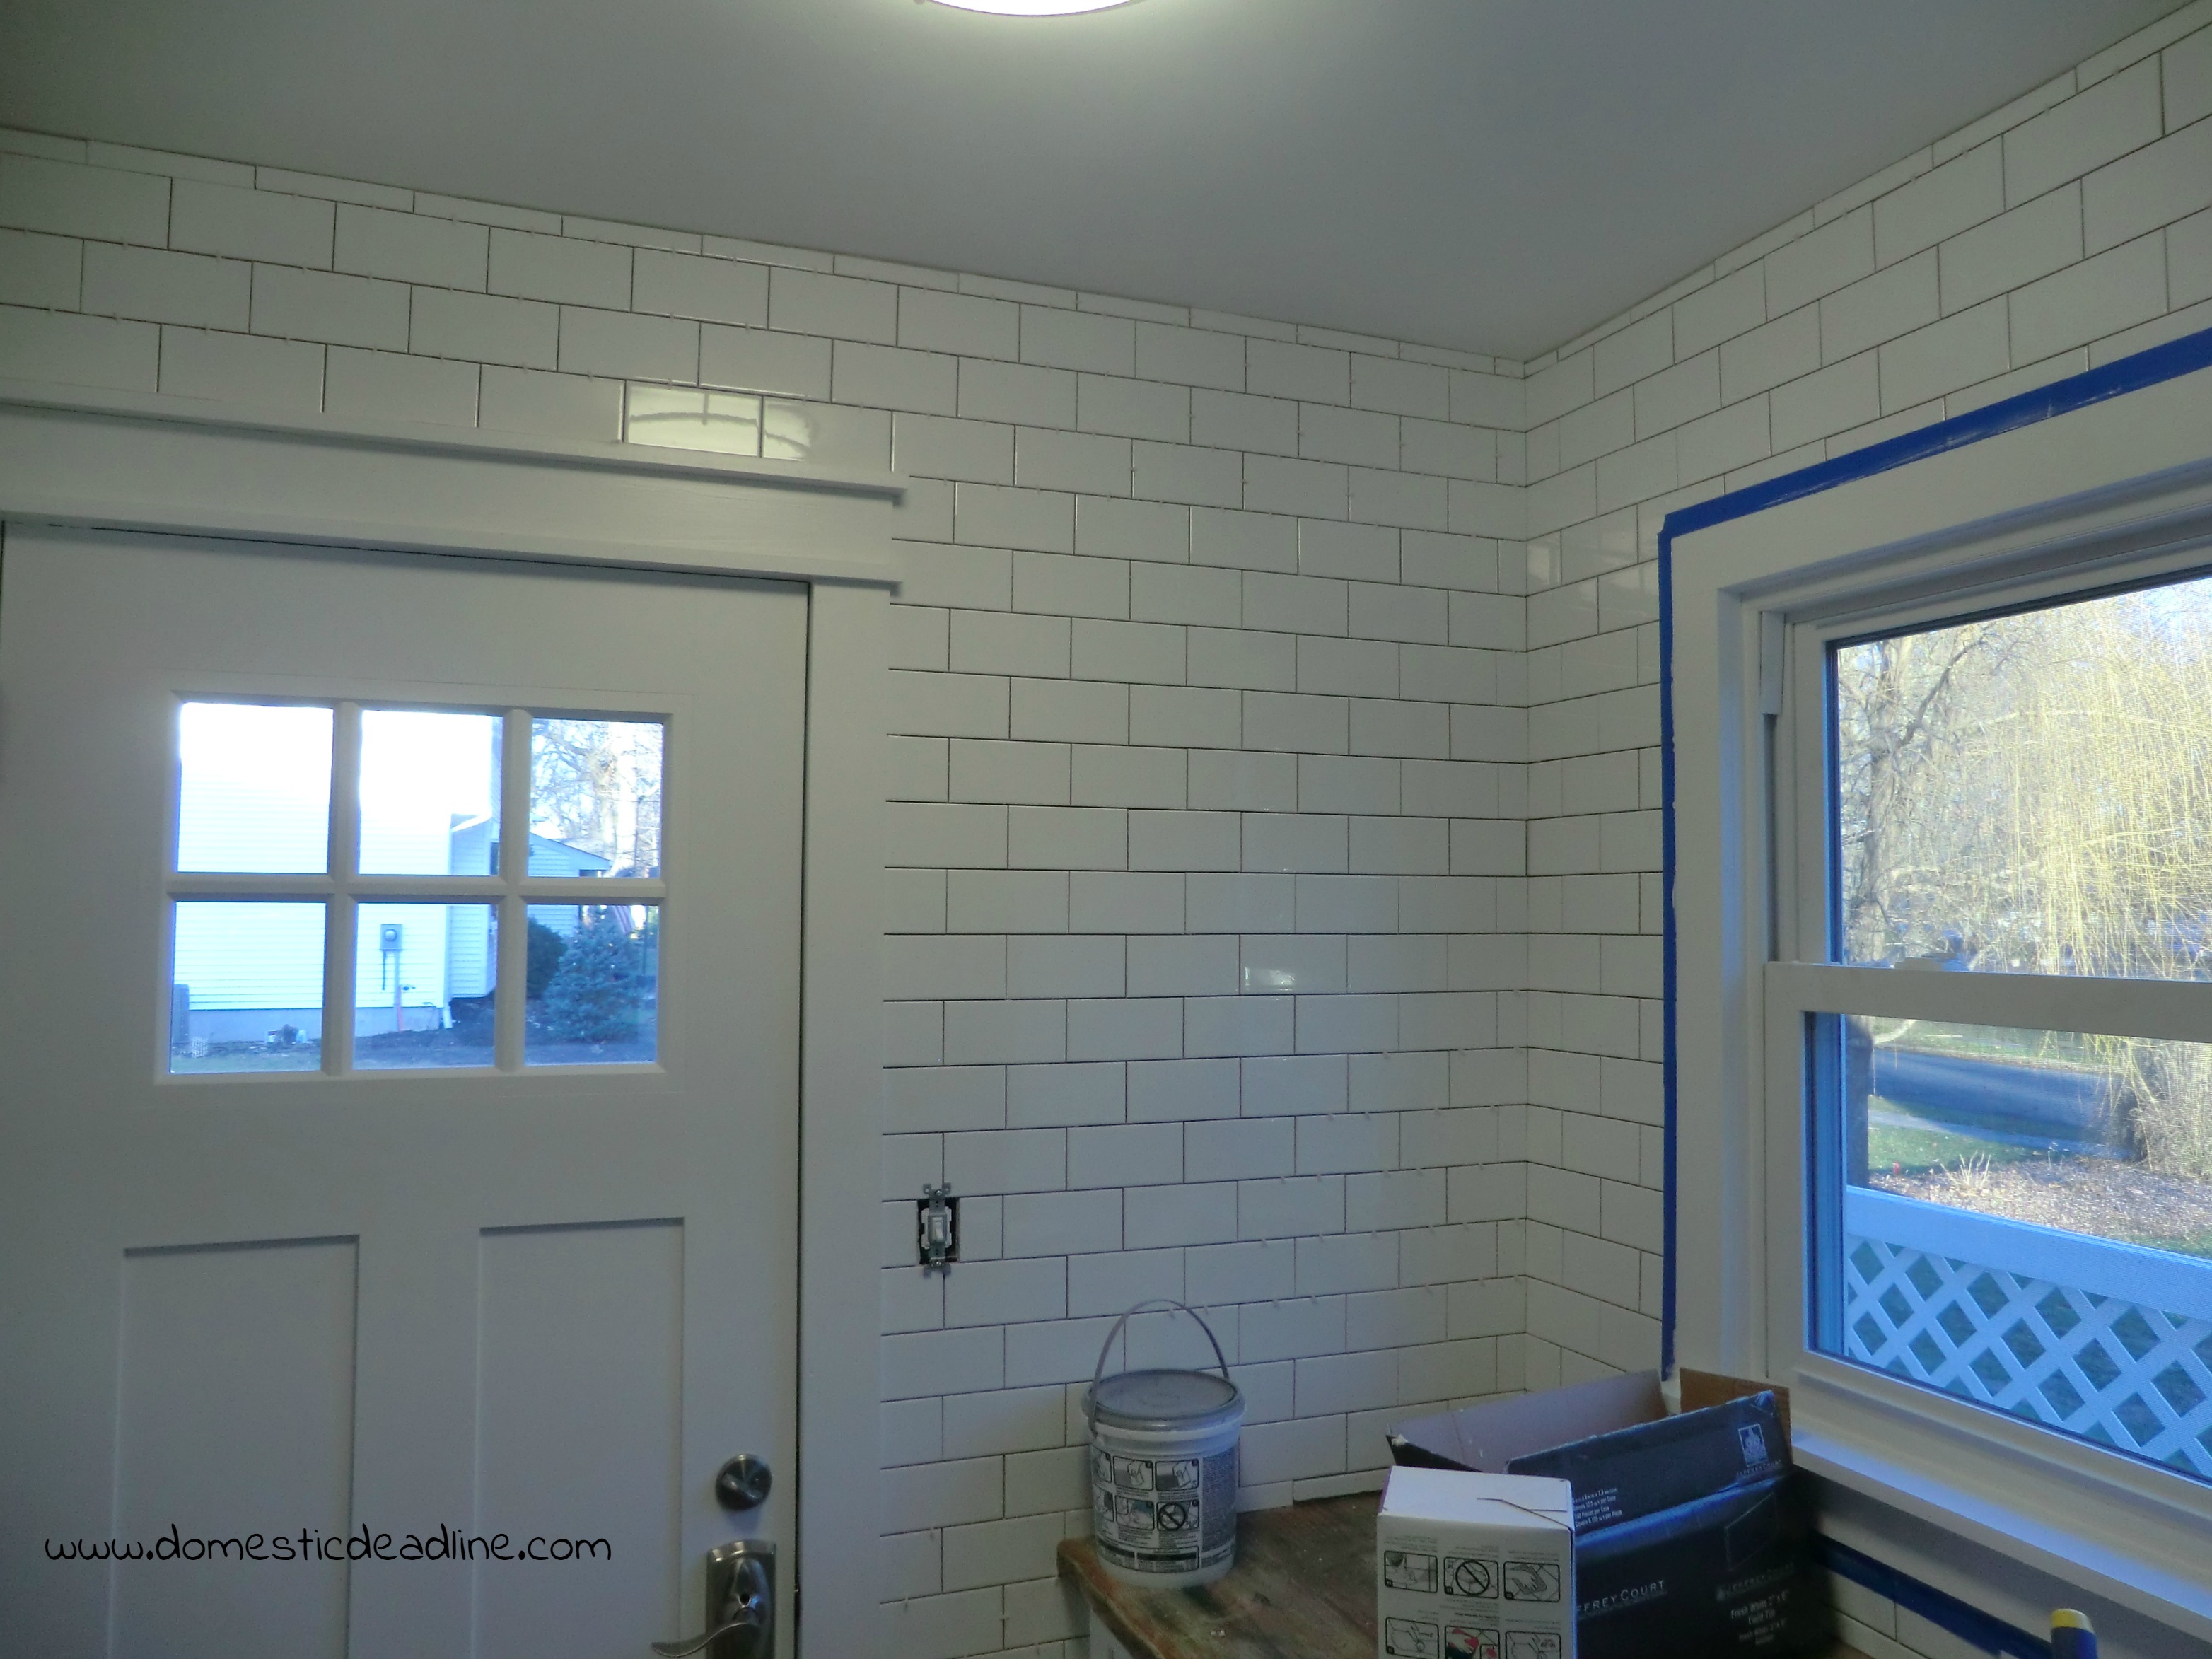
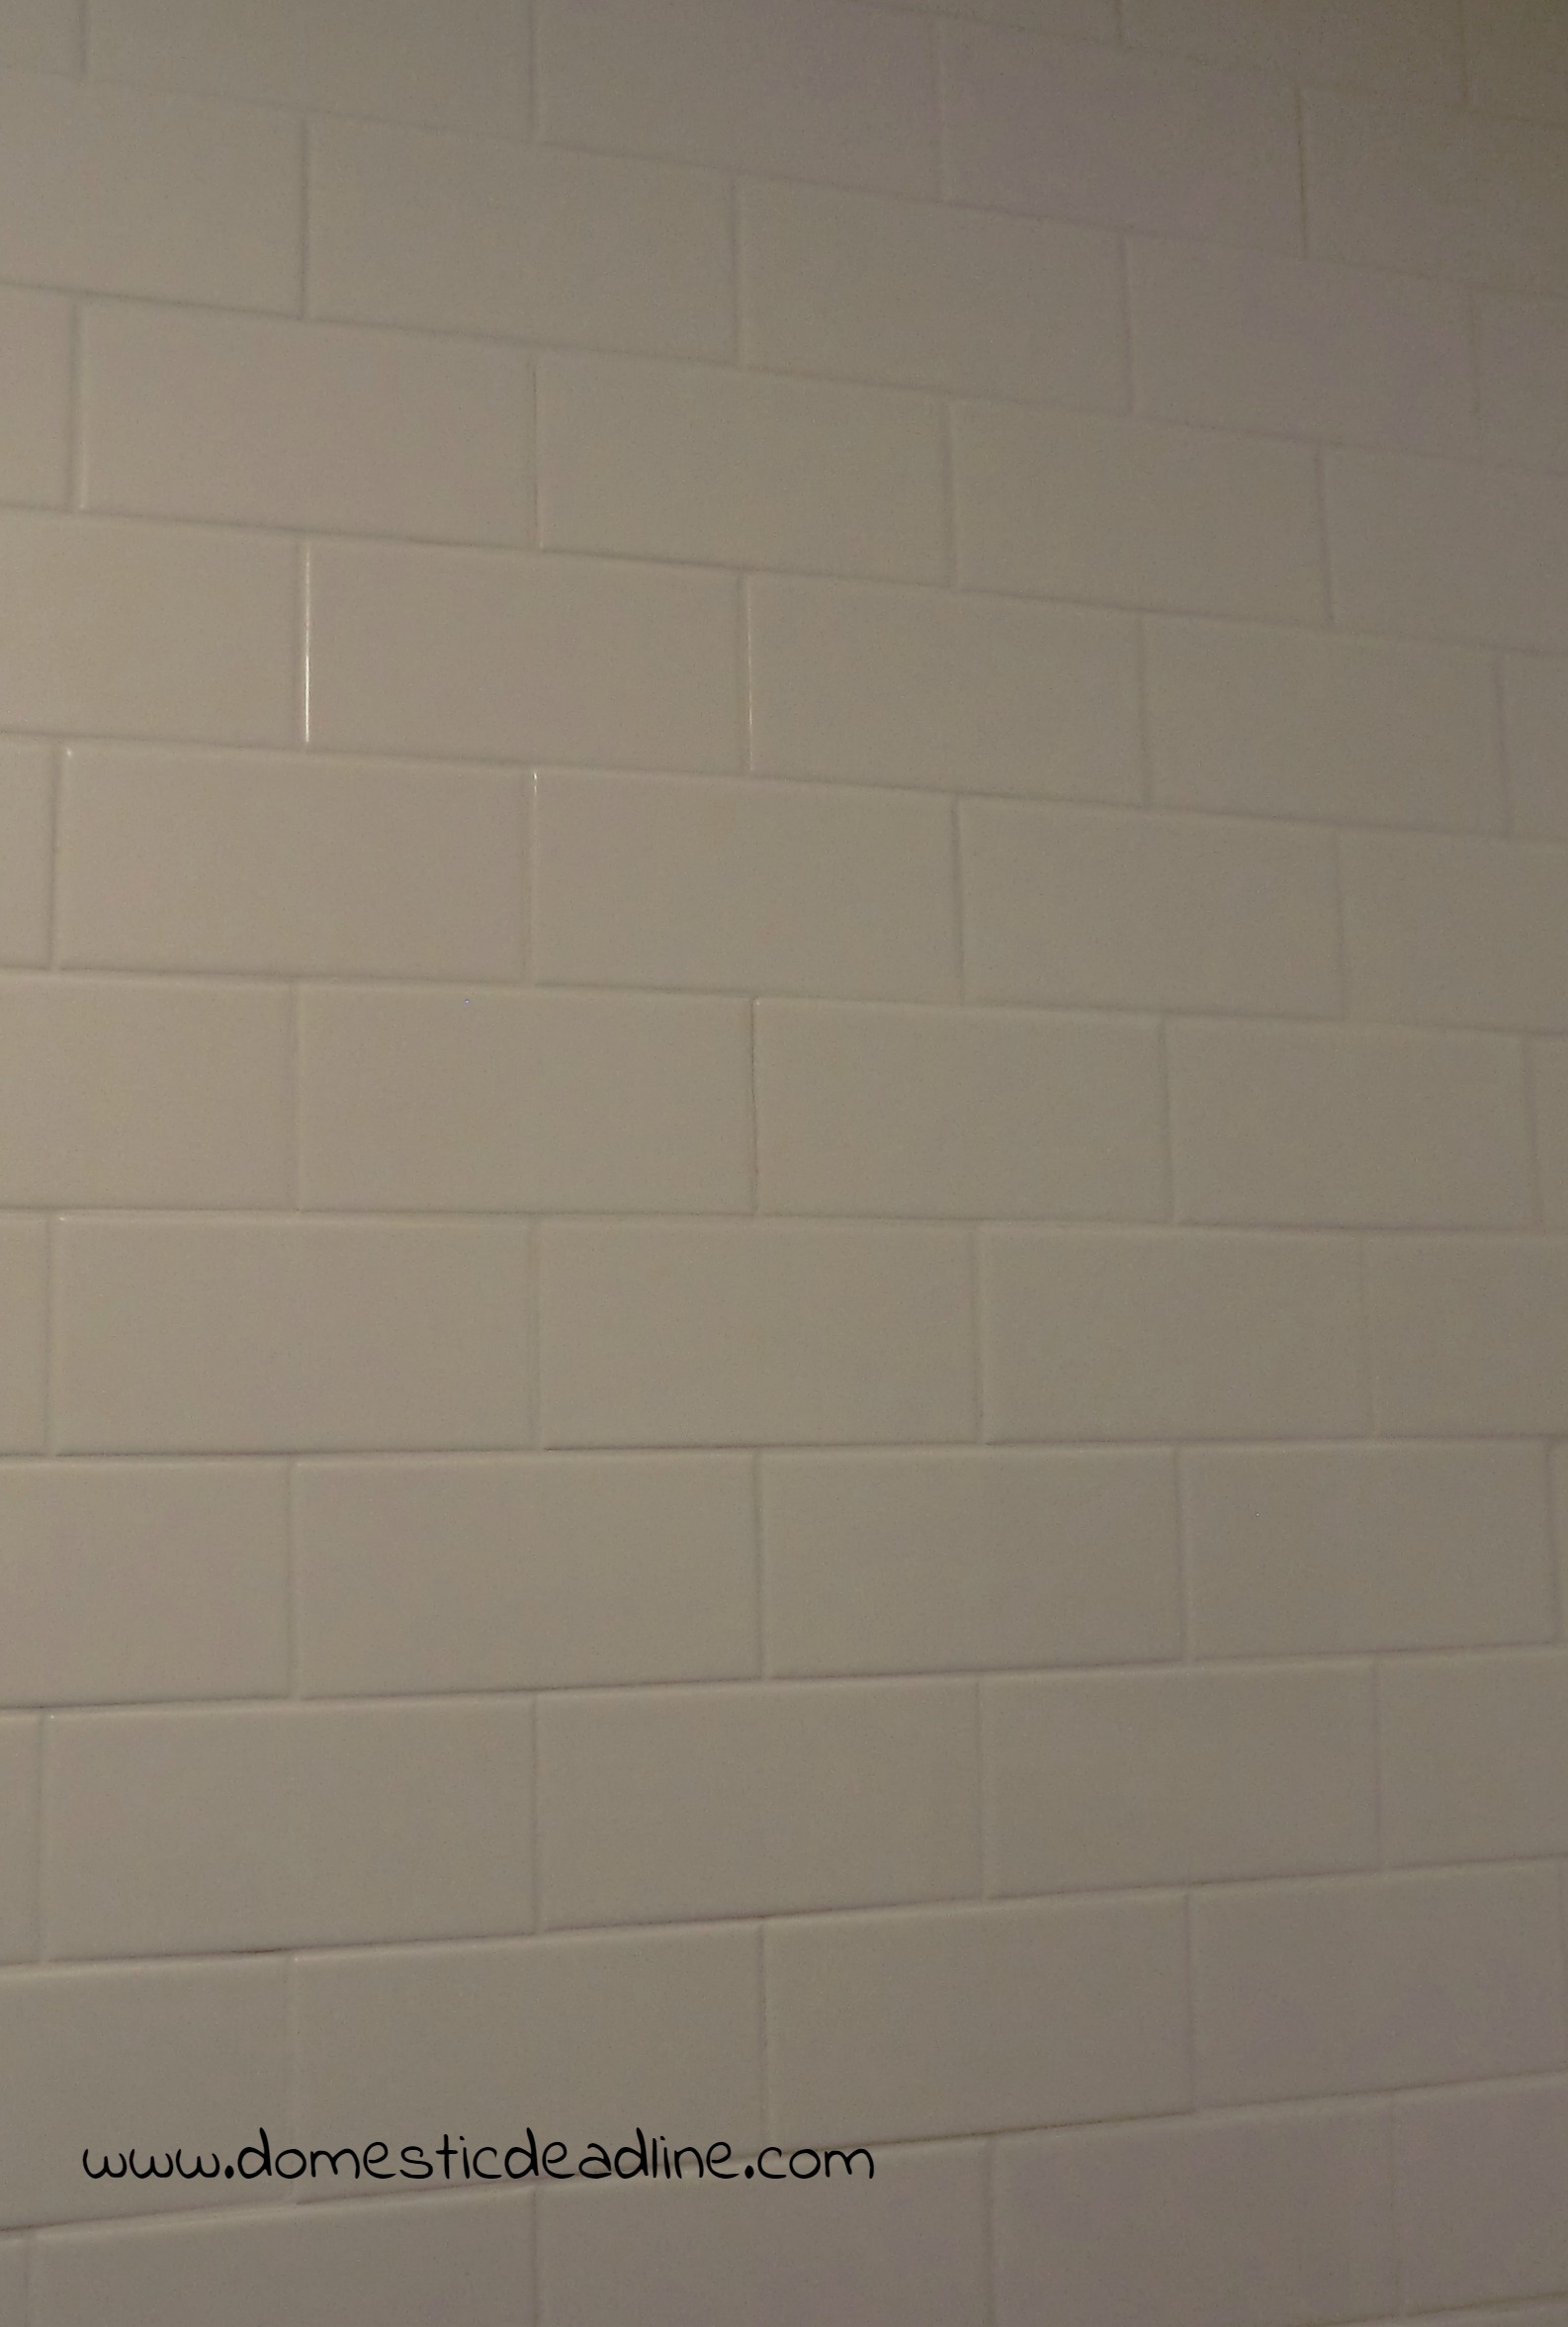
I started with the window wall, working my way to the right and then up the wall. Tile goes right up to the window casing. I used a broken joint method; every other row I started with a half tile. Even with the cuts, this wall came together pretty quickly.
Notice the cleat on the wall. I wanted the tile to run continuously but didn’t want to start at my lowest point. The starting point needed to be along the backsplash. With the cleat in place, I was able to work up the wall and then tile down along the cabinet the next day.
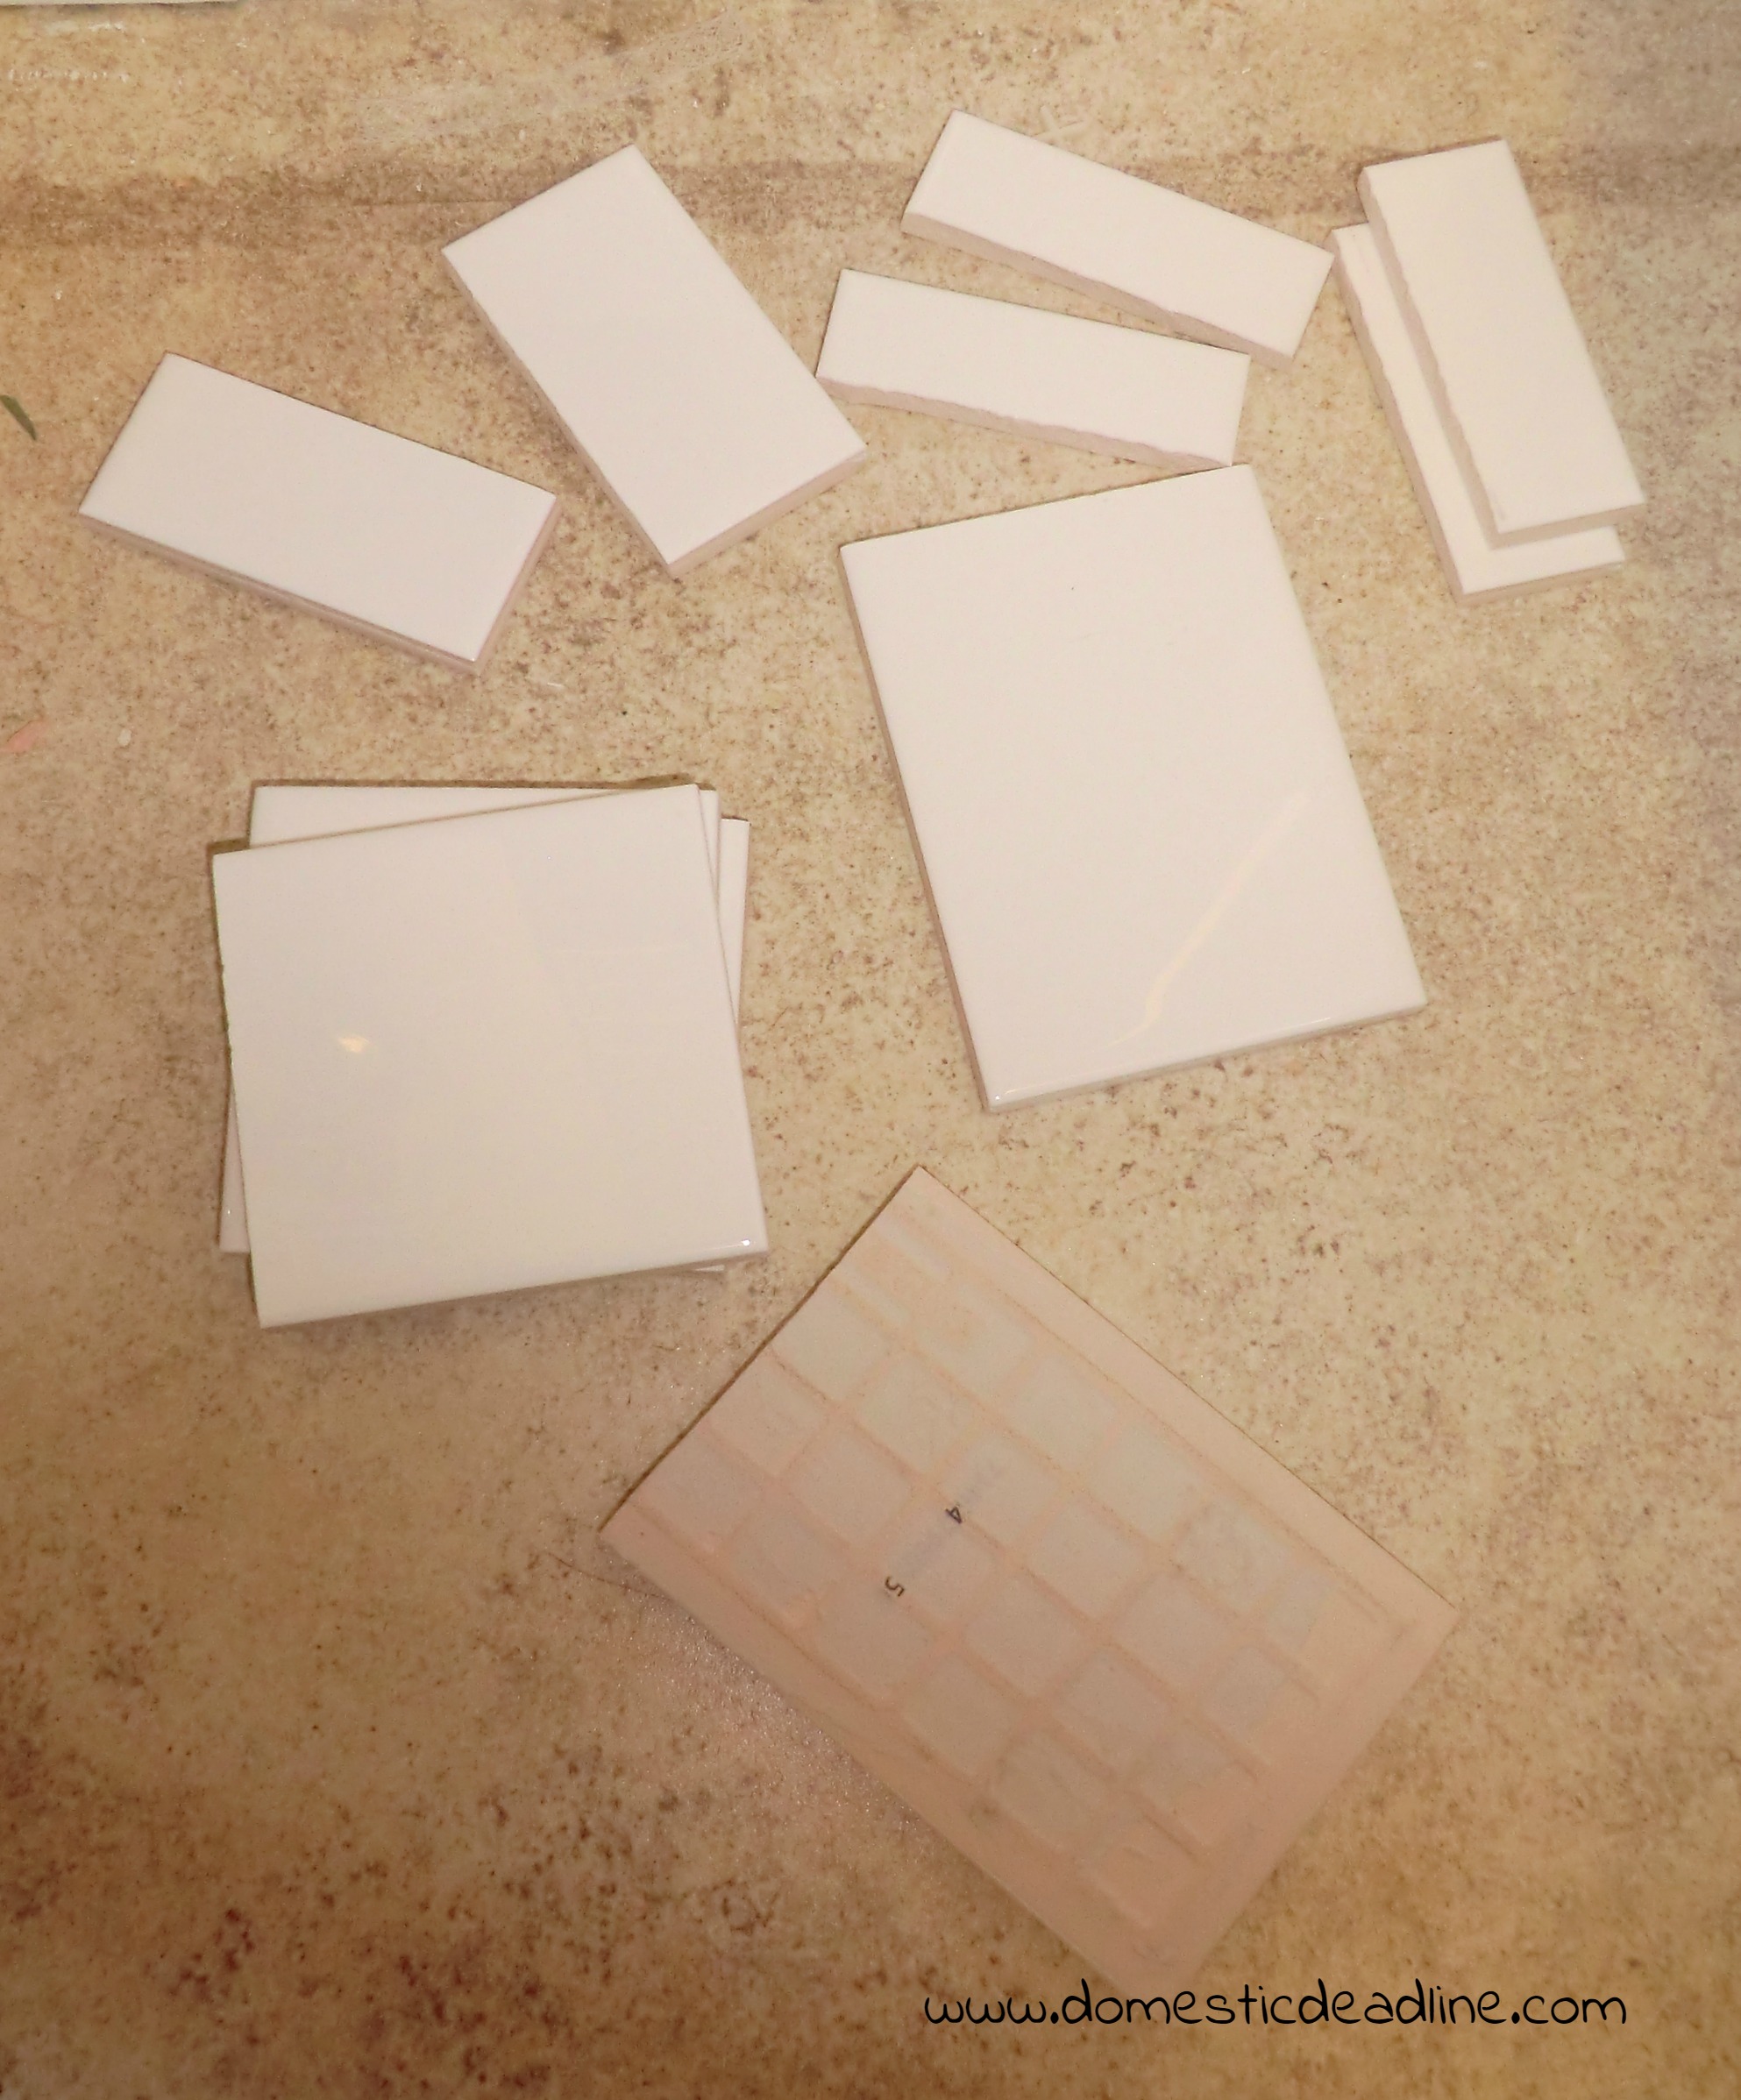
I have a thing for saving leftover tile, sometimes even pieces or drops. To me, tiling is like a giant puzzle. I get a thrill out of realizing I can use a drop and not have to cut into a new tile.
Grout
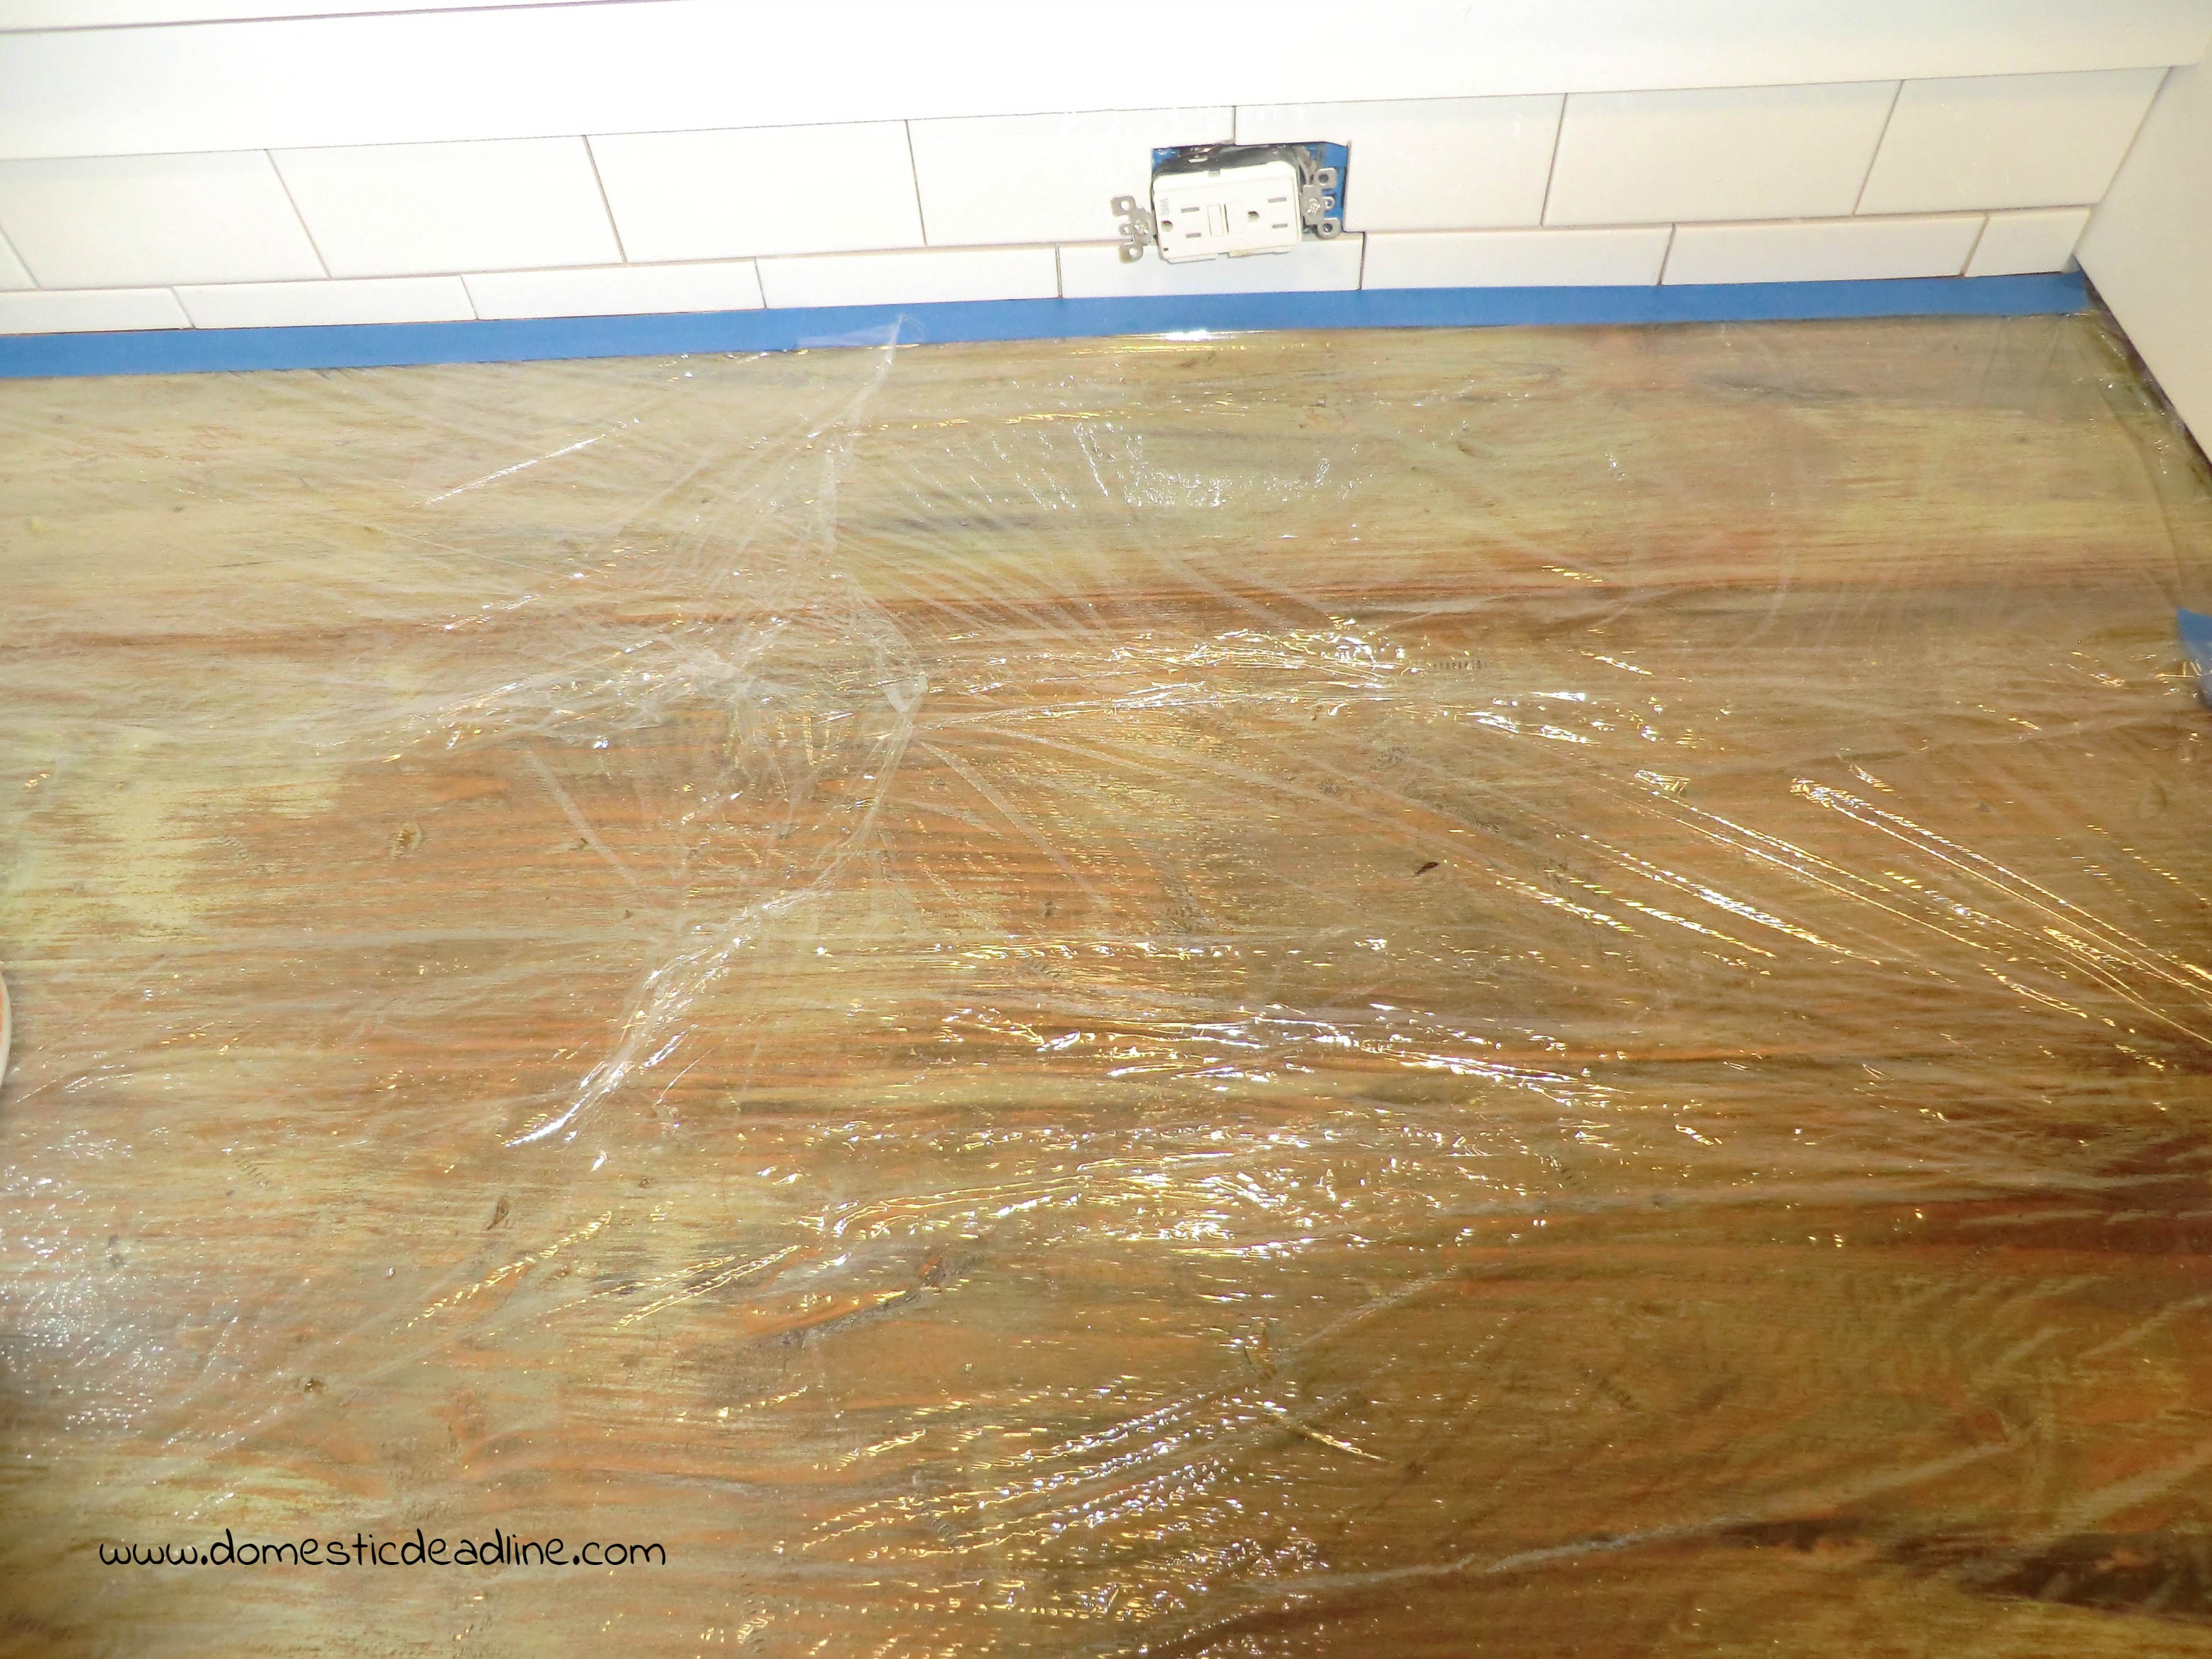
My countertops had been dry for a few days, but I wanted to protect them. Normally I would put down some drop clothes and then wipe up whatever grout did fall on. It struck me to lay some plastic wrap over the counters and run a strip of tape close to the tile edge. This would hold the plastic in place and when I was done, I could just remove all the drips and drops, making cleanup a breeze… It worked like a charm!
Grout comes in a variety of colors. I originally was thinking of black, or dark gray. But, I couldn’t make up my mind so I went with the old standby, white. The whitest white available and I’m so glad I did.
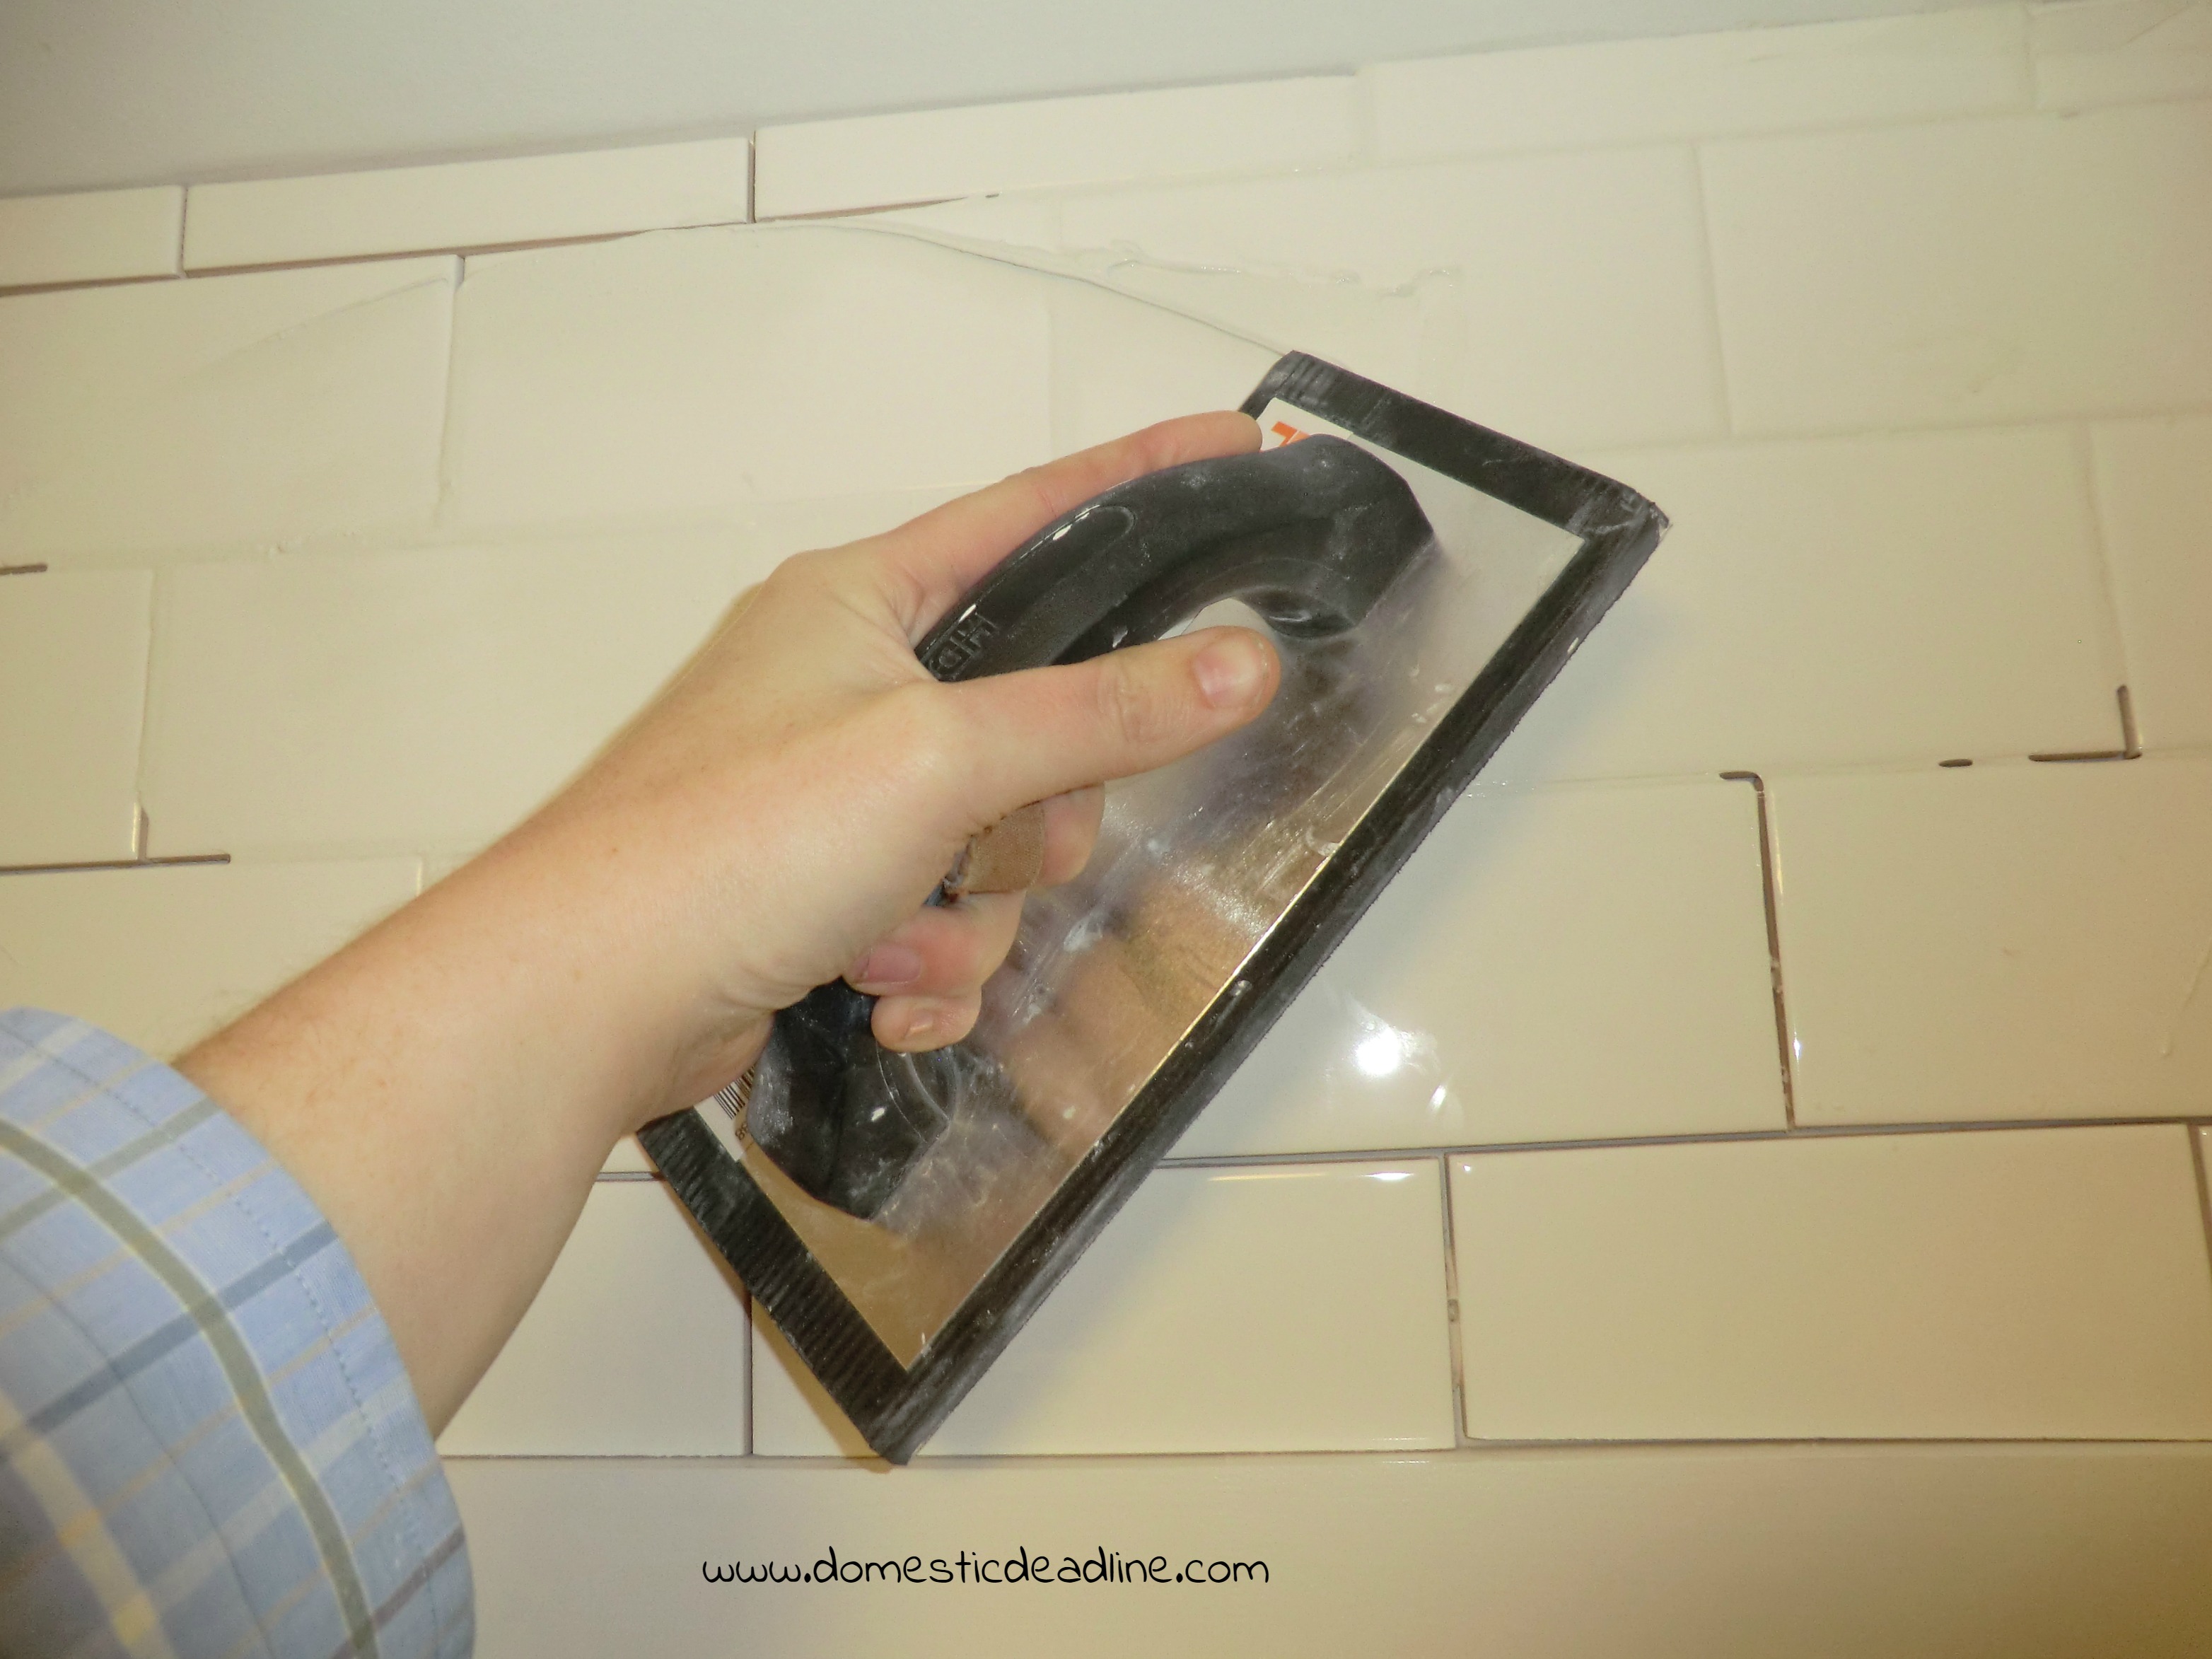
When grouting, it’s important to work it into the cracks. As soon as it’s all applied, I go back to the beginning and start to wipe it away; shaping the joints.
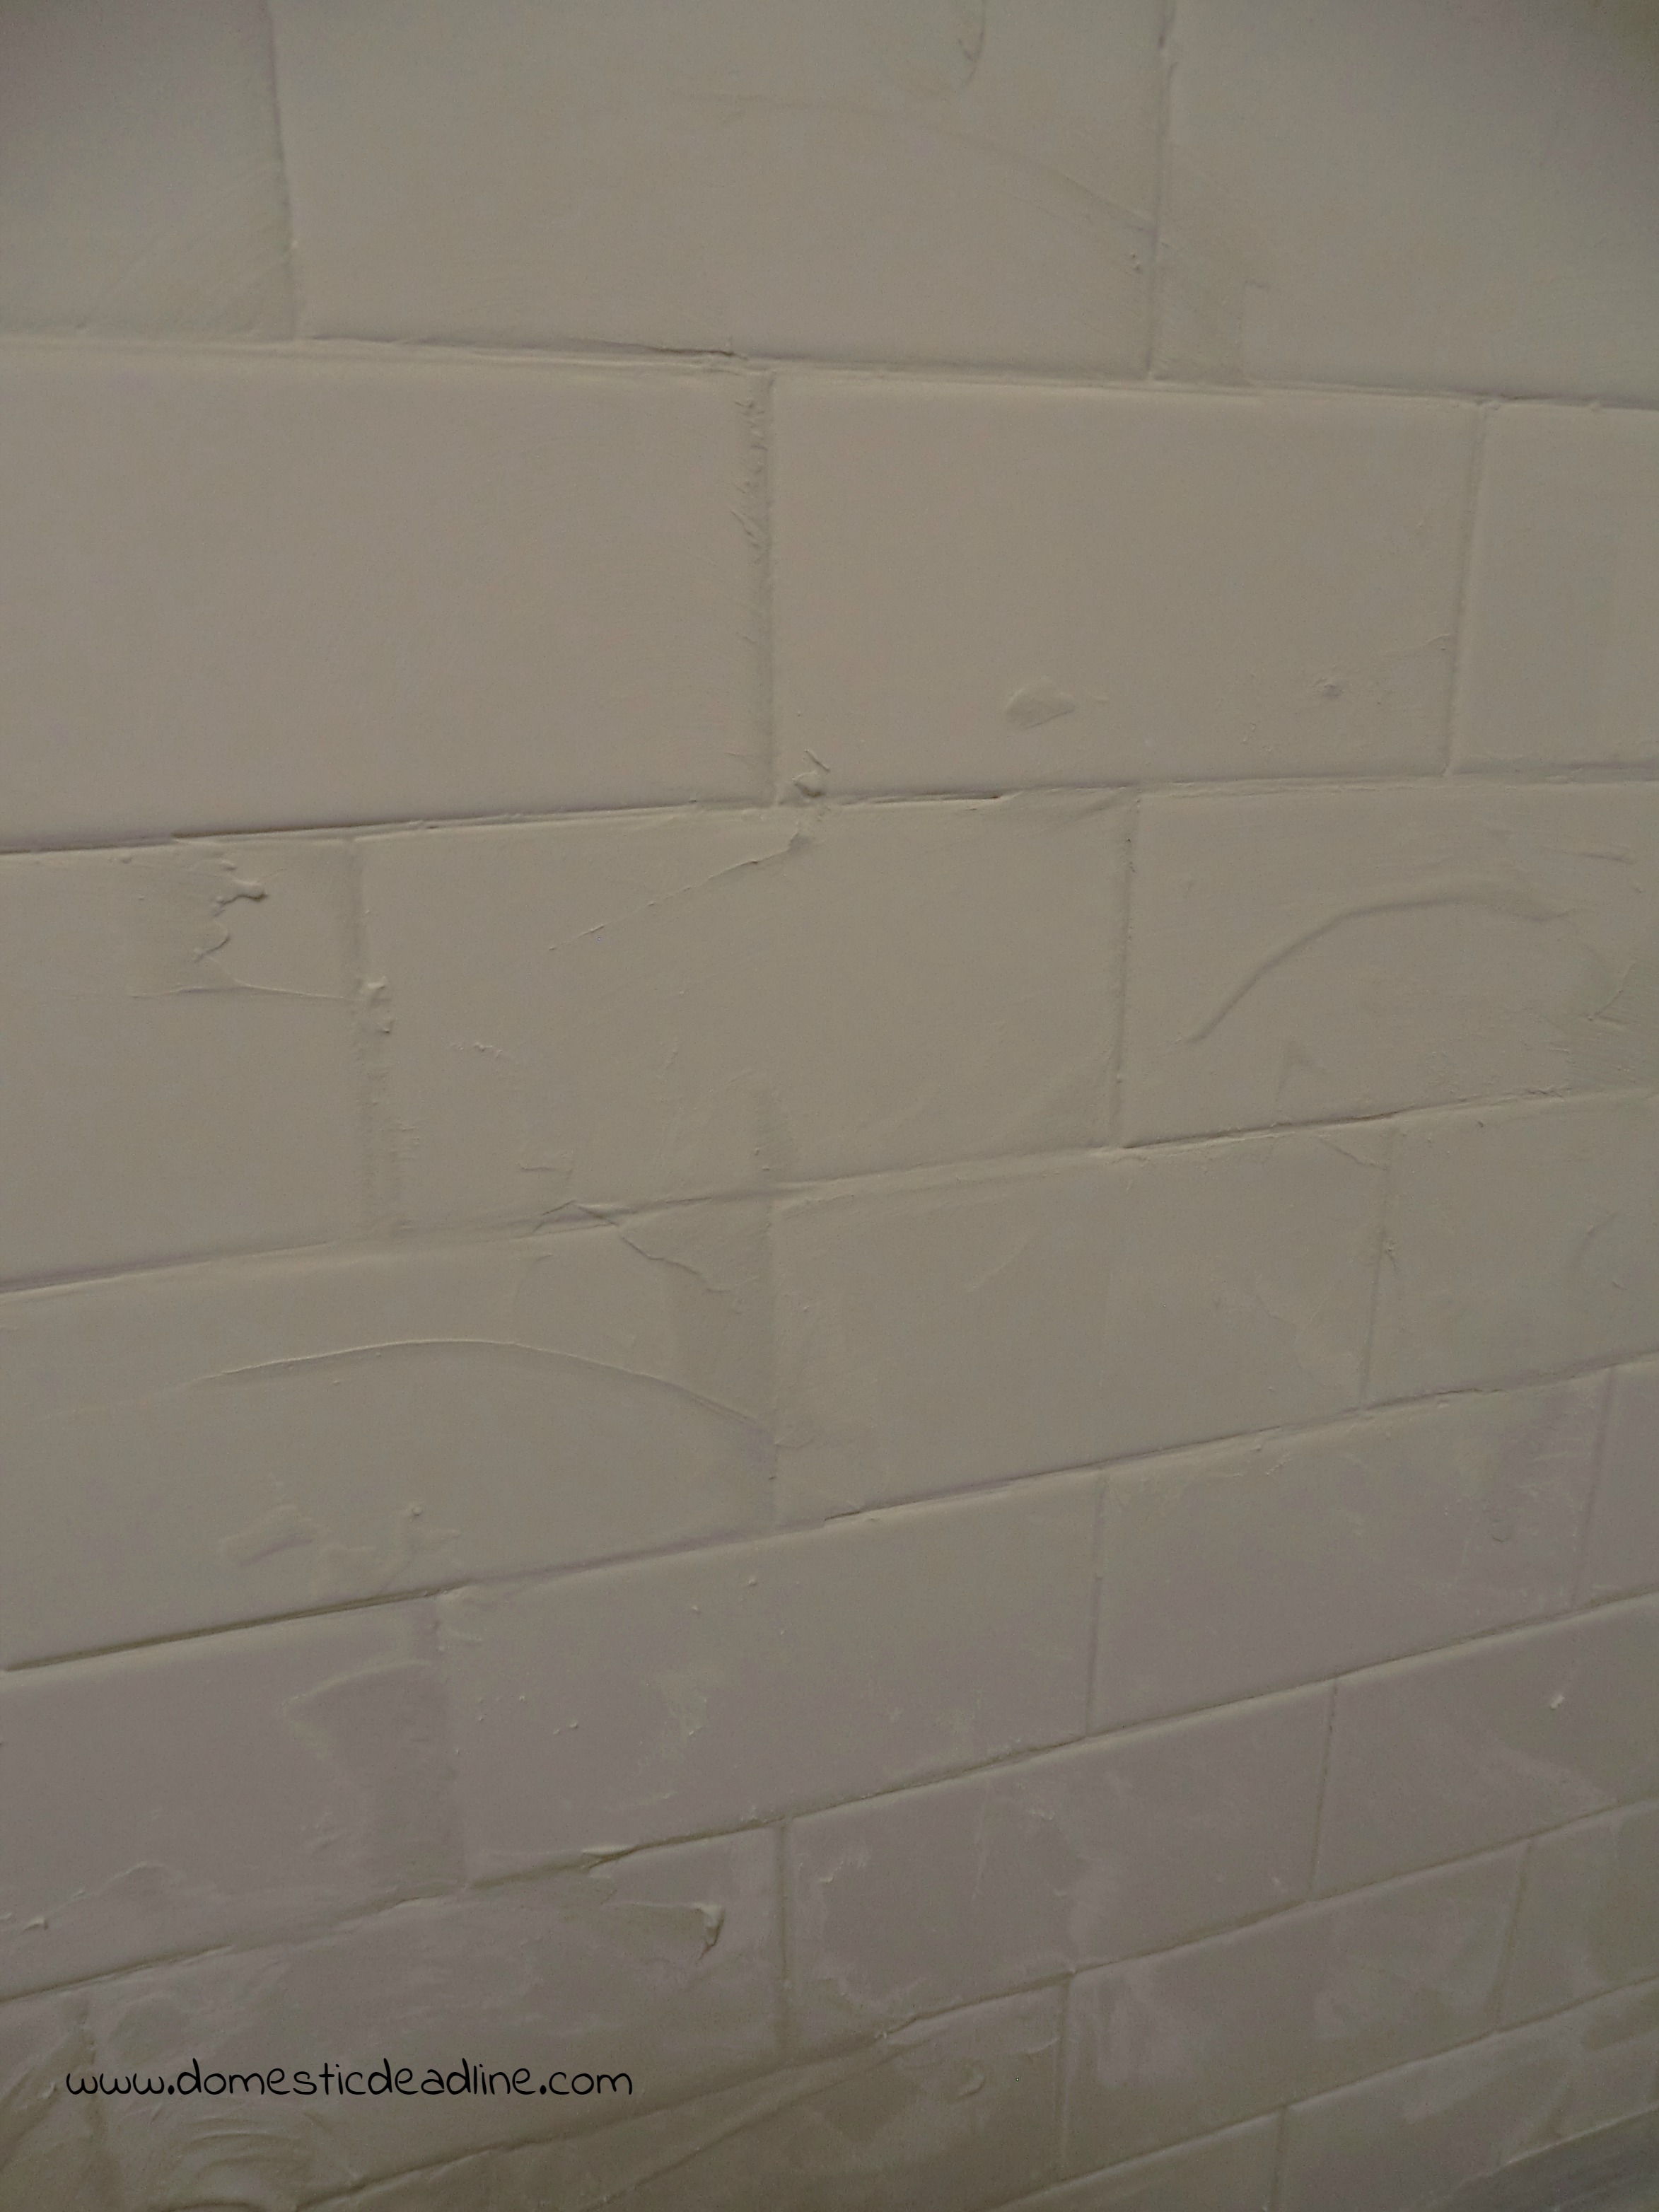
See, grout gets everywhere.
After wiping it down once really well, I come back with a second wipe to remove anything left over on the tile. Then I walk away. The following day, wipe everything down with paper towels, or a dry towel. Haze is left on the tiles and this wipes away easily the next day. If you keep wiping at it too soon after tiling, you’ll rake the joints and the grout can get too shallow.
All clean
Sink and Faucet
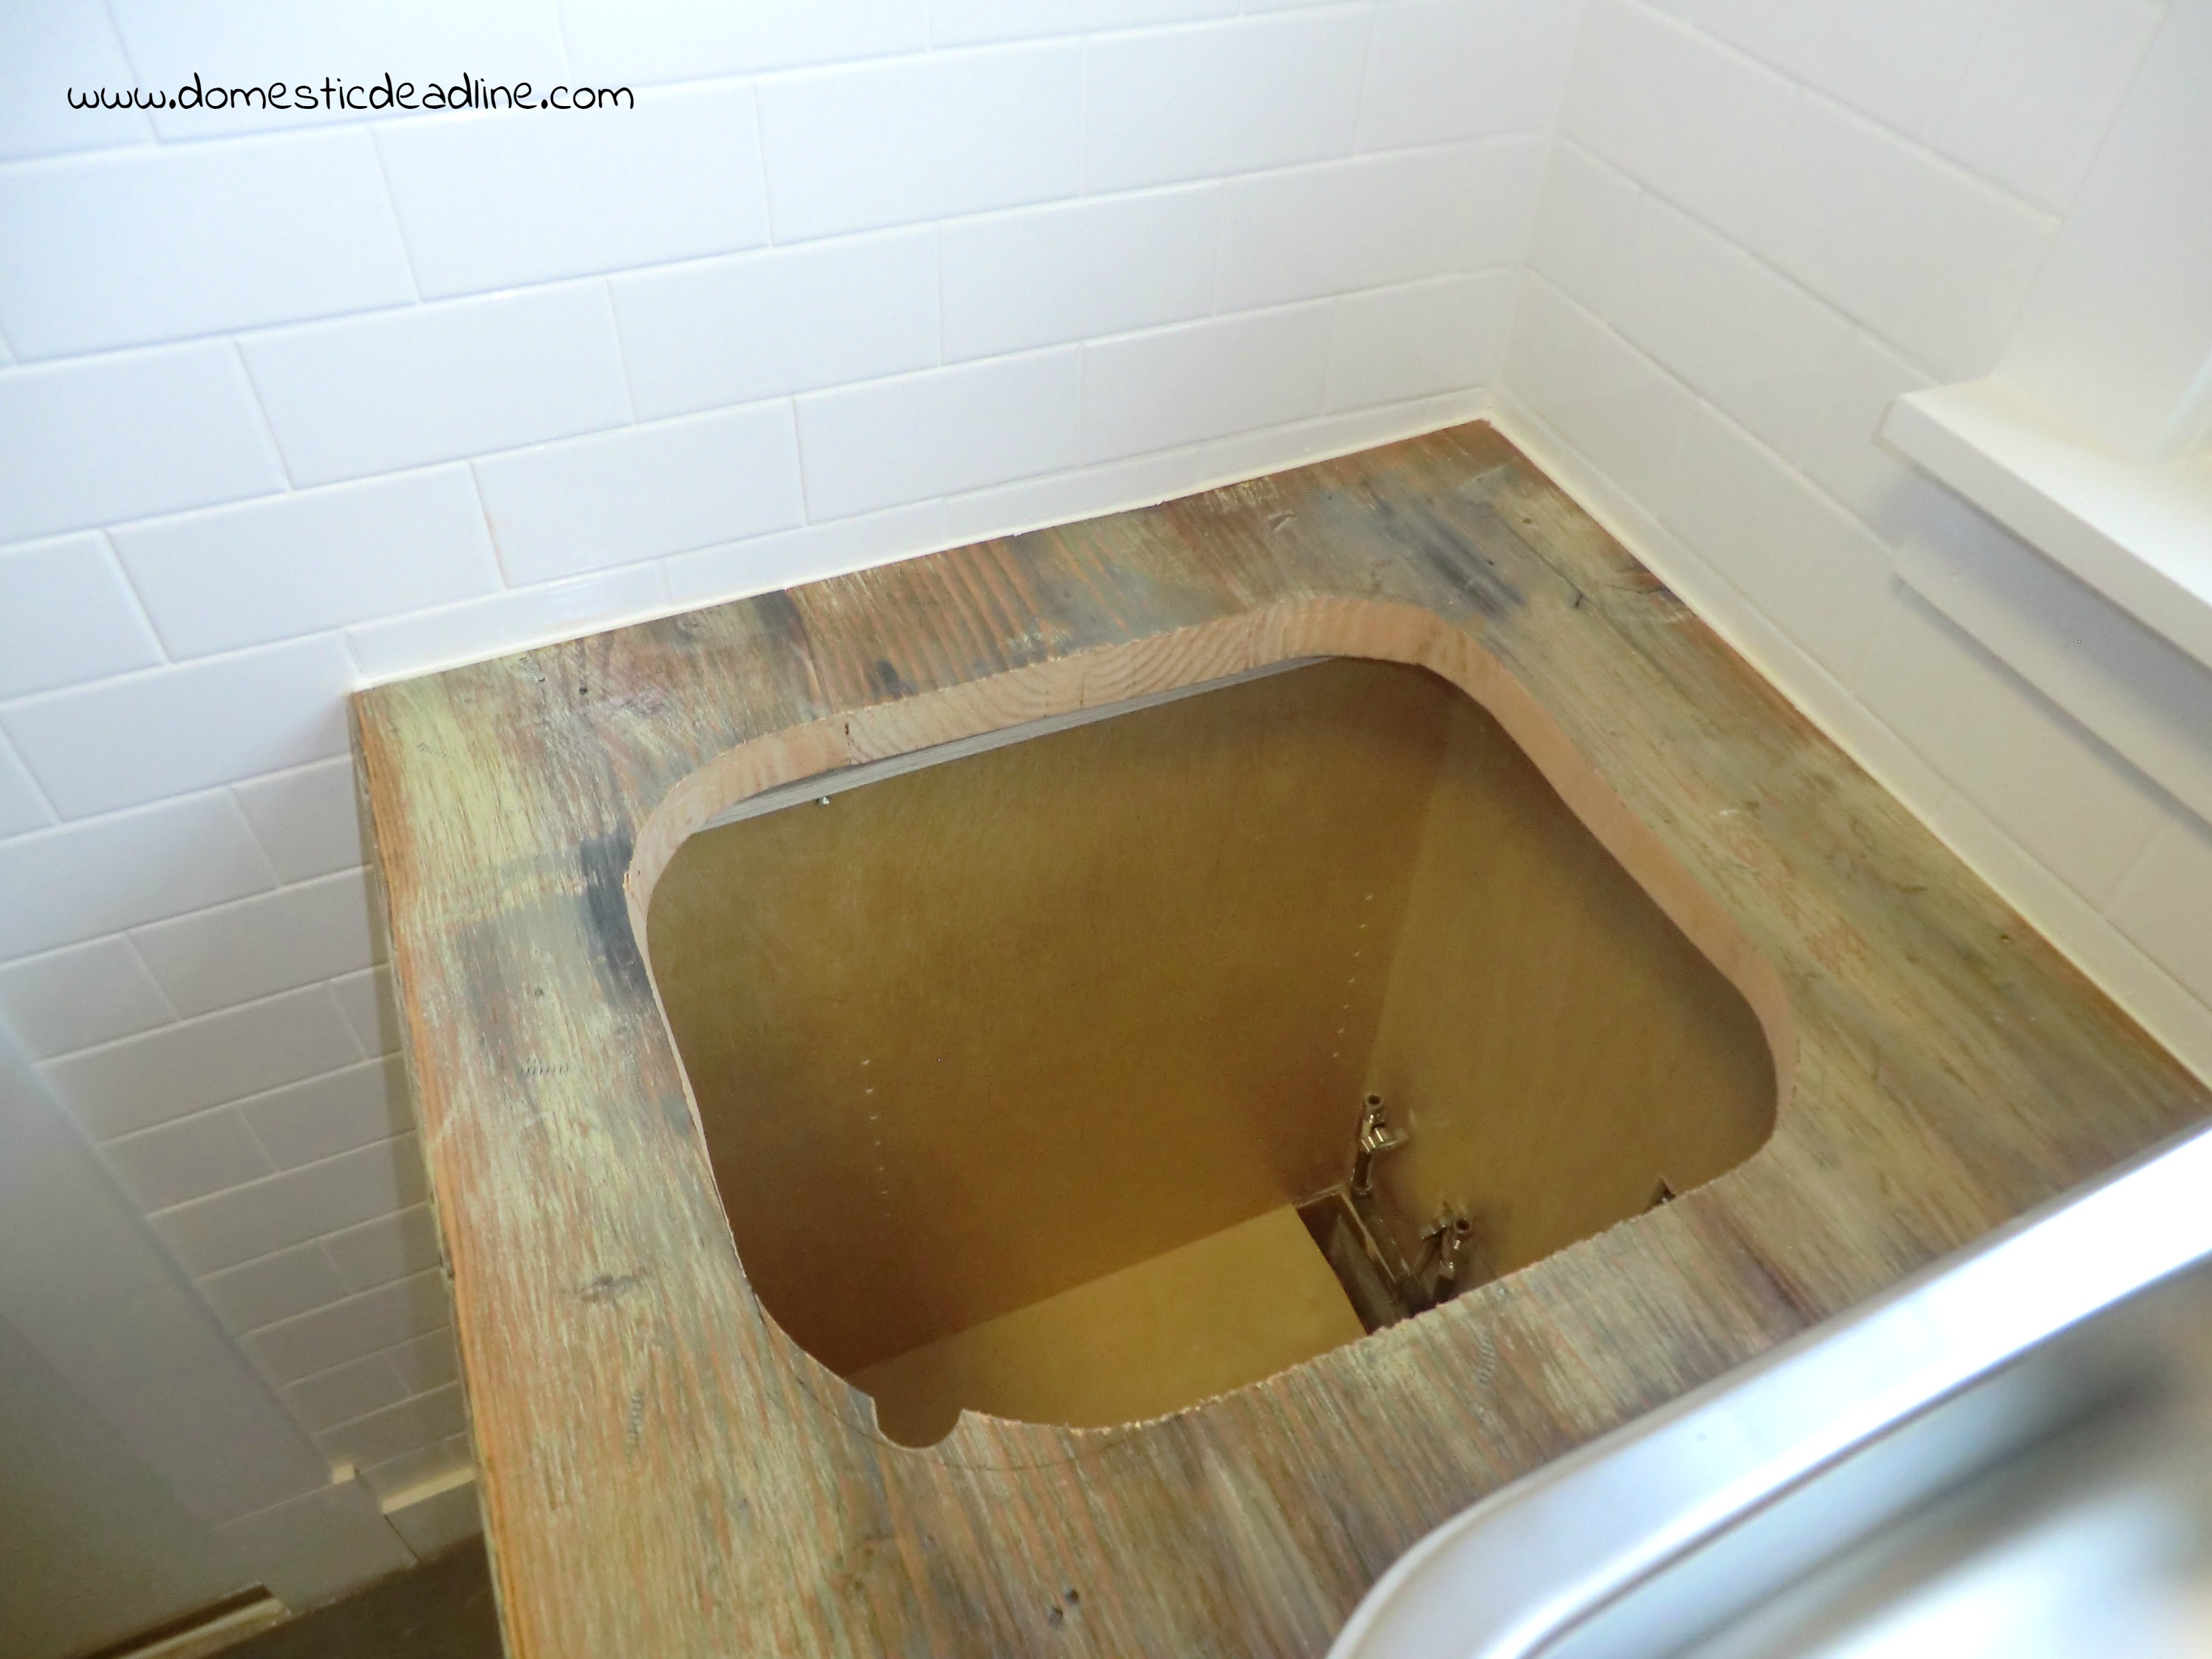
We went with a simple sink from Ikea. The sink base cabinet is only 27 inches wide. I could have put a larger sink in, but the kitchen and powder room sinks are near by. Plus, we have a slop sink in the basement for cleaning up big messes. I wanted this sink for cleaning up small projects or for washing up after yard work. This sink was perfect. IronFish cut into the countertop with a jig saw.
The sink went in with the clips it came with.
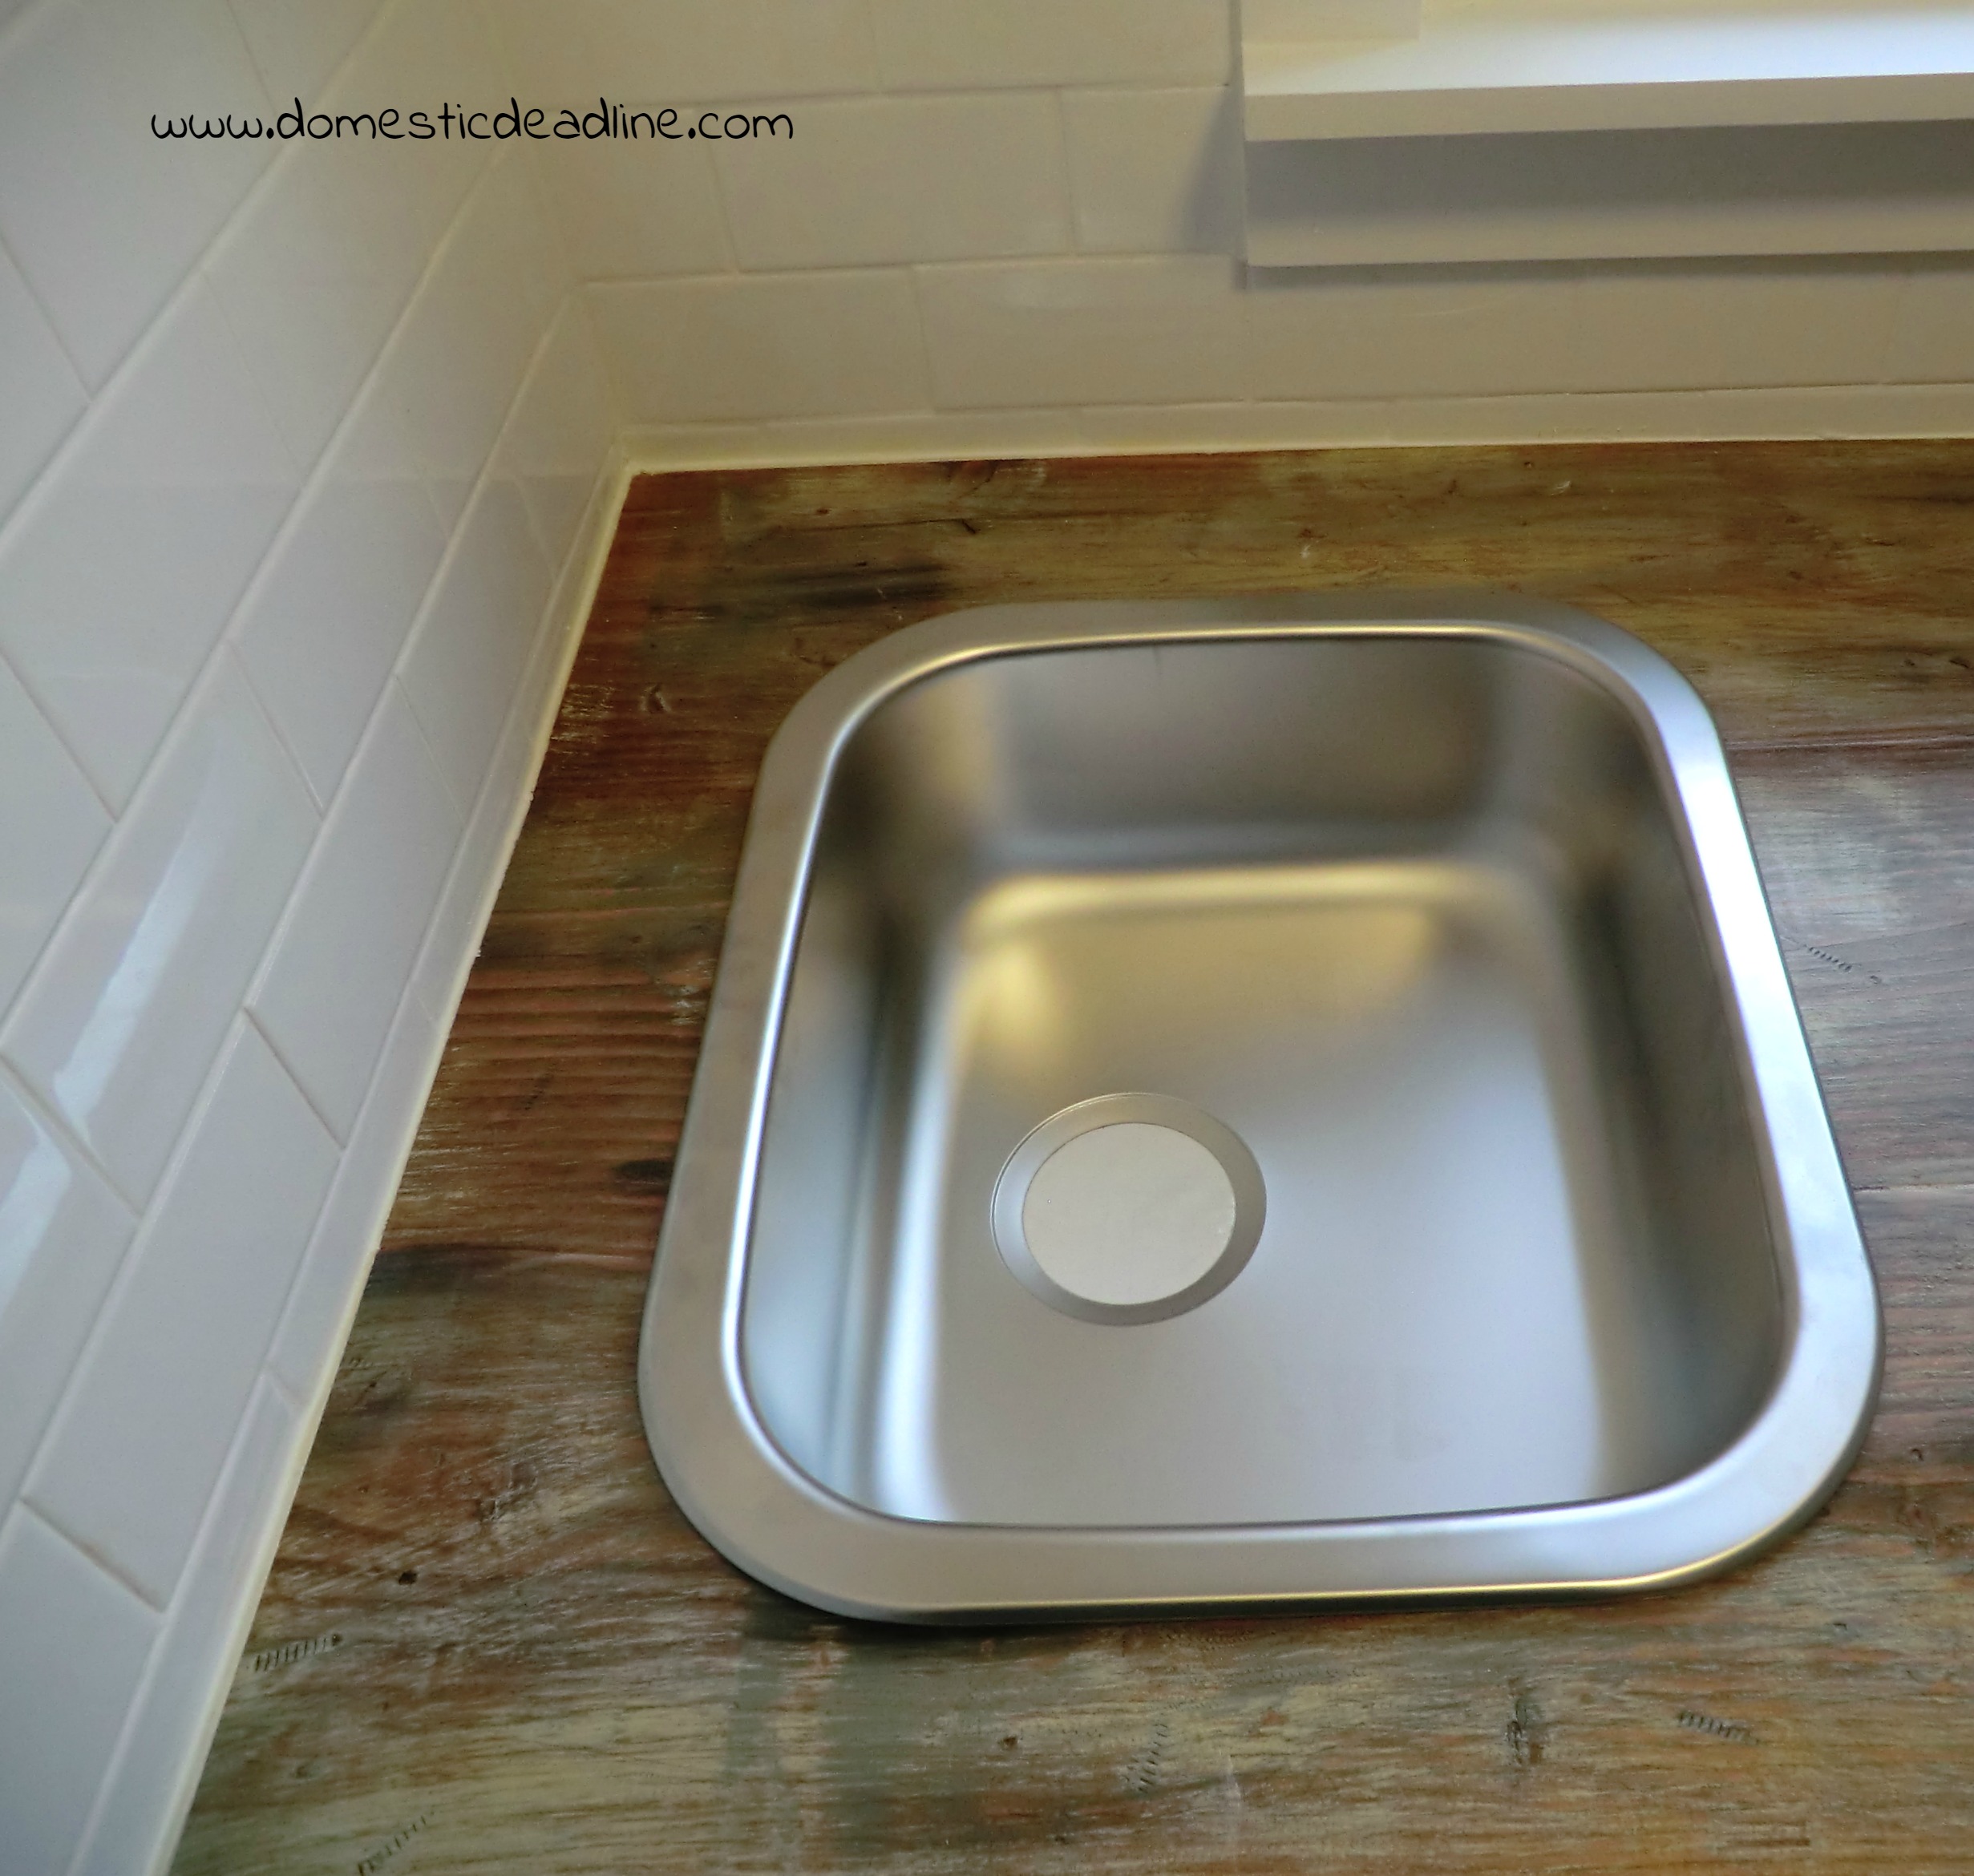
Our faucet was a total steal at Costco, on sale for only $40! I hadn’t made a decision on which faucet to get but when I saw this one, I knew it would be perfect.
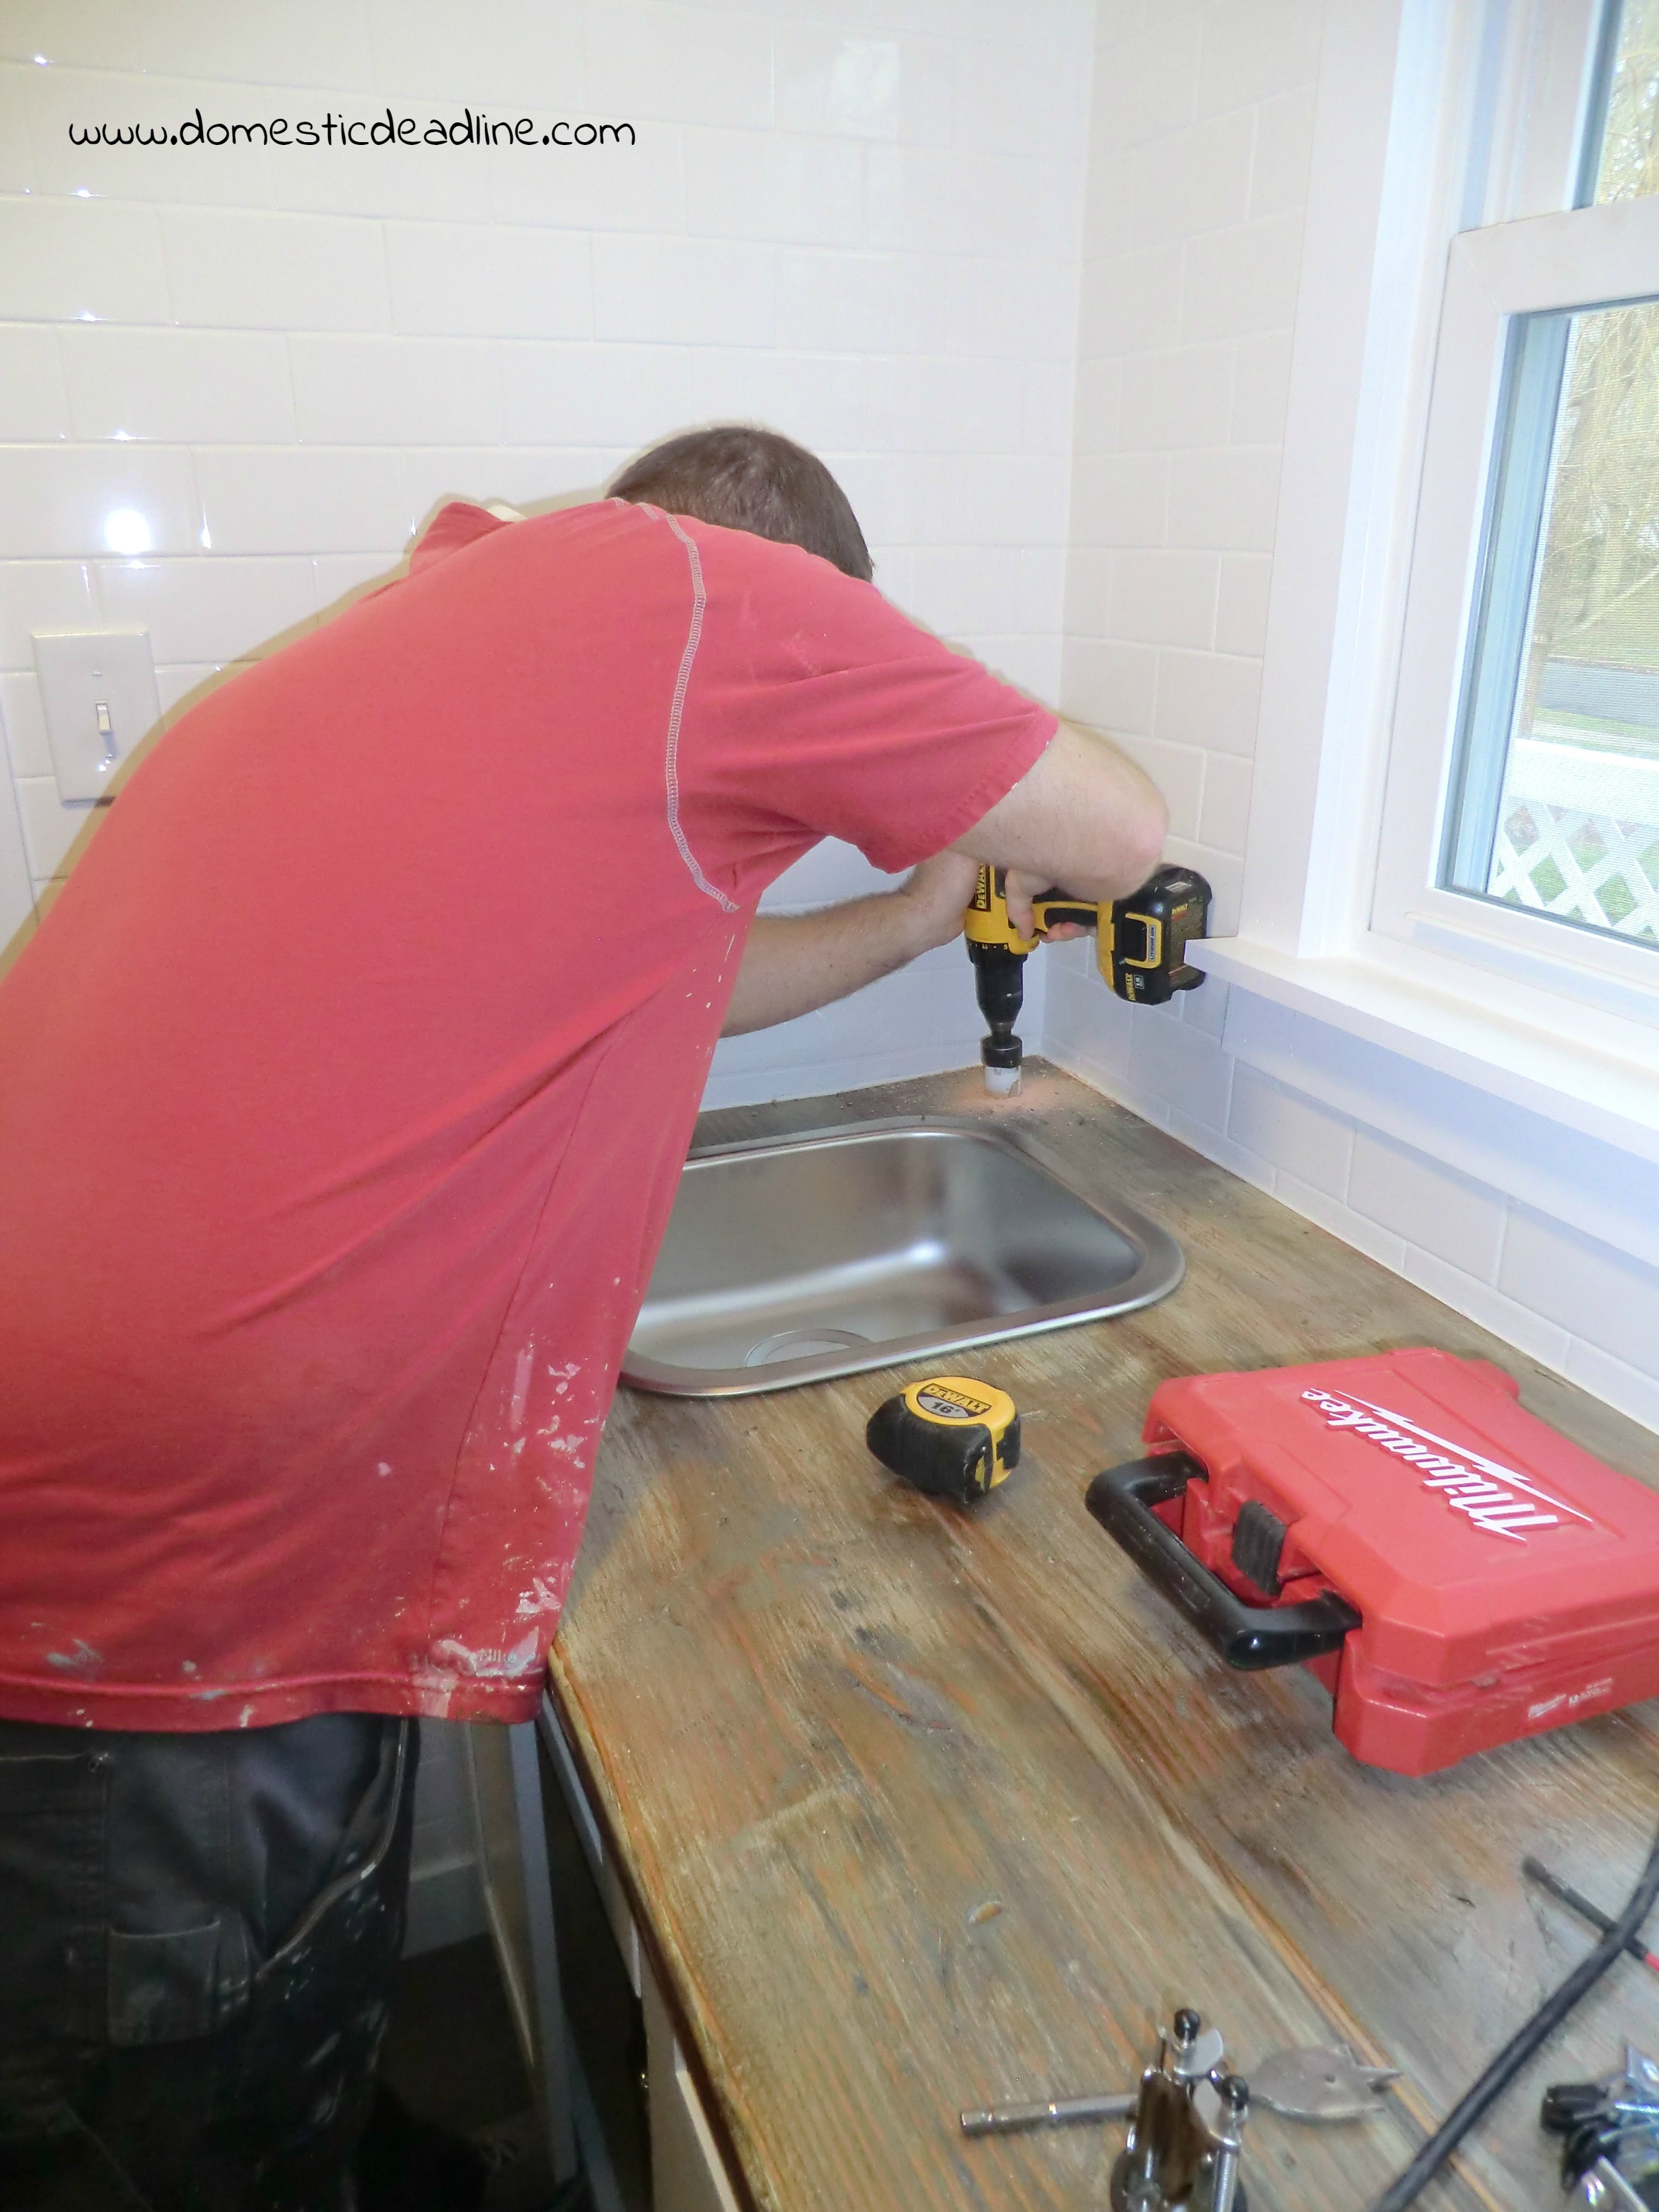
IronFish used a hole saw to cut the hole for the faucet. Then we hooked up the plumbing and it’s already gotten more use than I thought it would!
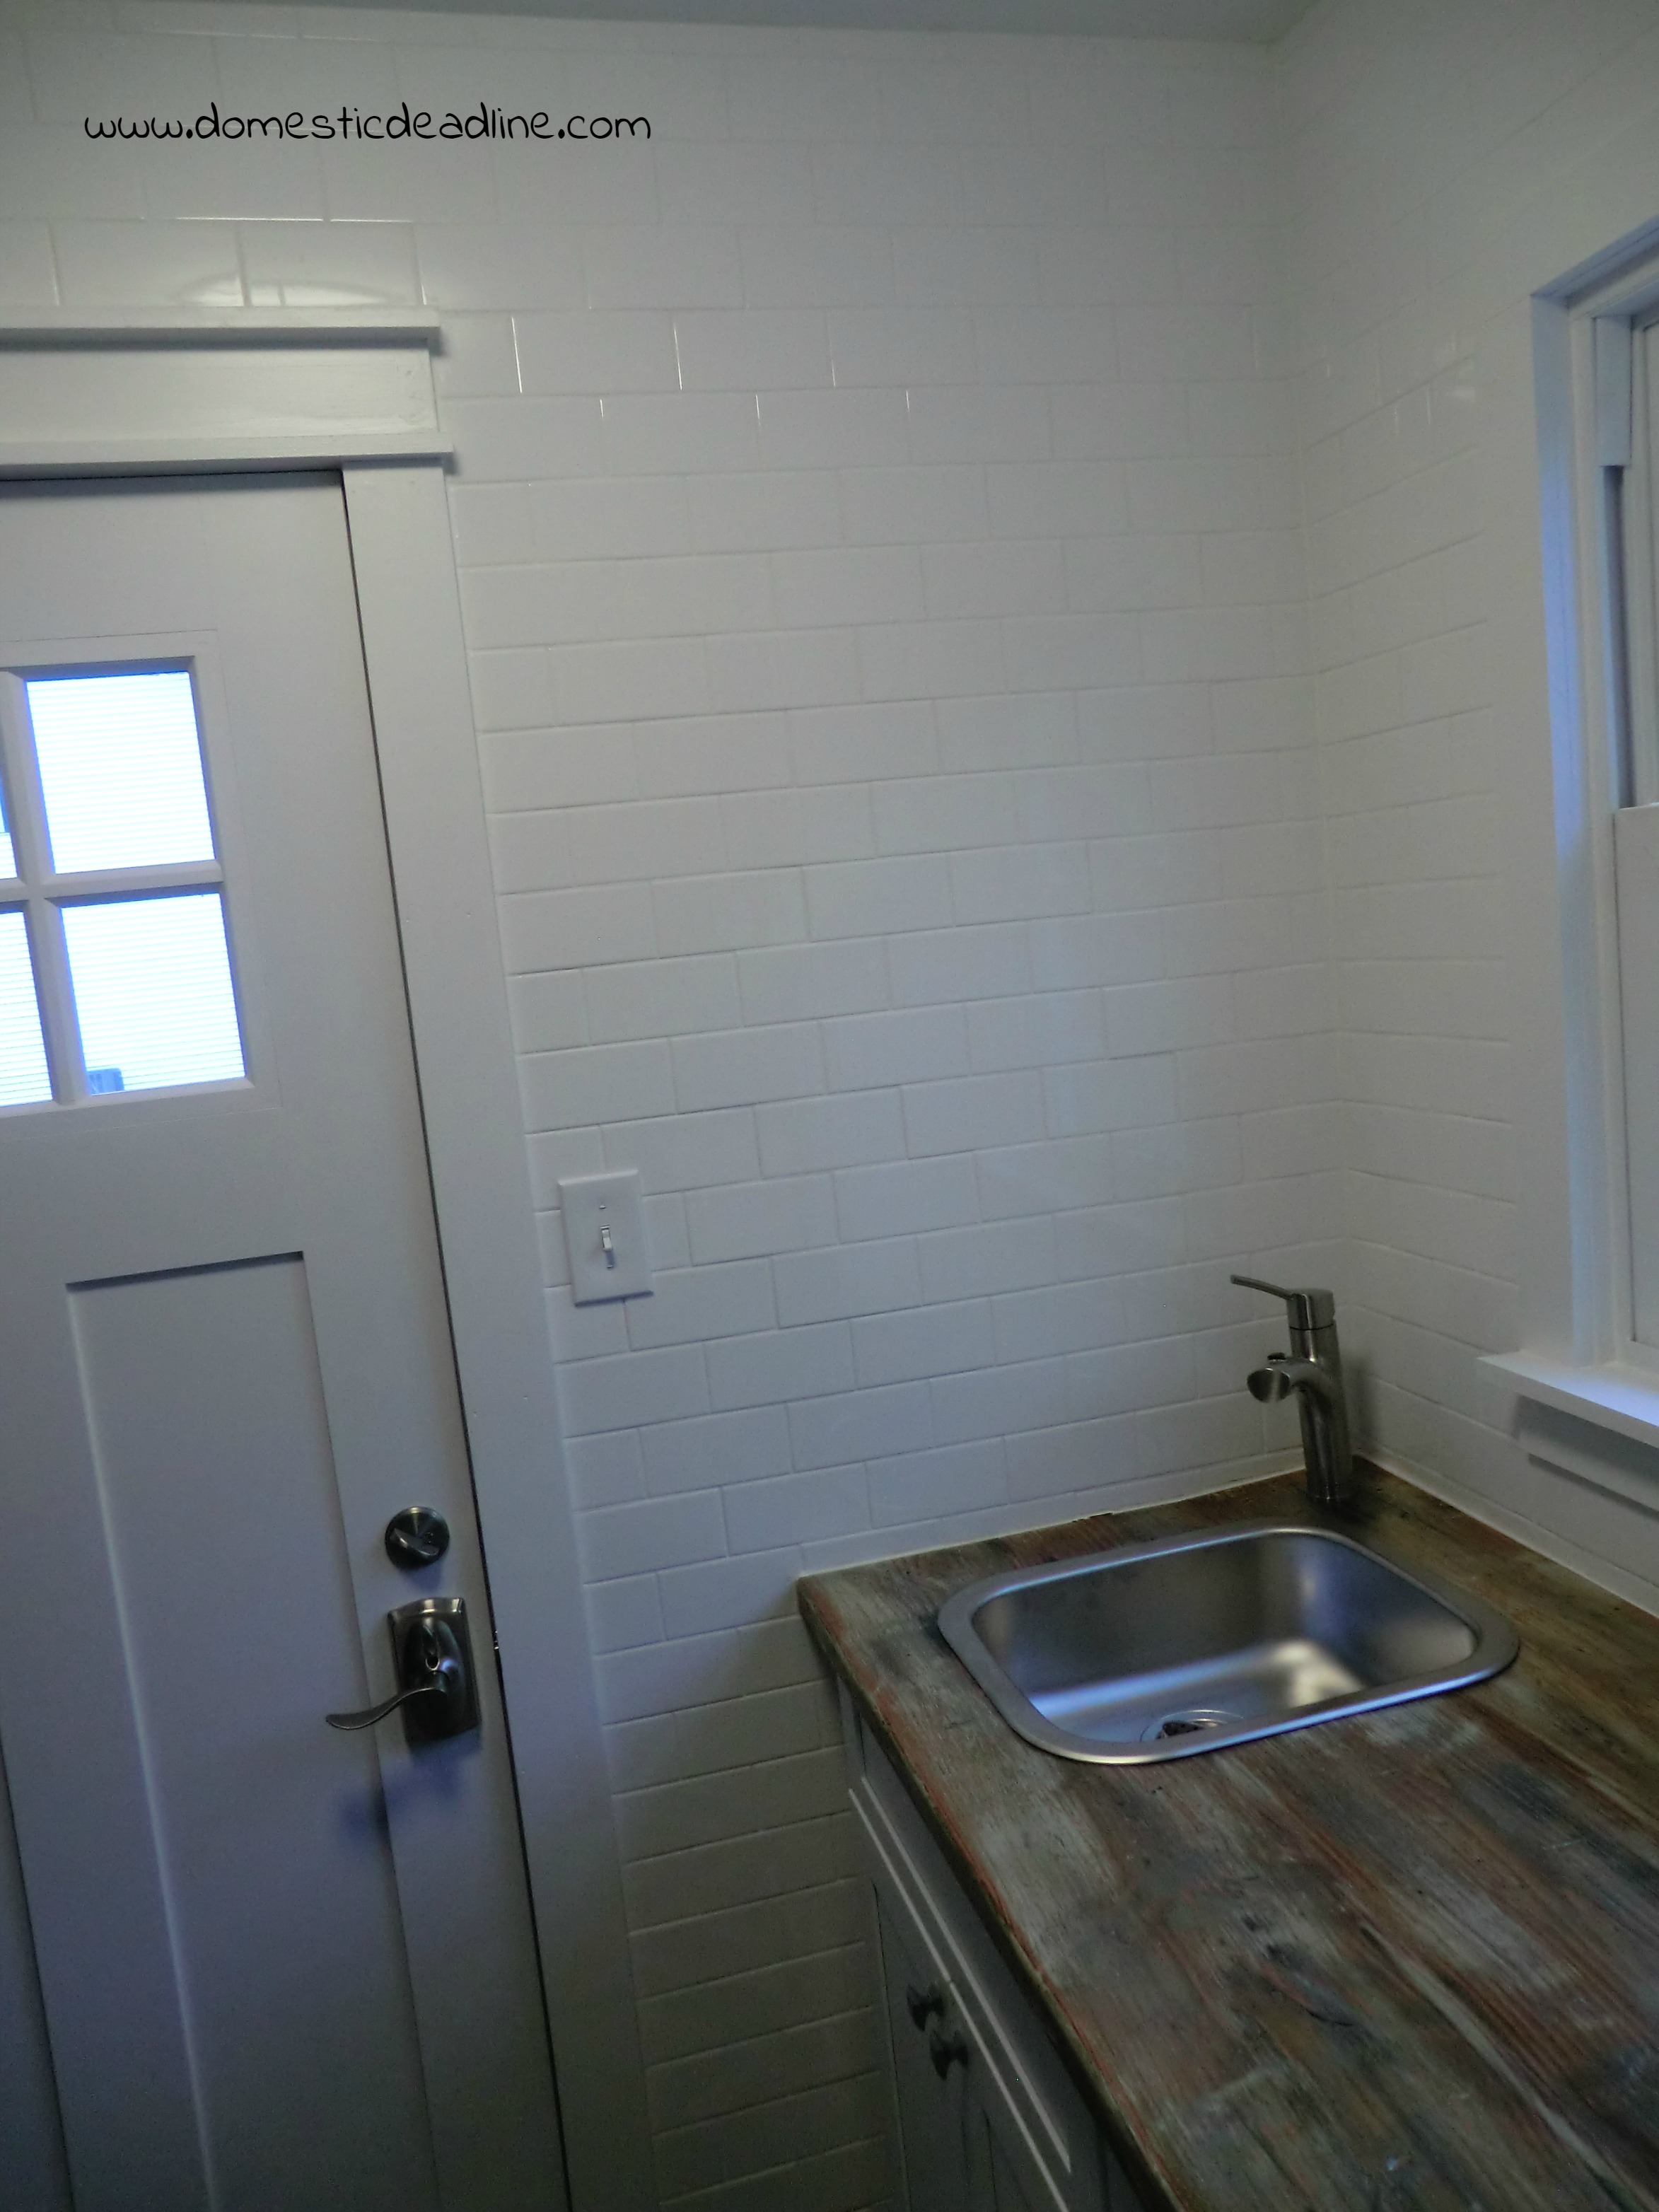
There you have the room all tiled, grouted with the sink and faucet installed.
Next up are knobs, a bit of shiplap, shelves and window treatments!
So, what do you think?





11 Comments