Electrical outlets aren’t exactly the most exciting part of a kitchen renovation, but they are rather important. While I planned several days for demo, tiling the floor, installing cabinets, having the counter tops installed, the electrical also had to be planned for. But instead of a set day, I had to plan on when electrical needed to be done during those various parts of the process. As minor as electrical outlets may seem, the planning process is actually pretty important.
Please keep in mind we worked with a professional. Electricity isn’t something to play around with.
Part of the Design Process
When I started thinking about the new plan for the kitchen, I thought a lot about how my old kitchen DIDN’T work. A big part of that was the lack of outlets. The placement of the existing outlets also wasn’t ideal.
Originally, the microwave was cantilevered on a high shelf with brackets pulling out of the wall. It was also plugged into the same outlet as the refrigerator. We did some initial rearranging and then rearranged again when we did our built-in fridge and freezer.
The microwave ended up on the counter. The outlet it was plugged into essentially became useless for anything else. Moving a big microwave to plug something else into was annoying. Not to mention, there was no counter space left for another counter top appliance to sit.
We were left with two other outlets for the variety of things we needed. Coffeemaker, toaster oven, mixer, instant pot, crock pot… Ok, so we weren’t using everything all the time, but there were definitely times when we used several appliances.
Oh, and the light switches were in the middle of the room. So I had LED night lights plugged in so you could find your way to the switches in the middle of the night.
Basically, we knew we needed more outlets.
We also knew we needed to split up the outlets so they weren’t all on the same circuit.
Because previously the kitchen outlets and lights were on the same circuit as the dining room, powder room, mudroom, garage, exterior lights and outlets, AND half the living room.
That’s not good.
Demo
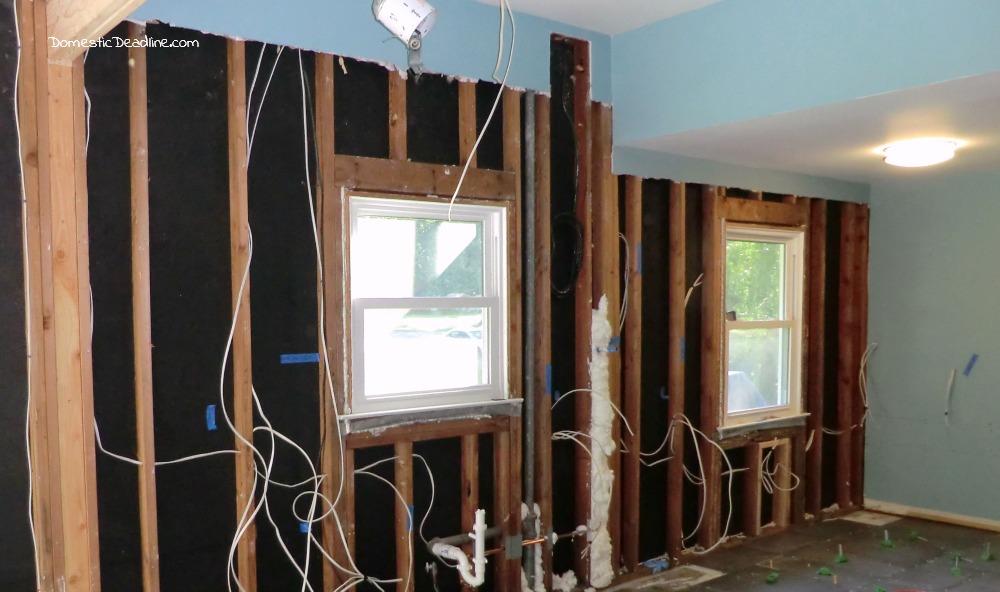
With the kitchen and dining room down to mostly studs, we could move into the next phase of planning. We could now see how the space was wired. Above the kitchen and dining room is attic. IronFish had already spent some time checking out where wiring went up and down from there.
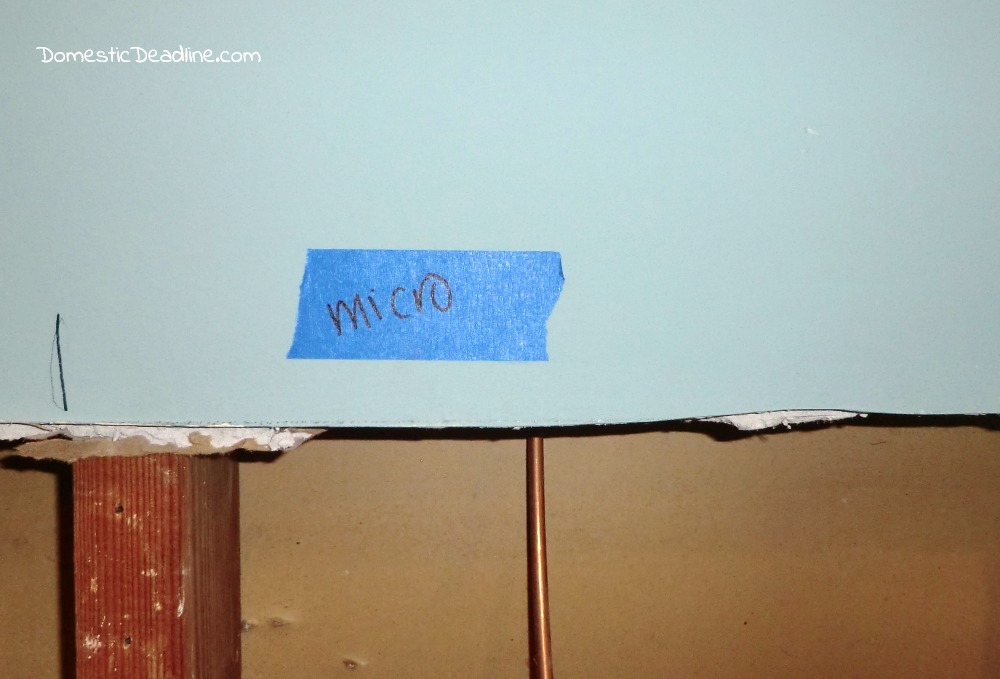
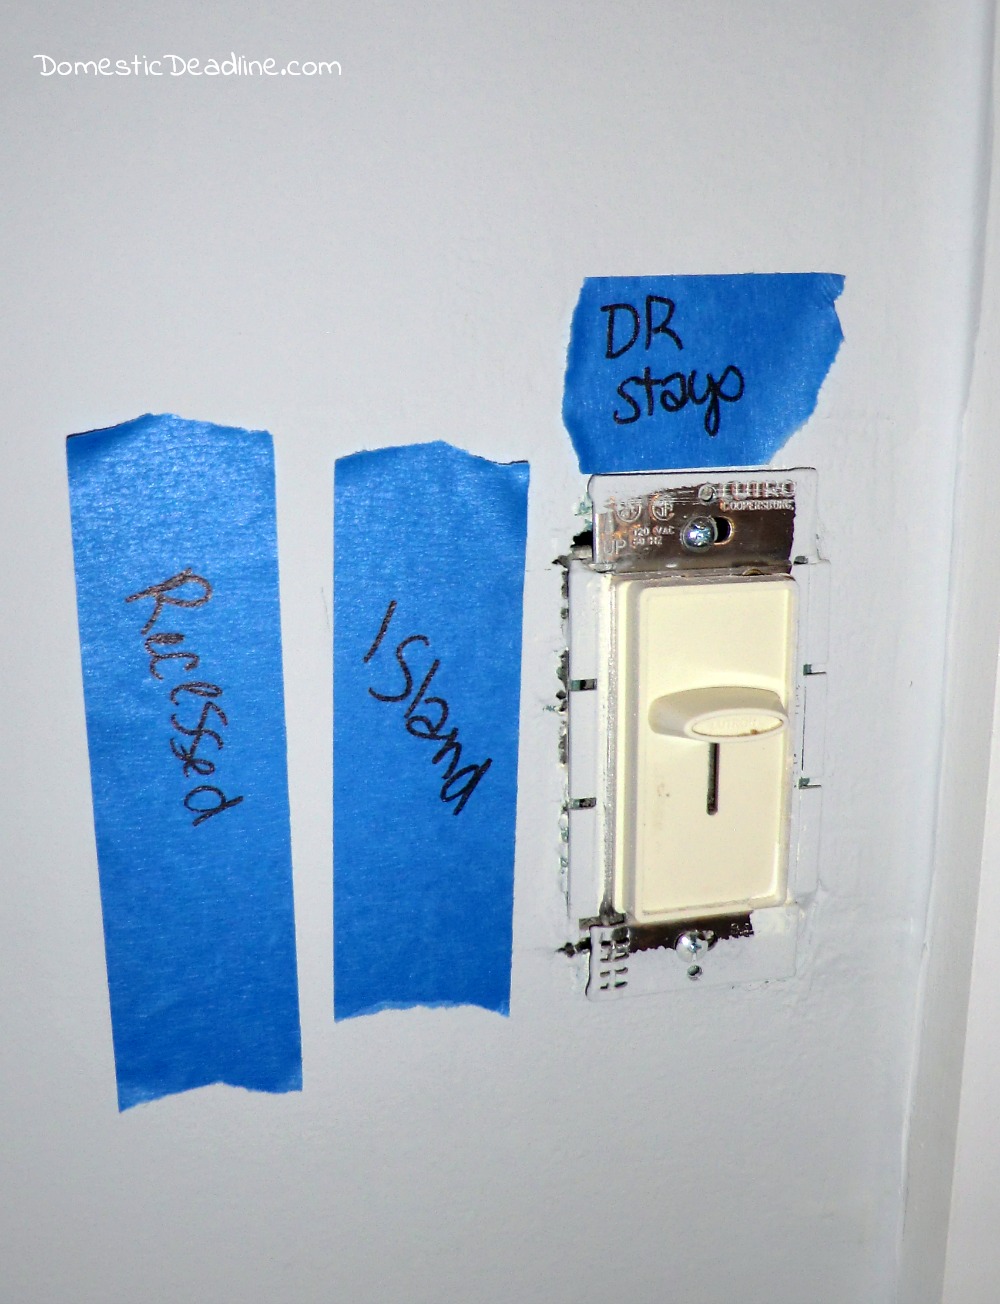
Blue tape came in handy to mark what outlets and switches would be removed.
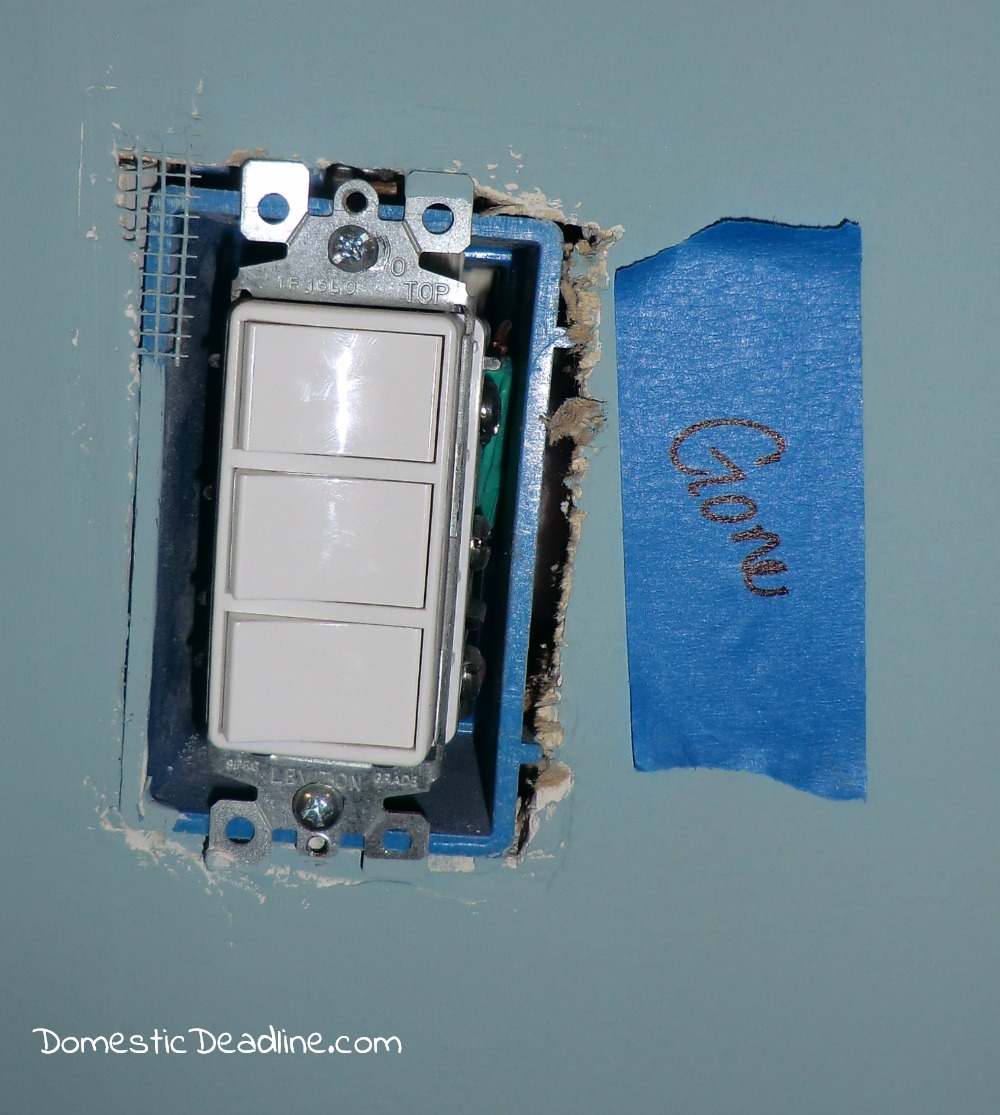
The new location of special appliance wiring for the cook top and ovens.
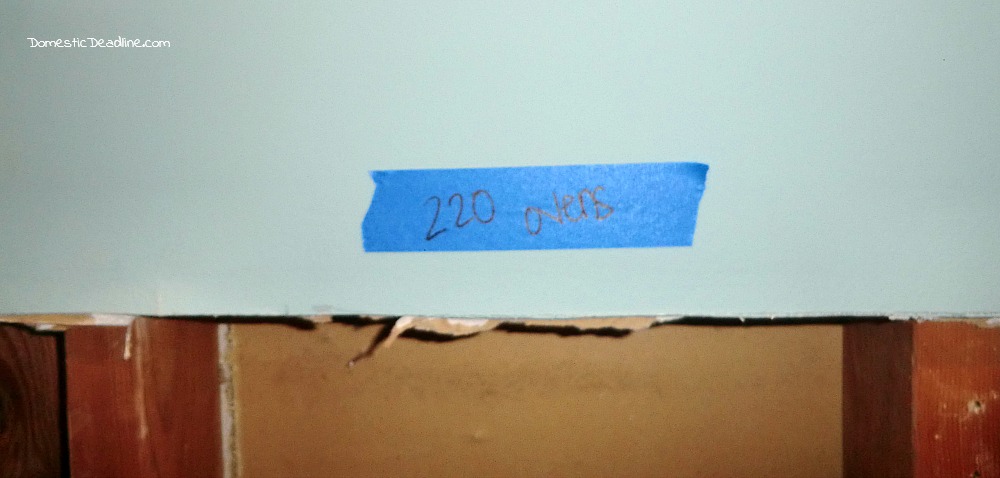
As well as smaller appliances, like the microwave, which we didn’t want on the same circuit as a bunch of other things.
While we were at it, we marked the new locations of the different switches. Thanks to Denney Electric, we knew where the lights would go. This gave us a good idea of where we wanted the switches.
I also knew I wanted to group some things together so they all went into one electrical box.
Due to the popularity of the electrical outlets we had selected for other parts of our house, we knew we wanted to include some of those options as well. The kitchen was the last room in the house without a USB outlet in it.
Well, the bathrooms don’t have USB outlets, but I don’t see that happening.
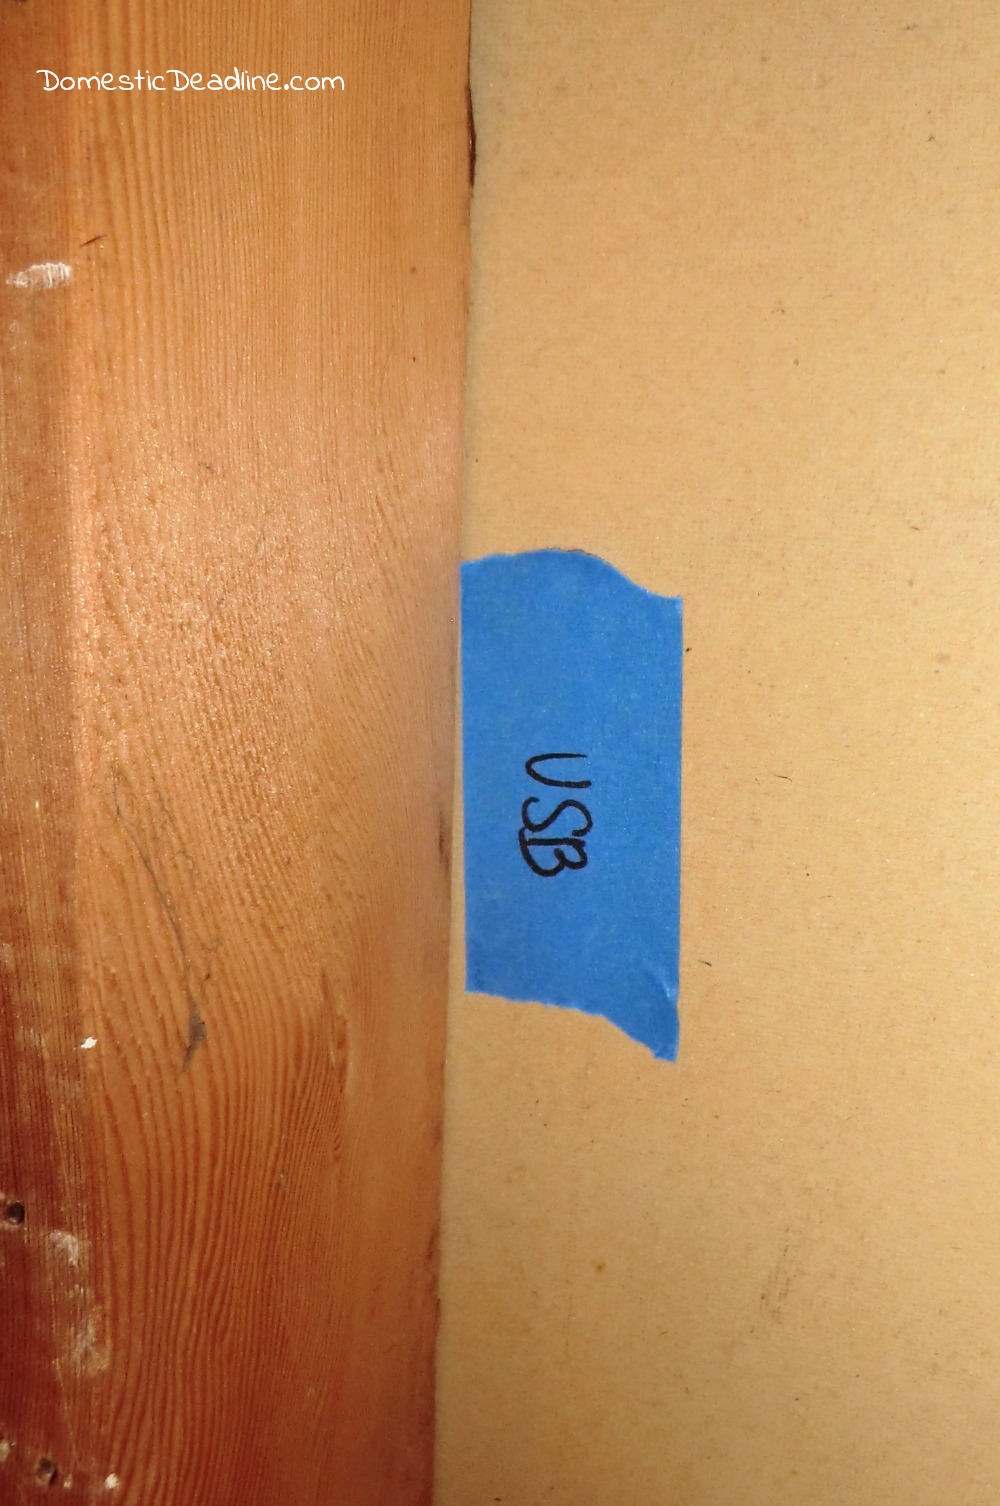
Sharpie markers and blue tape were always within reach for a little while.
Wiring
Once we had a plan for what outlets, lights, and switches went where we began to run the wiring.
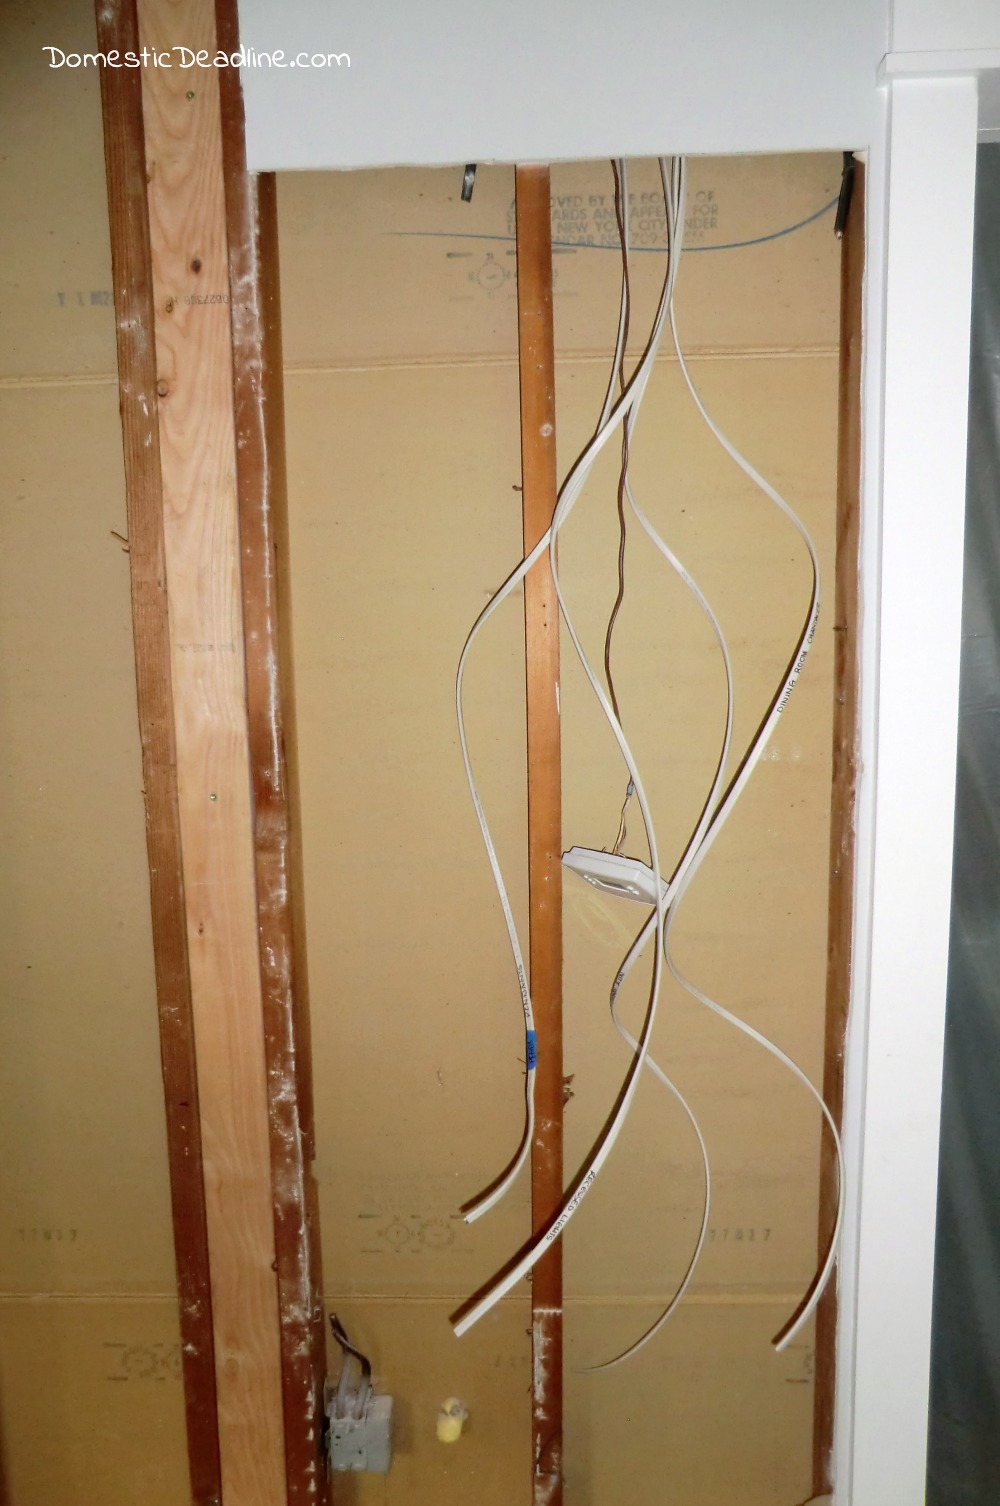
IronFish spent a lot of time crawling around in the attic. Unfortunately, it was incredibly hot. I think he lost 15 lbs over the course of his attic adventures.
Attic Monkey is his other nickname. I get turned around in the attic, not to mention, I really hate being up there.
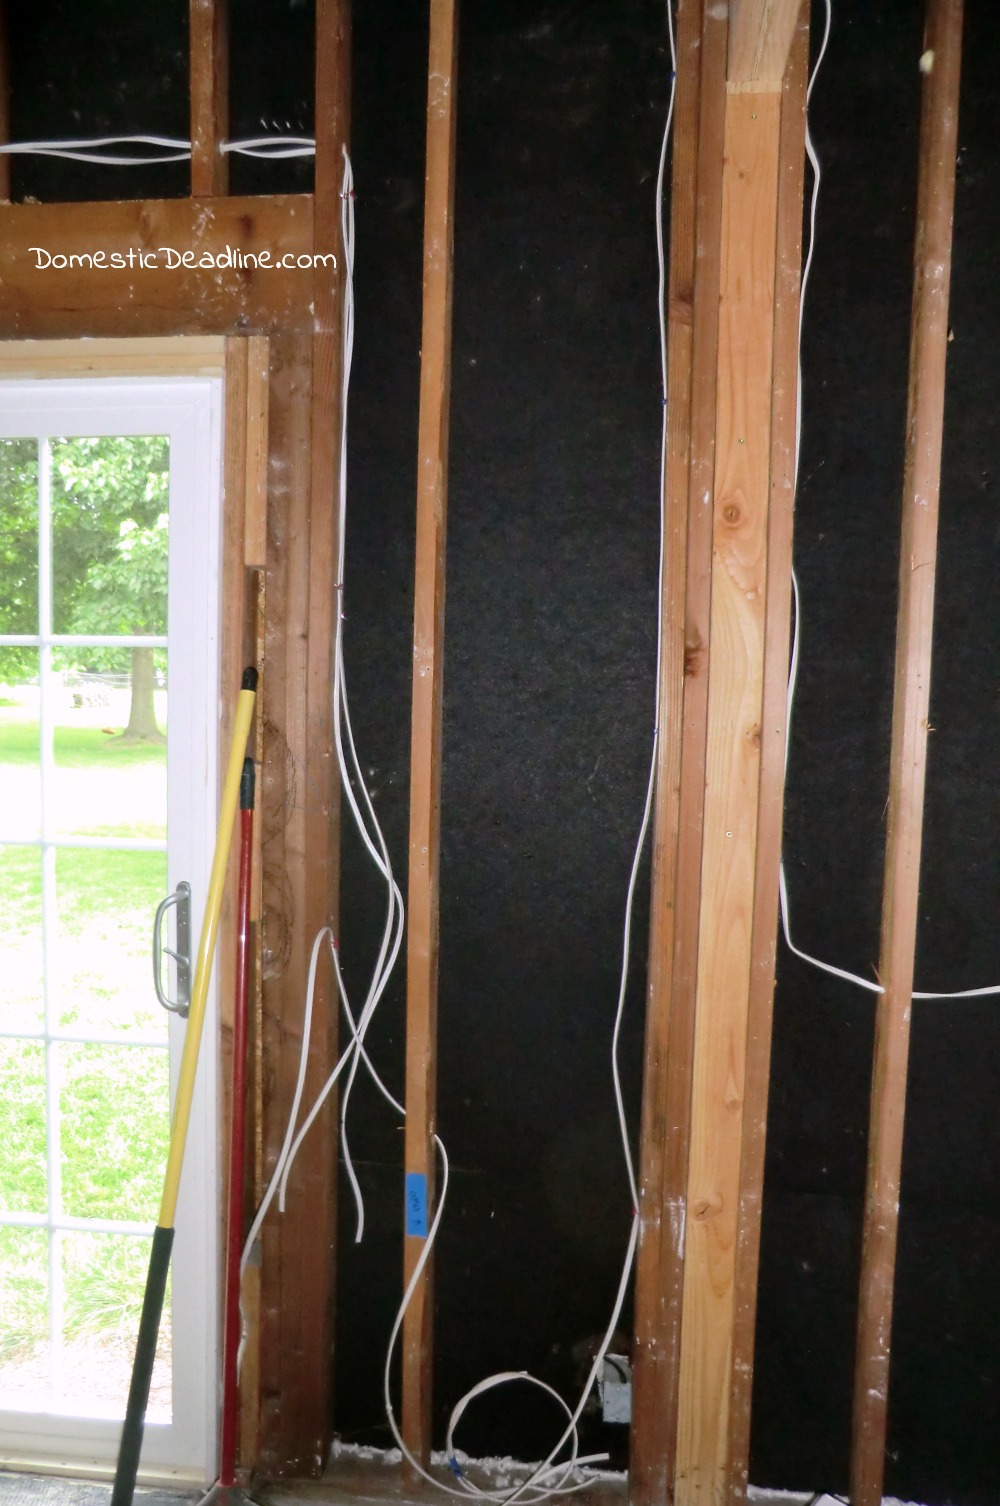
I got to mark the wires as we fed them up and down through the attic. Yes, I got the easy job.
We also had some holes to drill. Because we removed old wiring we were able to reuse some of the holes through various studs.
Yes, we could have gotten a variety of electrical tape. But, the blue tape did what we needed it to do.
Drywall
As we put the drywall up, we used our multi-tool to quickly put a small hole in the drywall to feed the wires through. We roughly measured where the electrical box would go, taped all the wires together, and fed them through.
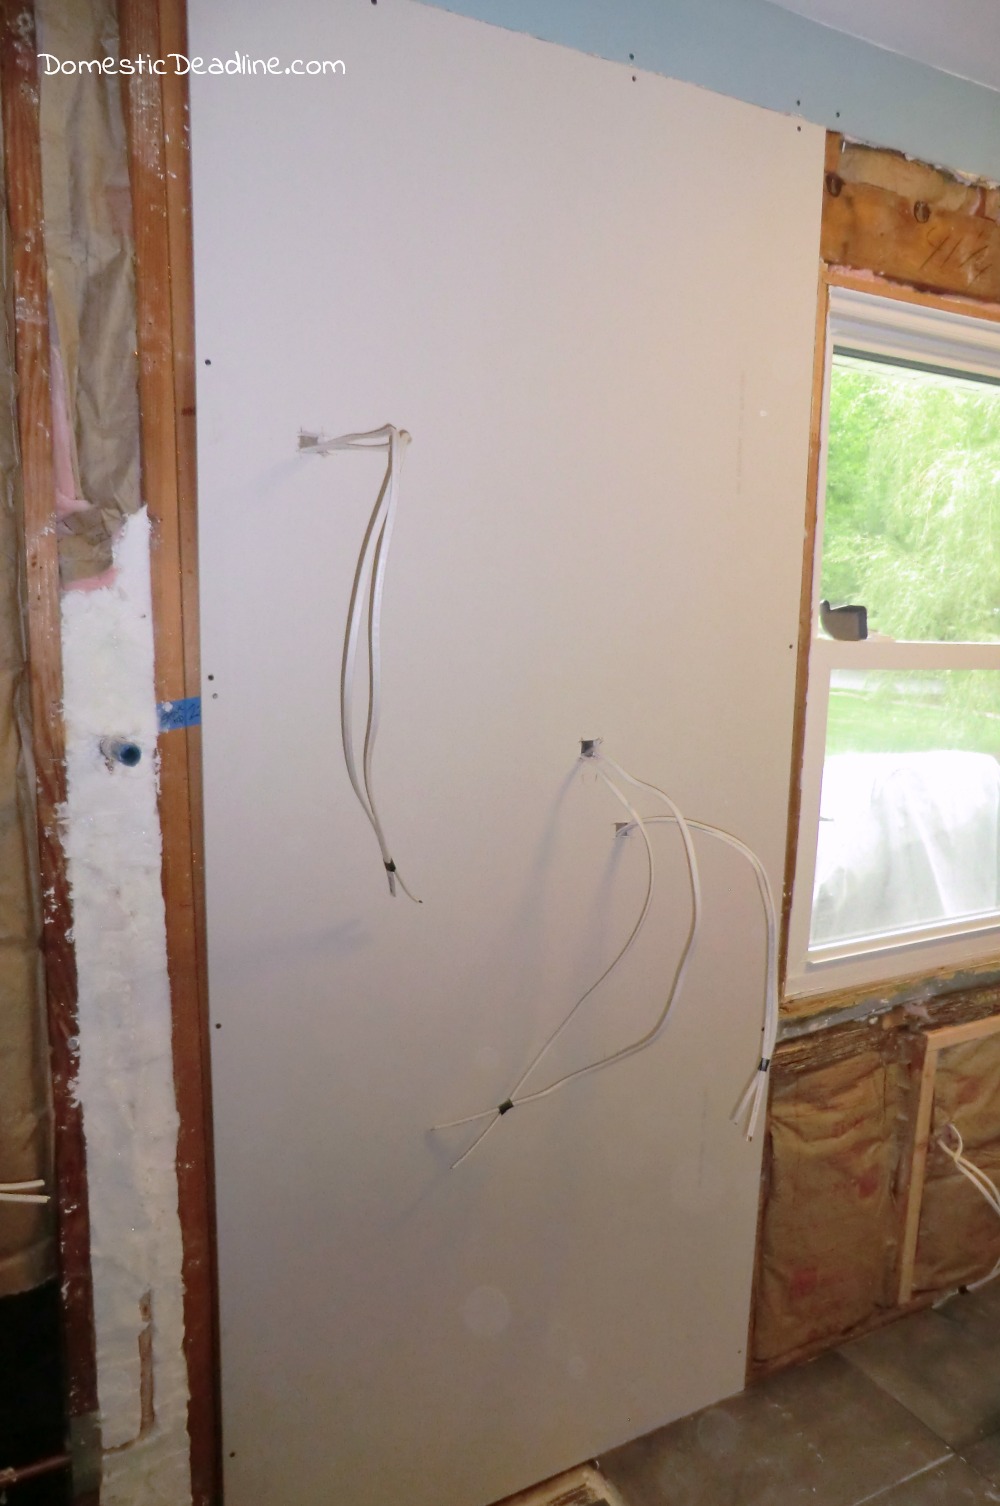
I guess I didn’t take a picture, but we used more blue tape to mark what outlets would be going in those places. The wires said what they were for on the ends, but writing it out and taping it up made it much easier to see.
Electrical Outlets
Once the cabinets were installed I marked exactly where I wanted each electrical box. I had considered the options of placing them higher to the upper cabinets or lower to the counter top. But, I opted for all on the same level.
We used old work boxes and cut them into the exact location using the multi-tool. That thing really comes in handy for so many things!
Besides, I no longer would need any of my night lights taking up outlets! Not only will we have switches at each of the entrances to the space, but we also have LED night lights built into a few of the outlets!
We installed these in the bathrooms and hallway. They are wonderful! There’s no need to turn on the light when you wake up in the middle of the night. No stumbling around for us and especially nice for guests who don’t know their way around as well.
The kitchen has 4 of these. One on either side of the sink which is the longest length of counter top. The third is on the opposite wall in the middle of the counter. A regular outlet is to the left and a USB outlet is to the right. All evenly spaced.
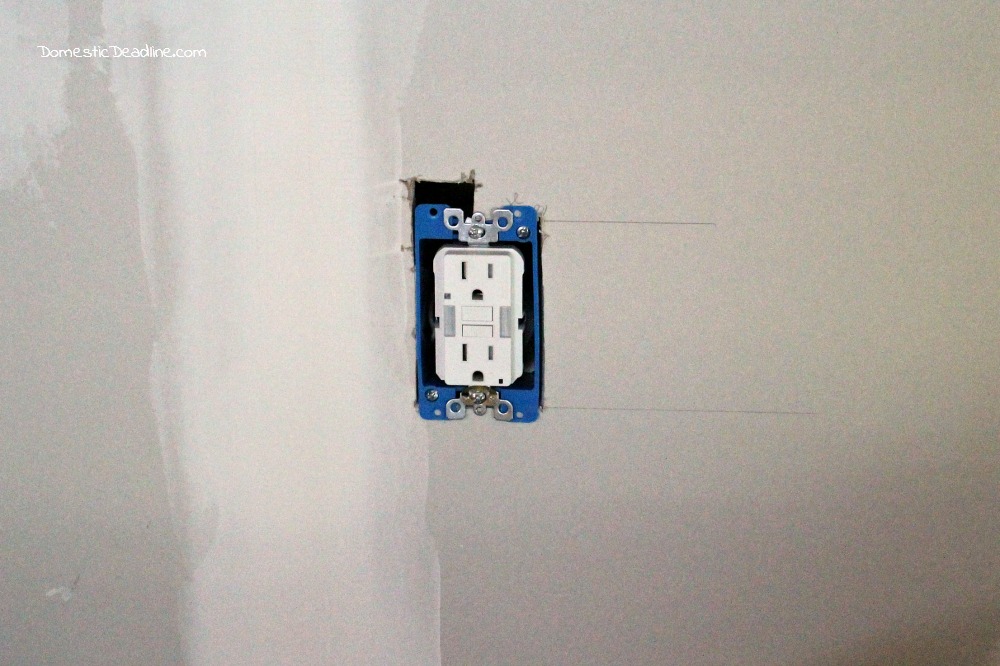
The fourth LED night light outlet is towards the garage entrance of the kitchen. It’s actually in an electrical box with 2 switches. When you come home late at night, I didn’t want to have to stumble around for the light switches. They will be visible now.
And, it might be overkill, but we also put in a double gang in the middle of the “baking area” of the kitchen. I plan on keeping my KitchenAid Mixer on the counter and I’m sure it’s a space that multiple appliances will be used.
Maybe not for baking, but for a party we might want to plug in a few crock pots there or warming dishes. That was IronFish’s idea and I thought it was a good one. Better to have too many outlets than not enough.
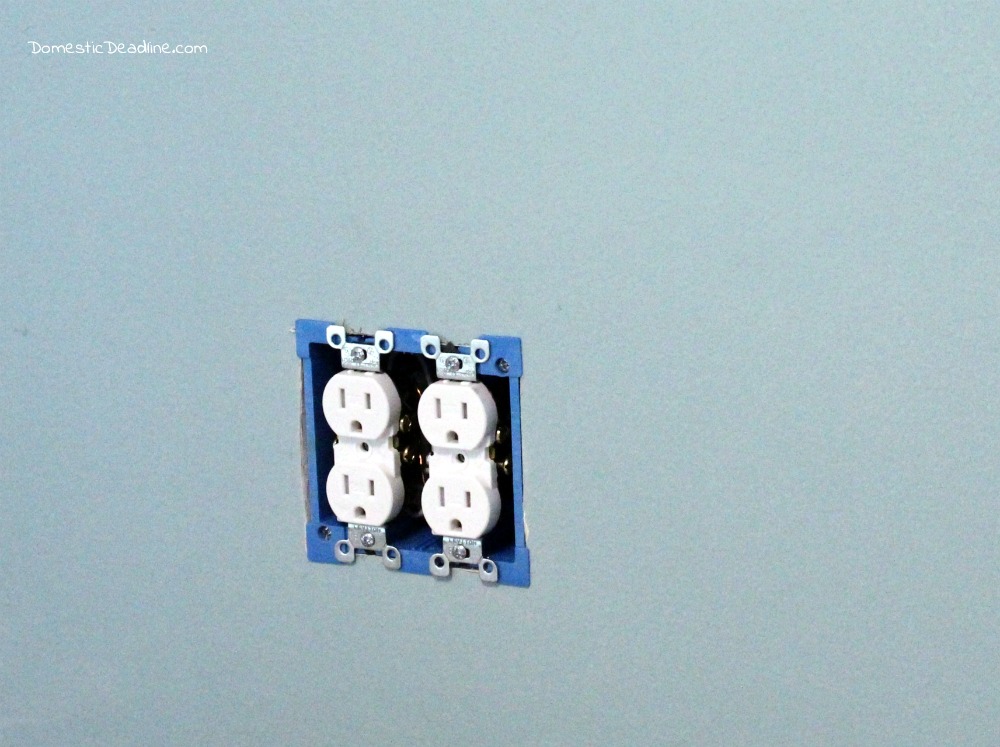
While the outlets are all visible, I’ll be installing white subway tile on the backsplash. The all white outlets and white outlet covers will blend in. Well, except for when it’s dark and the night lights are on!
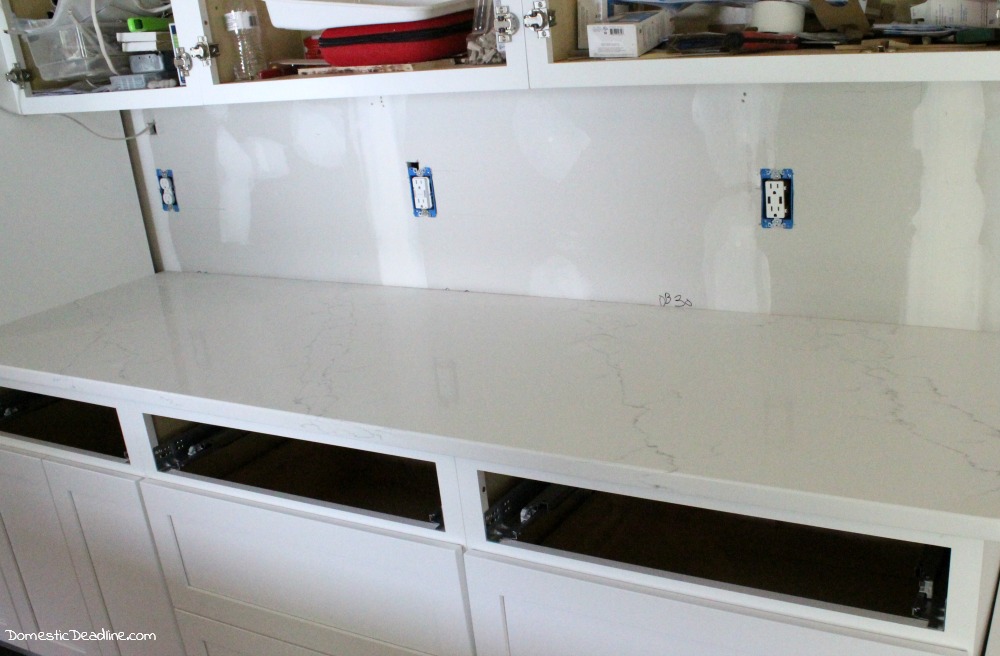
And as we installed the electrical boxes and outlets, we also installed the dimmer switches. It might sound silly, but I love how clean it’s going to look with everything lined up.
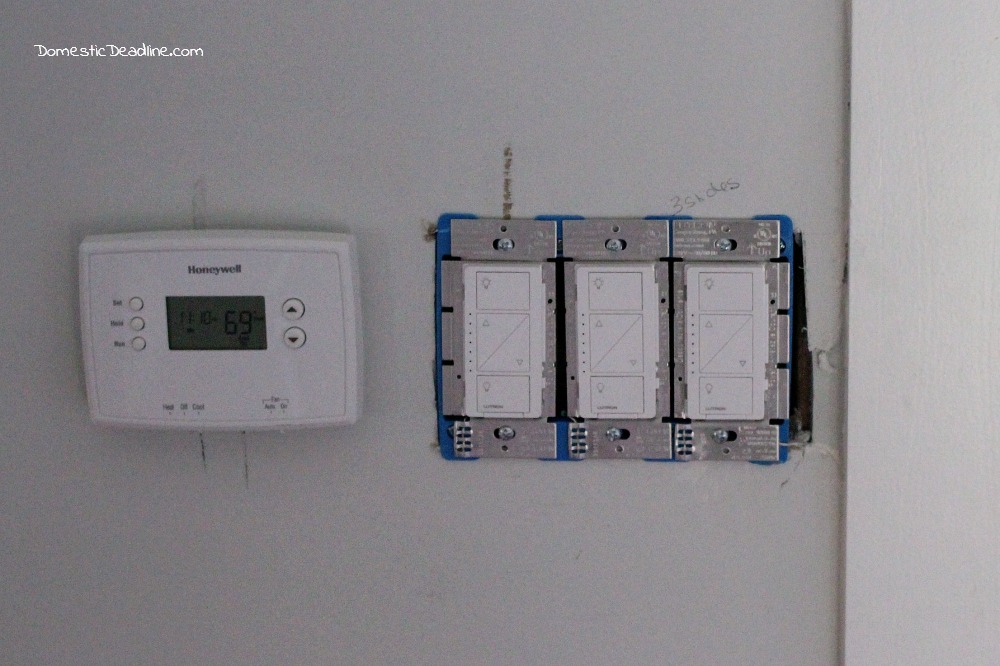
And now I can’t wait to get my pendant lights in so I can use these awesome dimmers!
Pin and Share






21 Comments